Email Component
How to configure the Email component in Ilevia Manager to send emails to contact lists when a trigger component changes state.
Introduction
This component lets Ilevia send email messages so customers are kept up to date on the status of their home. It is useful for sending notifications to custom contact lists. To enable this function, you must also use the other components listed below. The Email component defines the message that will be sent, using a switch as the trigger.
Use cases
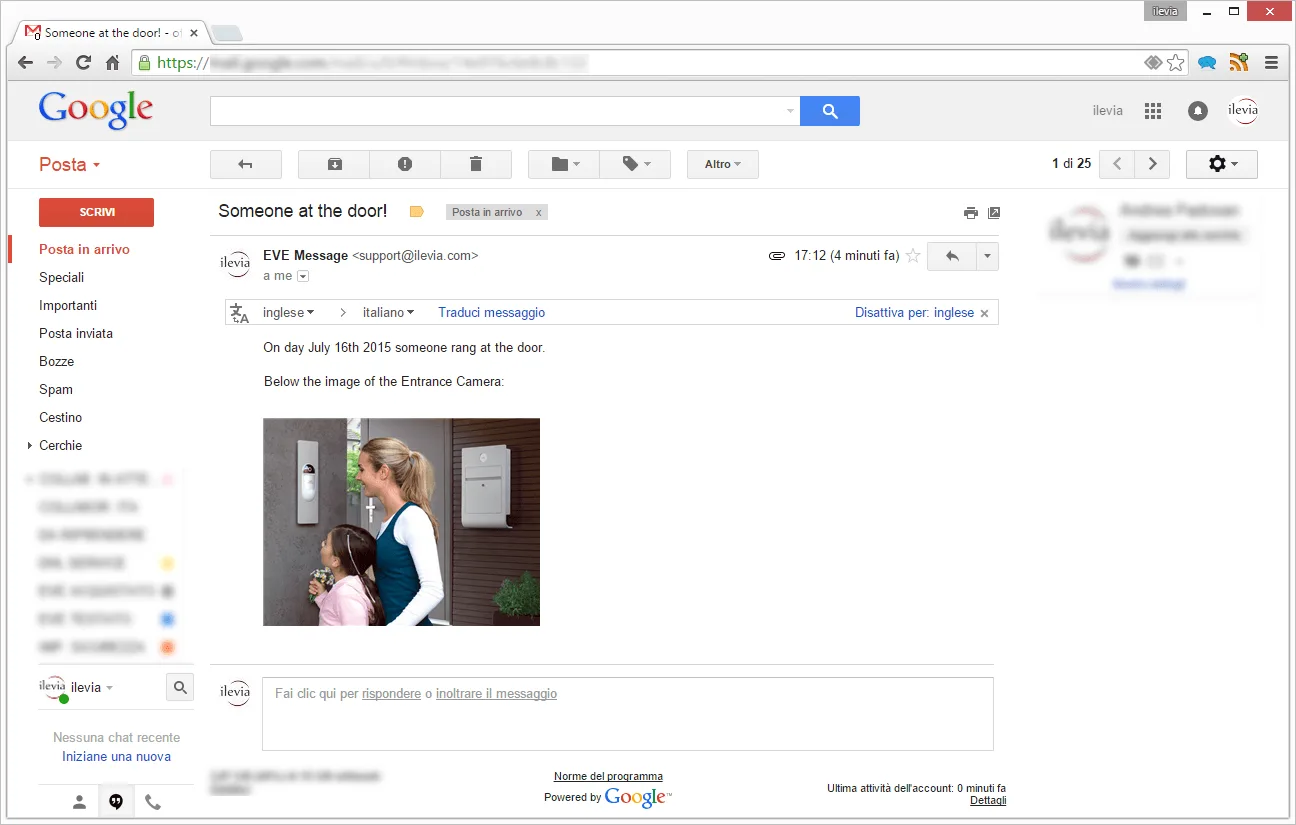
The user wants to receive an email from Ilevia with the image from an IP camera attached every time an event occurs (for example, when the doorbell rings);
The user wants to receive an email from Ilevia every time a switch is turned on;
The user wants to receive an email from Ilevia every time a specific event occurs;
The user wants Ilevia to send an email to specific contact groups, including custom information;
The user wants to keep a history of emails related to specific events that occur inside the home.
Download and try
Test project already configured, to try the plugin module features in a few steps.
Download the file from the link above and extract it from the compressed folder;
Turn on your Raspberry or Virtual Machine;
Set up the Email account and Contact components;
Upload the .eve project to the server;
Launch the Ilevia Remote Plus application (Maps Ver.).
Test project access credentials
User: admin
Password: password
The plugin module is used to send emails to custom contact lists. Remember to define the server that will send the emails: to do so, refer to the Email account component page.
Component properties
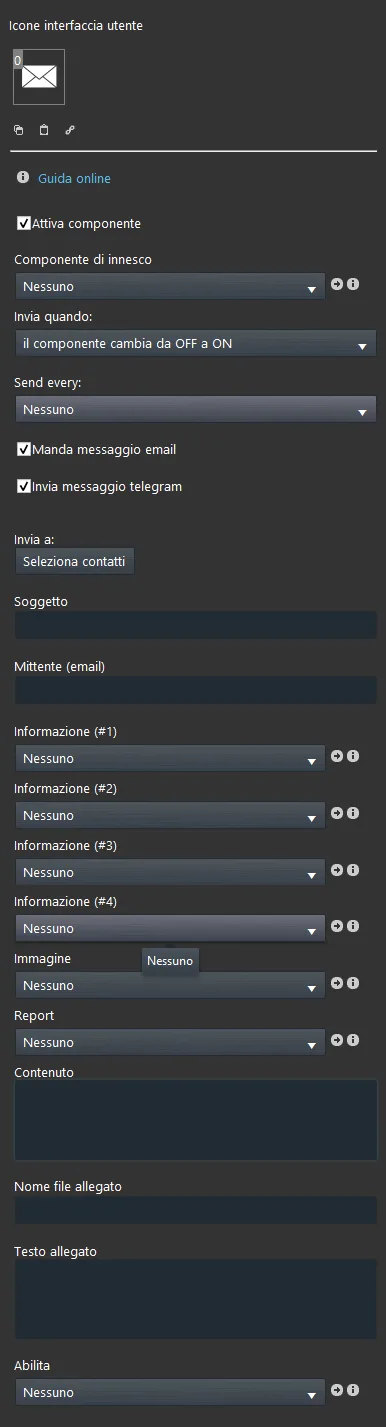
The component Title and Icon can be customized. Refer to the “Common properties” guide.
GUI
This component was created using the Graphic UI gateway.
You can refer to the “Gateway / Protocols” chapter for more information.
Enable component: checkbox that, when selected, enables the component in the system; when cleared, disables it.
Trigger component: Option list, Colored info, Text info, Switch, Secure switch, Button: the component that will trigger the sending of the email;
Send when:
– Trigger changes from Off to On: an email is sent only if the trigger component changes to On;
– Trigger changes from On to Off: an email is sent only if the trigger component changes to Off;
– On every state change of the trigger component: an email is sent every time the state changes;
Send to: contact list to which the emails will be sent;
Add the Contact components from the “Components” section to the window that appears by clicking the “Select contacts” button.
Subject: the subject of the email that will be sent when a trigger changes state.
Sender (text field): sender email address;
Additional information can be added to the email body (up to four):
Information (#1): Option list, Colored info, Text info, Switch, Secure switch and Adjustable value components;
Information (#2): Option list, Colored info, Text info, Switch, Secure switch and Adjustable value components;
Information (#3): Option list, Colored info, Text info, Switch, Secure switch and Adjustable value components;
Information (#4): Option list, Colored info, Text info, Switch, Secure switch and Adjustable value components;
It is also possible to attach the image from a specific IP camera to the email:
Image: IP camera image component that defines the URL of an IP camera;
Report: refer to the Report component guide to learn more;
Content: the body of the email that will be sent when a trigger component changes state. To display information in the email body, simply type #1, #2, #3 or #4 in the “Content” text field.
Attachment file name: the name of the file created through the Log component; make sure the name entered in this text field matches the one used in the Log.
Attachment text: inserts a signature at the end of the email message.
Enable: by connecting an Info, Colored info, Text info, Switch, Lock or Option list component, you can enable or disable the entire Email module.
Help
The configuration of Logic can be performed simply with the drag and drop function of components. To set the component parameters, you can use the Option list, or drag the components from the “Components” section to the component selection field.
Reminder before continuing:
Download and install the Ilevia Logic plugin to enable plugins (link);
After uploading the Ilevia project to the server, wait a couple of minutes for the logic to start.