Ksenia control panels
How to connect a Ksenia control panel to the ILEVIA server: panel configuration, the Ksenia wizard in ilevia Manager, and using the widget in the ILEVIA Control app.
The Ksenia component connects the ILEVIA server to a Ksenia control panel via an HTTPS connection. The wizard creates the gateway and the server reads partitions, zones, outputs, and scenarios from the panel, creating the components automatically. In the ILEVIA Control app, everything is managed from a single widget. For the overall view, see Alarm systems.
Before you start
Update the Ksenia panel firmware, if available.
Enable the panel IP interface.
The wizard works only with ilevia Manager connected to the server: the server is the one that reads the configuration from the panel. Without a connection, the message A server connection is required to use this component! appears
Ksenia panel configuration
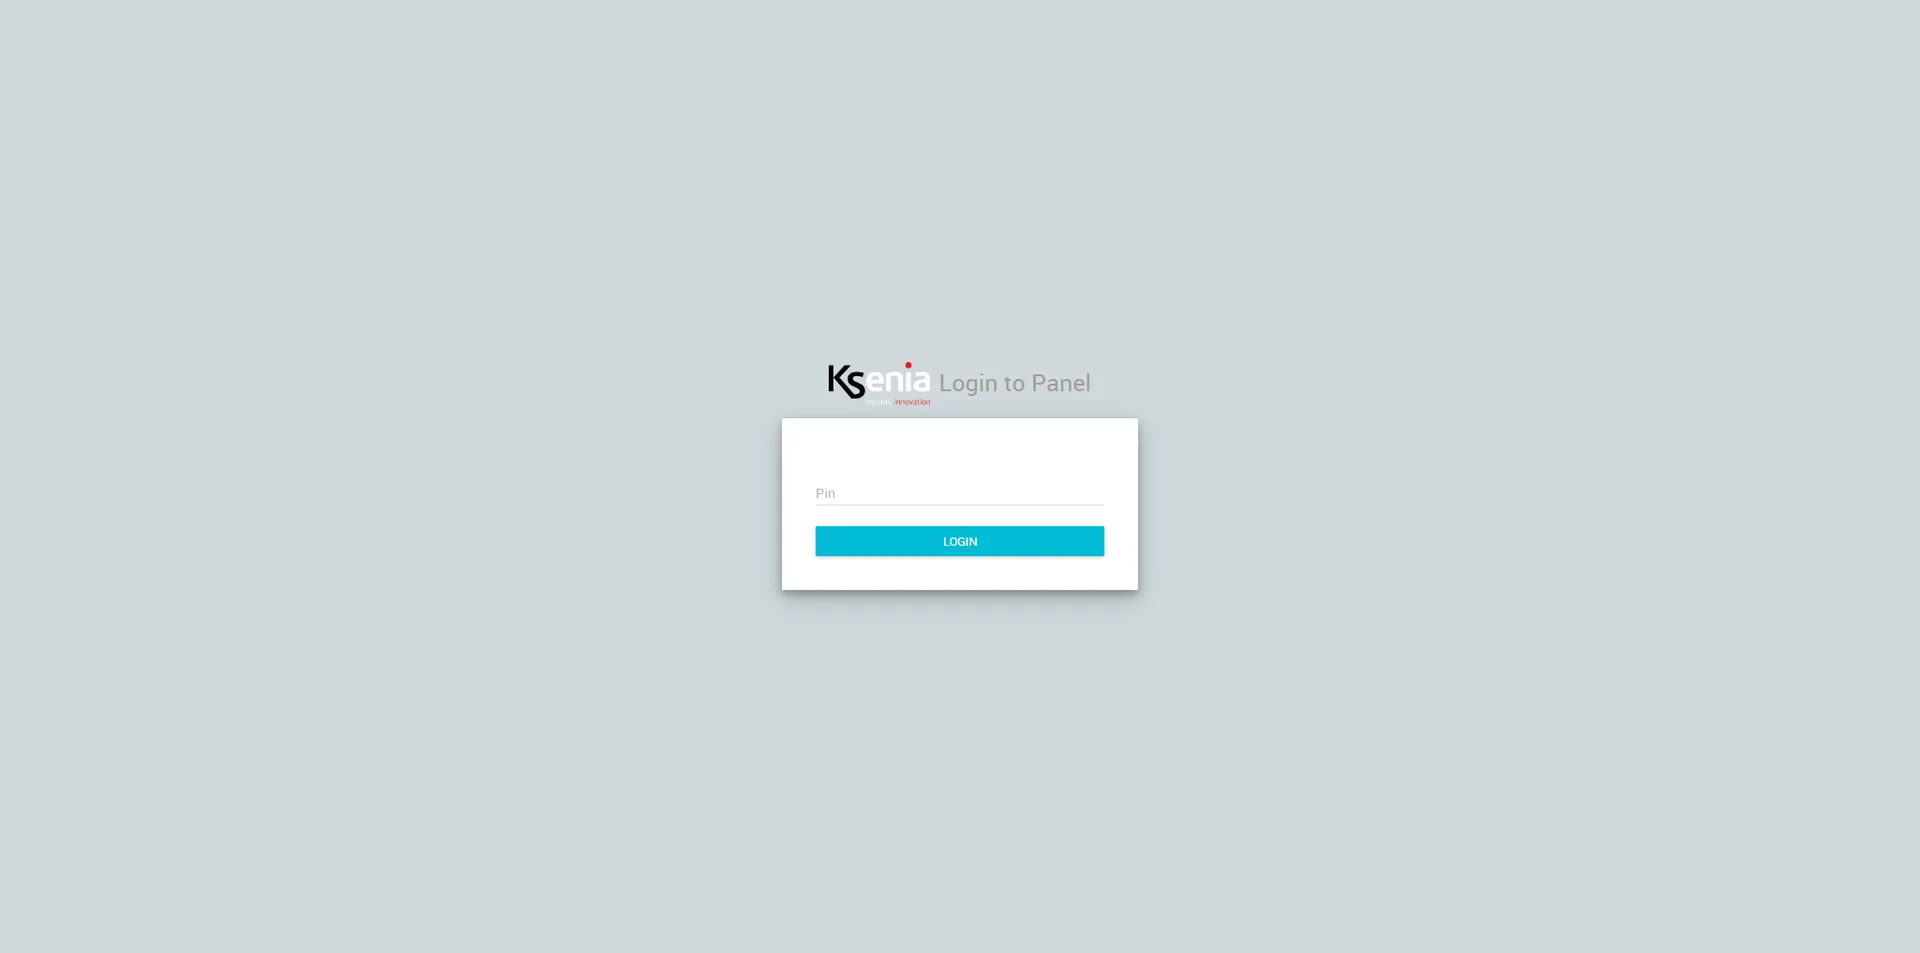
Step 1. Open the browser and access the Ksenia panel configuration web interface.
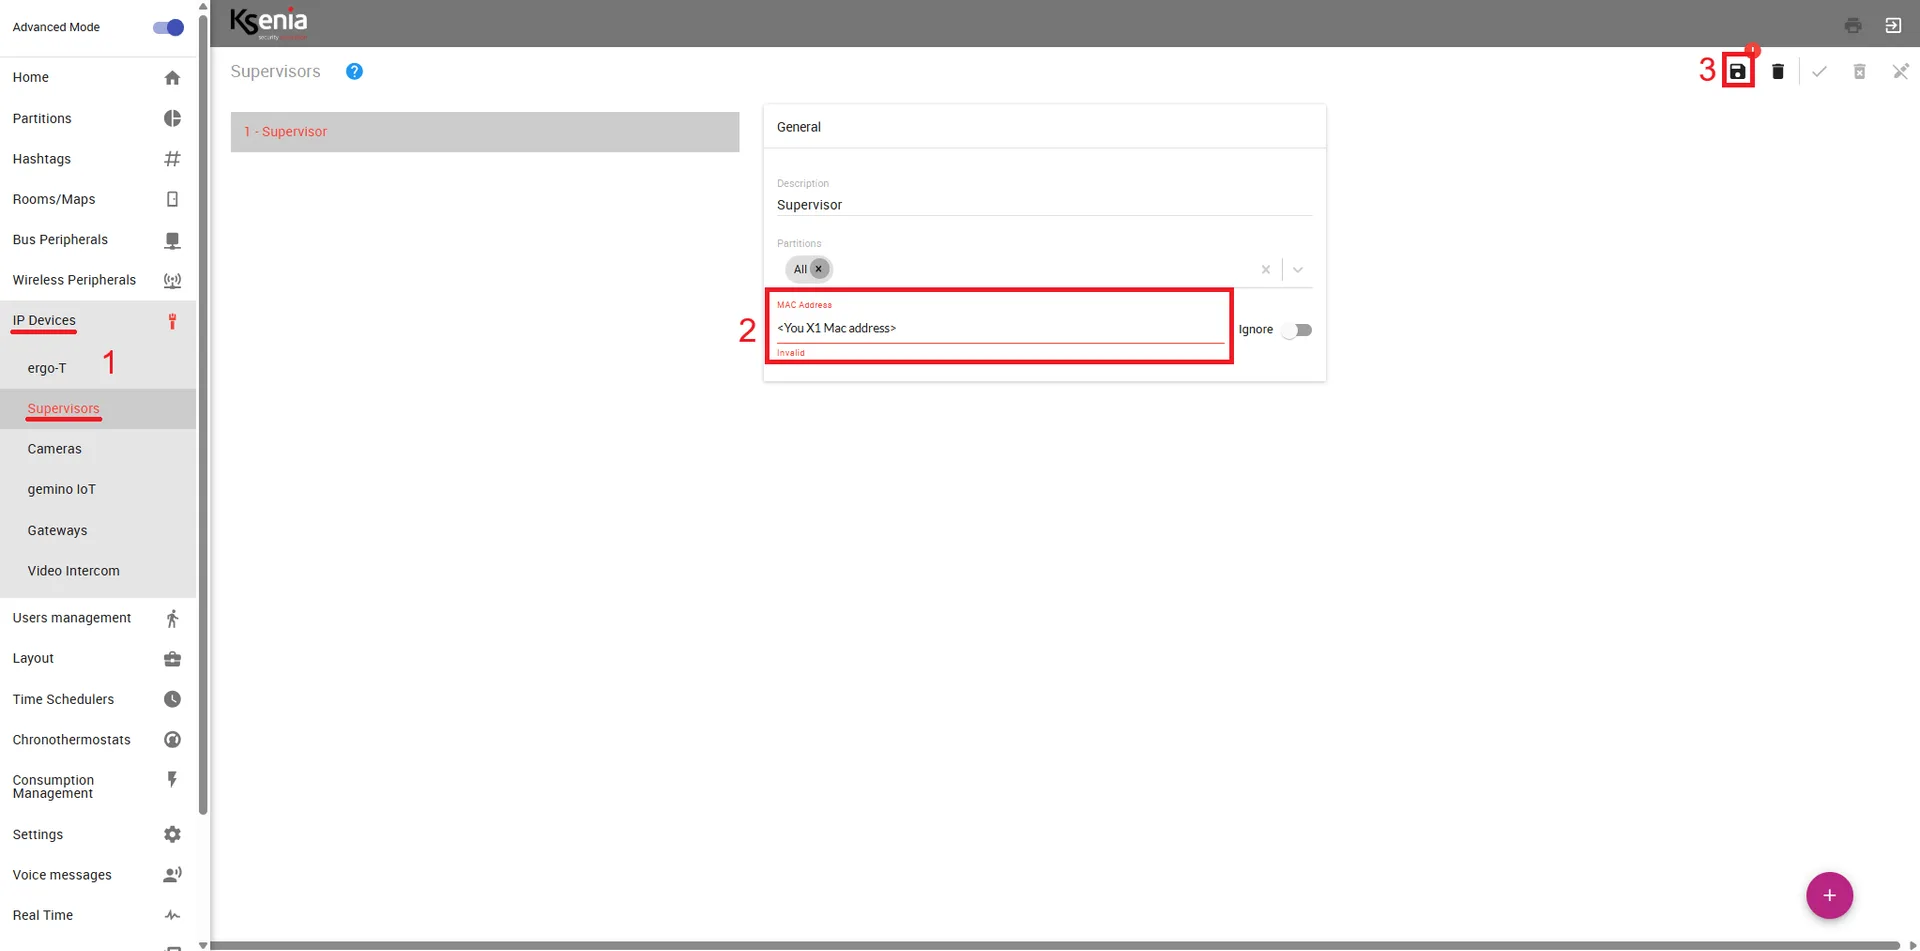
Step 2. From the side bar, open IP Devices > Supervisor, switch to edit mode with the pencil icon, add the ILEVIA server MAC address, and save. To find the server MAC address, follow this guide.
Step 3. Create on the panel the user that the ILEVIA server will use for commands and note its PIN.
Configuration in ilevia Manager
Step 1. Open ilevia Manager and connect to the server.
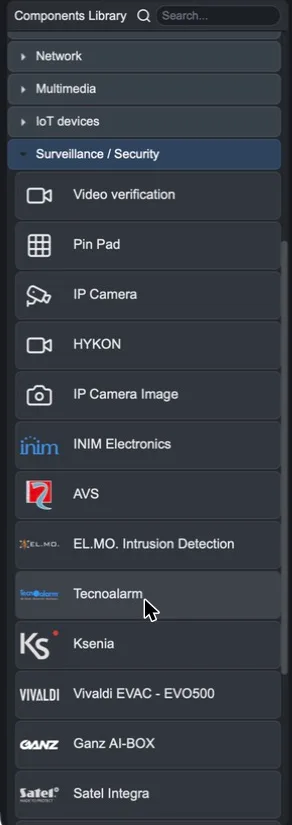
Step 2. In the Components tab, open the Surveillance / Security category in the Components Library (or search for ksenia) and drag Ksenia into My components.
Step 3. In the wizard, fill in:
Field | Meaning |
|---|---|
IP | IP address of the Ksenia panel. |
Port | Panel HTTPS port: leave the default 443. |
Ksenia's Ilevia server user PIN | The PIN of the user created on the panel for the ILEVIA server (step 3 of the panel configuration). |
Step 4. Click Create Gateway…. A gateway with protocol ksenia is created (visible in the Gateways tab) and, after a few moments, the panel components appear in My components.
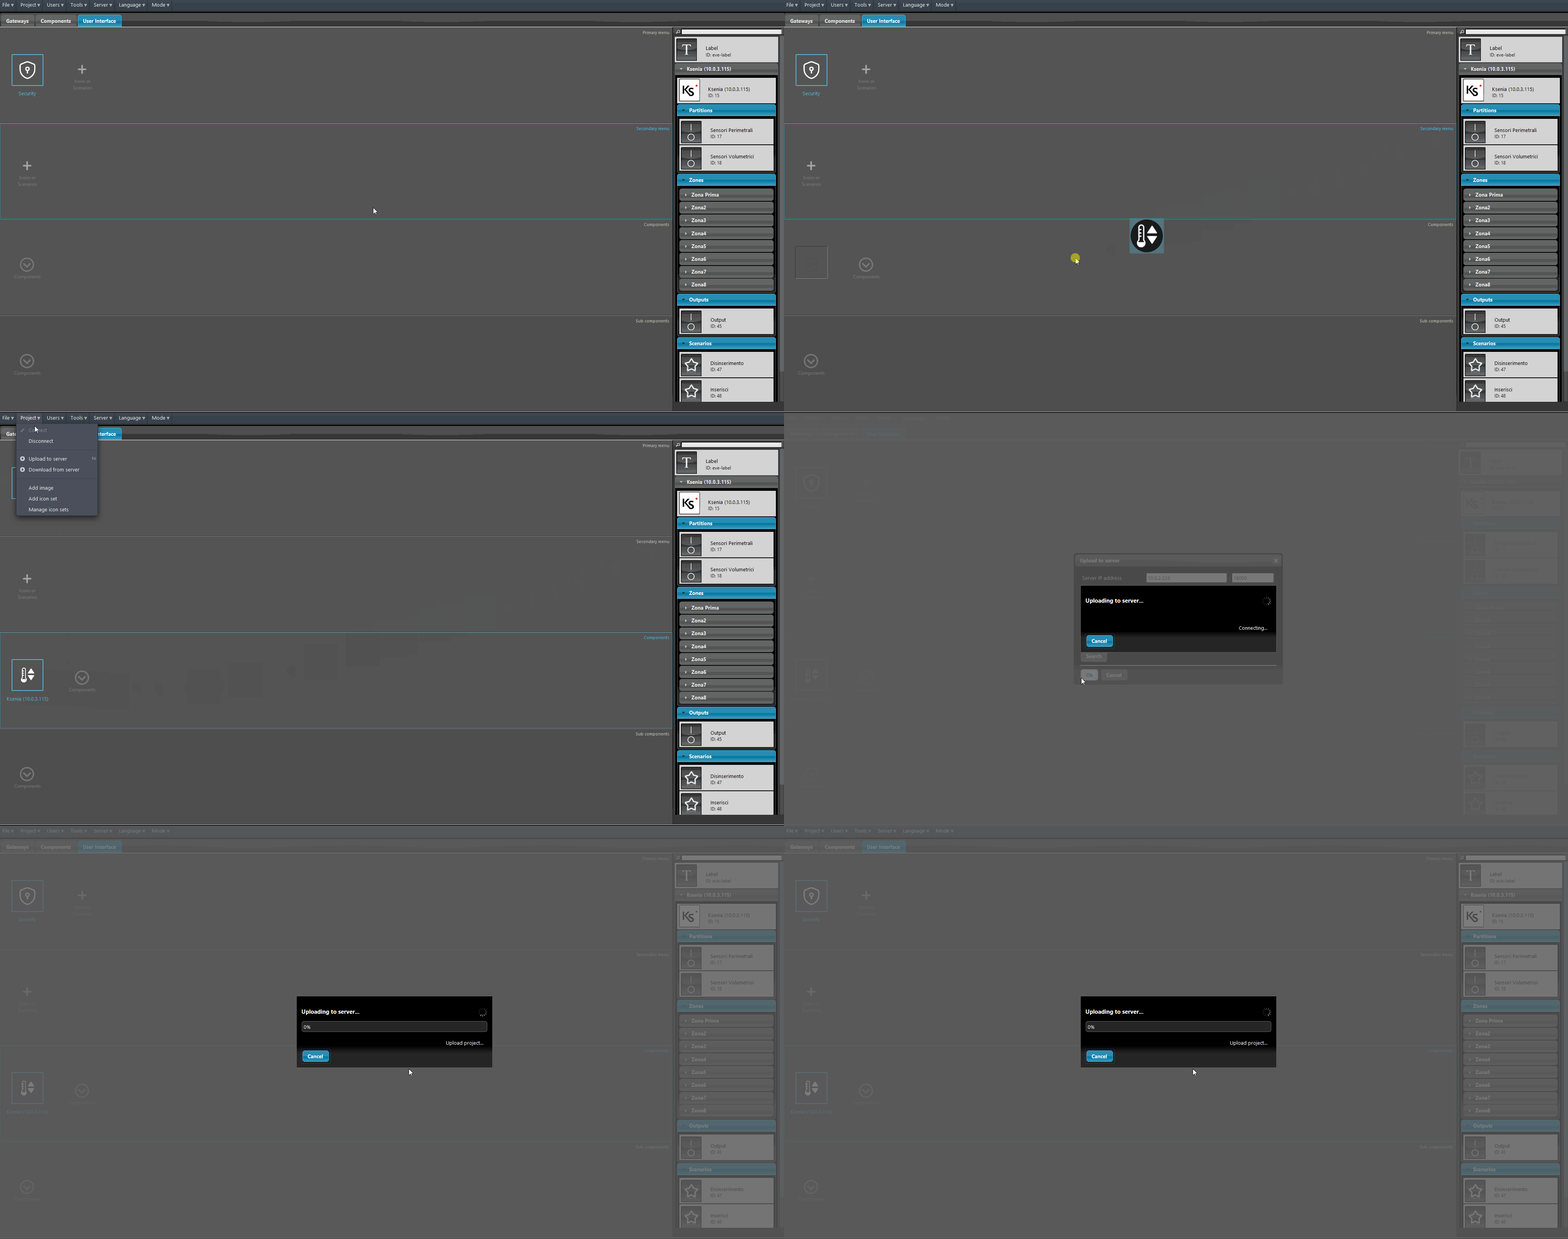
Step 5. Add the Ksenia component to the user interface and upload the project to the server with Project > Upload to server.
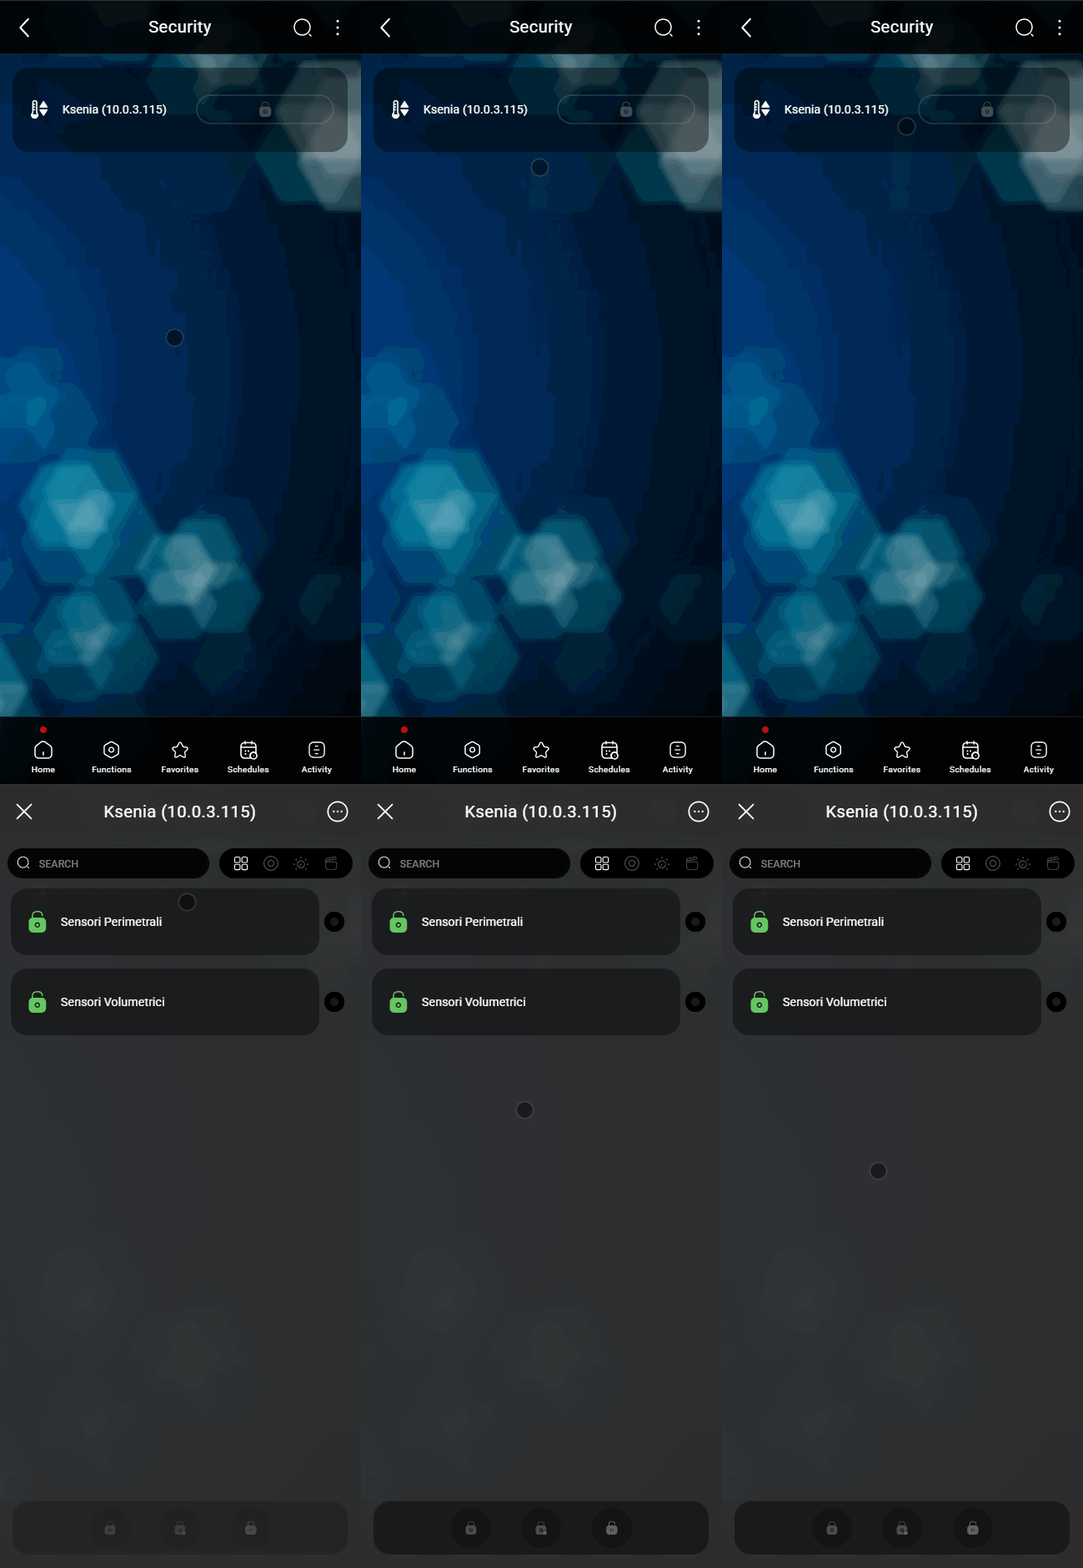
The Ksenia widget in the ILEVIA Control app
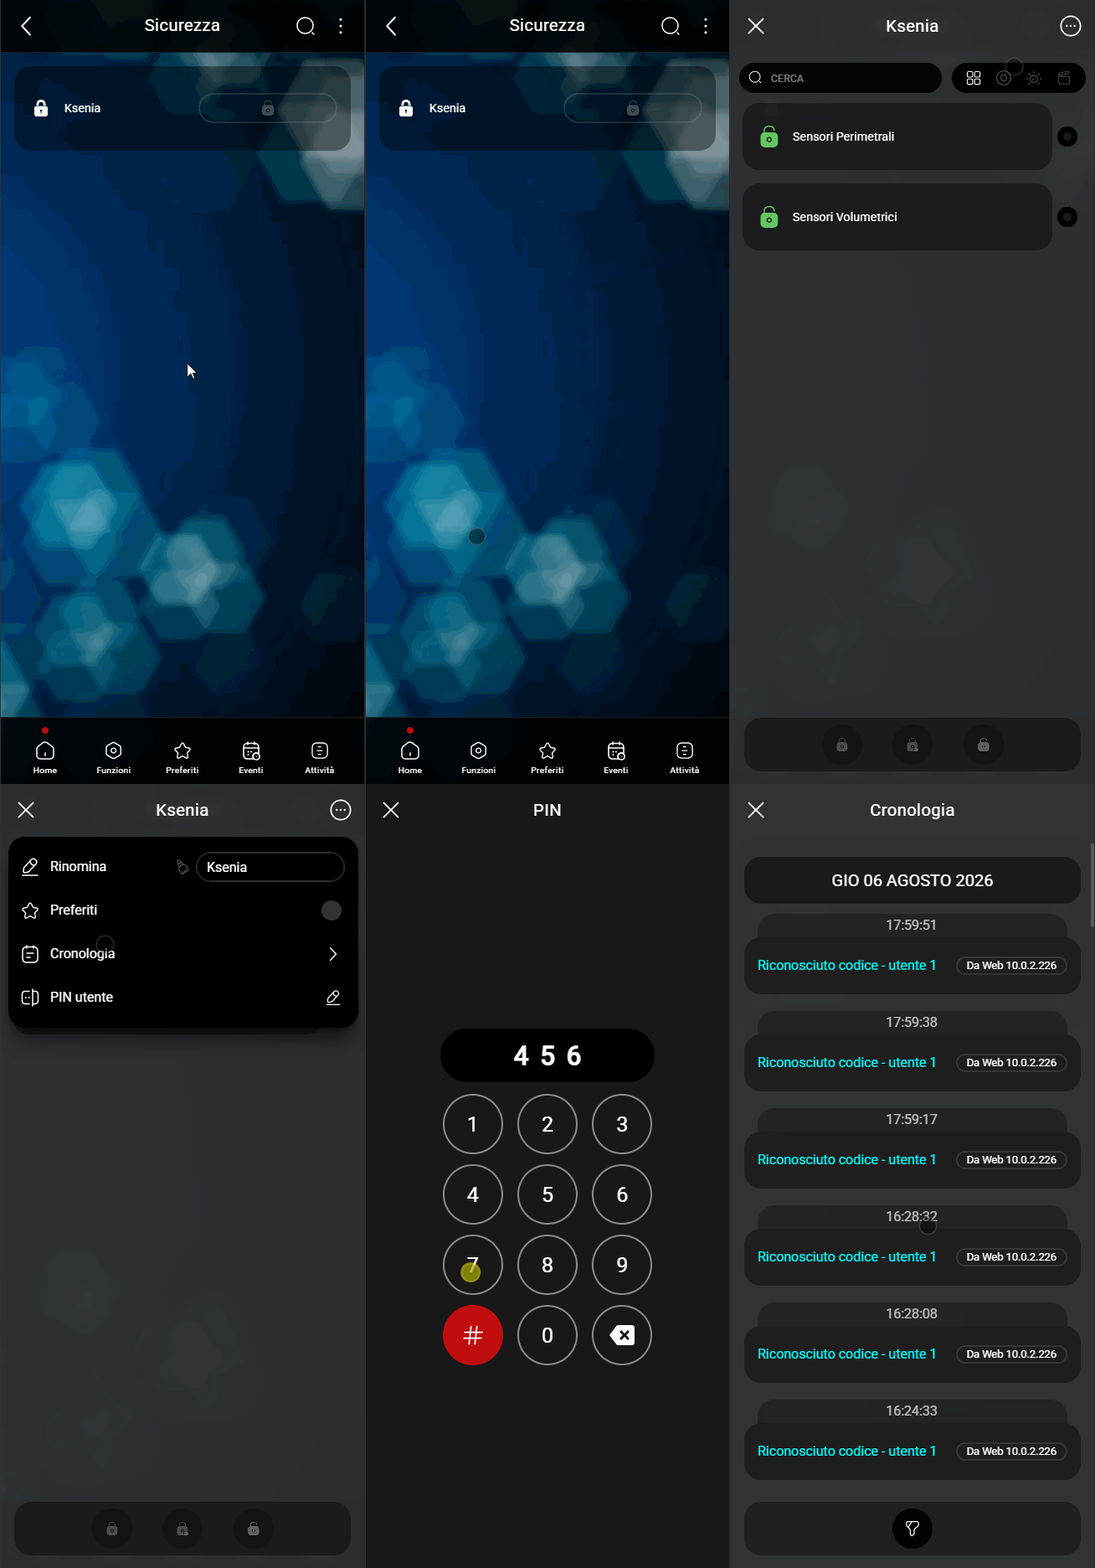
Open the Ksenia widget from the app: from here you can manage the entire panel.
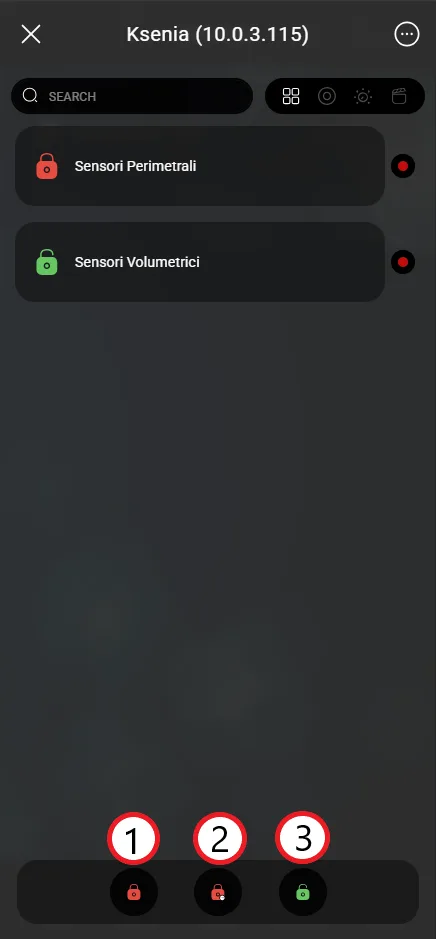
Partitions
Tap the button next to a partition to enable its commands: 1. arms the partition; 2. arms it with delay; 3. disarms the selected and armed partitions.
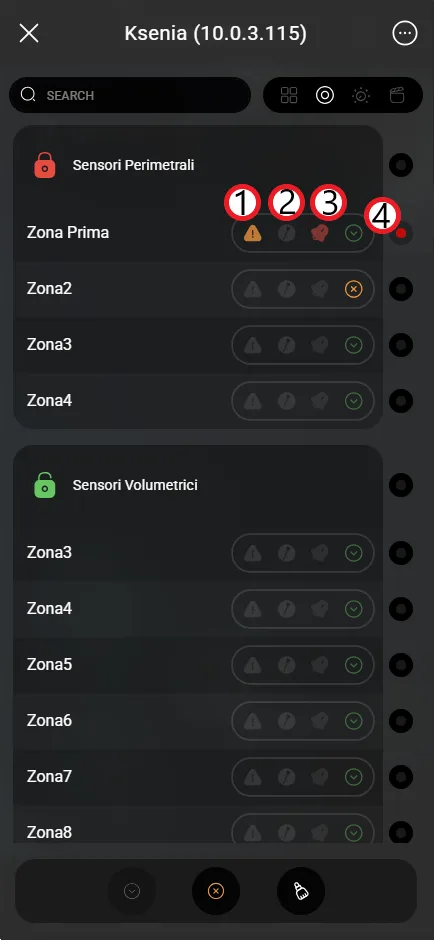
Zones
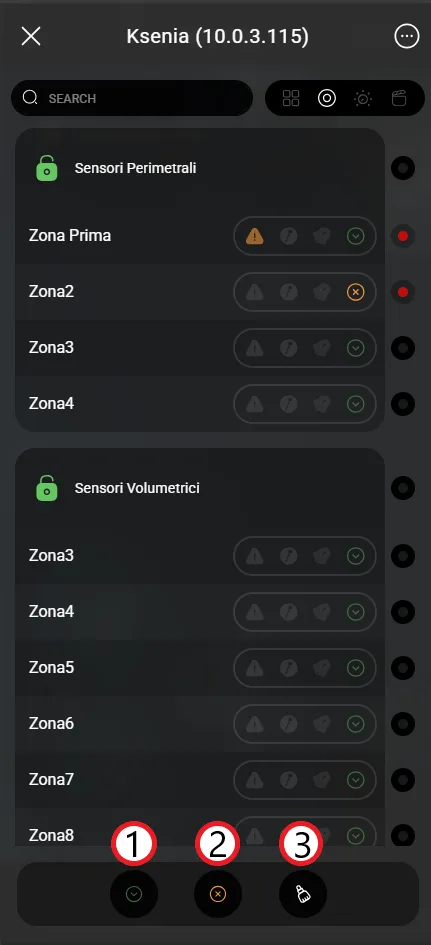
For each partition, view the zones and their status: 1. open or fault; 2. tamper; 3. alarm; 4. enabled or disabled.
At the bottom, you will find three buttons: 1. enables the selected zones; 2. disables them; 3. clears the alarms of the selected zones.
Outputs and scenarios
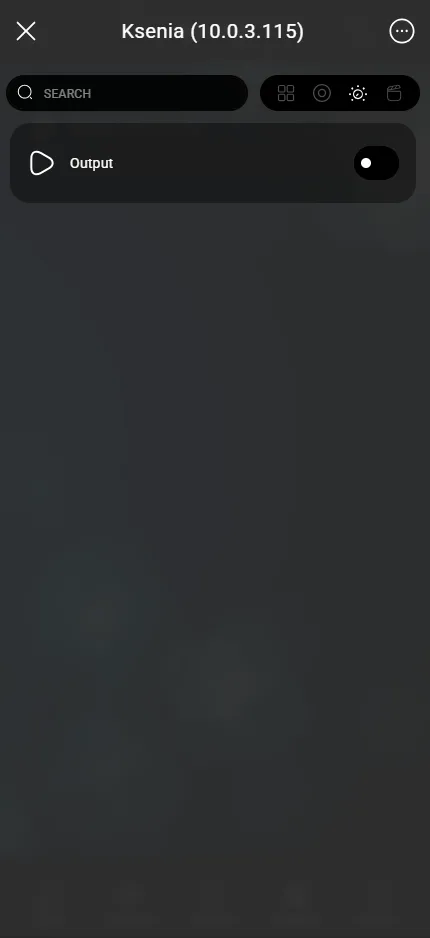
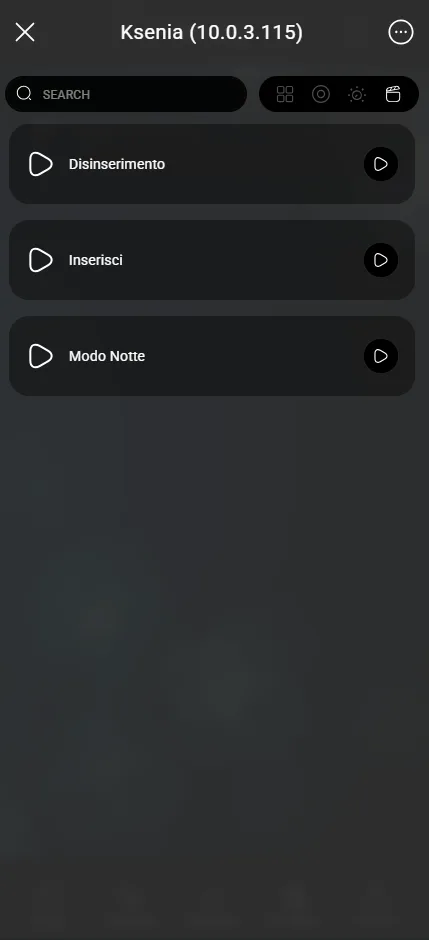
The outputs tab switches the outputs connected to the panel on and off; the Scenarios tab activates the scenarios programmed in the panel.
User PIN
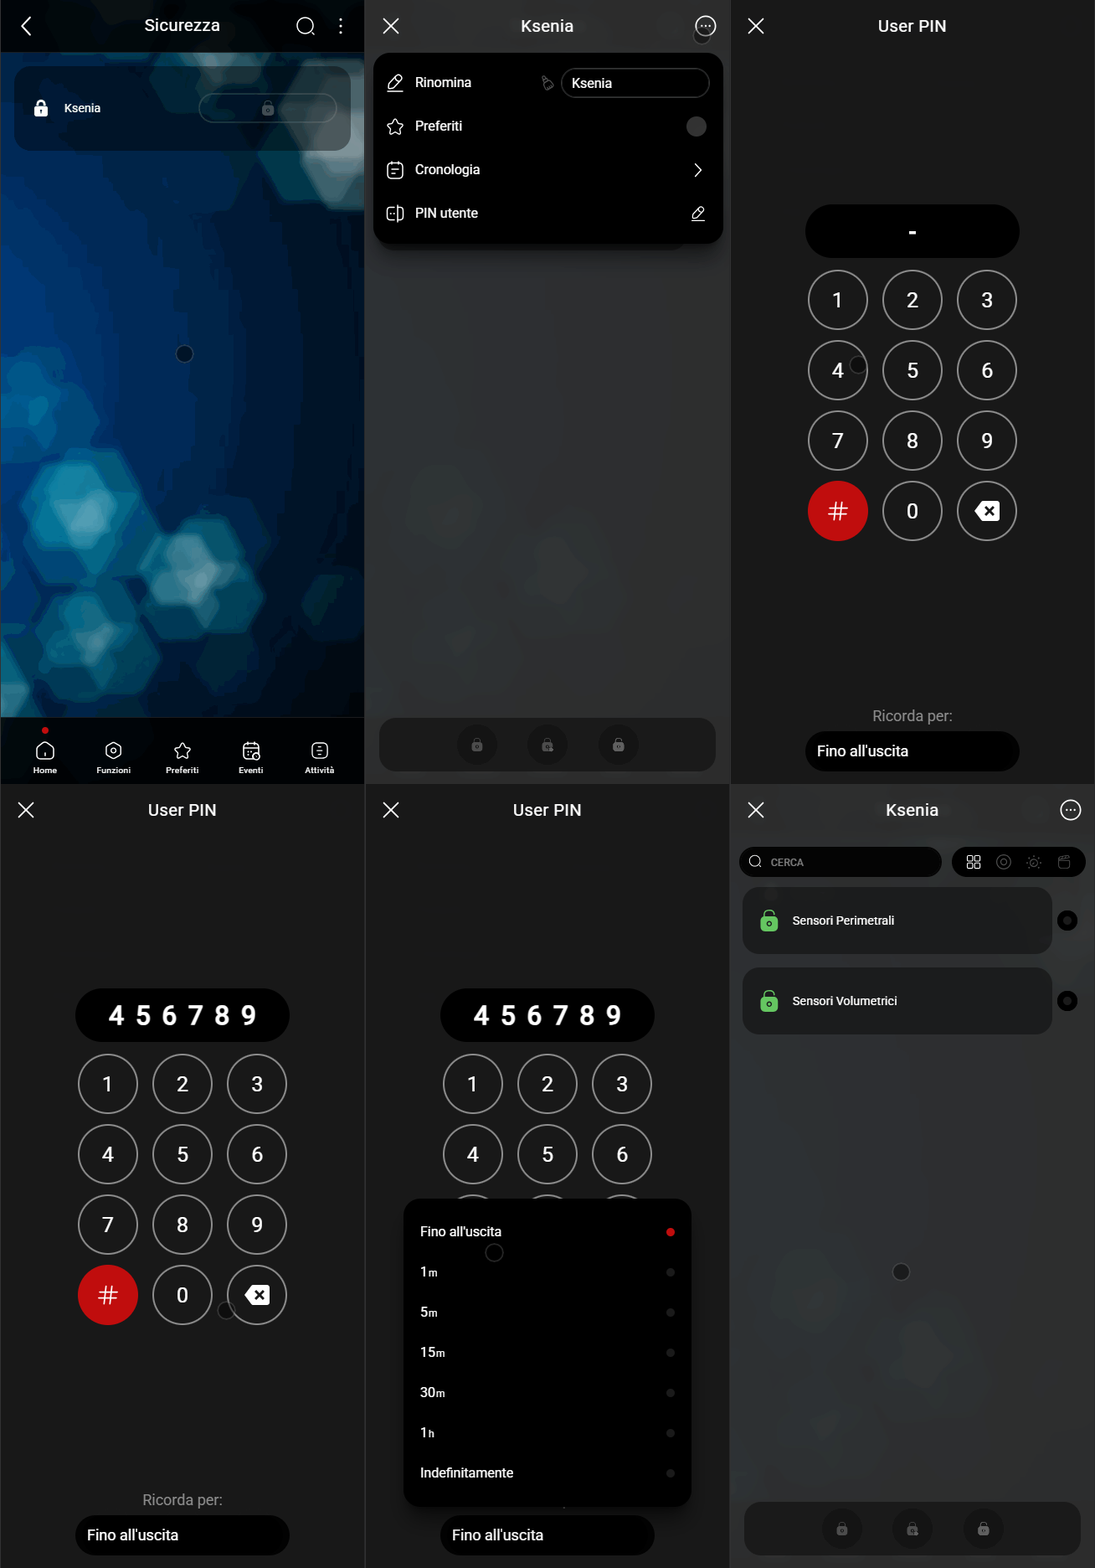
To avoid typing the PIN for every command, open the menu with the three dots in the top right, enter the user PIN, and choose in Remember for how long to store it. When it expires, the PIN is requested again.
History
From the menu with the three dots, choose History to view the list of panel events and actions. With Filters, you can search by name and date range.