
Import from ETS
Import a .knxproj file into ILEVIA Manager, load the sample JSON rules, and verify KNX components and addresses before use.
Import an ETS project into ILEVIA Manager to create the components and assign group addresses with a wizard. The recognition rules must be adapted to the names used in the ETS project.
Before you start
Prepare the .knxproj file exported from ETS.
If you are working on an existing Manager project, keep a copy before importing.
The screens and command names refer to Manager with the English interface.
Files for the practical exercise
Download both files: import.knxproj is the sample ETS project; import.json contains the import rules to use for this exercise.
KNXPROJimport.knxproj3.5 MBJSONimport.json812 B1. Open the ETS project
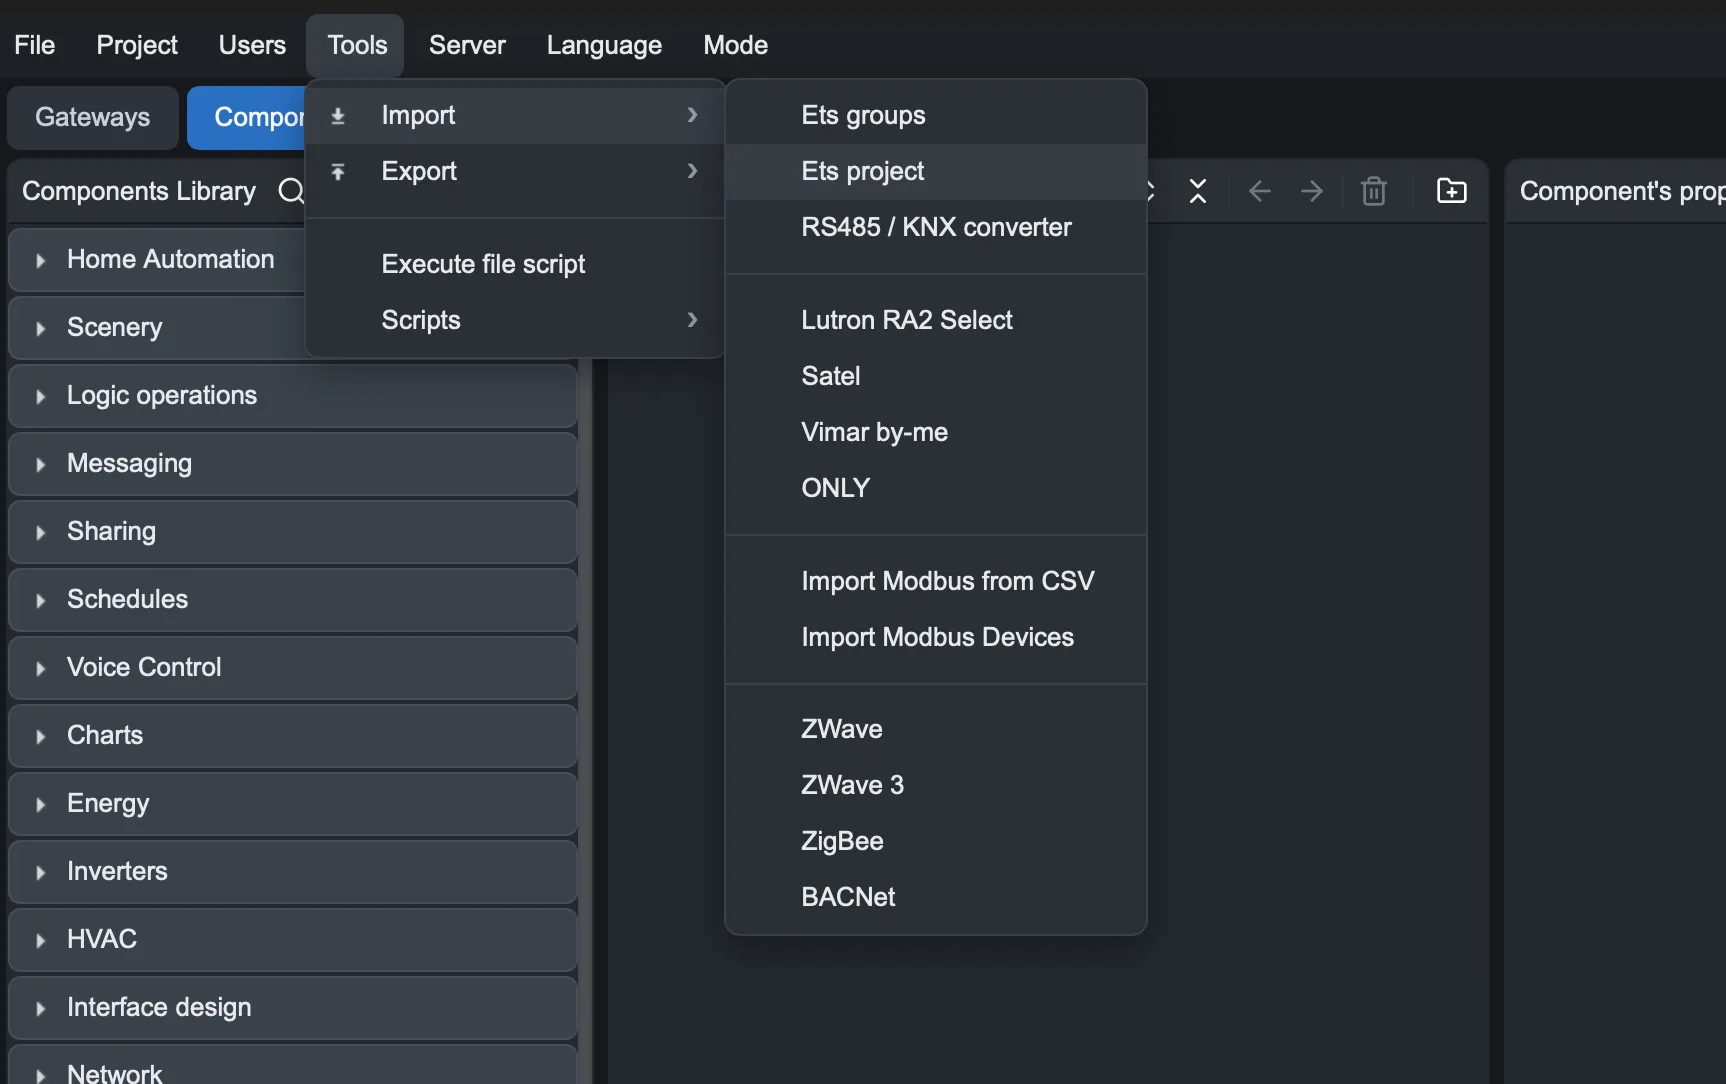
Open Tools → Import → Ets project. This procedure is separate from Ets groups.
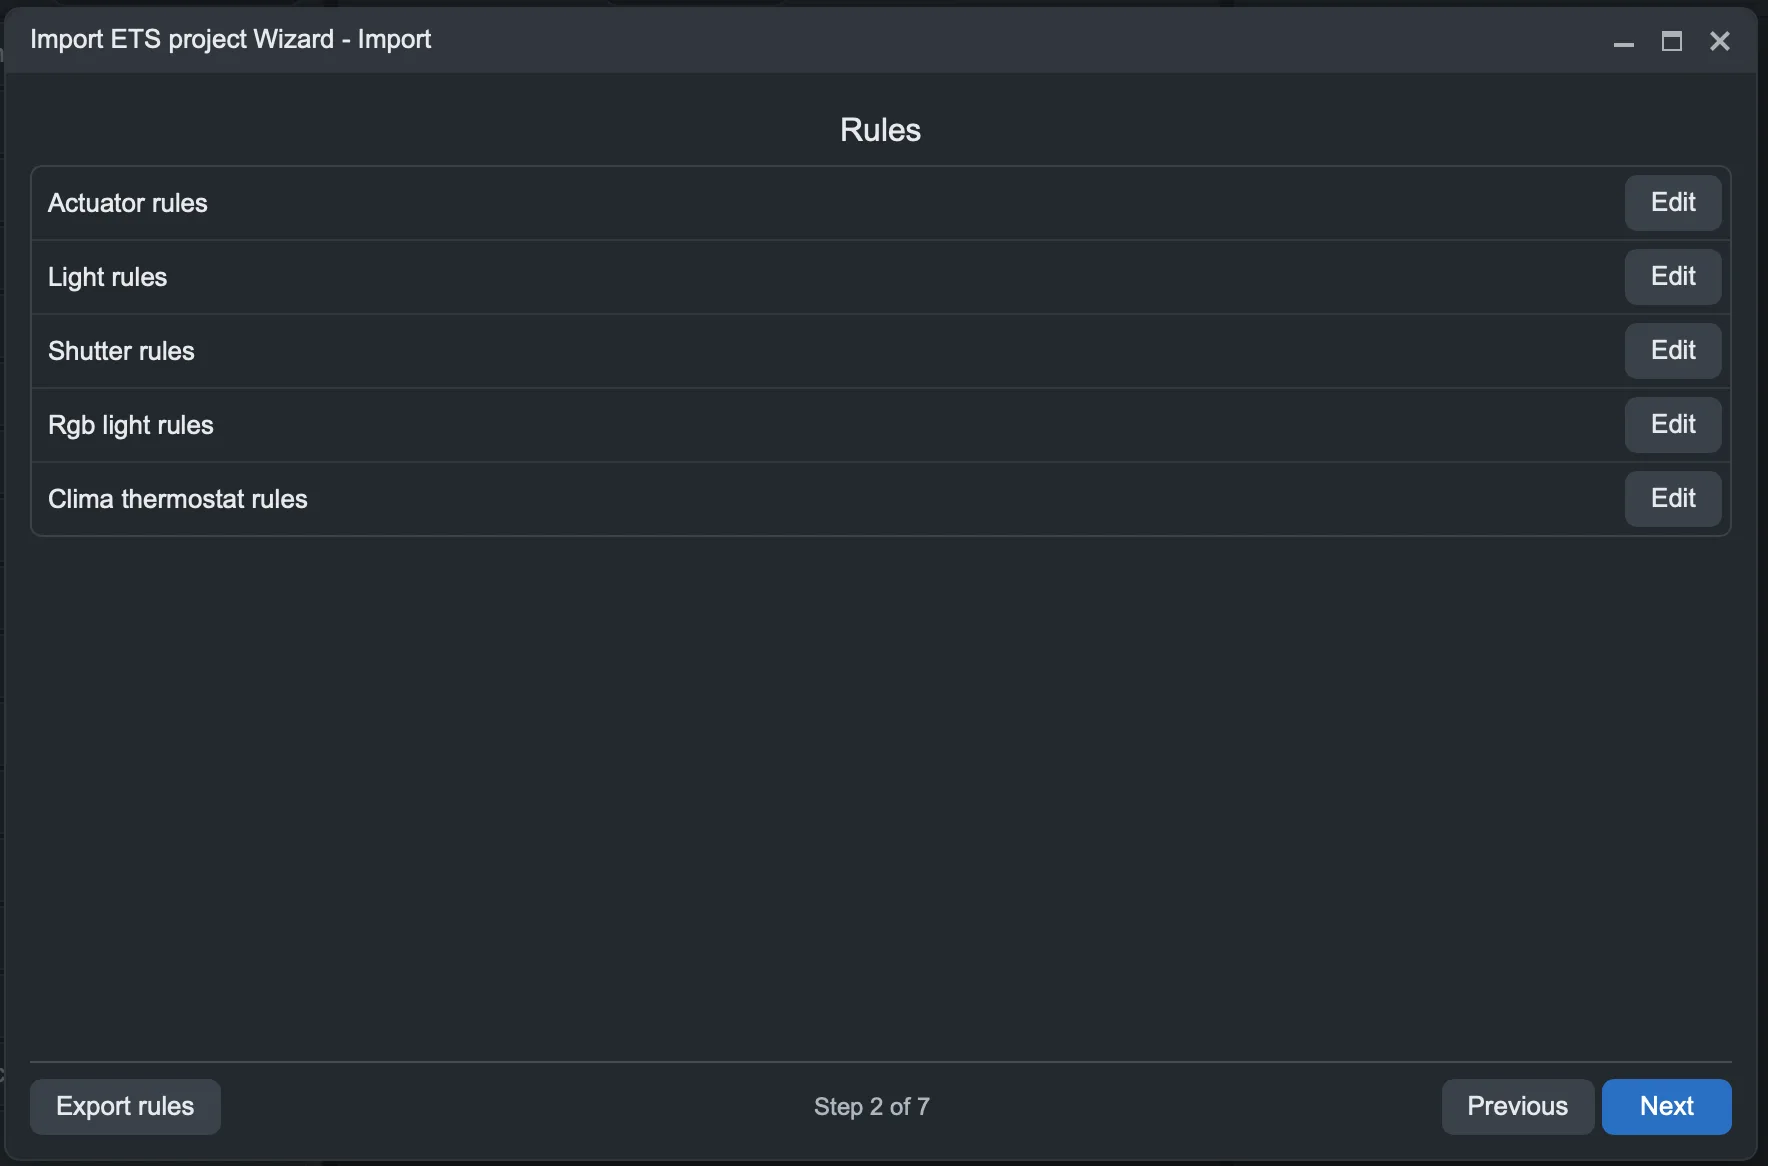
In the Import ETS project Wizard window, click Load ets project and select import.knxproj to follow the example, or your own .knxproj file.
2. Load and check the rules
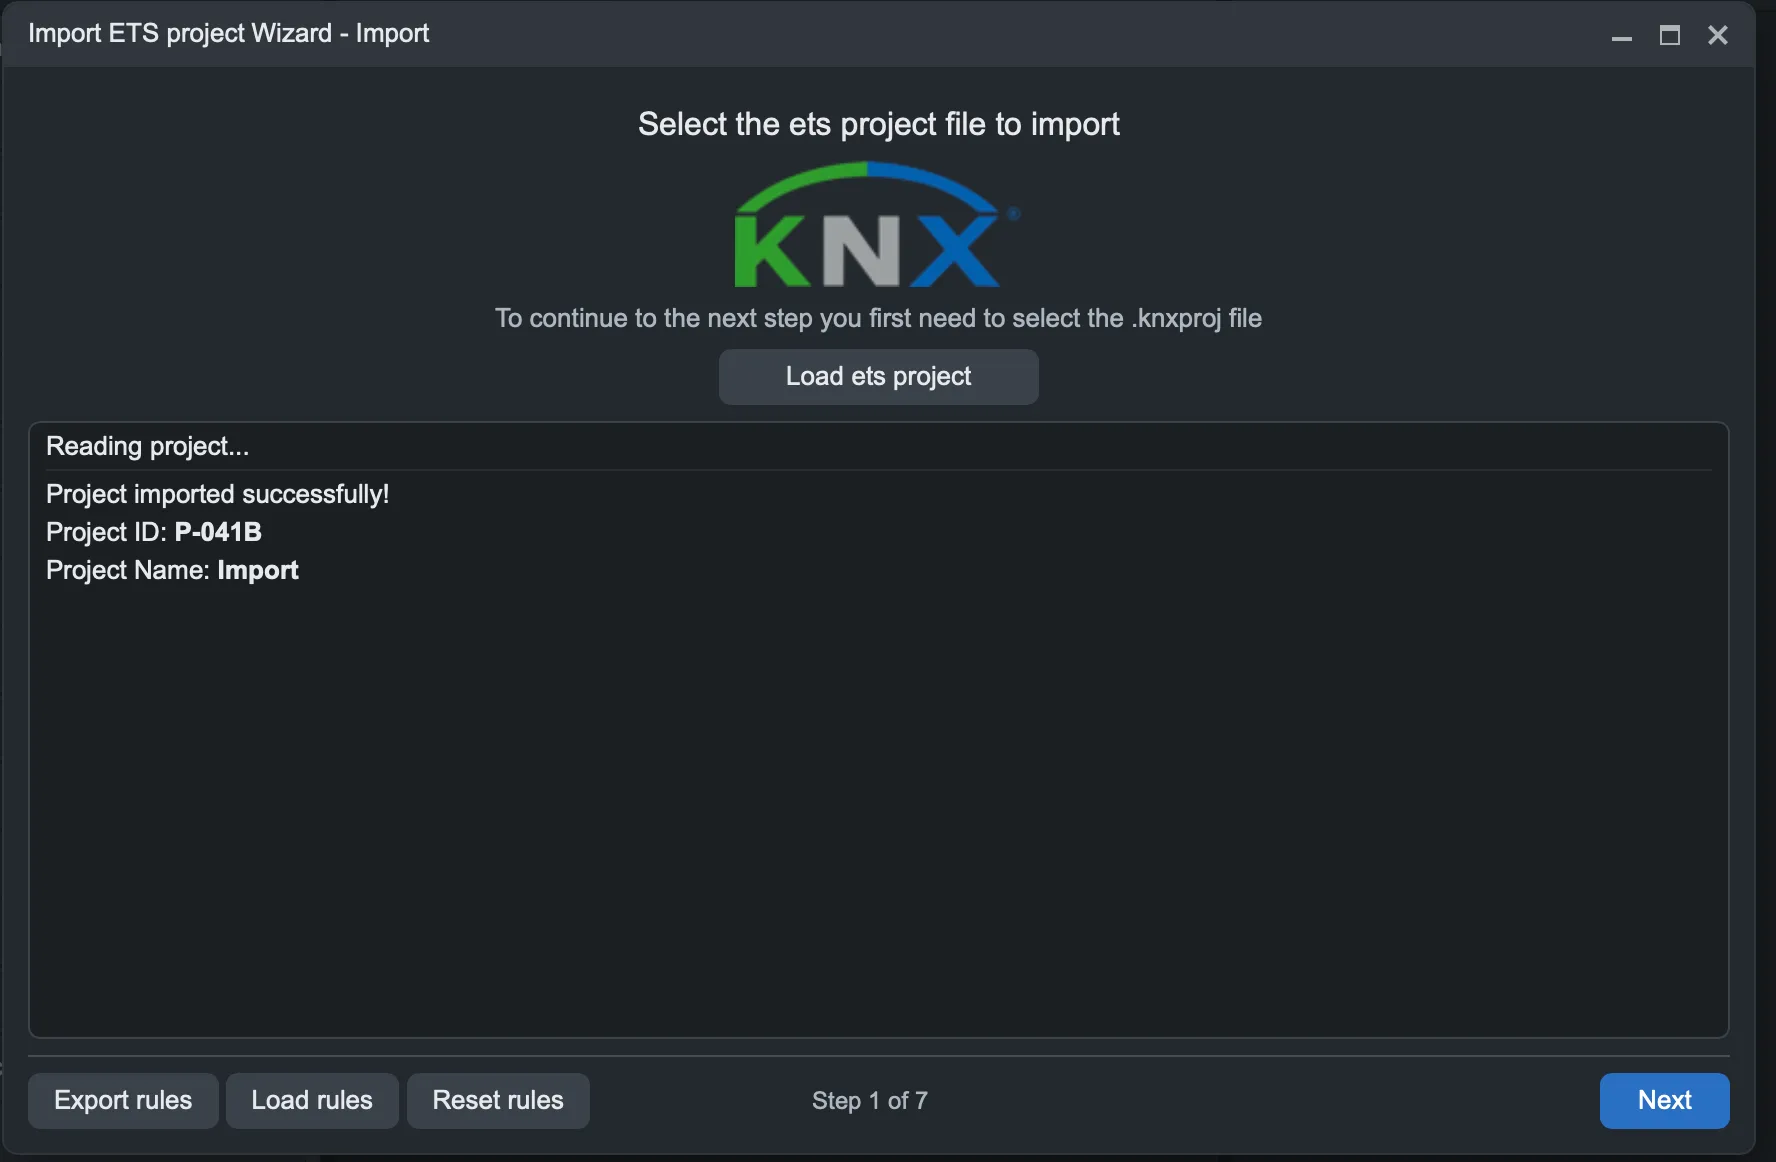
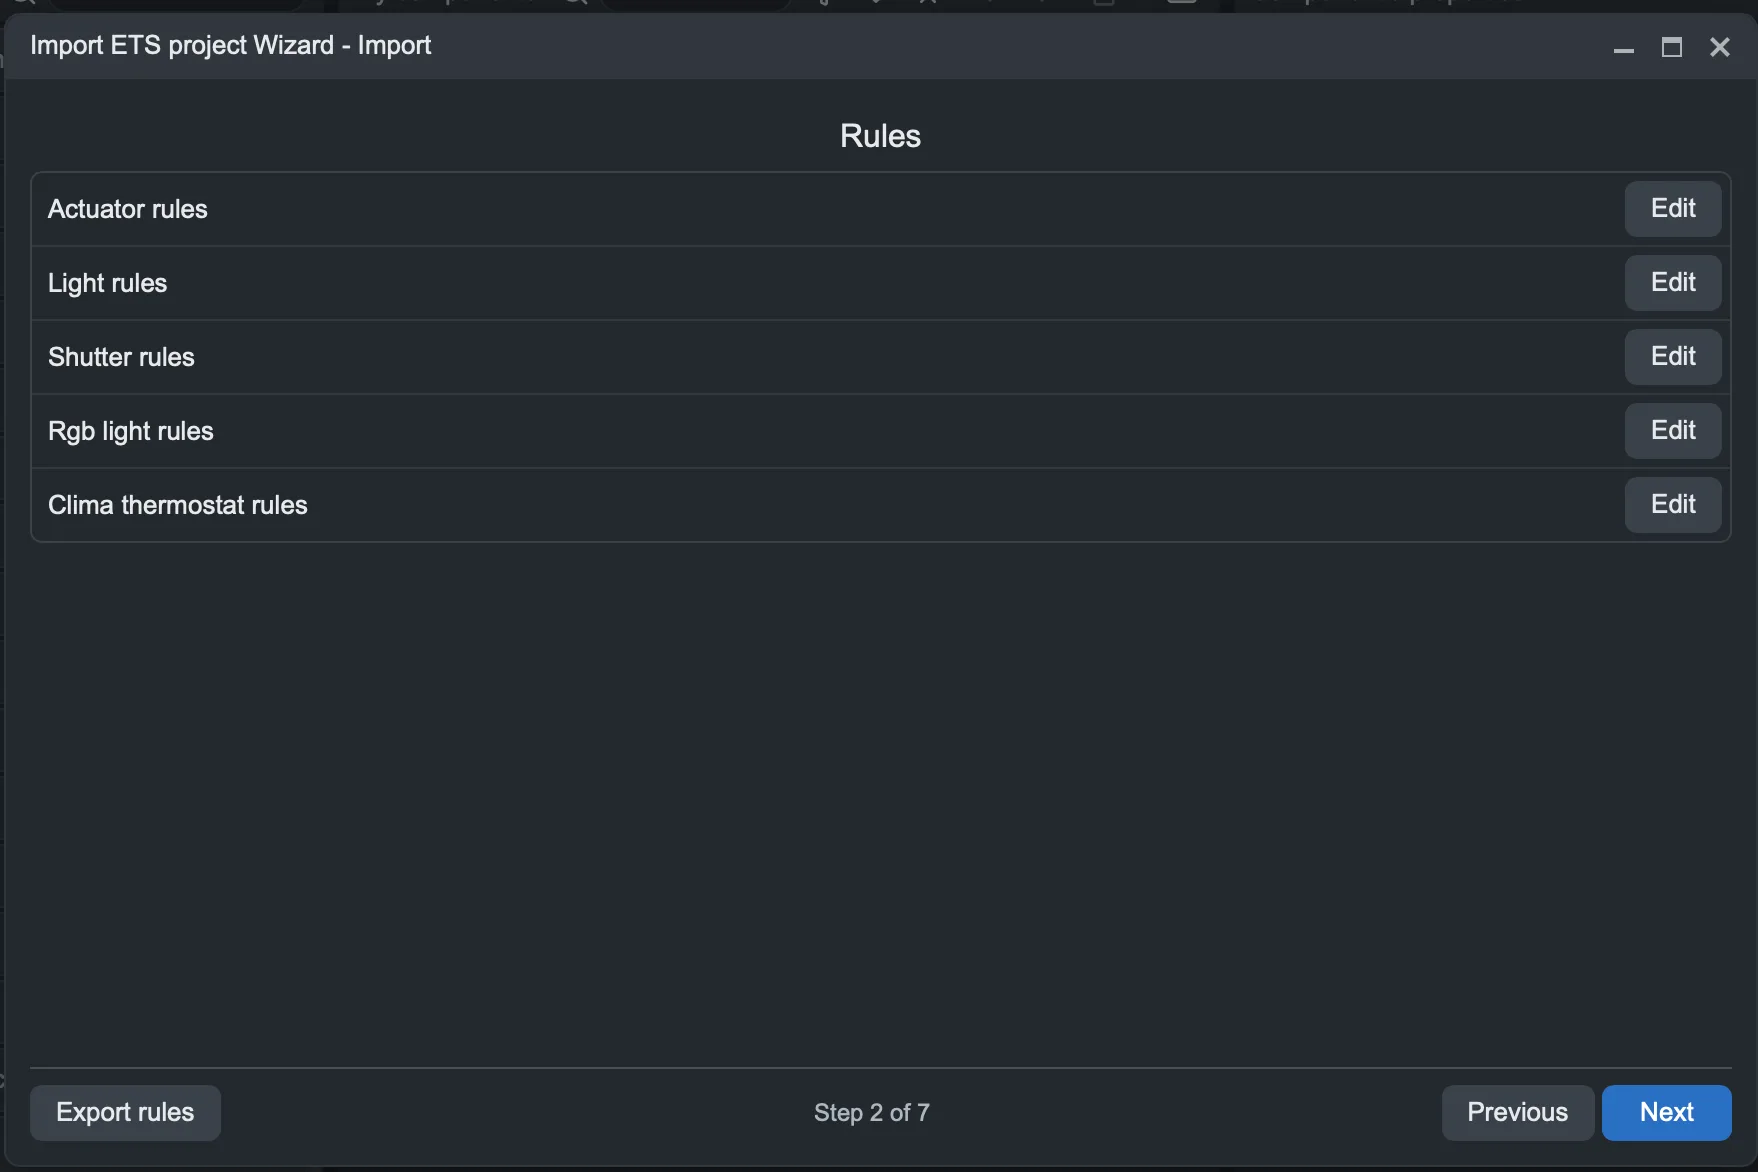
To use the sample rules, click Load rules and select import.json. If you are importing your own project, review the rules according to the names of the group addresses you used in ETS.
Keywords help the importer distinguish between functions, for example a shutter movement command from its stop or position. In the attached import.json file, the shutter rules use these associations:
Function | Keyword in the sample file |
|---|---|
Up/down command (Command) | Up Down |
Stop command (StopCommand) | Stop |
Position command (PercentageCommand) | Position |
Position feedback (PercentageFeedback) | feedback |
Check that the keywords match the names and functions in your project. These rules are examples: they do not guarantee recognition of projects that use different naming conventions.
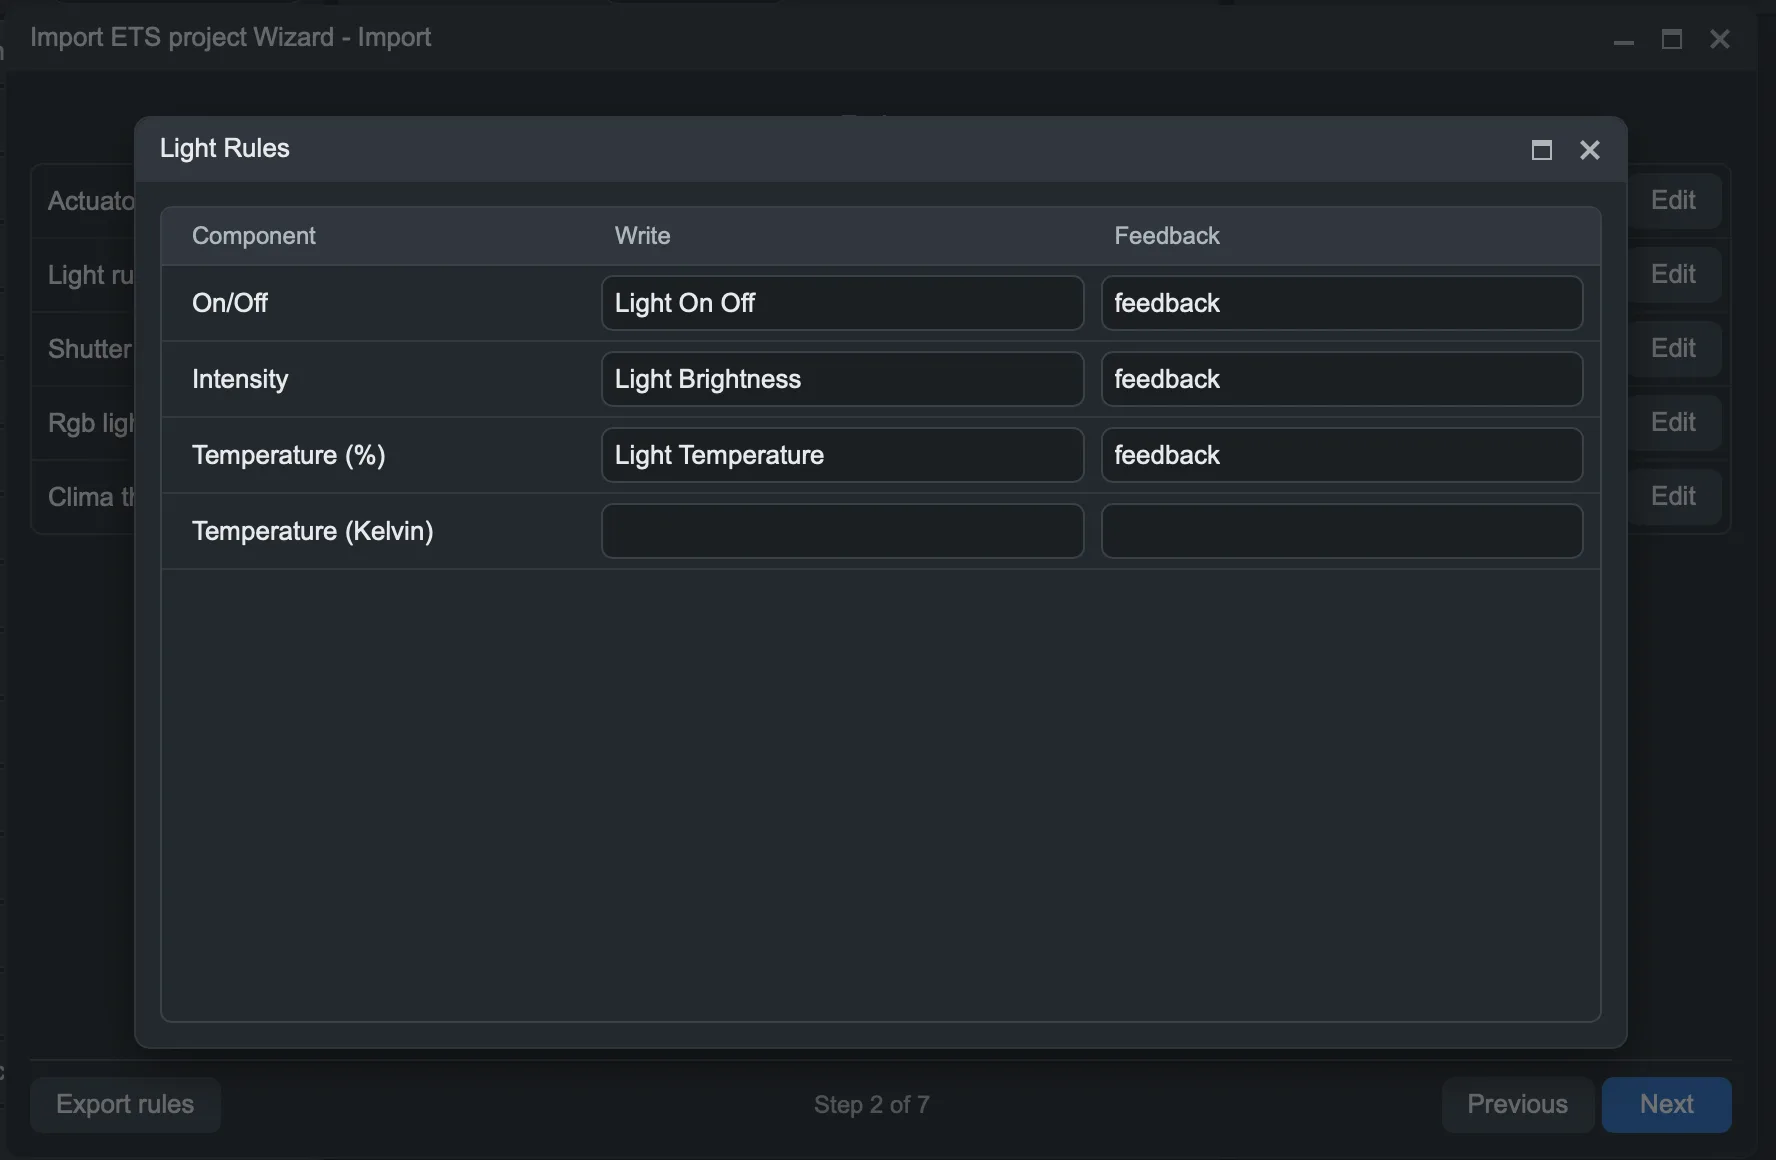
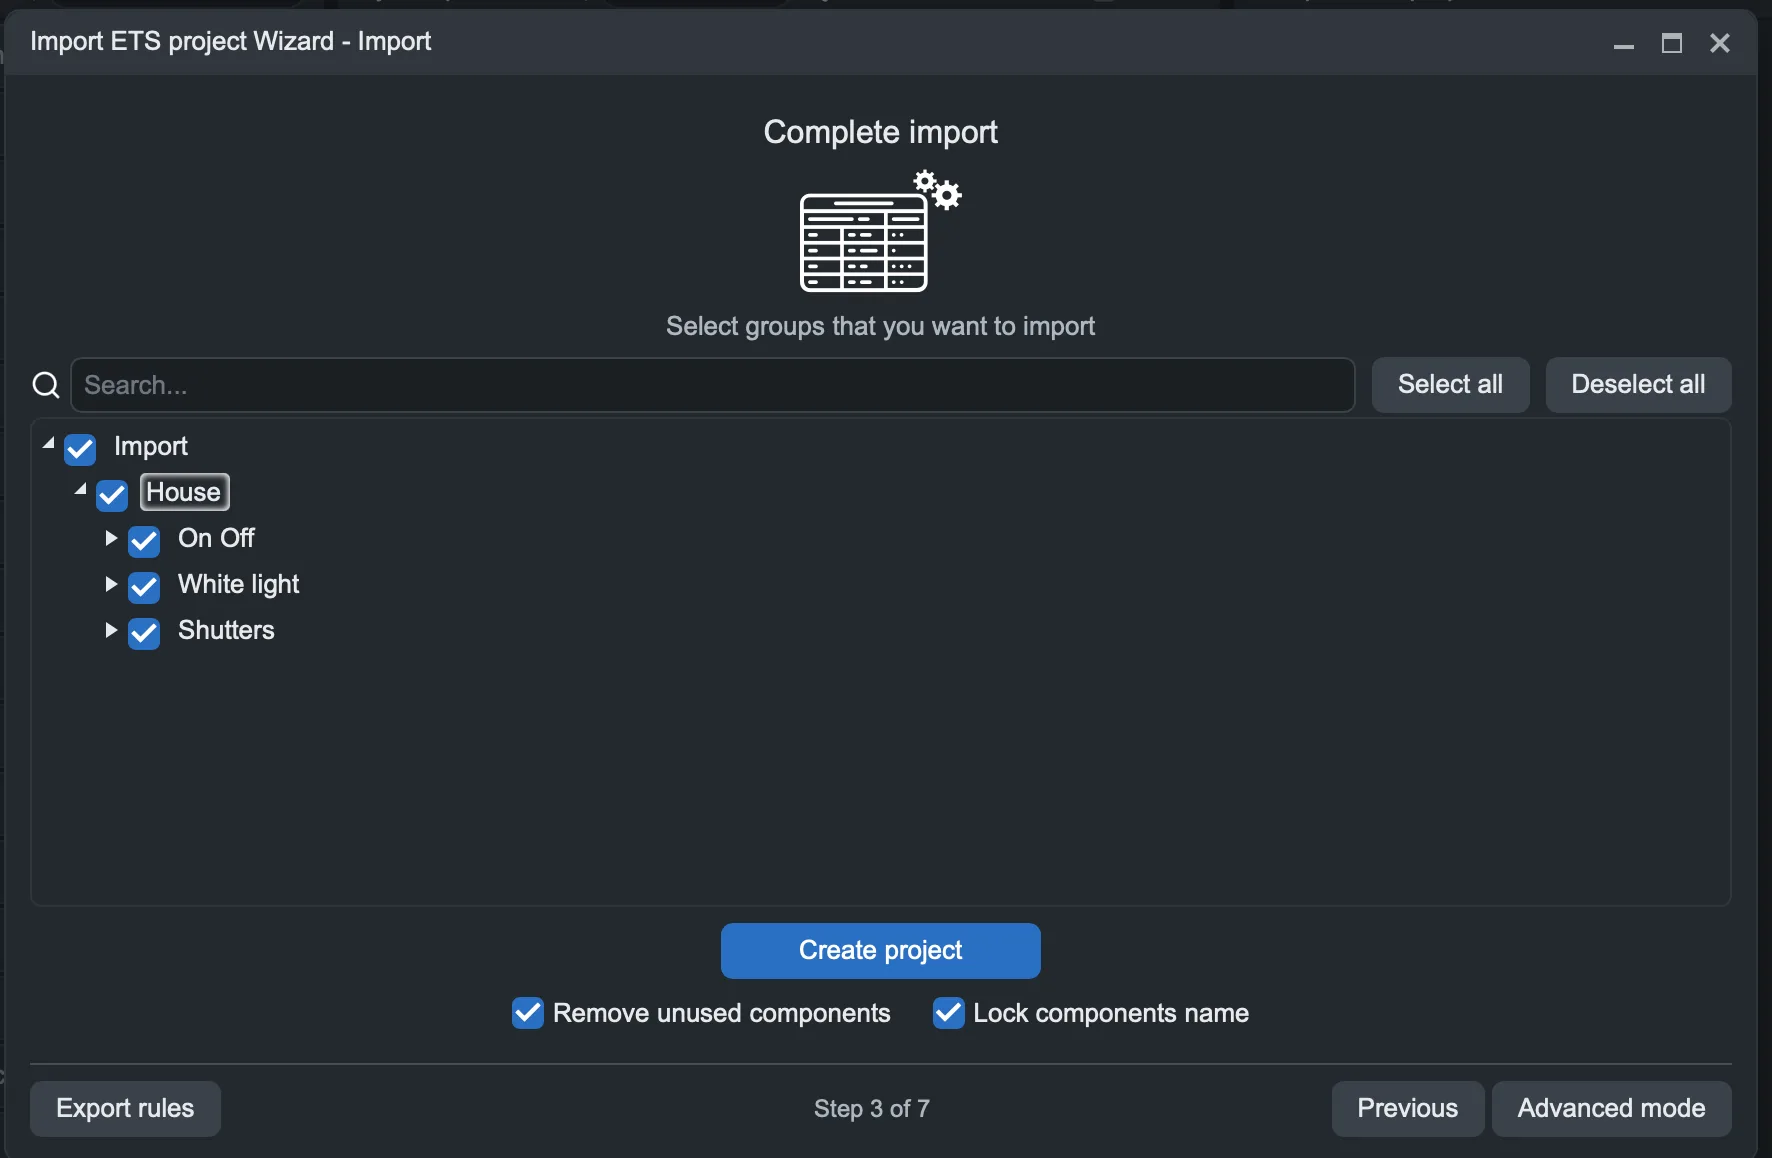
3. Complete the import and check the components
Continue through the wizard with Next, checking the proposed associations. At the end, use the project creation command. The components recognized by the rules are created; in the example, actuator, dimmer, and shutter commands are present.
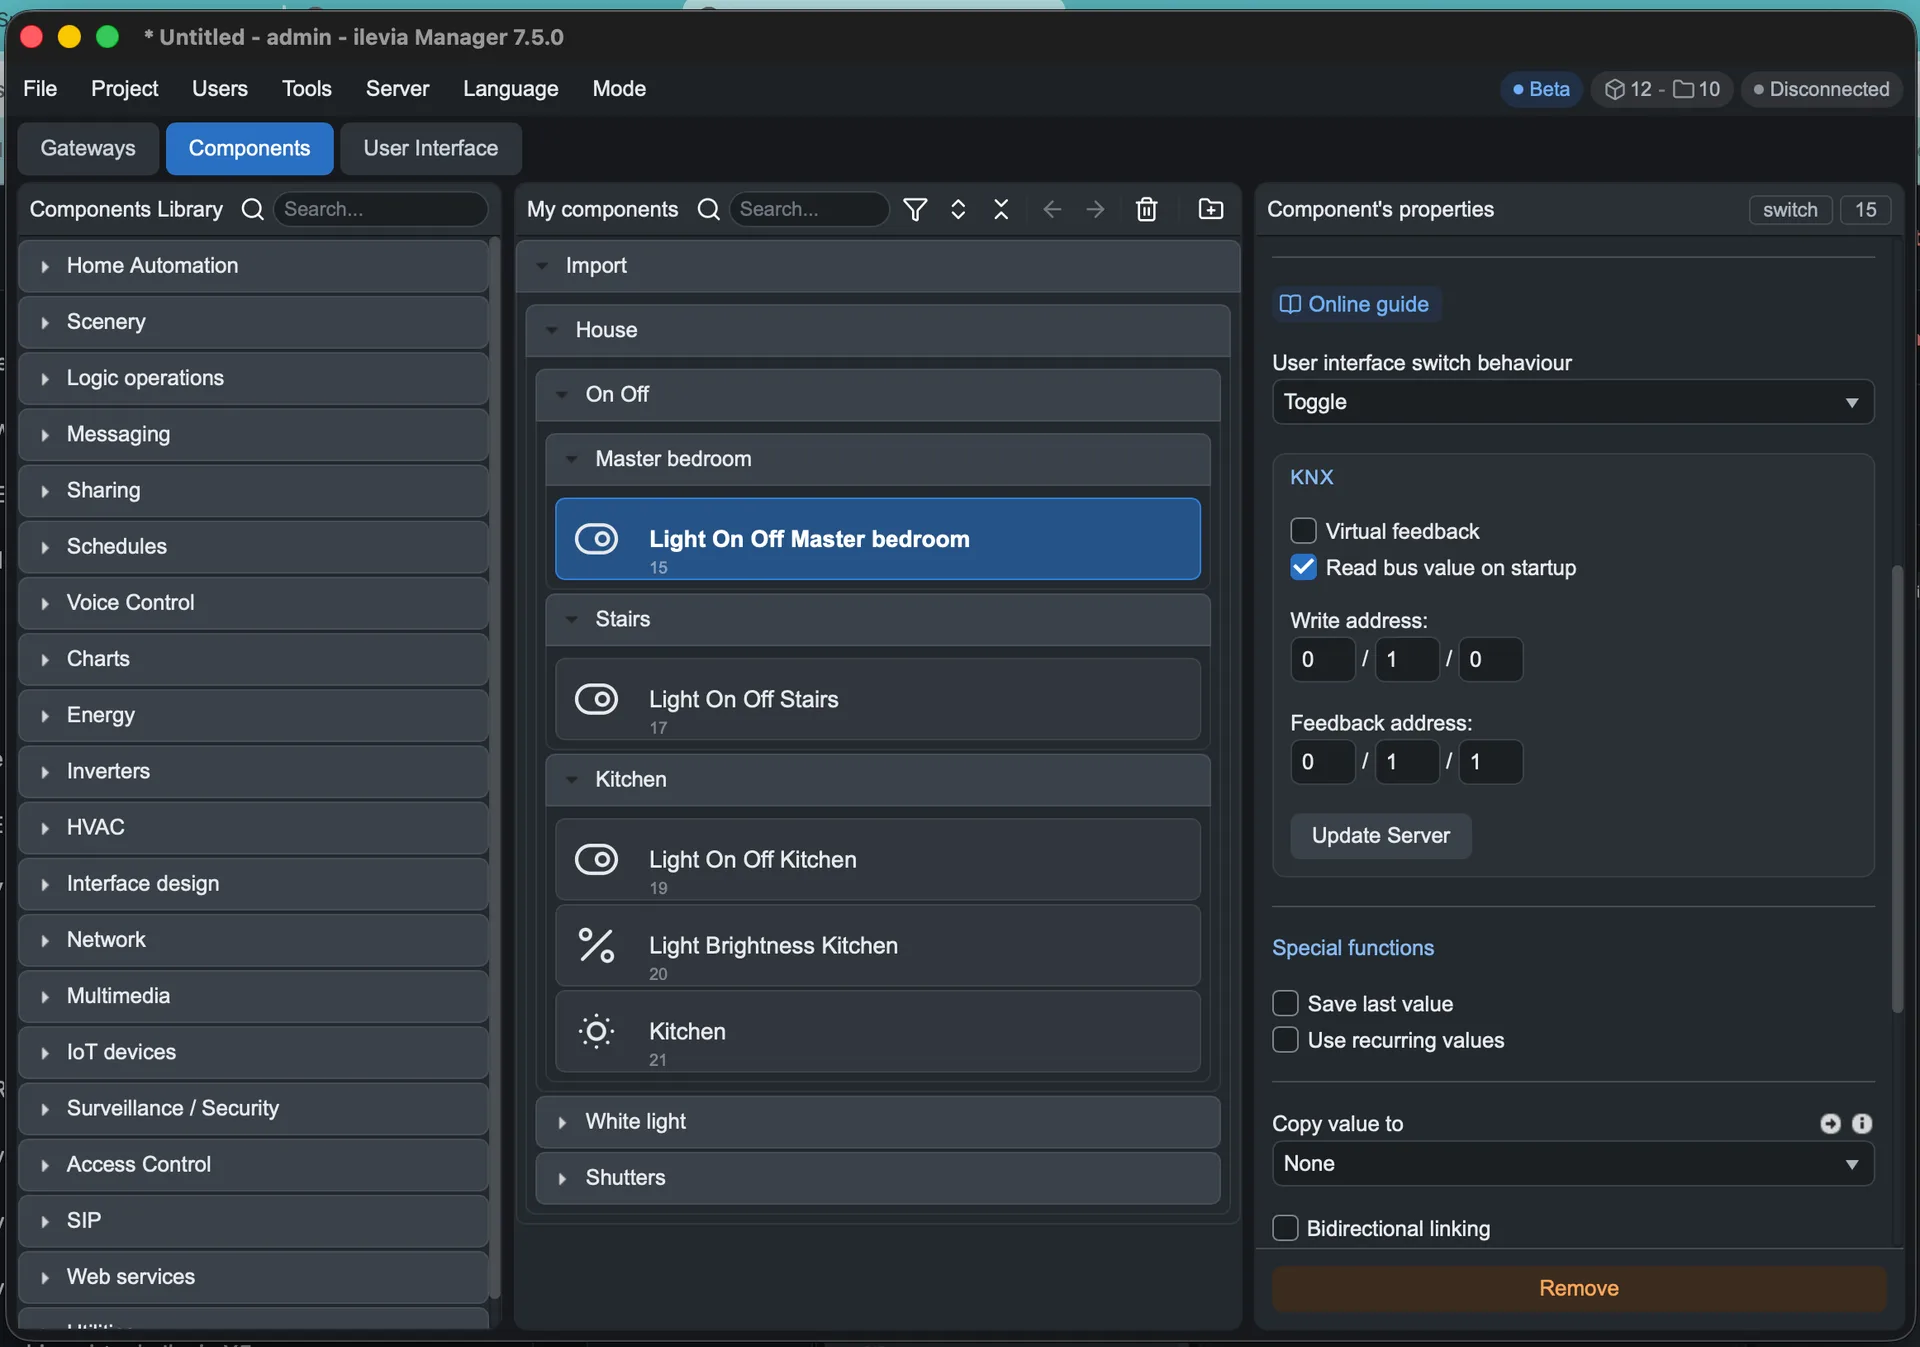
Open the imported components and verify the gateway, command addresses, status addresses, and data types against the ETS project. Correct any missing or unsuitable associations before transferring the project to the server.
4. Insert the components into the interface
Open User Interface, create the rooms, and insert the components intended for the user. For the menu-building steps, follow Create a simple user interface.
In the example, the Dimmer combines an ON/OFF command and a percentage level. In the interface, you can insert only the Dimmer, which calls the two associated components. The number 21 is the ID of the Dimmer in this sample project: in your project it may be different.
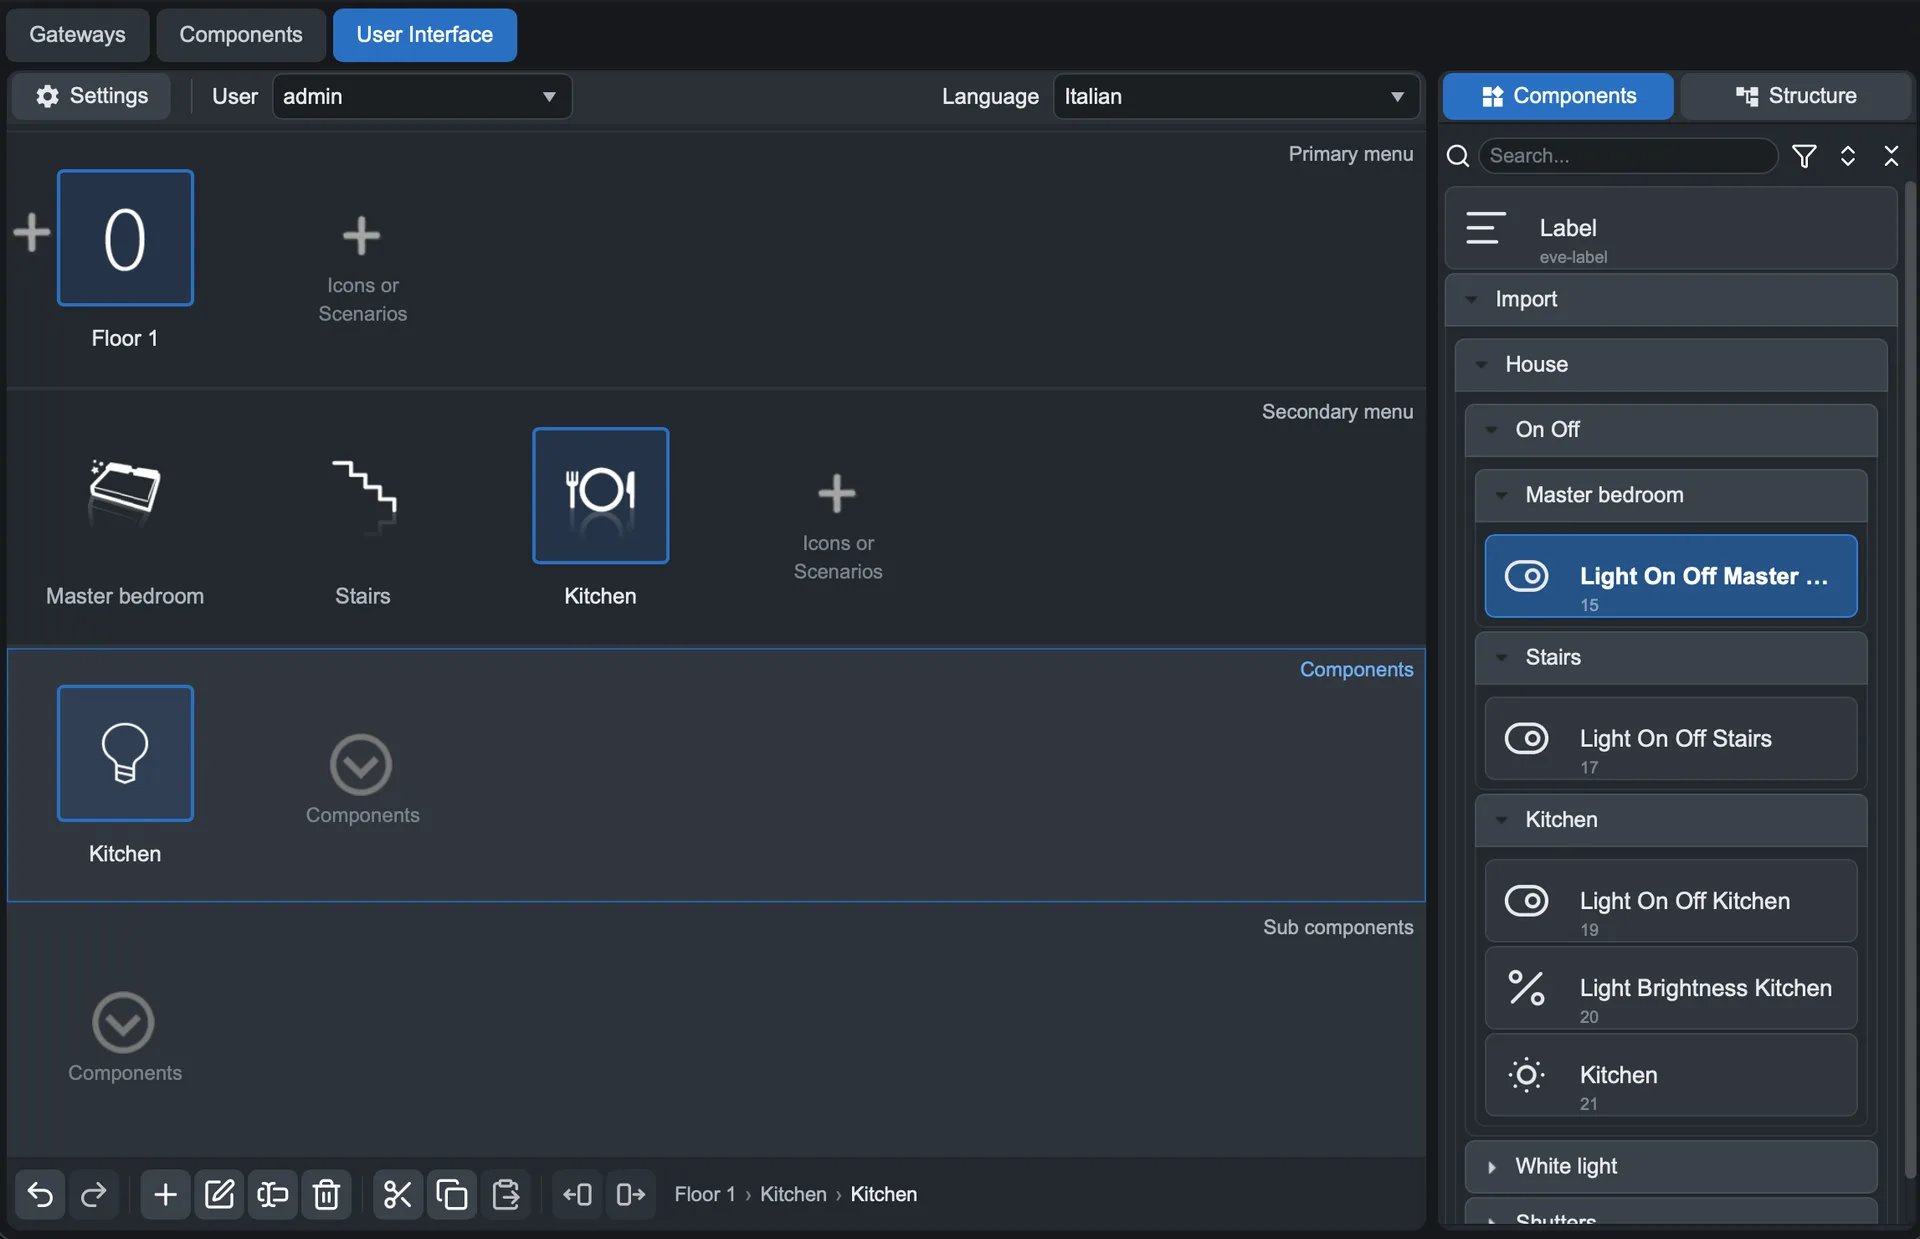
Expected result: the components are available in the project and the selected controls appear in the user interface. Save the local file; upload the project to the server when you want to apply the changes to the system.
If your project uses different names and you have doubts about the rules, contact ILEVIA support indicating the Manager version and the import step.