
Quick Guide: Ilevia X1 Plus
Connect the X1 Plus server, create a KNX command and its interface, upload the project, and verify the light with ILEVIA Control.
This guide takes you from connecting the ILEVIA X1 Plus server to the first light command, up to its verification in ILEVIA Control.
Before you begin
Prepare ILEVIA Manager on the computer and the KNX group addresses for the command and the light status feedback.
Connect the computer and the server to the same local network.
The images use Manager in English. In the text you will find the English names of the commands; you can change the language from the Language menu.
Server installation
Connect the server following the diagram of the X1 Plus server connections:
12 to 36 V DC power supply;
Ethernet cable;
KNX bus cable;
2 RS485 serial ports (if used).
To access the system from outside the home as well, you can enable the X1 Plus server cloud connection.
Connecting Manager to the server
At startup the server obtains an IP address from the router via DHCP. To identify it, use a computer connected to the same network.
Local connection
Download and open ILEVIA Manager from the download page.
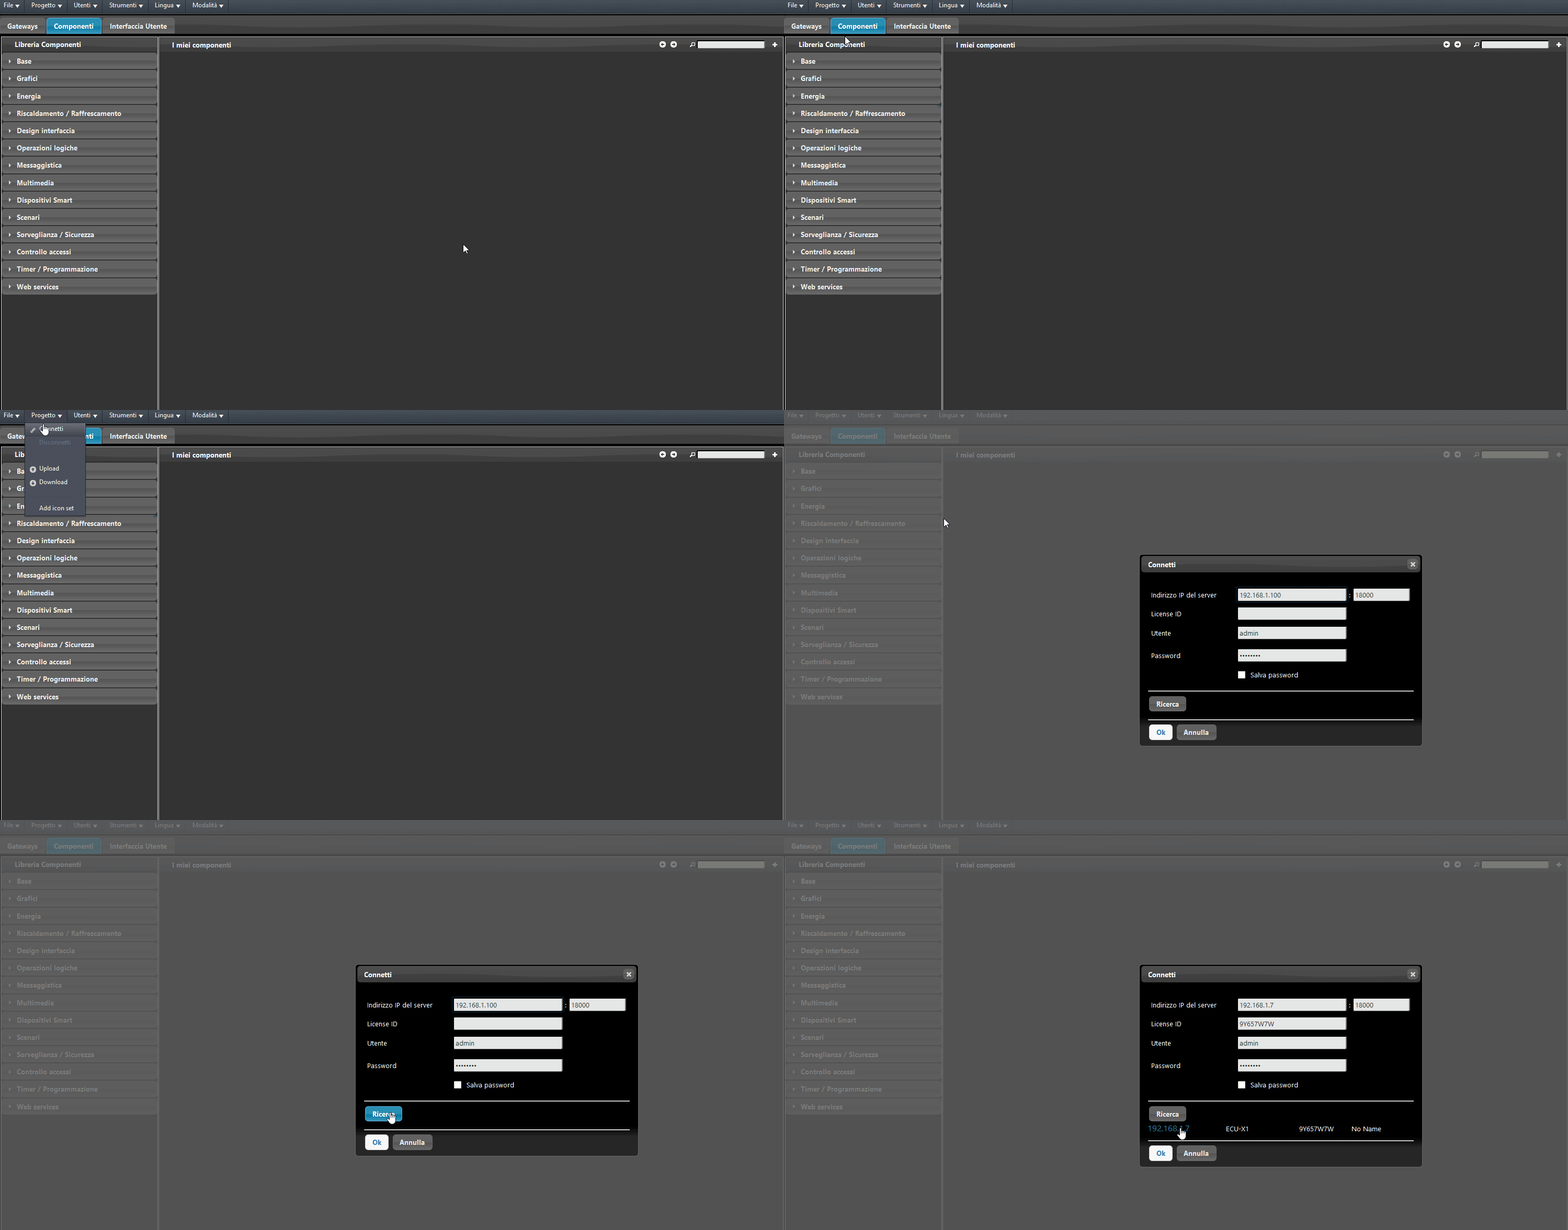
Open Project → Connect and start searching for servers on the network. In the results, identify your server by name, IP address, and License ID.
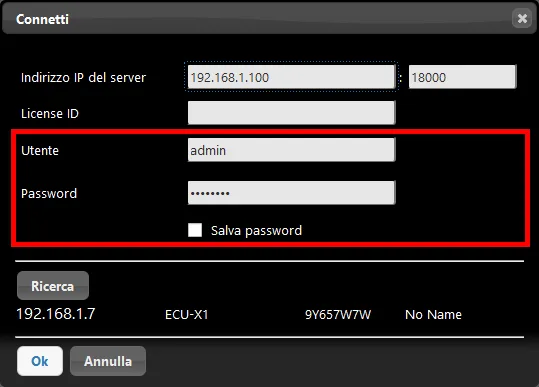
Select the server and enter the credentials currently valid on that server. On a server at first setup, if they have not yet been changed, the default credentials are username admin and password password. For subsequent logins, use the password made active by the last successful upload.
Creating the first project
Prepare the gateway, component, and interface; then save the file and upload the project to the server. In this example, a single final upload is expected. Later, repeat the upload whenever you want to apply new changes to the system.
1. Configuring the KNX gateway
Open Gateways. The project gateways are listed there; in the properties panel you set the connection to the system.
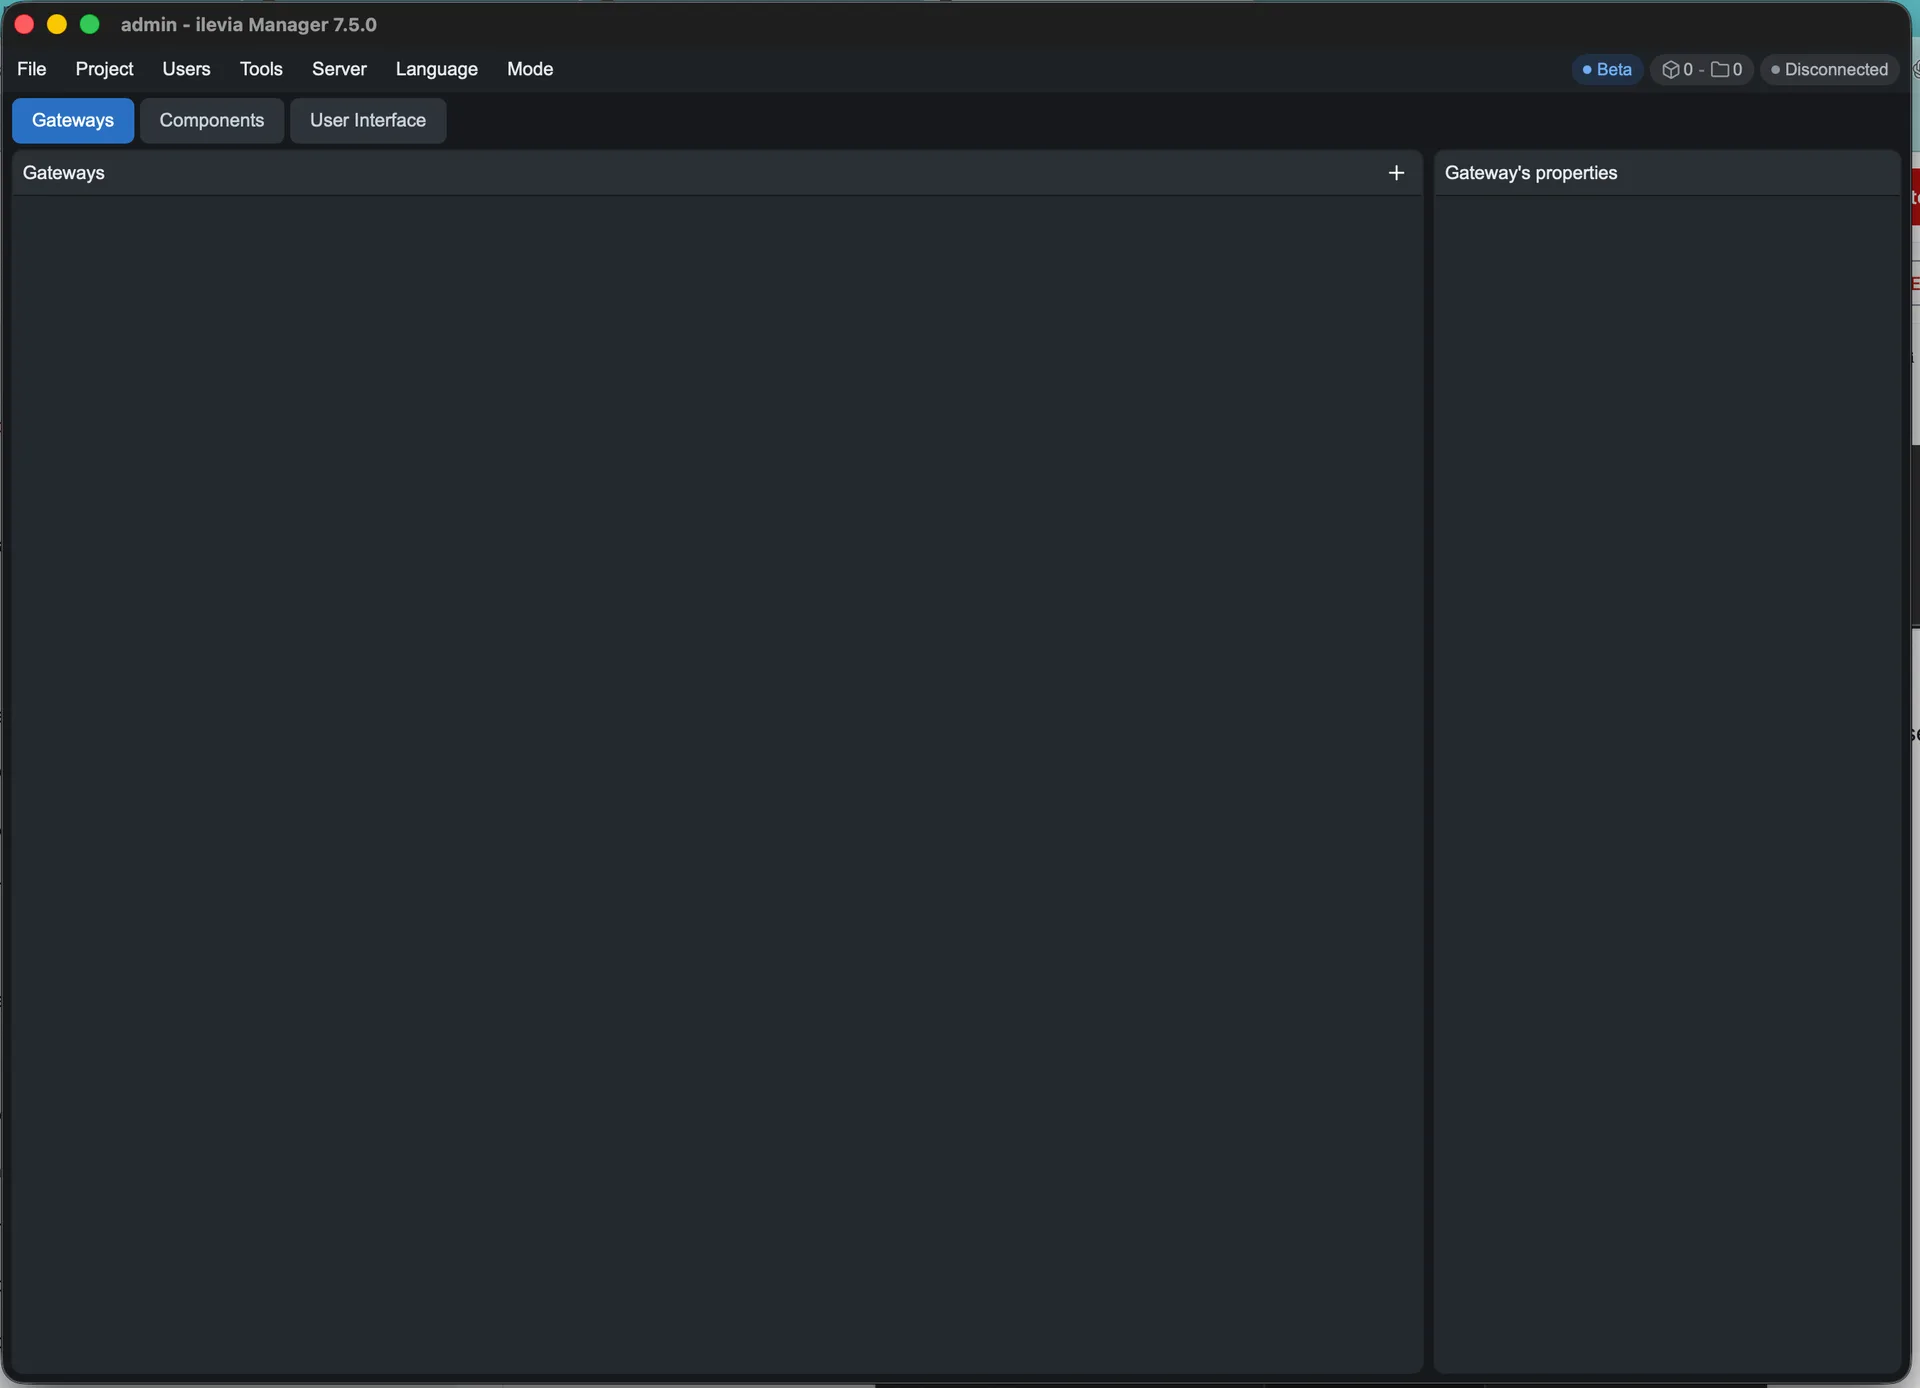
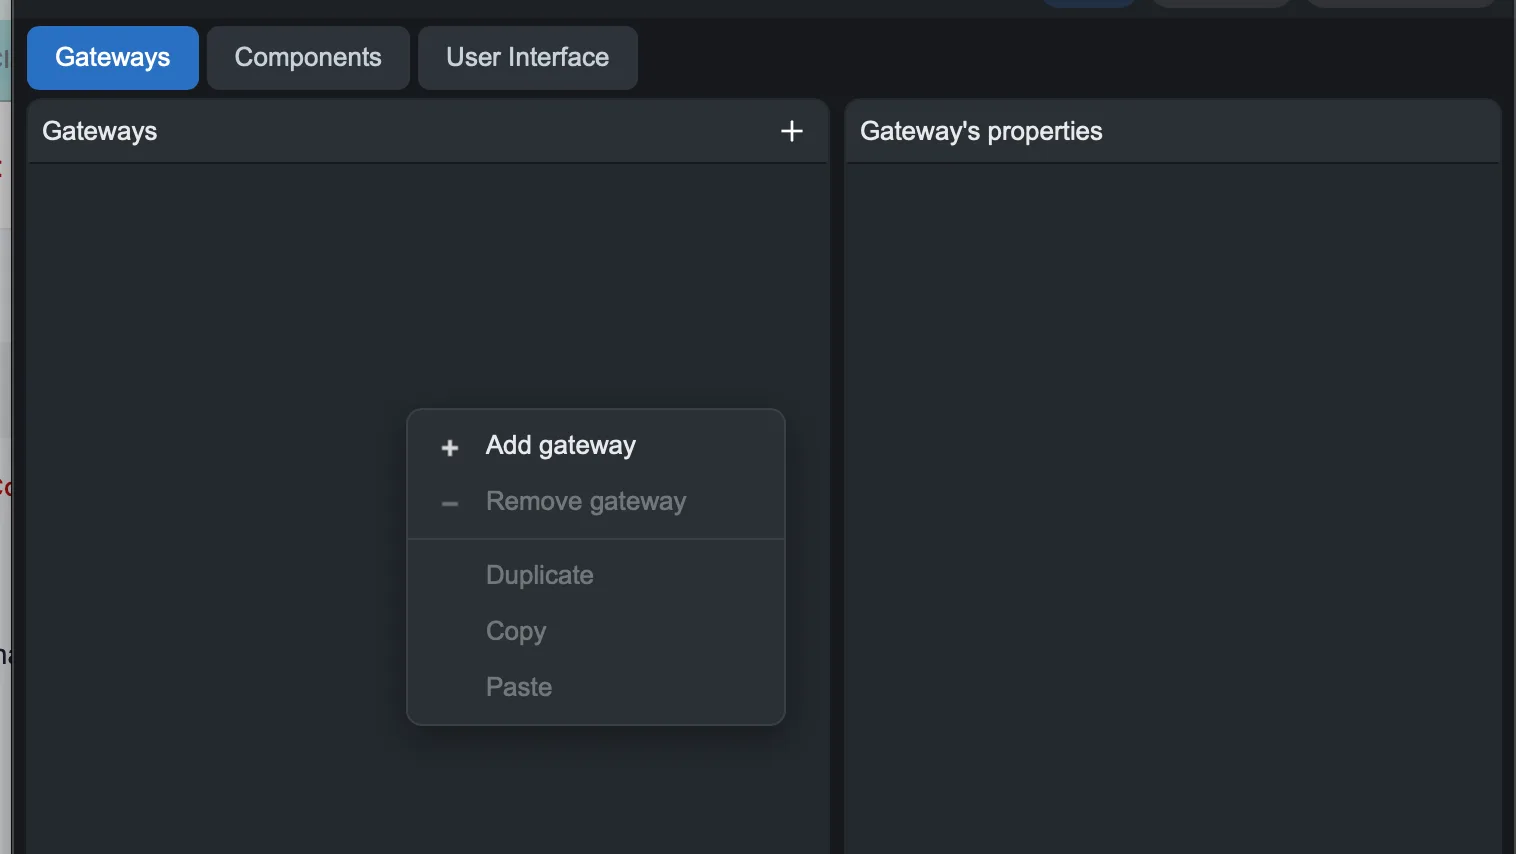
Press Add gateway (+) to add a gateway.
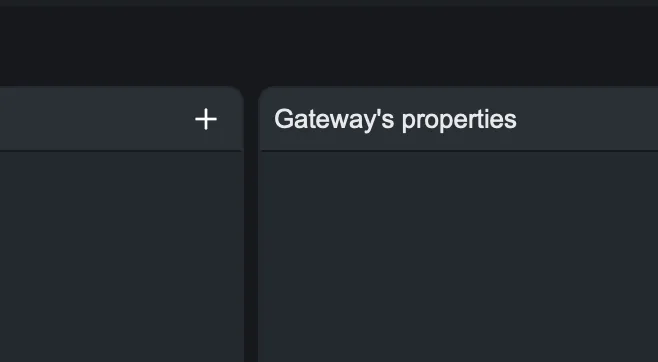
Alternatively, right-click in the gateway list and choose the command to add one.
Assign a recognizable name to the gateway, for example KNX, and select the KNX protocol. As the connection device, choose X1 Plus.
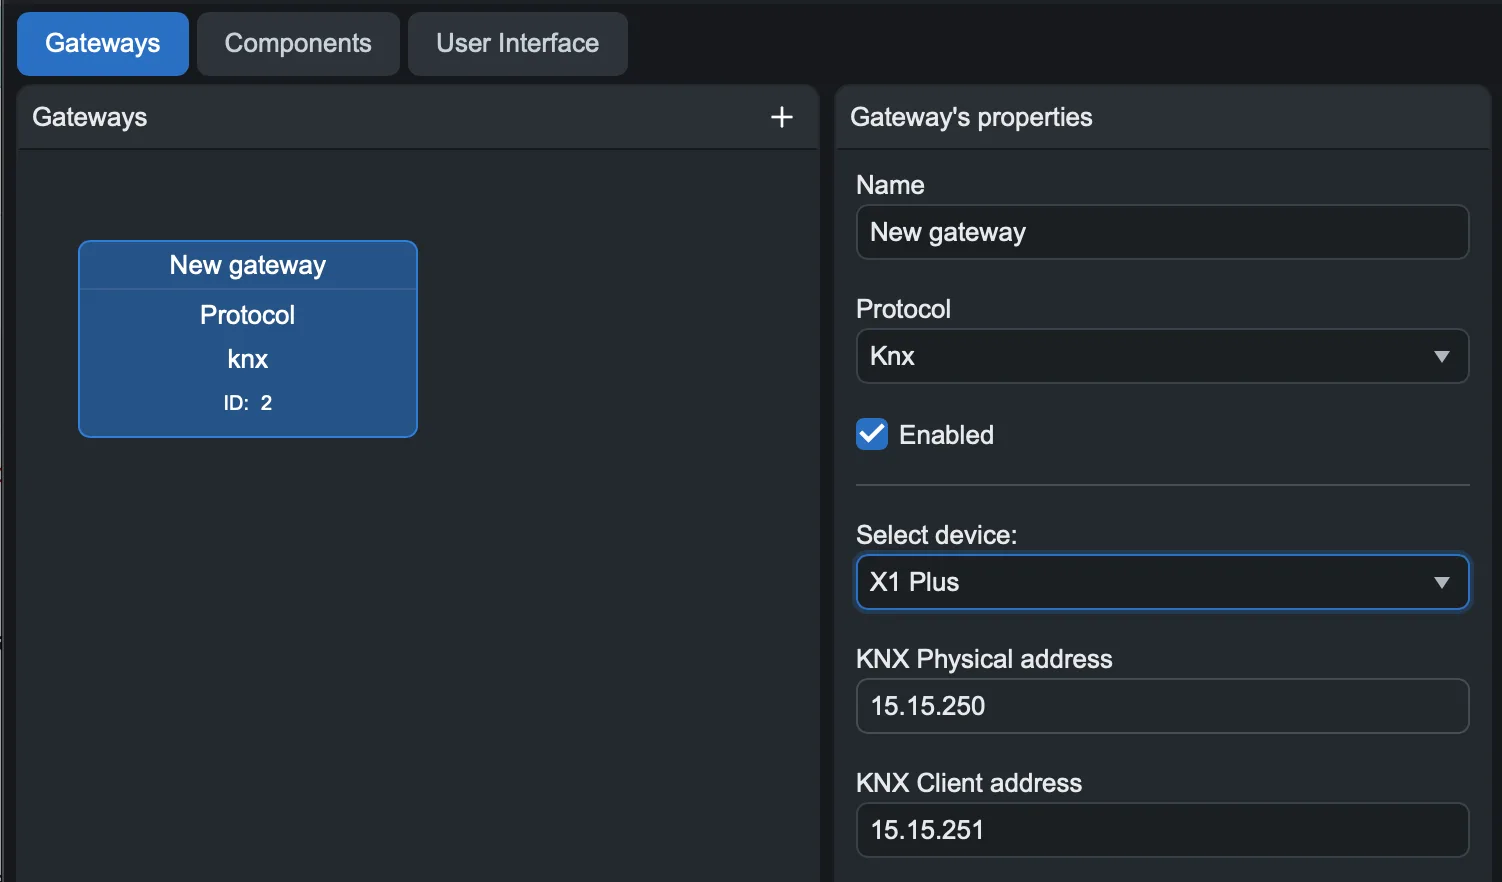
Expected result: the KNX gateway is available and can be assigned to components that communicate on the bus.
2. Configuring the light command
Open Components: Components Library contains the available types, My components collects those of the project, and Component’s properties shows the properties of the selected element.
In Components Library, open Home Automation.
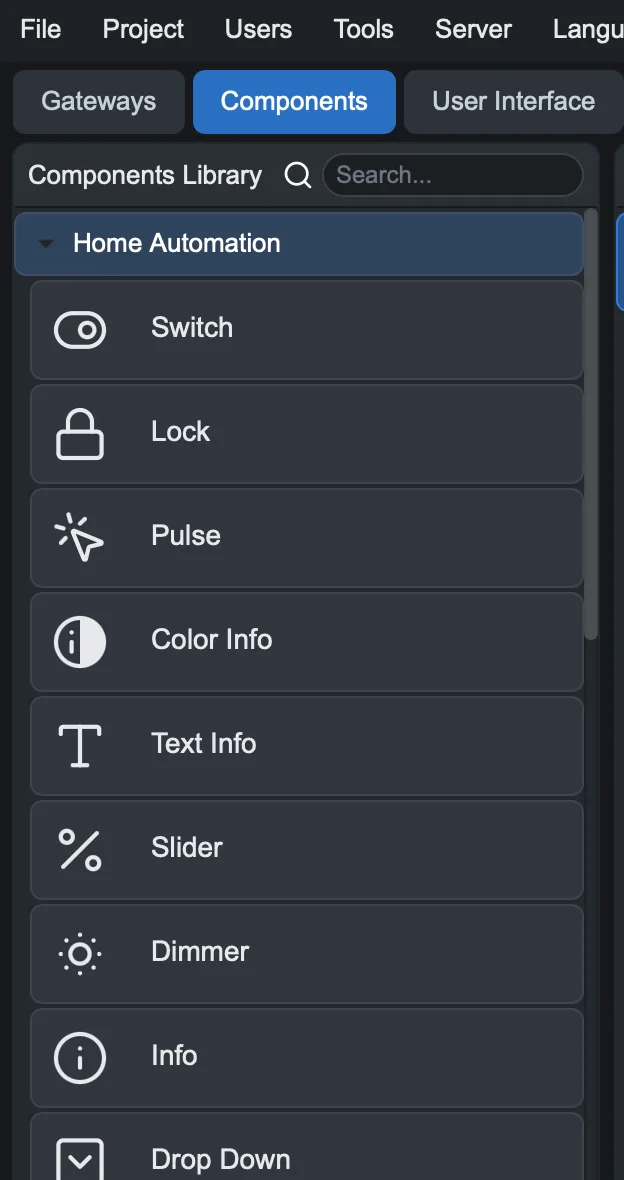
Drag Switch (Interruttore) into My components and assign it a recognizable name, for example Living room light. In the properties, select the KNX gateway just created.
In the KNX section, fill in Write address with the command group address and Feedback address with the status feedback address. Use the addresses defined in ETS for the actuator: command and status can have different addresses.
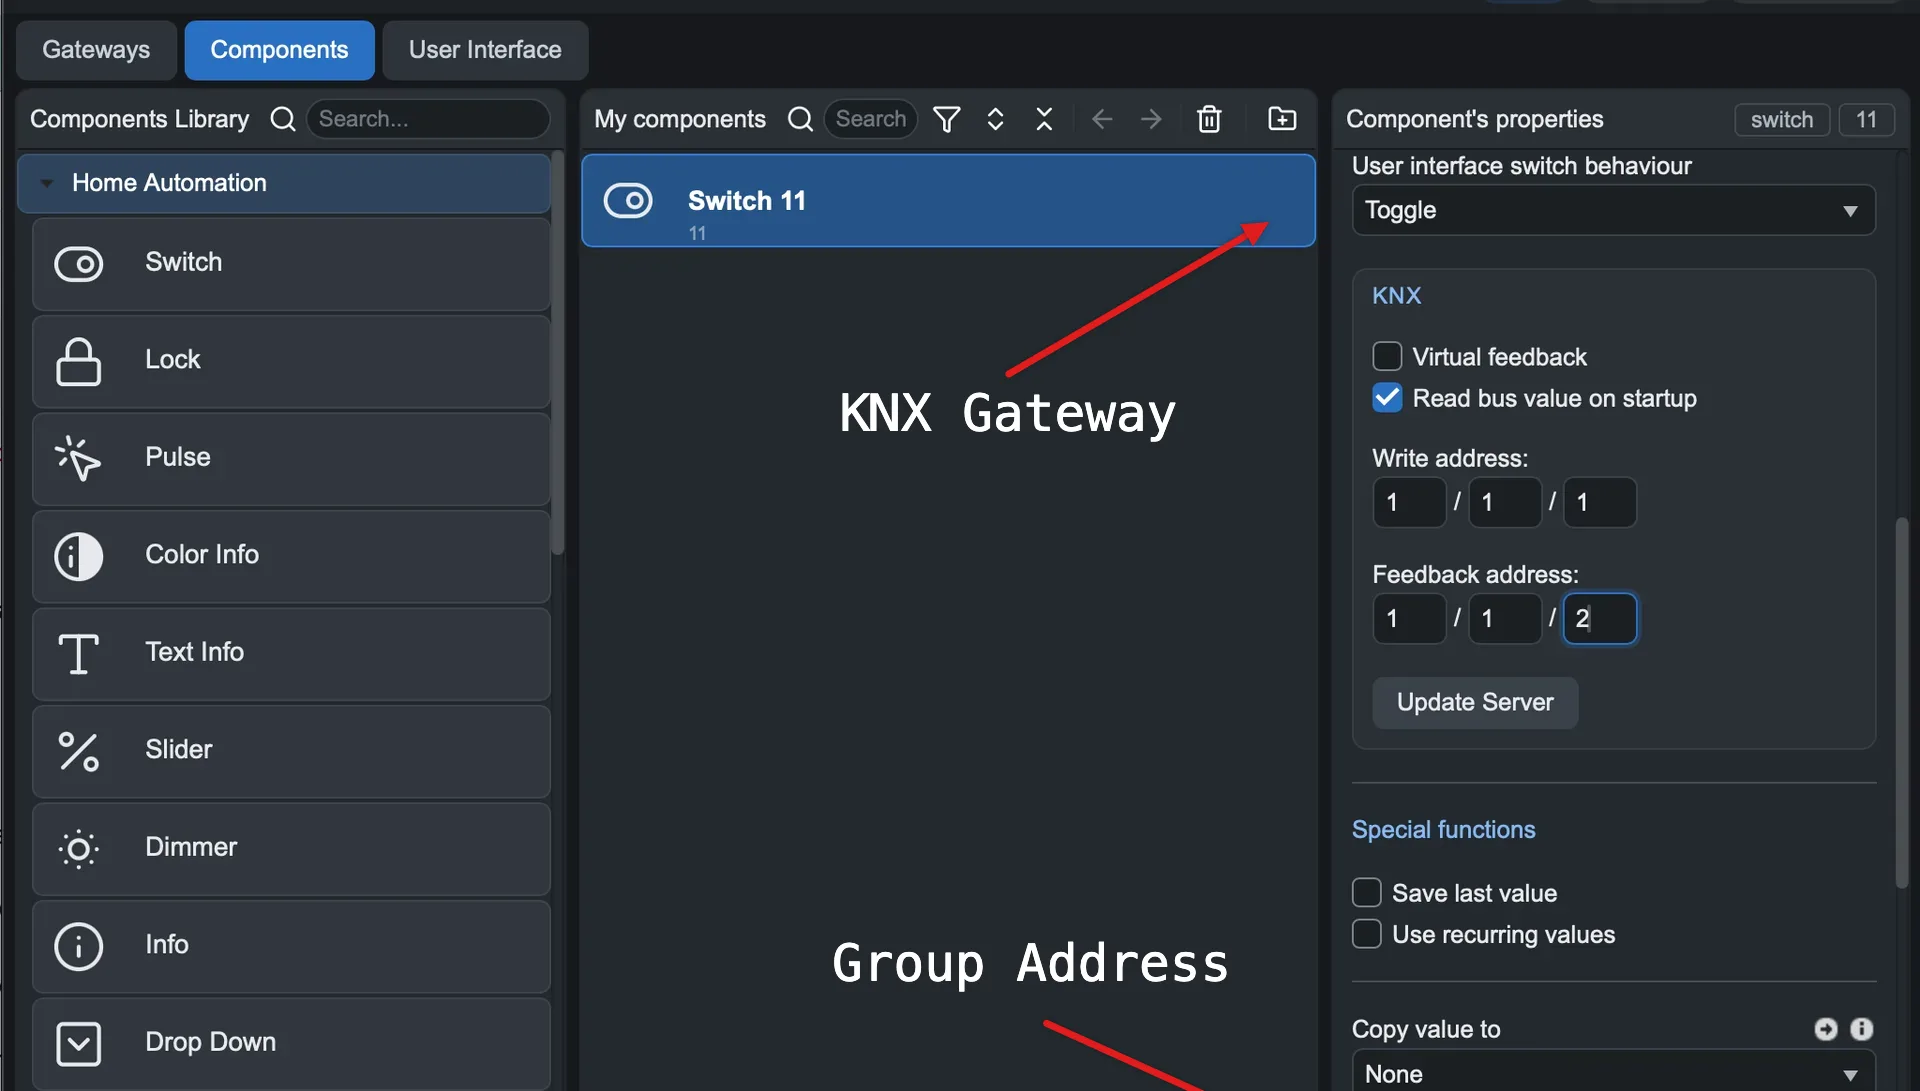
Expected result: Living room light is associated with the KNX gateway and with the command and status addresses of your system.
3. Creating the user interface
The following screens show the editor for a Classic user. Before following the example, check the selected user: in Users → Edit user, the User type field indicates Classic or Map. With Map, the editor has a different layout.
Open User Interface and check User and Language to work on the desired user and language.
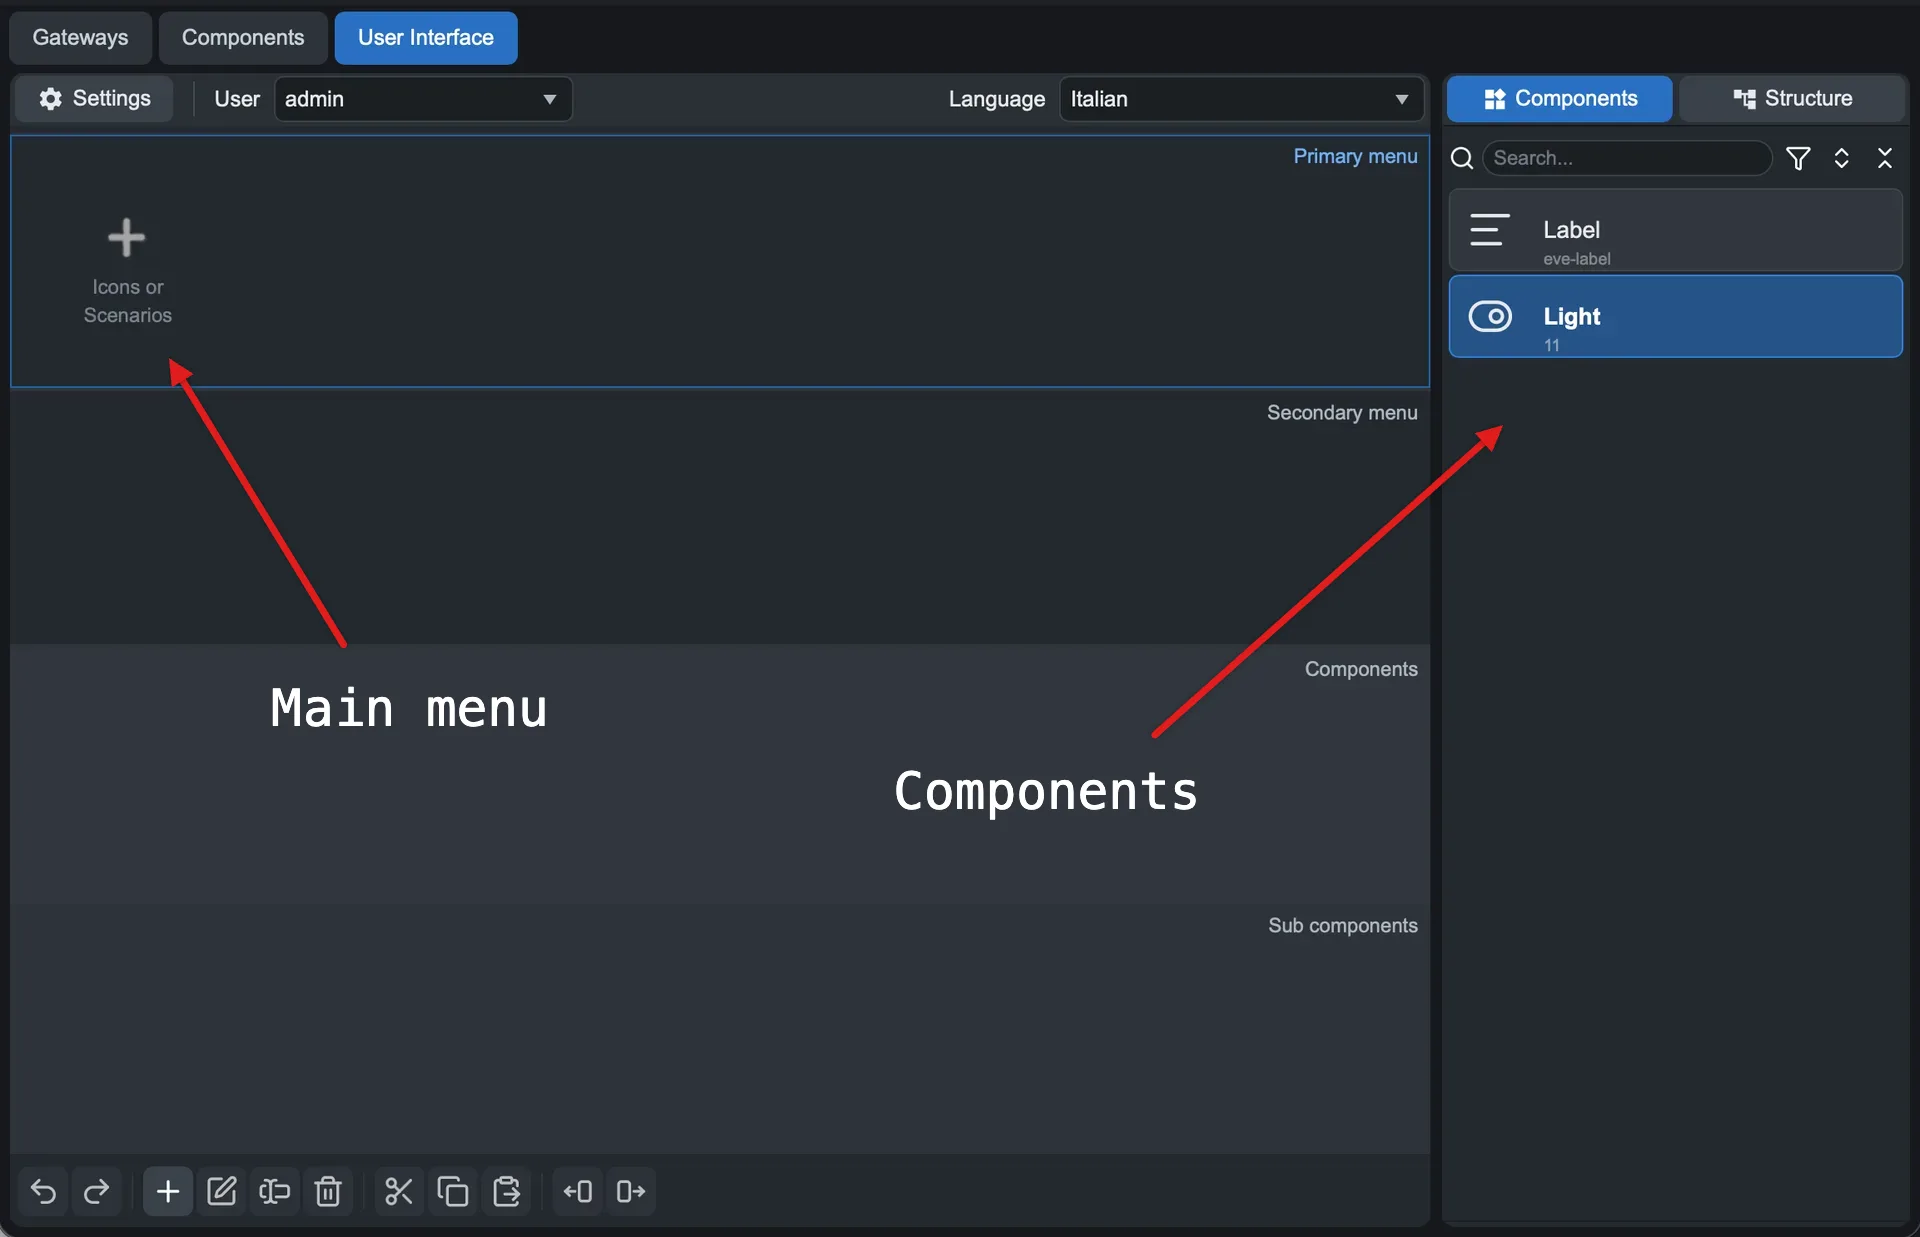
In the main menu, press Add (+), choose an icon suitable for the room, and assign a name to the item. For a more detailed procedure, follow Creating a simple user interface.
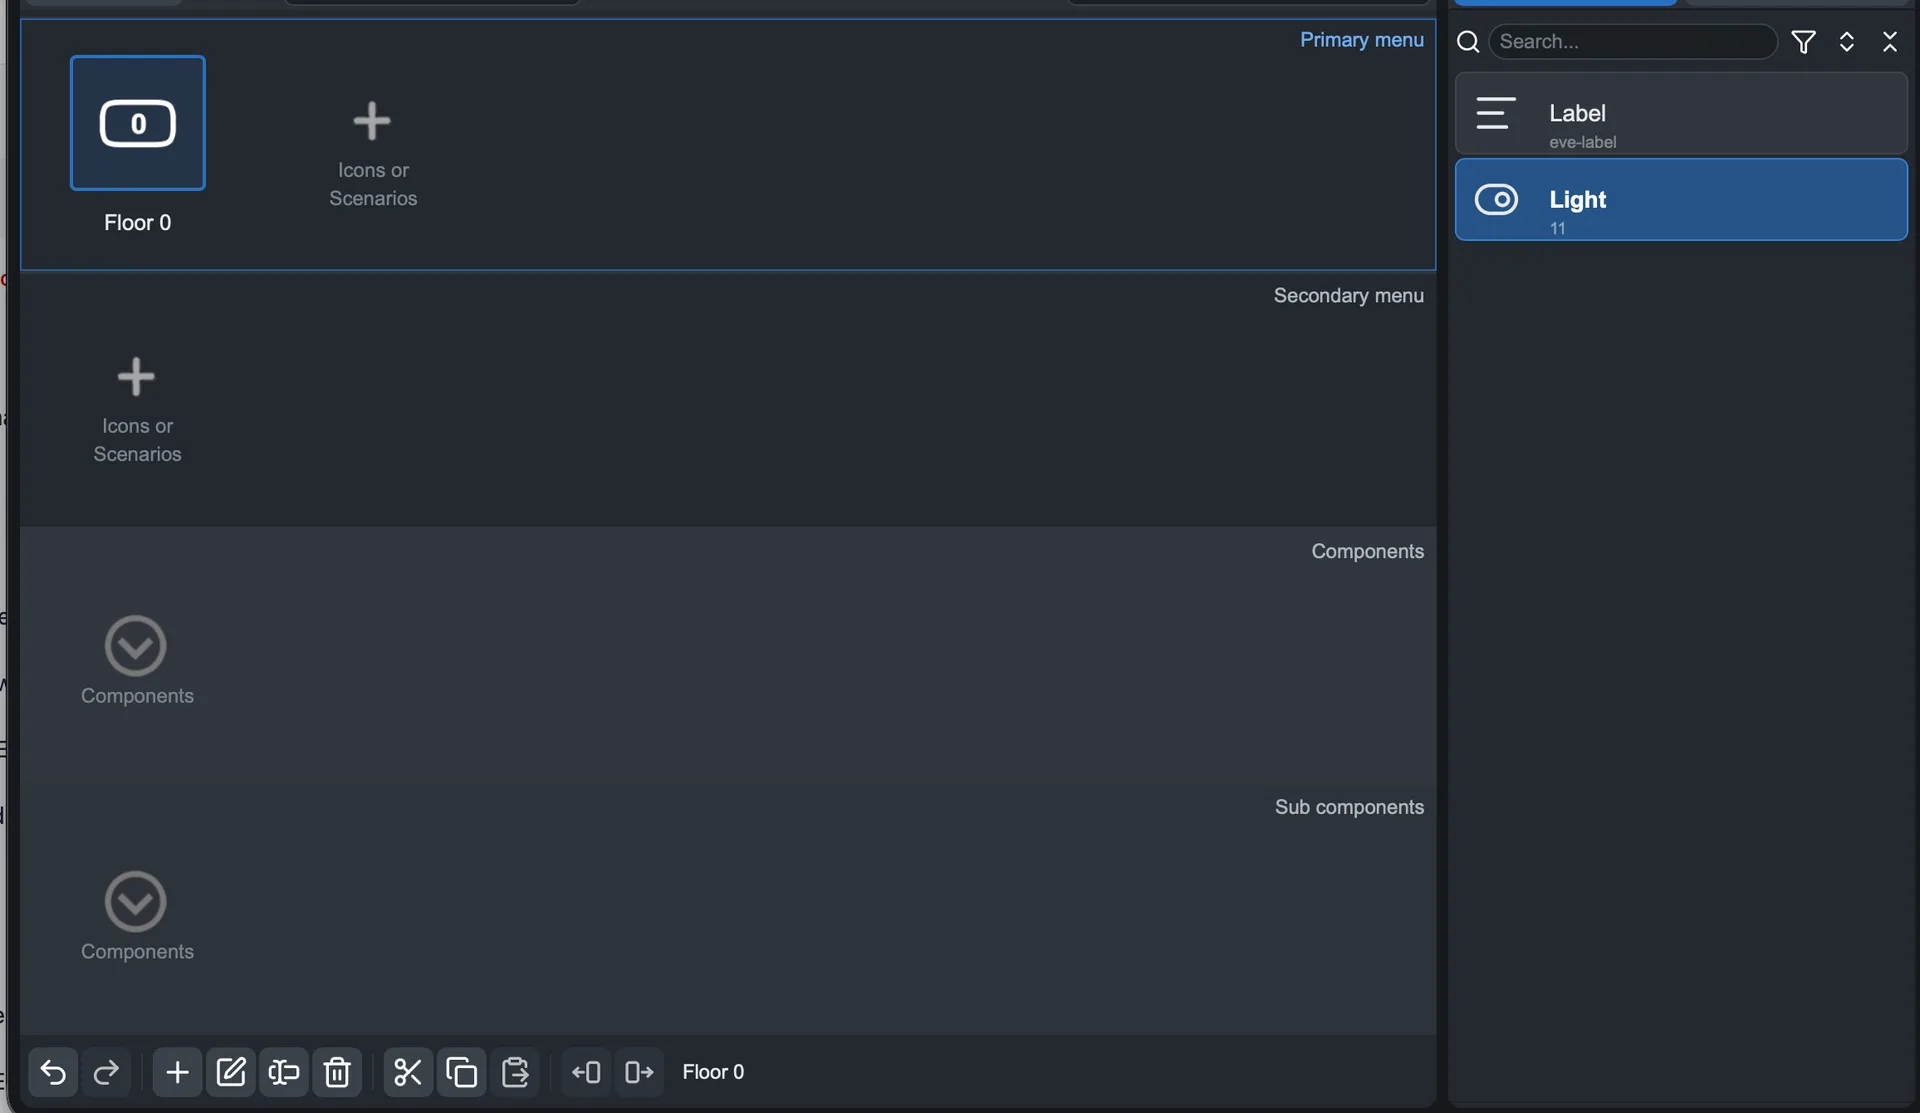
Insert Living room light in the interface components area. The images show the component being dragged into the grid.
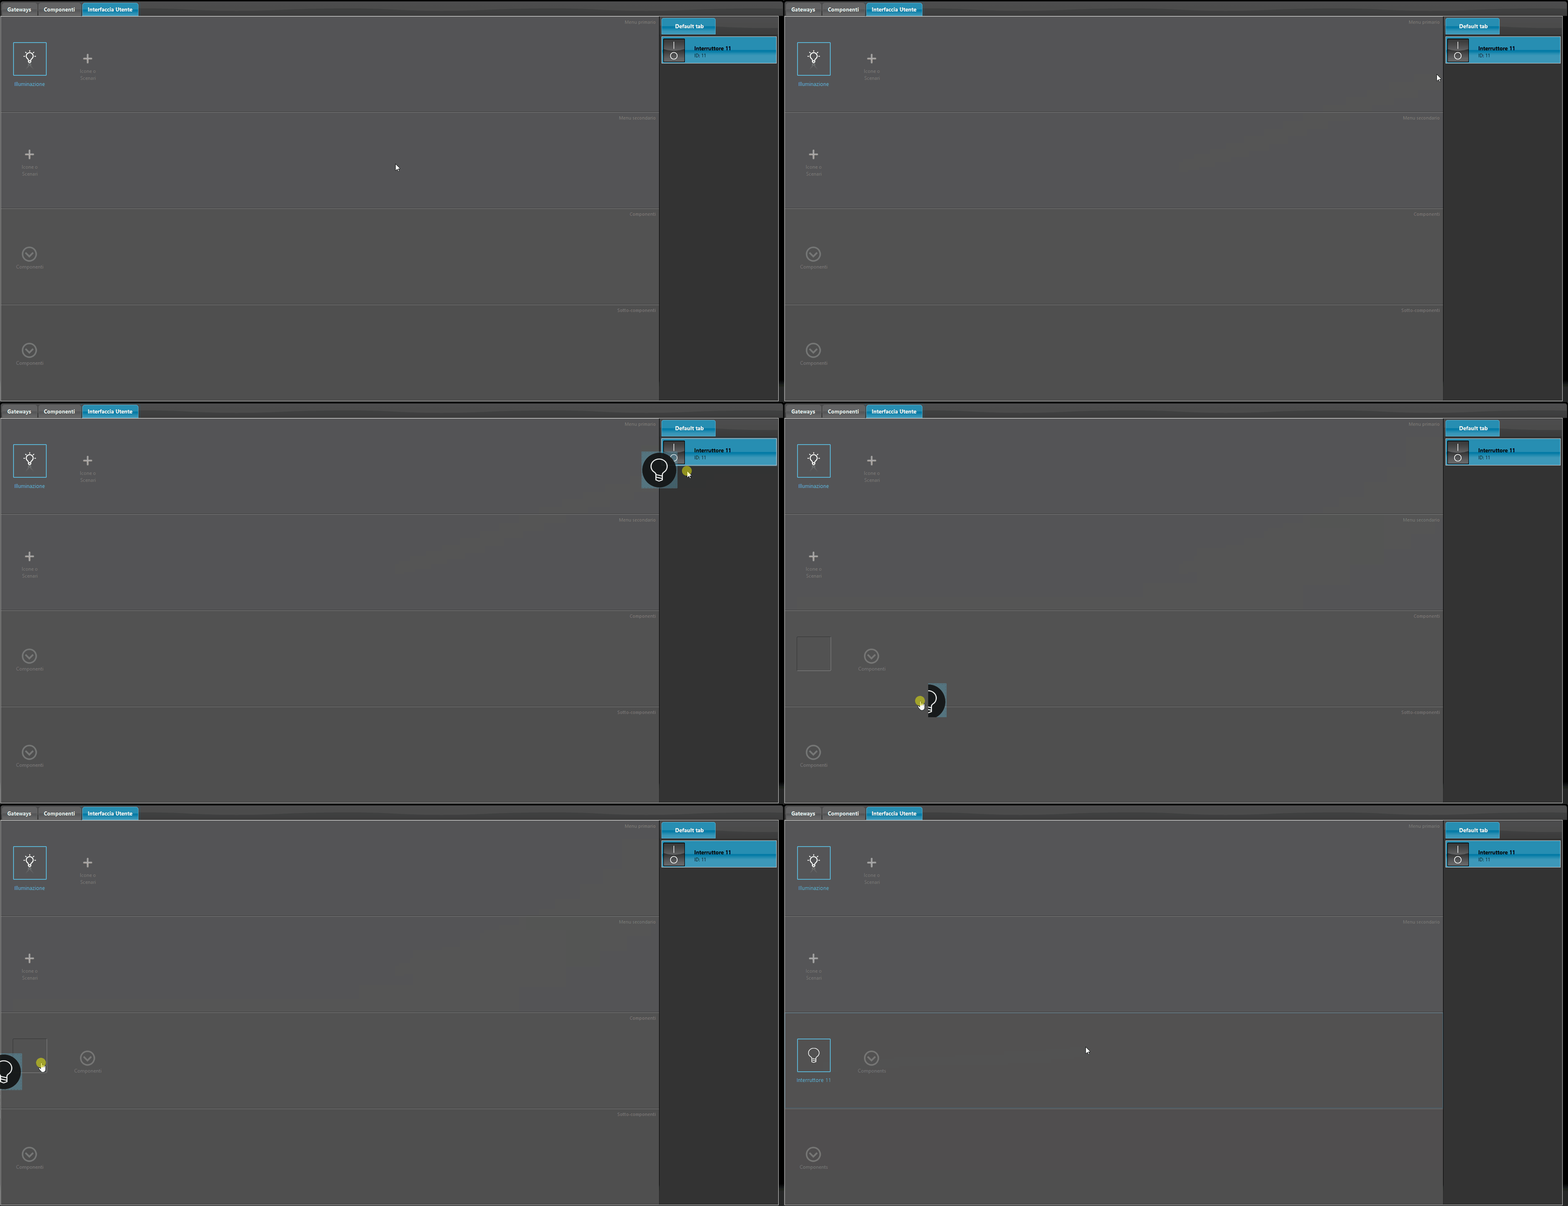
Expected result: the Living room light command appears in the interface of the selected user.
4. Saving and uploading the project
Save the project on the computer with File → Save As, or File → Save if you have already chosen the file. Local saving keeps the work on the PC; to apply it to the system, you must upload it to the server.
Project password and server credentials
The user password set in the project becomes valid on the server only after a successful upload. During that upload, you must still authenticate with the credentials currently valid on the server.
Before the first upload, replace the default password of the admin user in the project: open Users → Edit user for admin, fill in Password and Confirm password with the new password, and confirm with Ok. This change applies to the project open in Manager: to authorize its upload, still use the password currently valid on the server. The new password becomes active on the server at the end of the successful upload.
First-load example: if the server still uses admin / password and you set a new password for admin in the project, authorize the upload with admin / password. Only after the upload has completed successfully will you use the new password for subsequent operations on the server.
Execute the upload
Open Project → Upload to server (Project → Upload to server).
Check the destination server: search for it and select its IP address, if prompted by the window.
Enter the credentials currently valid on the server, according to the distinction explained above.
Confirm with Ok and wait for the upload to complete.
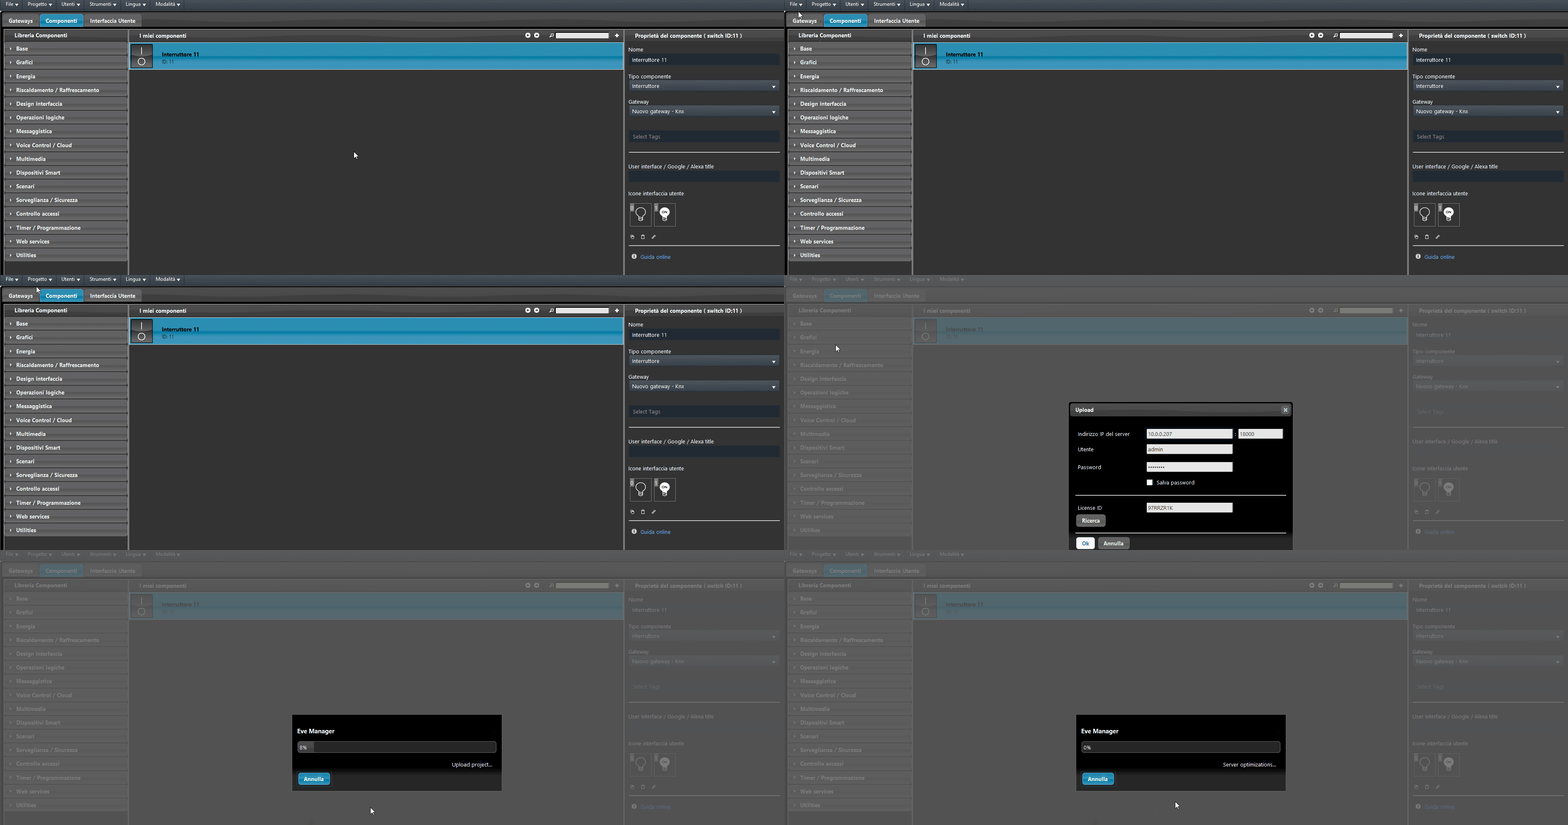
Repeat the upload whenever you want to apply changes to gateways, devices, users, or the interface. Before each send, make sure you have selected the correct server.
5. Access ILEVIA Control and verify the light
After the upload, open Users → Edit user (Users → Edit user) for the user whose interface you want to use.
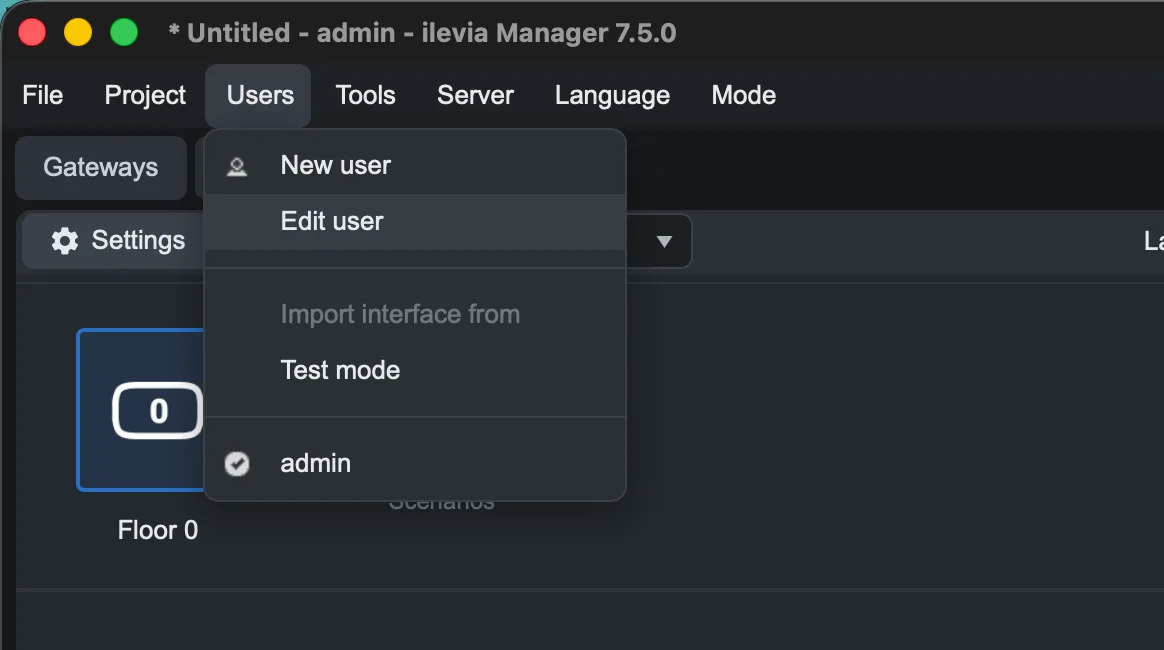
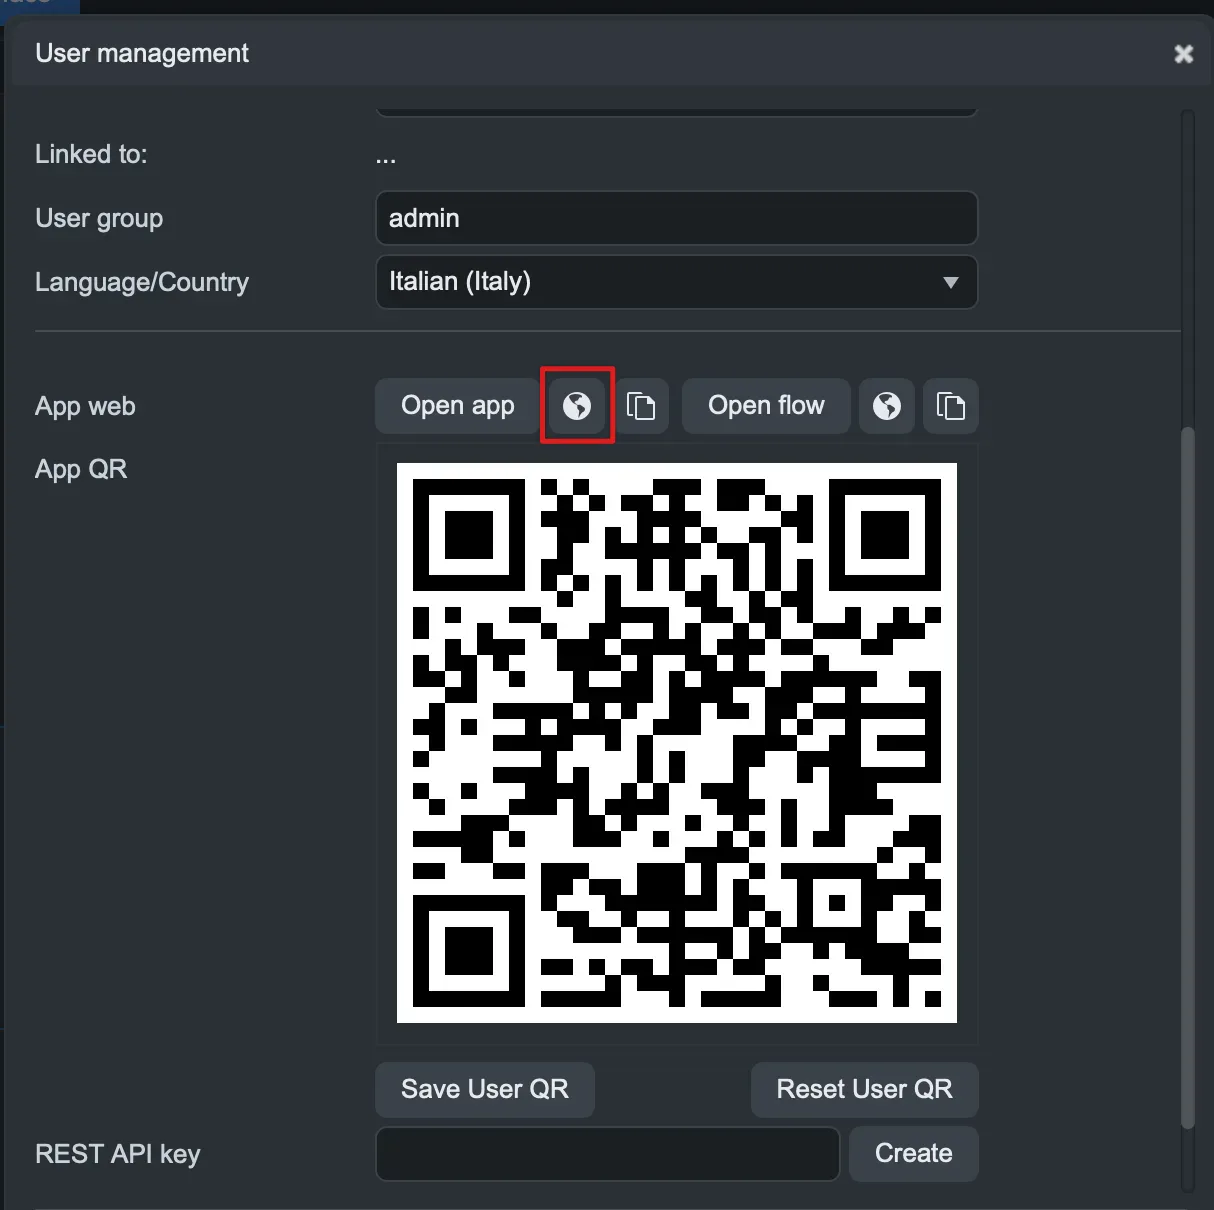
In the Web app section, use Open app, or the Open in browser icon next to the command, to open ILEVIA Control. To access it from a smartphone or tablet, use the QR code in the App QR section; Save User QR lets you save it as an image.
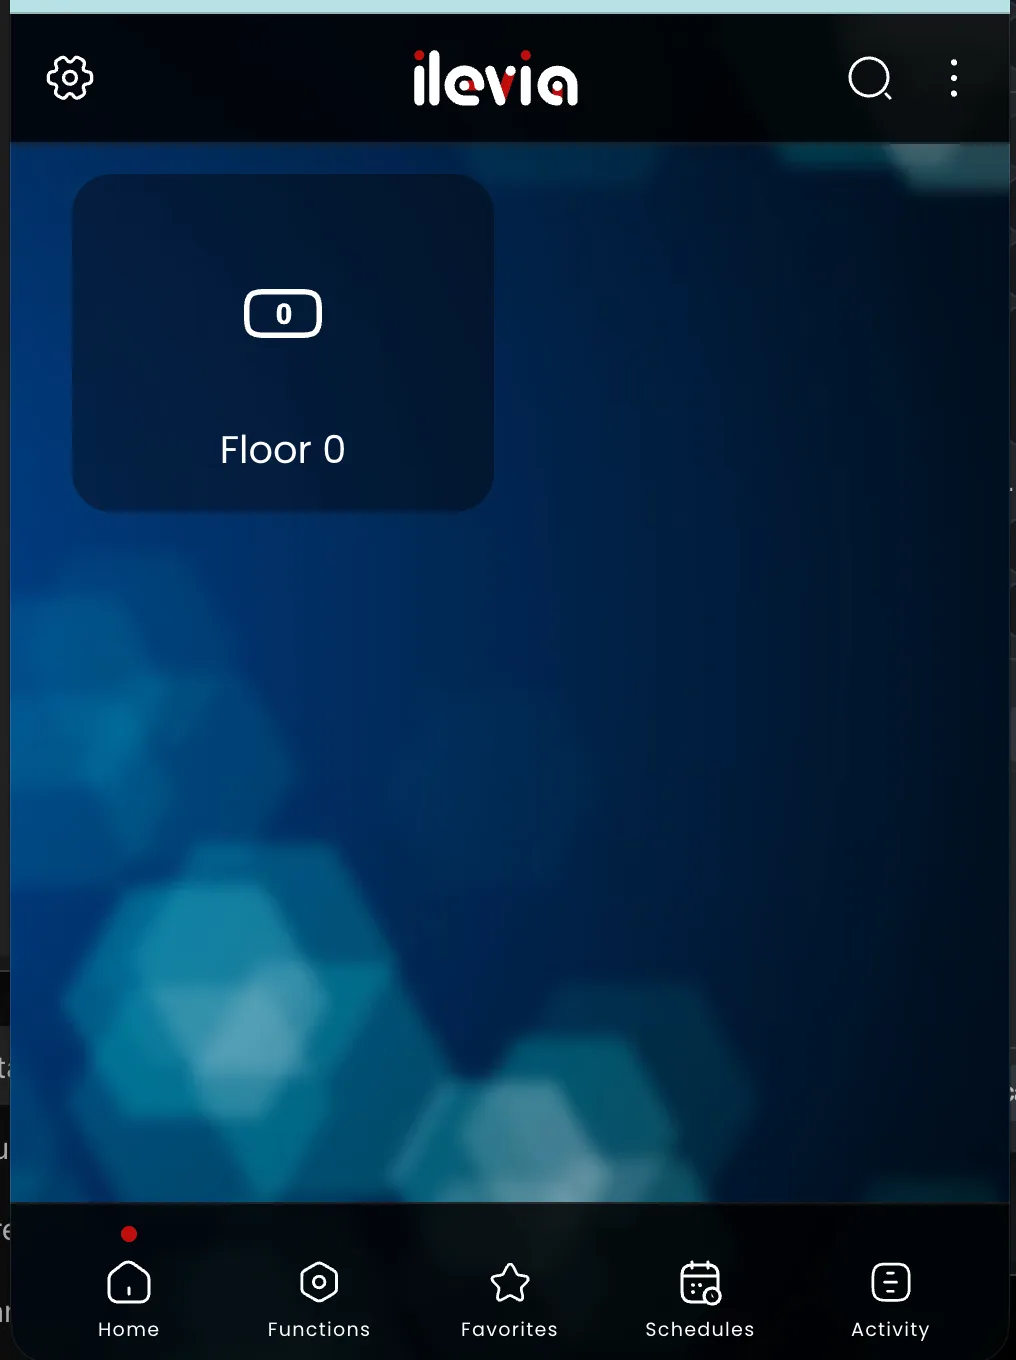
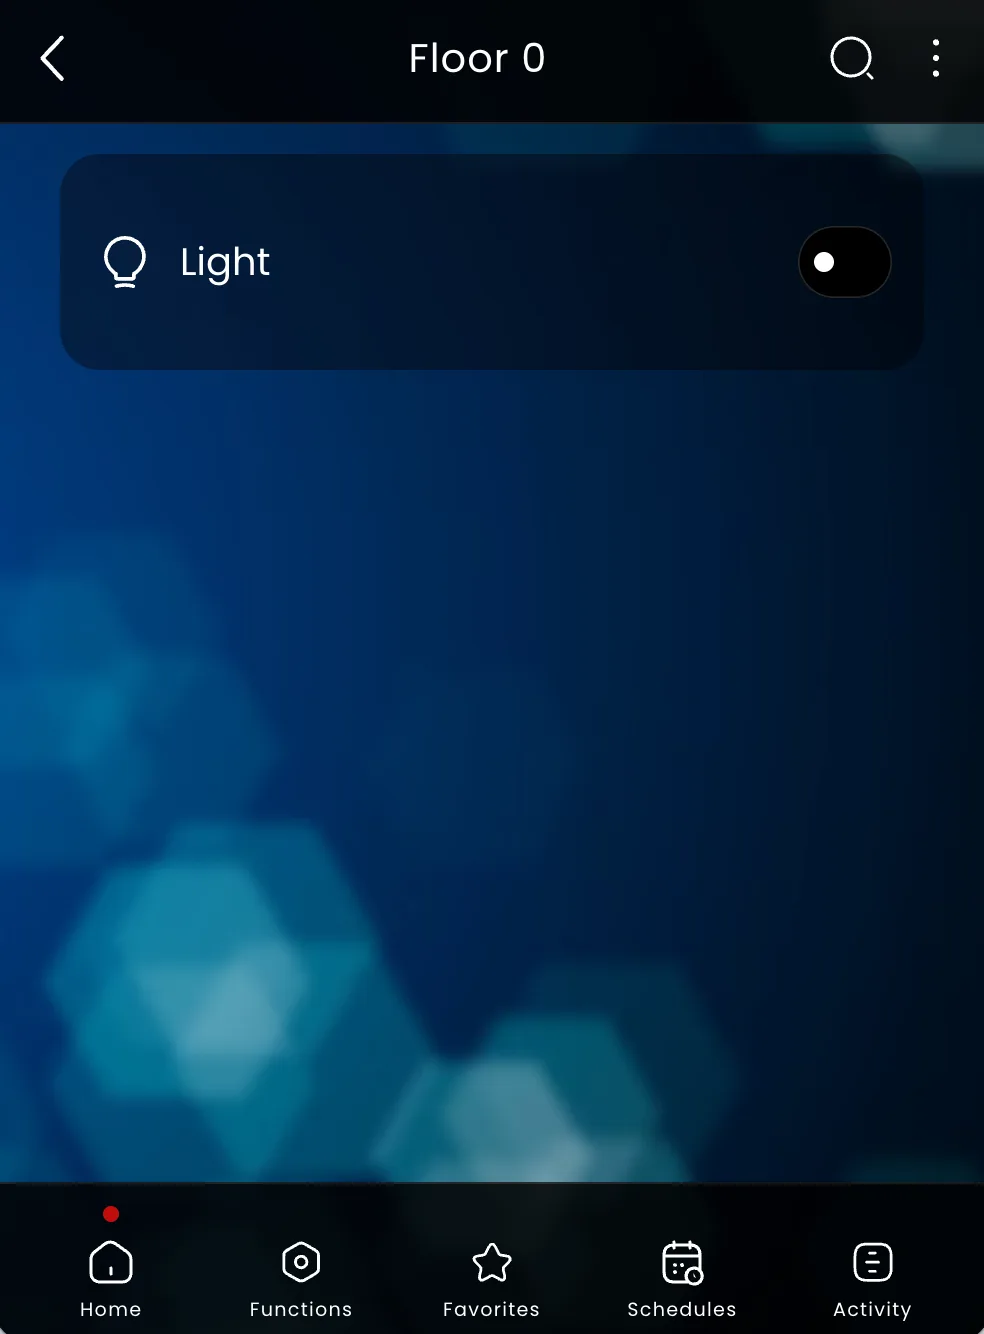
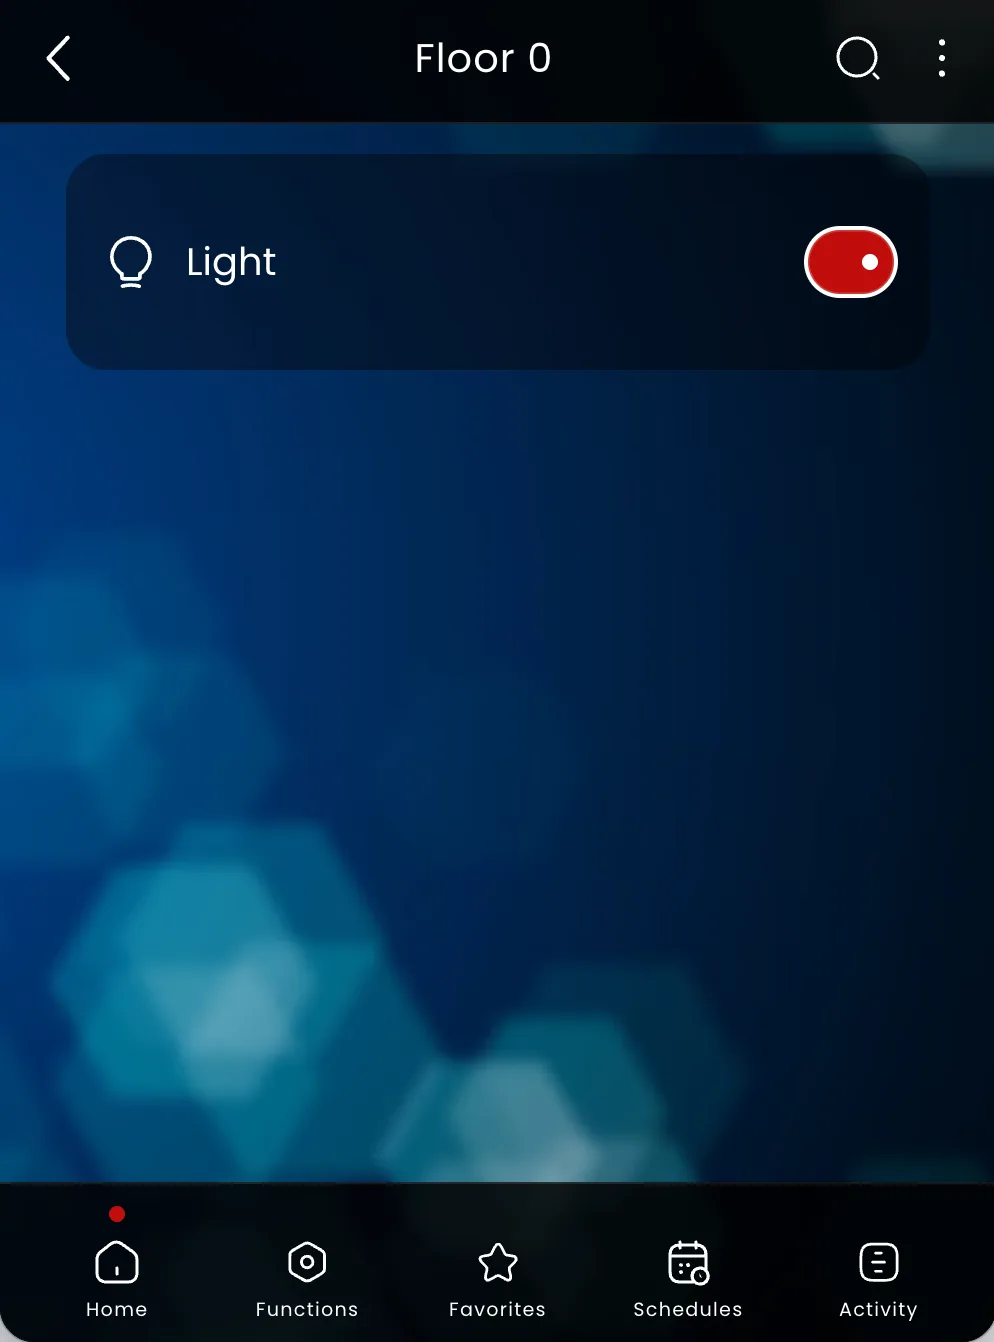
Open the Living room light command and test switching it on and off. Check both the actuator response and the status shown in the app. If the command does not respond, recheck the connection to the server, the gateway, and the KNX command and status addresses.
To move through the app sections, continue with Using ILEVIA Control from a smartphone.