Voice Control Manager: configuring devices for Alexa and Google
The Alexa/Google Voice control component of Ilevia Manager: properties, QR code and ID, room and device configurator, component linking, and conversion from the classic procedure.
The Alexa/Google Voice control component (called Voice control manager in the project) collects rooms and devices that Amazon Alexa and Google Home can control in a single structure. The same configuration applies to both assistants.
Add the component
In Ilevia Manager, open the Components tab.
In the Components Library, open the Voice Control category.
Drag Alexa/Google Voice control into the My components list.
You can have more than one Voice control manager in the same project: each one has its own QR code and its own ID.
Component properties
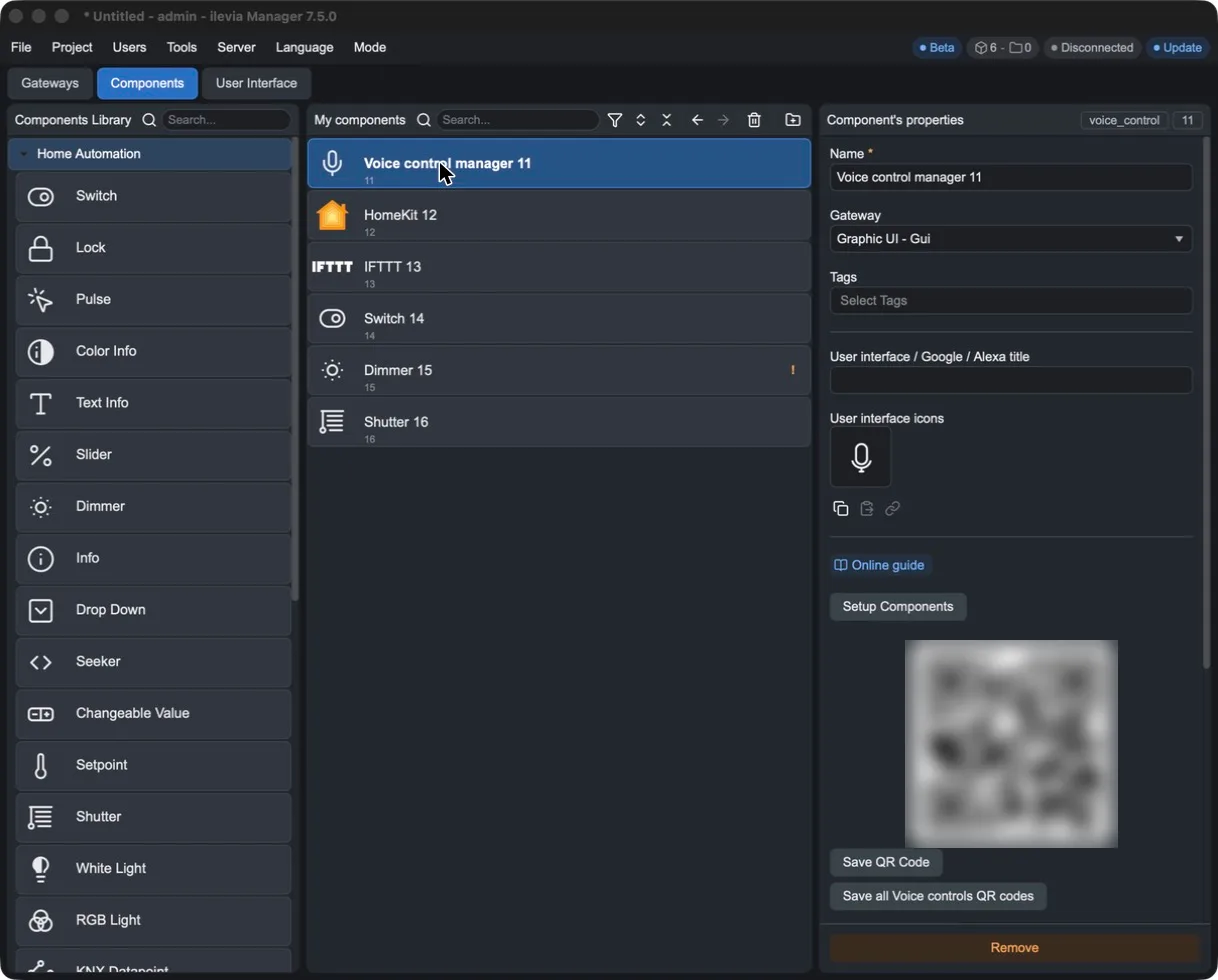
Field | Meaning |
|---|---|
Name | Component name in the project. |
Gateway | Remains Graphic UI - Gui. |
Tags | Labels used to filter components in the project. |
User interface / Google / Alexa title | Title shown in the interface. |
User interface icons | Component icon. |
Online guide | Opens the component online guide. |
Setup Components | Opens the room and device configurator. |
QR code | Generated when you add the component: scan it with the assistant app to link the system. |
Save QR Code | Saves the QR code as a PNG image, for example to deliver to the customer. |
Save all Voice controls QR codes | Opens a page with the QR codes for all Voice controls in the project. |
ID voice control | 12-digit code to enter instead of the QR code when linking the skill. |
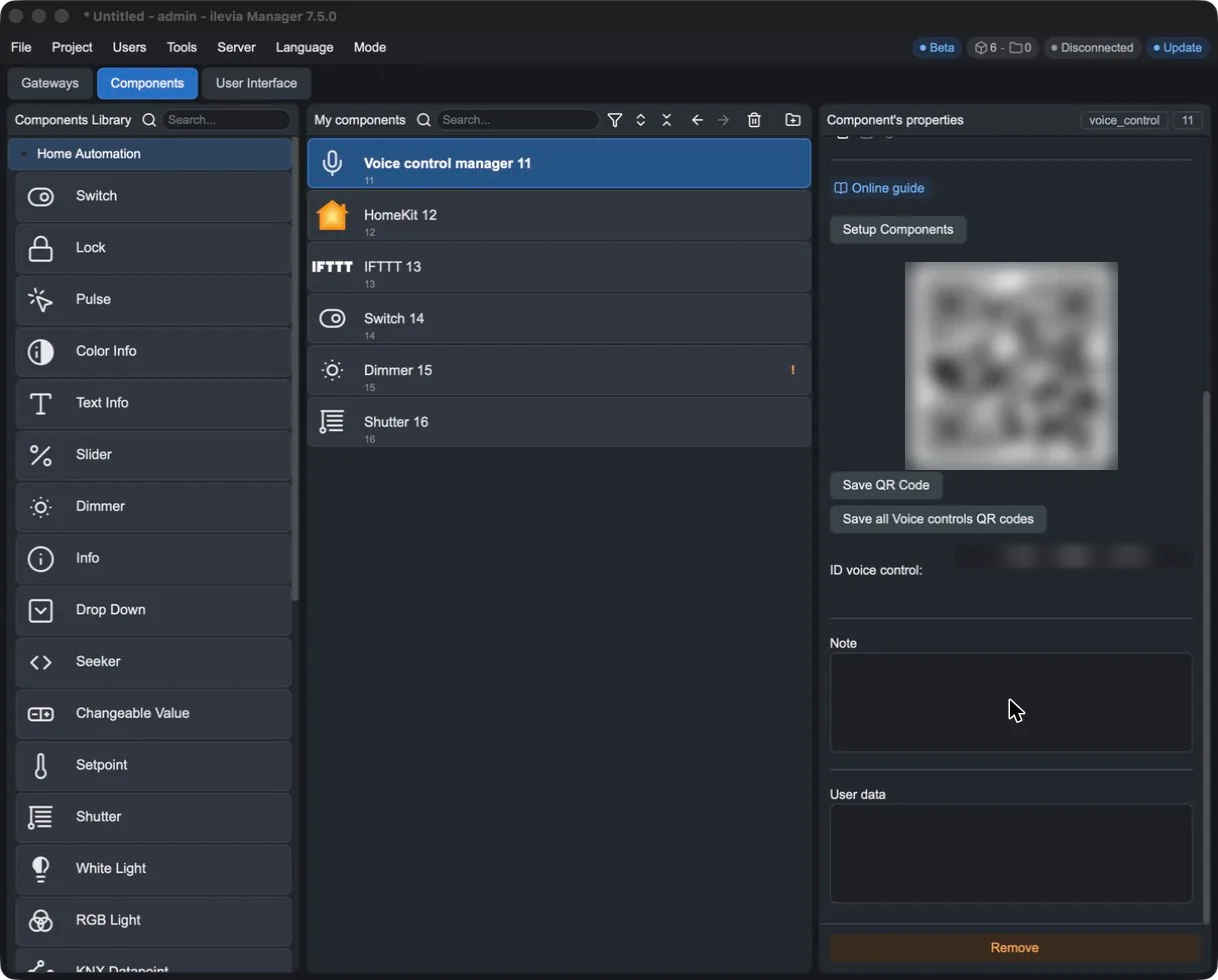
The QR code and voice control ID provide access to the system devices: give them only to the owner.
The configurator
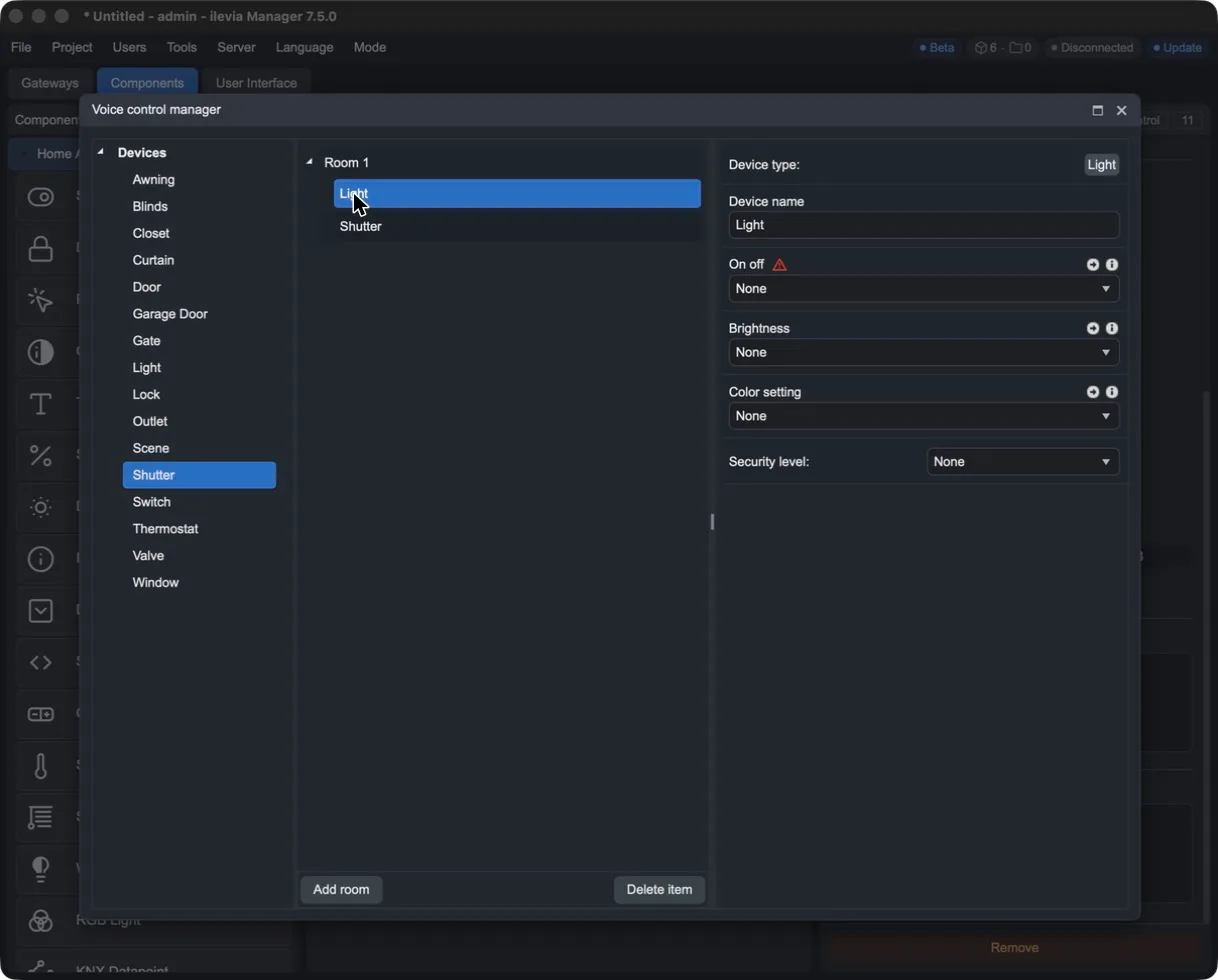
Press Setup Components to open the Voice control manager window. It is divided into three columns:
Devices (left): the device types you can add.
Structure (center): the rooms with their devices. At the bottom, Add room adds a room and Delete item removes the selected room or device.
Properties (right): the parameters of the selected room or device. For a room, there is only Device name, that is, the room name.
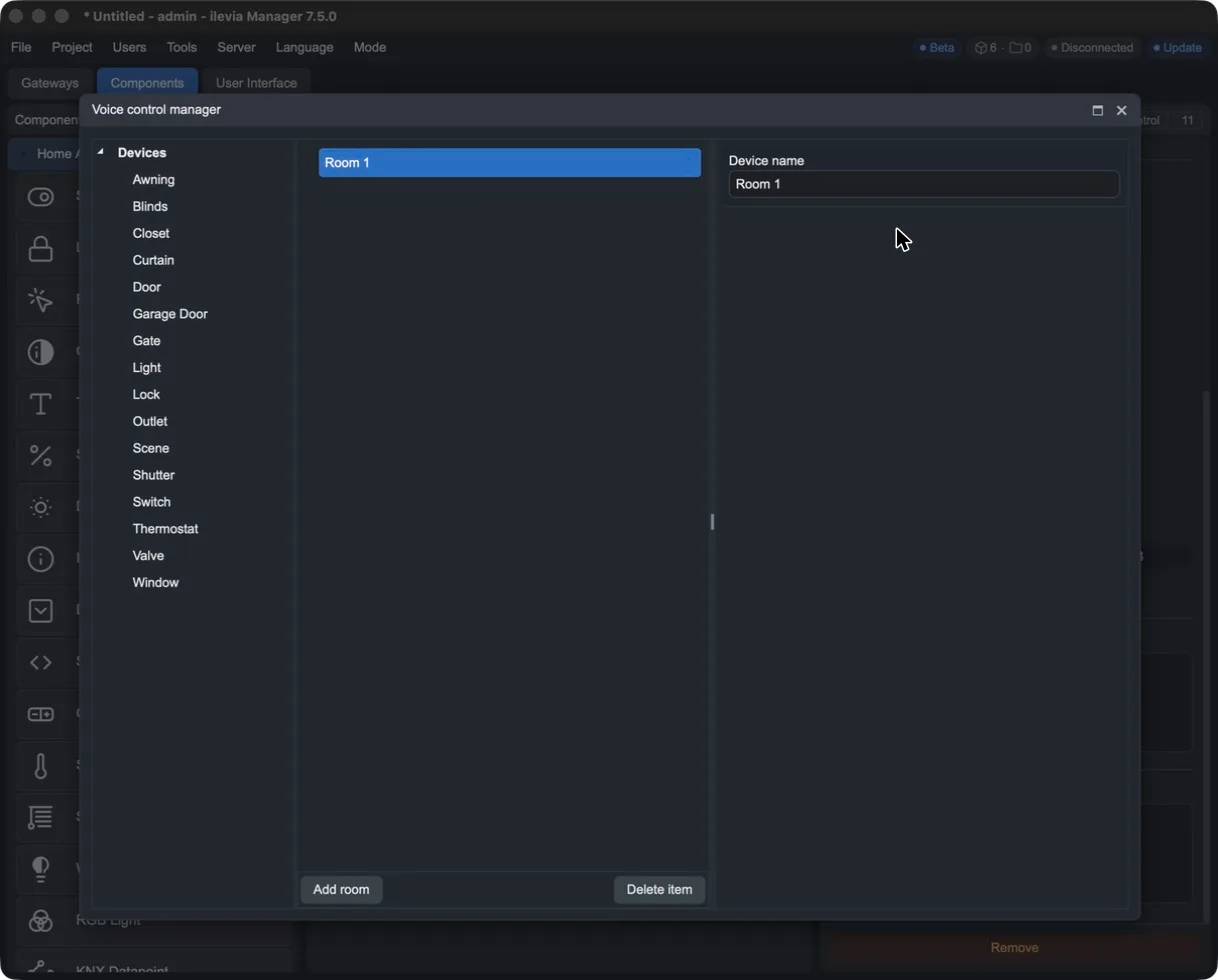
Available device types are: Awning, Blinds, Closet, Curtain, Door, Garage Door, Gate, Light, Lock, Outlet, Scene, Shutter, Switch, Thermostat, Valve and Window.
Add a device
Drag the device type from the Devices column onto the room.
Select it and enter the name you will speak in Device name (for example, "living room light").
Fill in the parameters. Those marked with the red triangle are mandatory: without them, the assistant will not recognize the device.
Link the project components
Each parameter has a drop-down list with the project components compatible with that function: choose the one to control. You can search by name in the top field of the list.
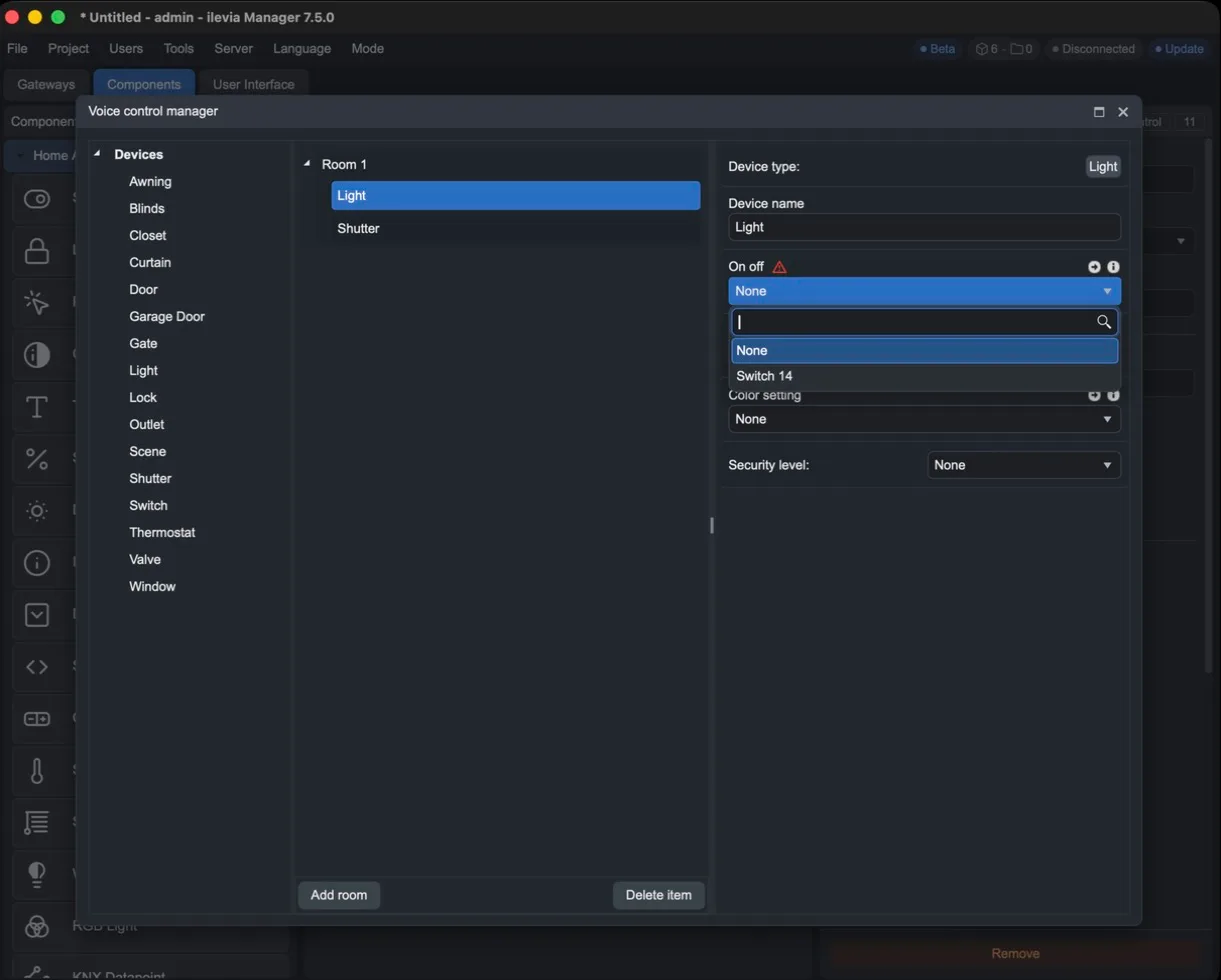
Next to each parameter, the arrow selects in the project the linked component and i shows the parameter description.
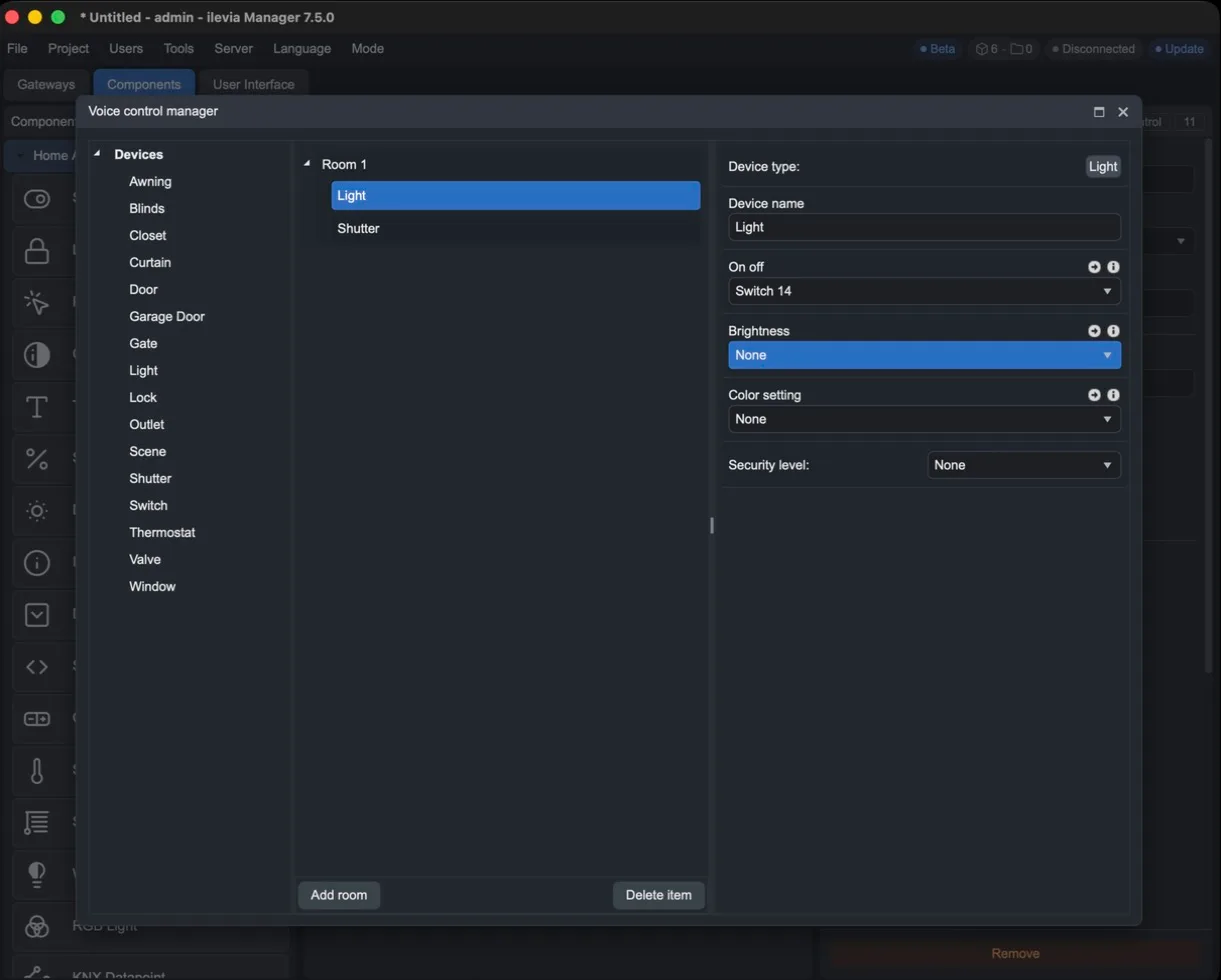
For a light, the parameters are:
Parameter | Meaning |
|---|---|
On off (mandatory) | Component that turns the light on and off. |
Brightness | Brightness component, for dimmable lights. |
Color setting | Color component, for RGB lights. |
Security level | Confirmation required before executing the command (see below). |
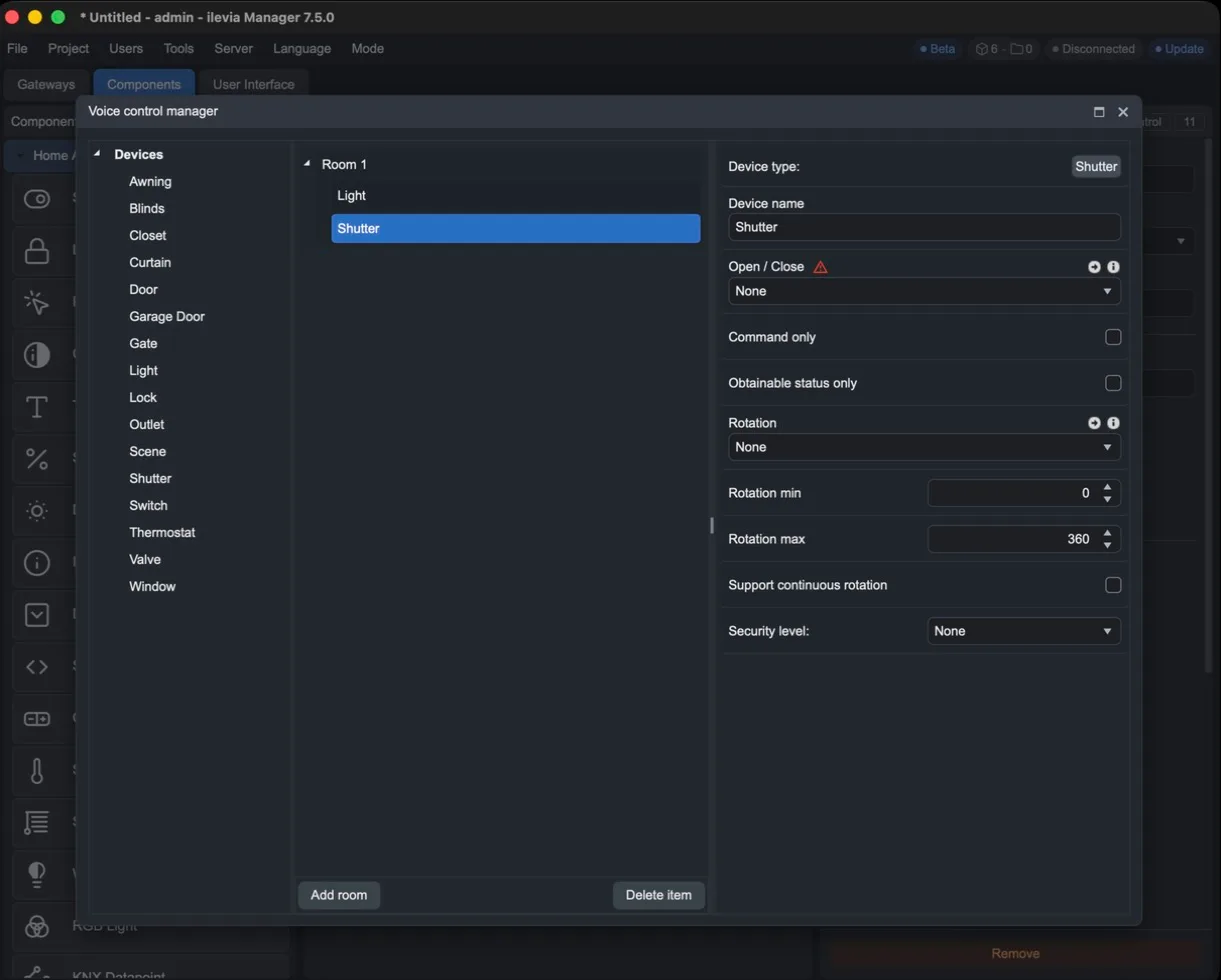
For a shutter (Shutter), the parameters are:
Parameter | Meaning |
|---|---|
Open / Close (mandatory) | Component that opens and closes, or moves the shutter to a position. |
Command only | The assistant only sends commands and does not read the status. |
Obtainable status only | The assistant only reads the status and does not send commands. |
Rotation | Component for blade orientation. |
Rotation min / Rotation max | Orientation range, in degrees (0–360 by default). |
Support continuous rotation | The blades can rotate continuously. |
Security level | Confirmation required before executing the command. |
Security level
For sensitive devices (locks, gates, garage doors), you can request confirmation before the command:
None: the command is executed immediately.
Ask confirm: the assistant asks for voice confirmation.
PIN: the assistant asks for a code, to be entered in the Security PIN field that appears.
Upload the project
Close the configurator with the X in the top right corner and upload the project to the server. Then link the assistant:
When you add or modify devices, upload the project again and have the assistant app search for the new devices.
Convert a project with the classic procedure
In projects configured with the old procedure, voice devices were indicated by tags in the component properties. To switch to Voice Control Manager:
Open the project and verify that the components have the voice control tags.
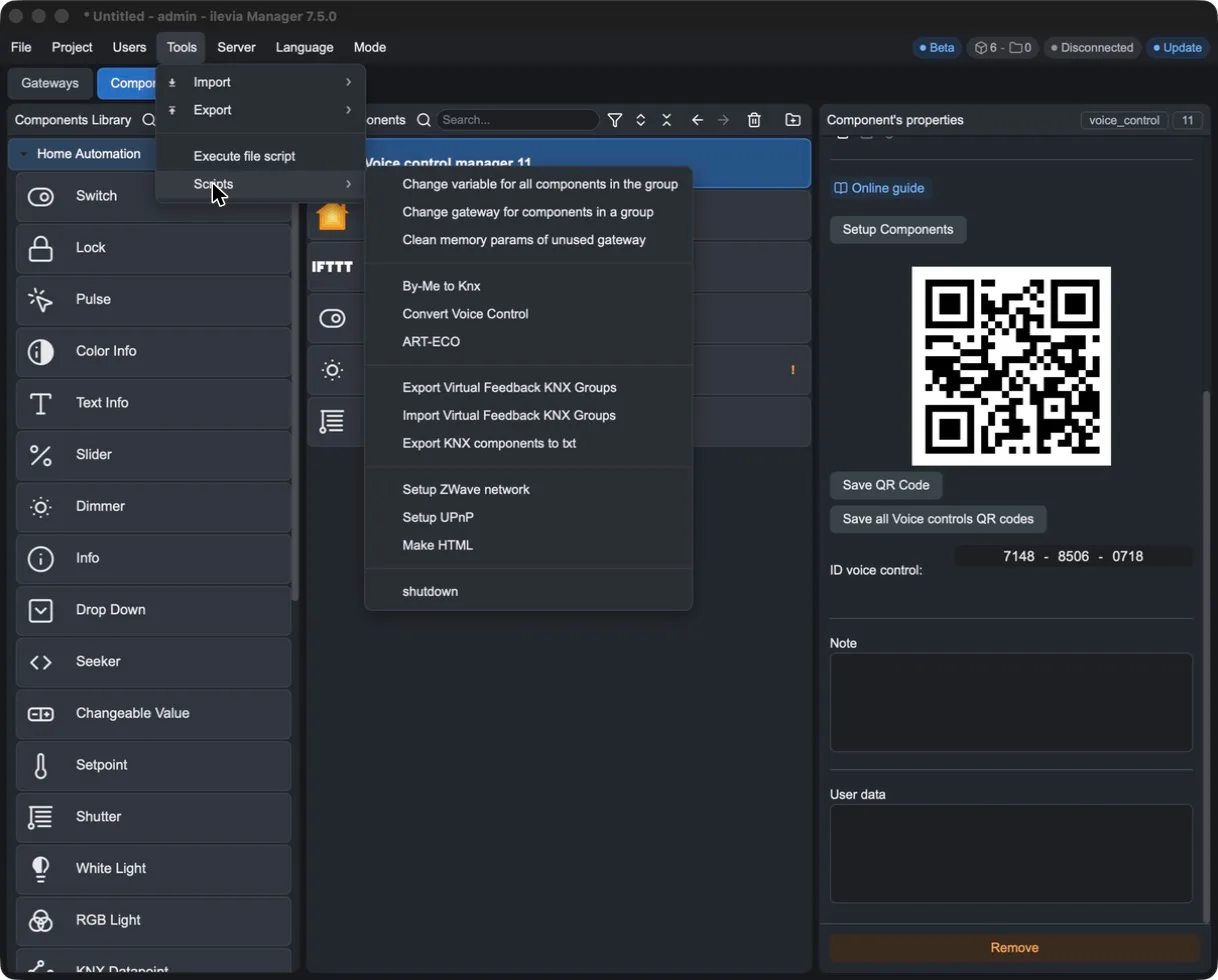
Open the Tools > Scripts menu and choose Convert Voice Control.
Open the Voice Control Manager created by the conversion and check rooms, devices, and links.
Upload the project to the server and reconnect the Ilevia Smart Home skill (not the classic one).