
From smartphone interface to map interface
How to create a map interface in ilevia Manager starting from the smartphone one with Users › Import interface from: menus, pages, and components are copied, then you only need to add backgrounds and place the icons.
If the system already has the smartphone interface (Classic), there is no need to build the map interface from scratch. With Users > Import interface from ilevia Manager copies the same structure into the new interface: menu items, rooms, and components. At that point, only two things remain to do: choose the backgrounds and move the icons over the objects in the photo or floor plan.
What you need
A user with the smartphone interface already set up (in the example admin).
A Map user with the interface to be created (in the example Mappa casa). If it does not exist, create it with Users > New user, User type Map and page Width / Height: see Create a map user.
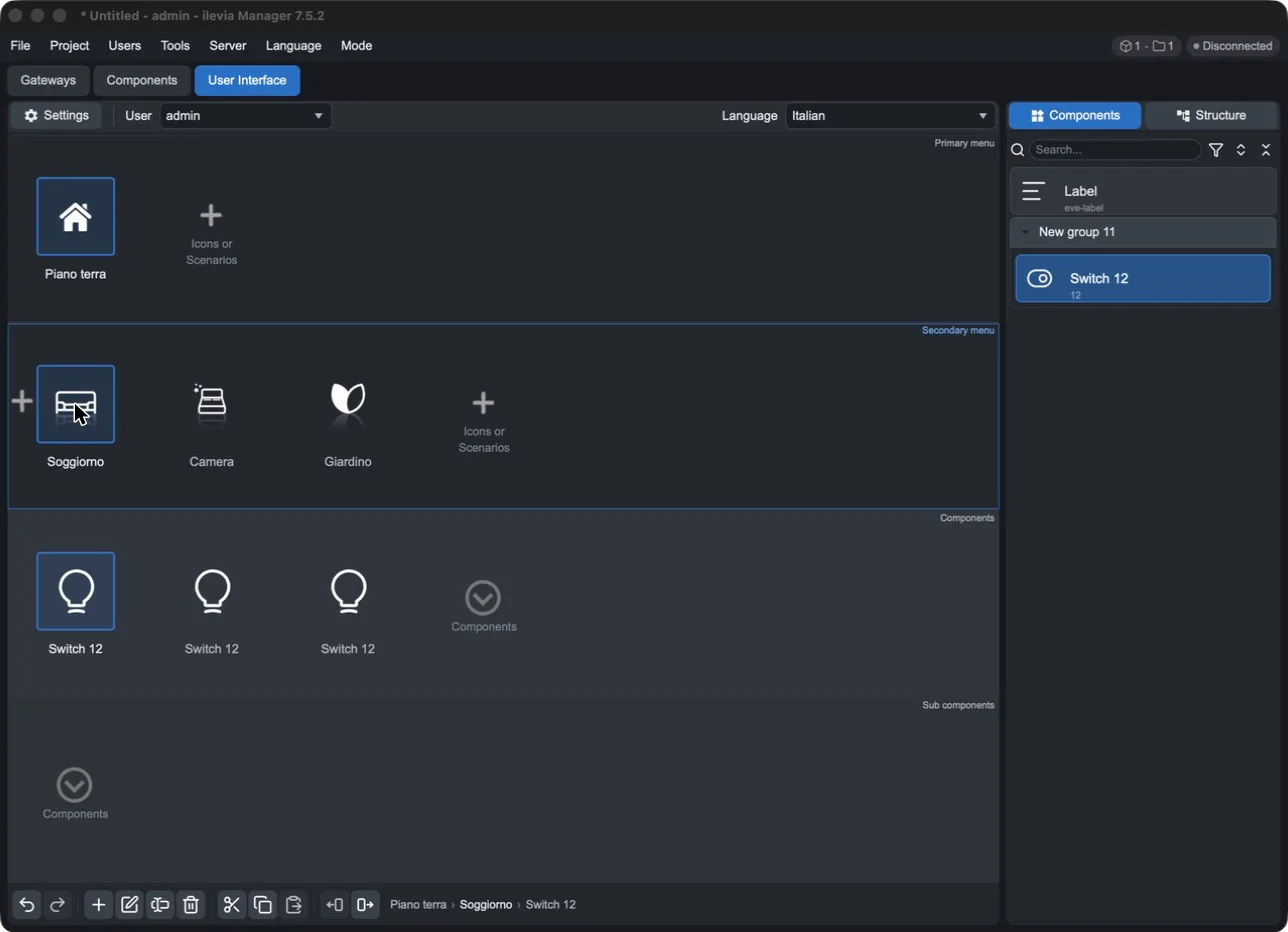
Importing the structure
Select the map user in User (or from the Users menu, at the bottom of the list).
Open Users > Import interface from and choose the user to copy the interface from.
The Import interface window shows which user is copied to which one, and the type of each (Classic → Map). Press Import.
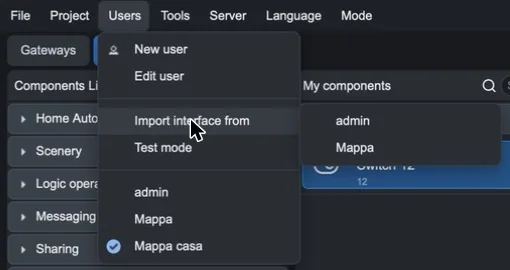
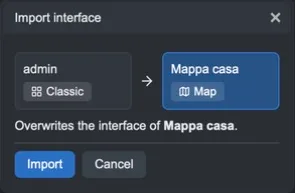
The import overwrites the entire interface of the selected user (Overwrites the interface of …). Use it on a new user, or on one whose current interface you do not need. The source user's interface is not modified.
What is created
Smartphone interface | Map interface |
|---|---|
Main menu item (e.g. Ground floor) | Item in the left column |
Secondary menu item, i.e. the room (e.g. Living room) | Page, with the same name, the same icon, password, and user group |
Room components | Components on the page, linked to the same project components |
The components keep the title, icon, user group, and the Blink, Hide, and Disable icon when conditions. They are arranged in a row at the top left, one next to the other, each 100 × 100 pixels, wrapping to the next line when the row is full.
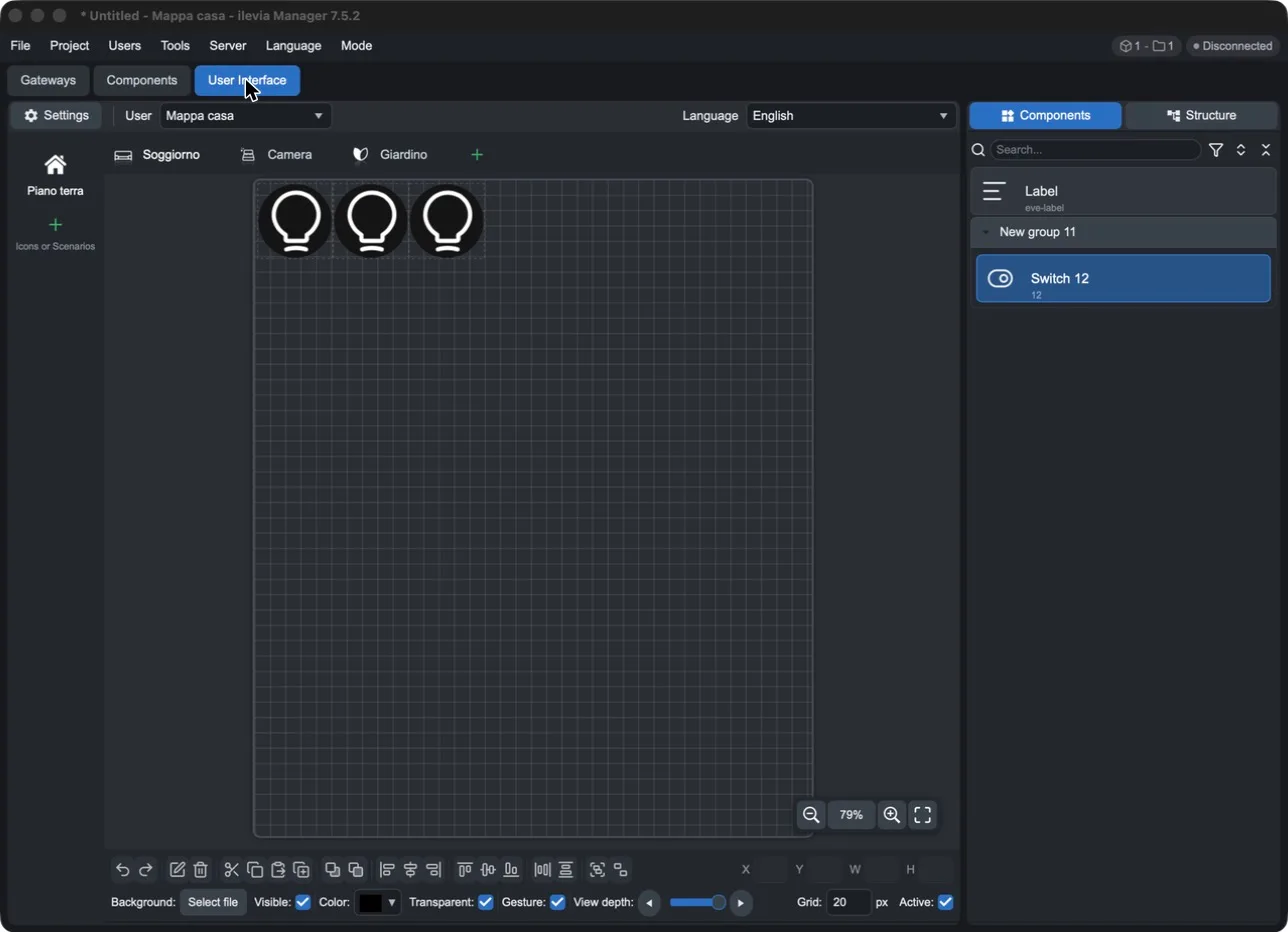
Adding backgrounds
The imported pages do not have a background image. For each one:
Open the page from its tab at the top.
Press Select file next to Background and choose the room photo or floor plan.
Use images with the same proportions as the page (Width × Height of the user), otherwise bands will remain at the sides or at the top and bottom. See Choose the background.
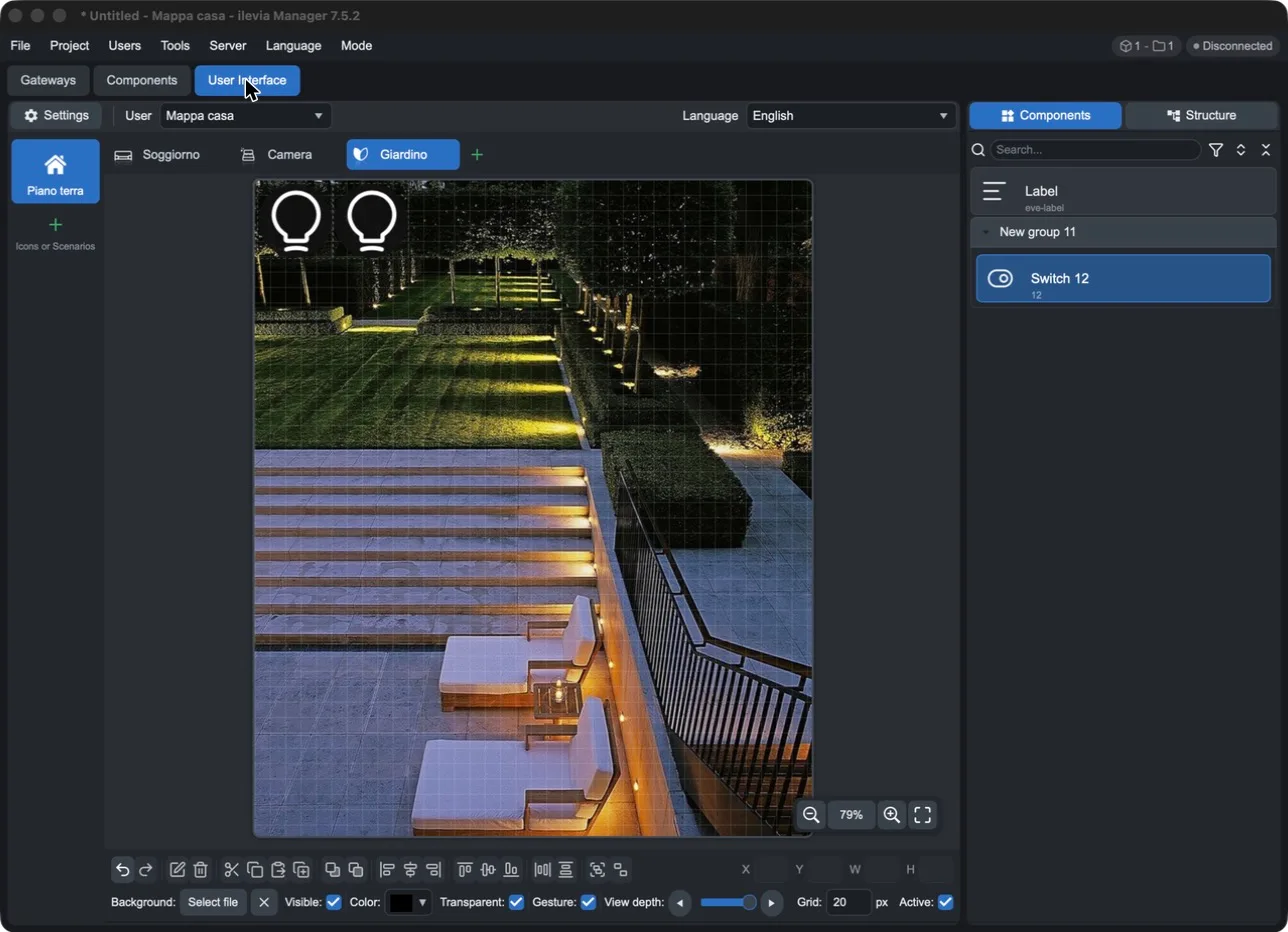
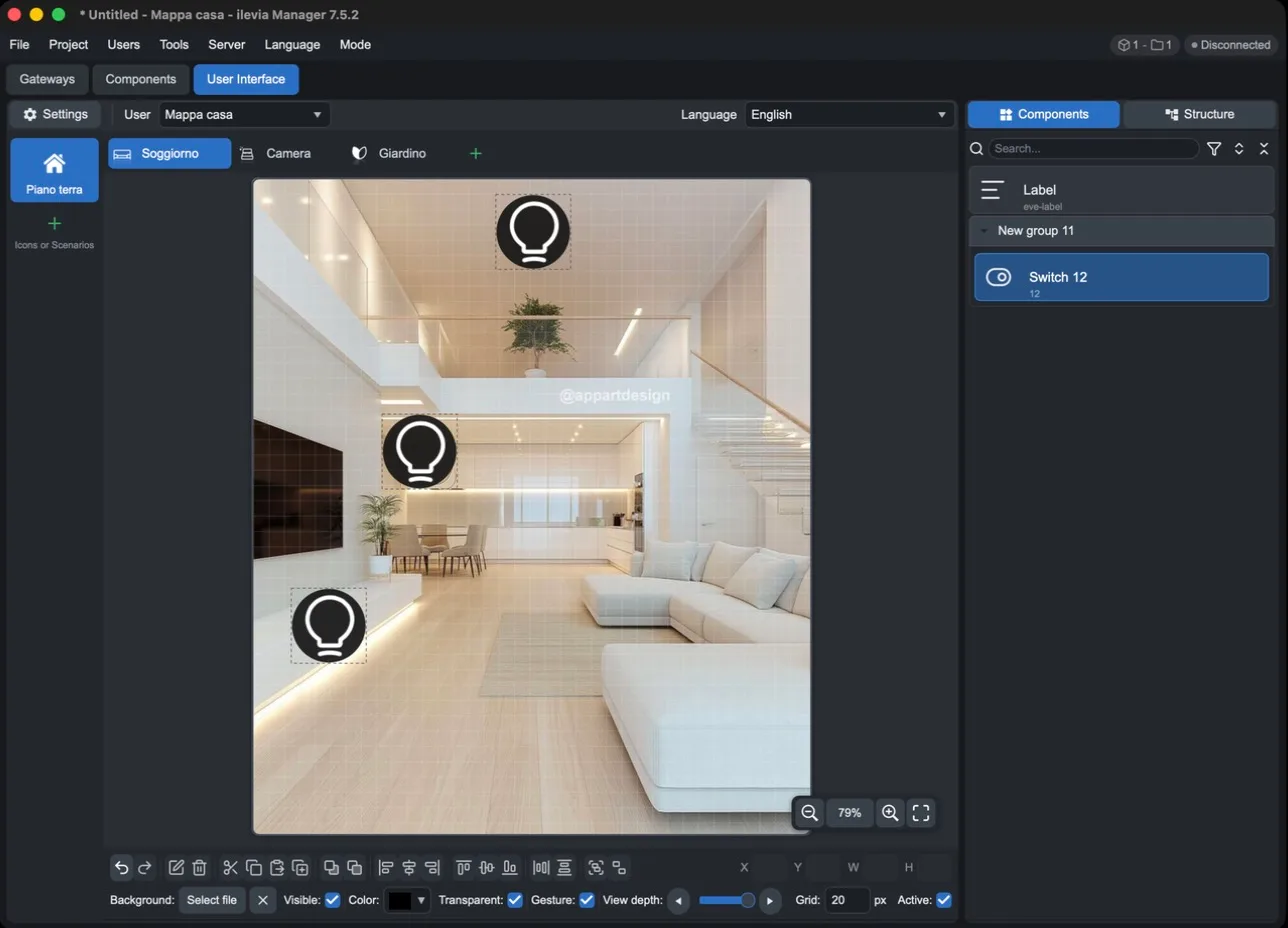
Positioning the icons
The components are already on the page: nothing needs to be added, just drag each icon over the object it controls (the lamp, the LED strip, the shutter…). For precise placement use X, Y, W, H in the bottom bar.
Finishing touches
Second icon: in the map version each component has two icons (for example off and on). The import uses the same icon for both: if you want two different icons, change them in the component options (double-click).
Components not to show on the map: remove them from the page or enable Hidden in the options.
Objects without an icon: with View mode hidden you can make the photo object directly touchable. See Component options.
Later changes: after import the two interfaces are independent. A room or component added later to the smartphone interface must also be added manually to the map interface. Importing again rebuilds everything from scratch and loses backgrounds and positions.
When you are done, upload the project with Project > Upload to server.