Climate Thermostat Component
How to configure and use the Climate Thermostat component in the Ilevia Control app: setpoint, mode, humidity, air quality and Chronothermostat.
Introduction
This component has been designed to work with the new Ilevia Control app. The Clima Thermostat component provides a compact, easy-to-use interface that lets the user control and monitor the Climate/Thermostat device functions: adjust the setpoint, change mode, monitor current temperature, humidity and air quality, and schedule temperatures through the Chronothermostat. This guide explains how the component works and how its interface is displayed in the Ilevia Control app.

Component properties
On: this Switch component represents the valve managed by the server according to the temperature value.
Function: this Options list component lets you change the season mode.
Operating status: The component (Switch, Colored info, Text info) represents the operating status of the device.
Mode: this Options list component lets you change the thermostat mode (Comfort, Standby, Eco, Night).
Fan step speed: this Options list component lets you change the device fan speed.
Fan speed in percentage: this Slider component lets you set the climate or fan coil fan speed as a percentage.
Air outlet vane: this Options list component lets you change the orientation of the louvers of the Climate device or fan coil.
Horizontal vanes: this Options list component lets you change the orientation of the horizontal vanes.
Heating temperature setpoint: this Setpoint component manages the heating temperature setting.
Heating chronothermostat: this component lets you schedule, by time, the temperature that will be set in the Heating setpoint for each hour of the day. See the technical guide for the Chronothermostat component.
Cooling:
Cooling temperature setpoint: this Setpoint component manages the cooling temperature setting.
Temperature actuator: this Switch component displays the operating status of the thermostat.
Temperature info: this Info component shows the room temperature.
Humidity setpoint: This Setpoint component lets you change the dehumidifier device setpoint.
Cooling chronothermostat: this component lets you schedule, by time, the temperature that will be set in the Cooling setpoint for each hour of the day. See the technical guide for the Chronothermostat component.
Humidity info: this Info component shows the humidity value coming from the dehumidifier device.
CO2 setpoint: this Setpoint component lets you change the physical device CO2 setpoint.
CO2 actuator: this Switch component shows the operating status of the CO2 device.
CO2 info: This Info component represents the CO2 device value.
Read only: if enabled, this option makes the selected item read only: the user will not be able to interact with the component in the user interface.
Component configuration
Open the Ilevia Manager configuration software. In the Components section, open the HVAC section and drag the component into the My components section.
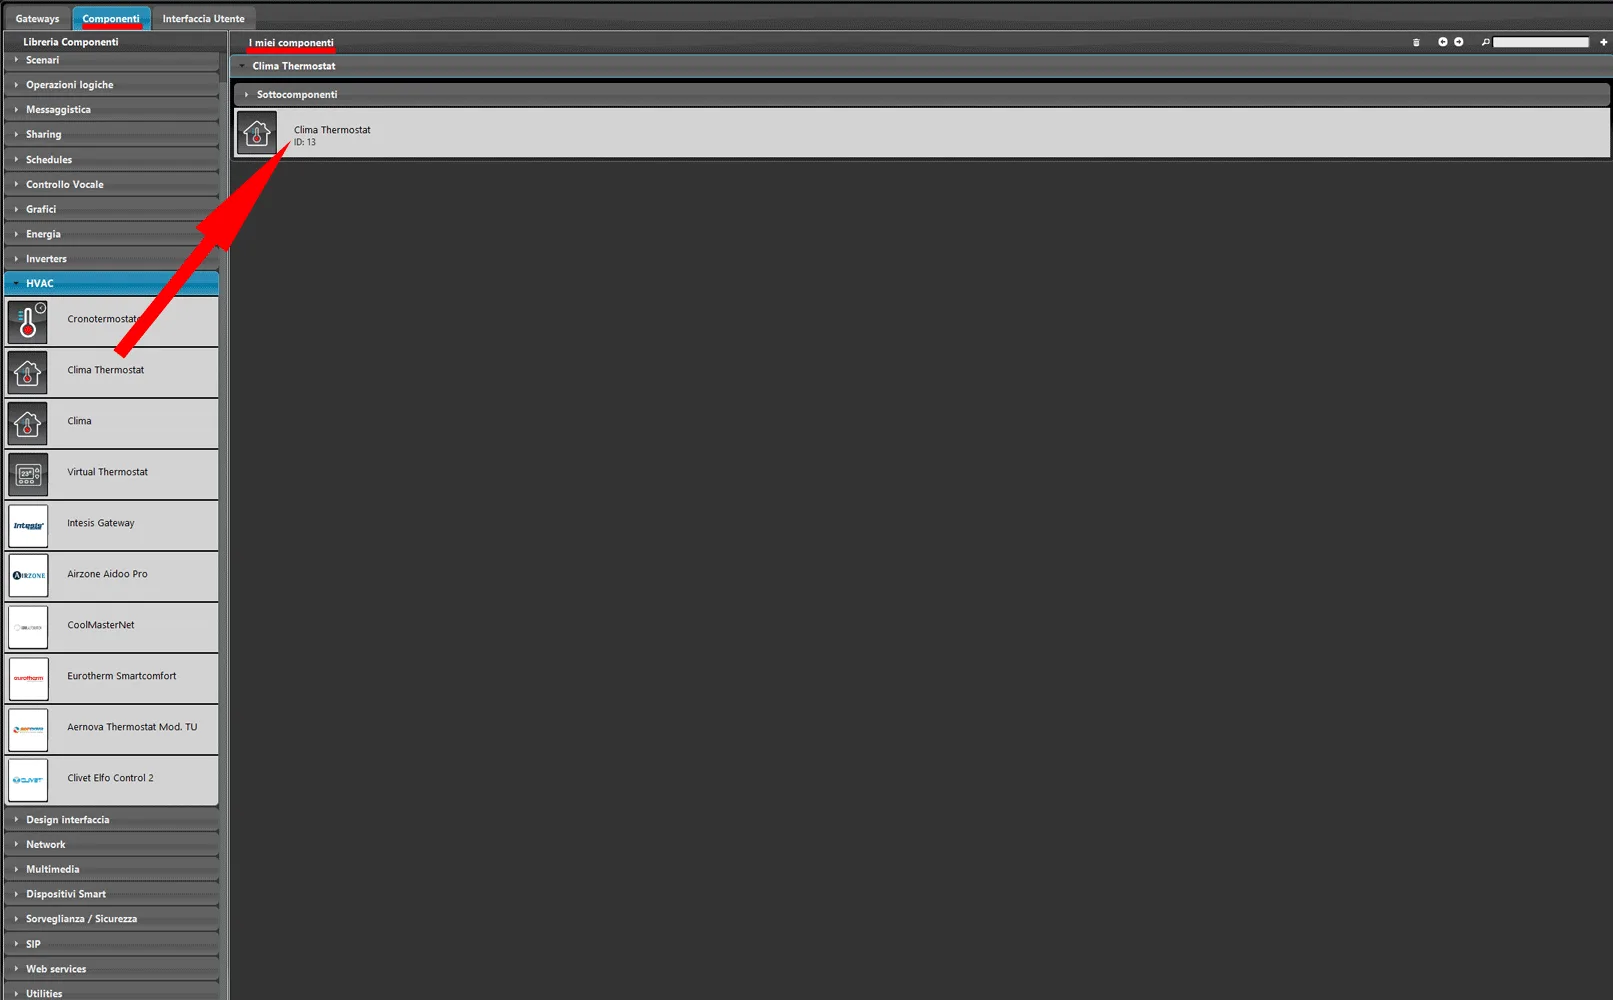
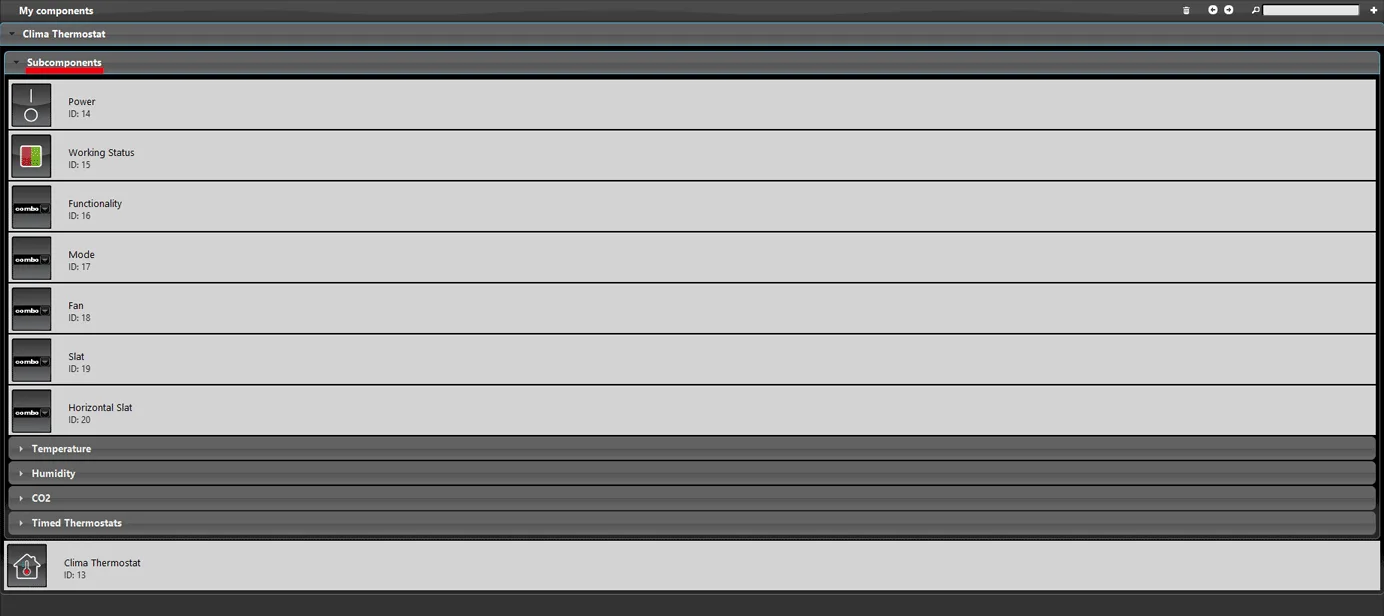
Once added to the project, the component creates some subcomponents. The first subgroup created is “subcomponents”: it contains the components that allow interaction with the physical device. These components can be configured with a specific protocol, and unused ones can also be removed.
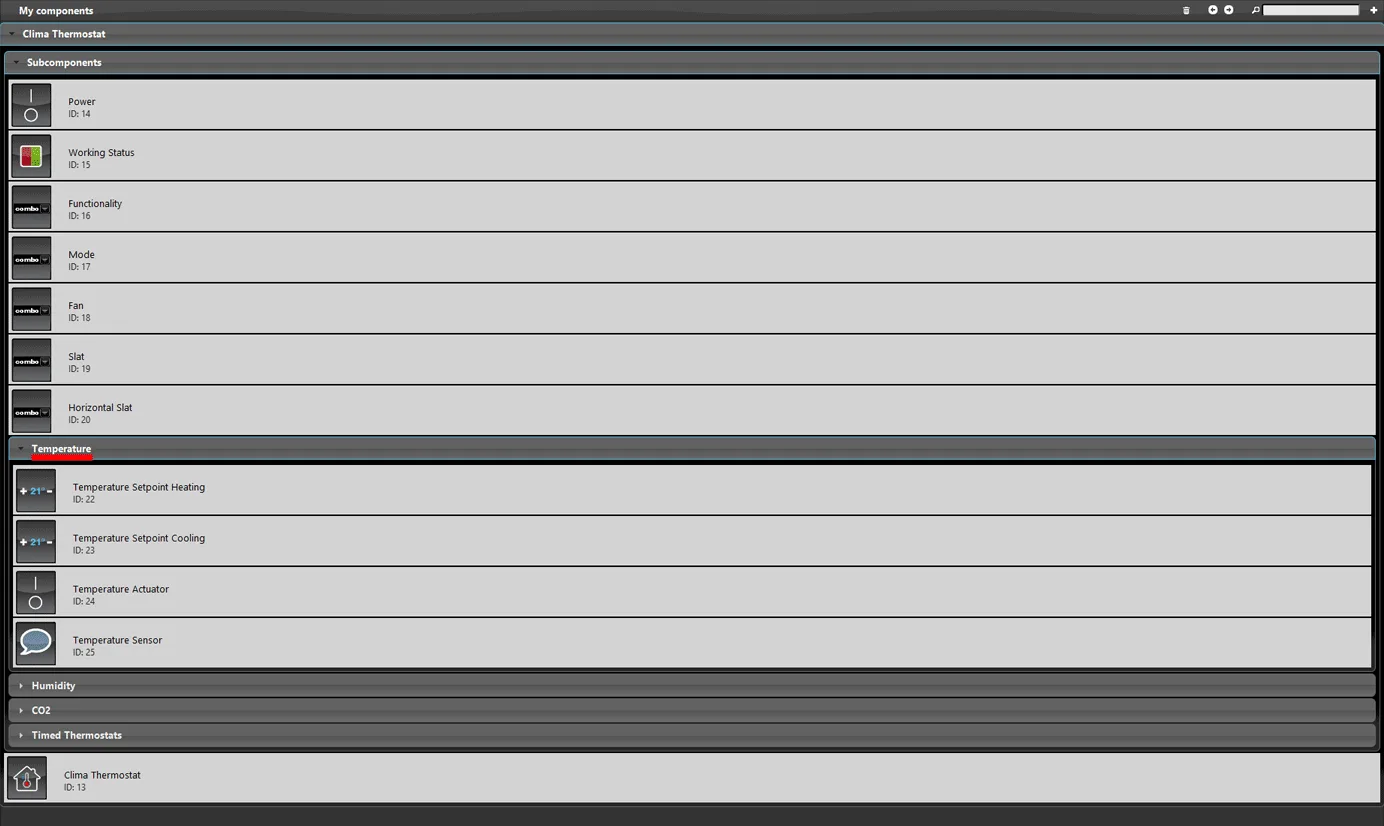
The Temperature subgroup contains the components intended for temperature management. See the technical guide for the components contained in the group for more information: Setpoint, Switch and Info.
The Humidity subgroup contains the components that can be configured to control the humidity management device. See the guide for the components contained in the group for more information: Adjustable value, Switch and Info.
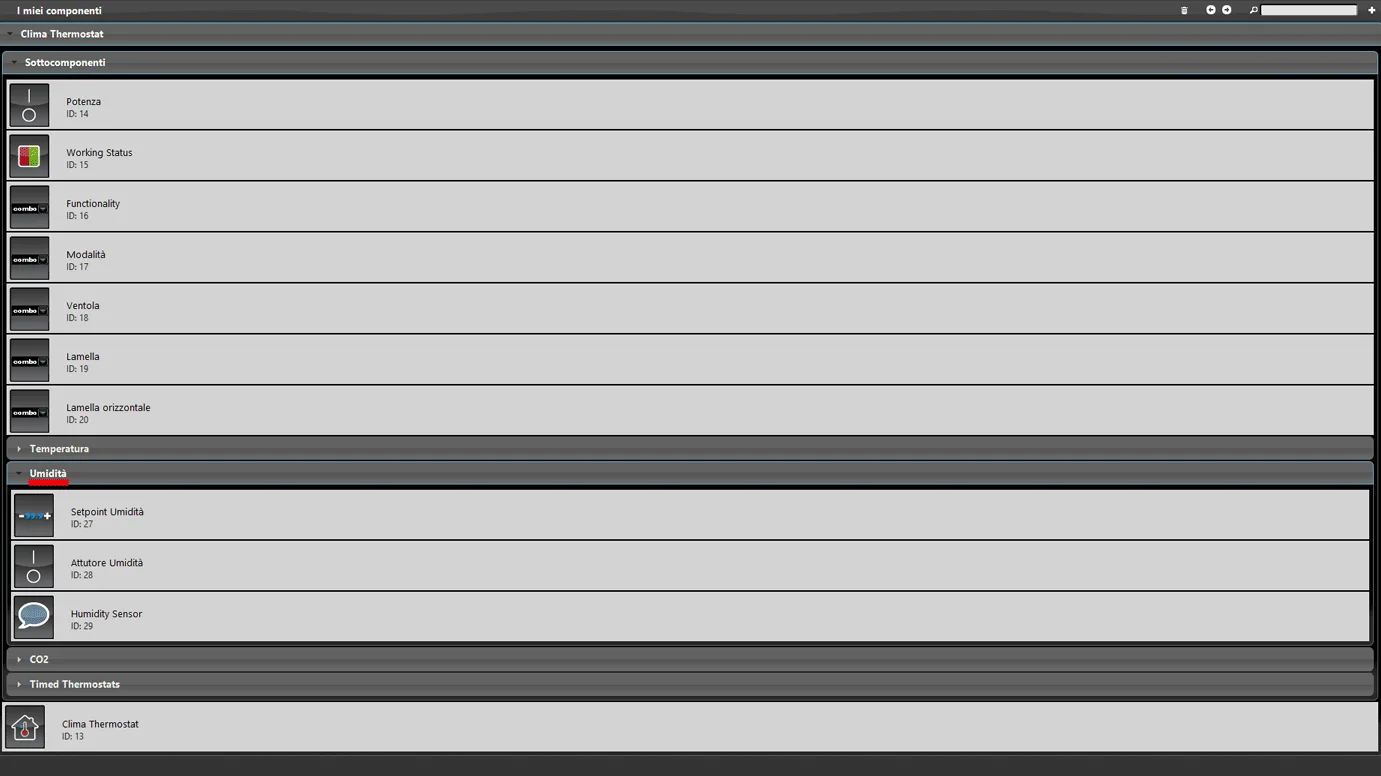
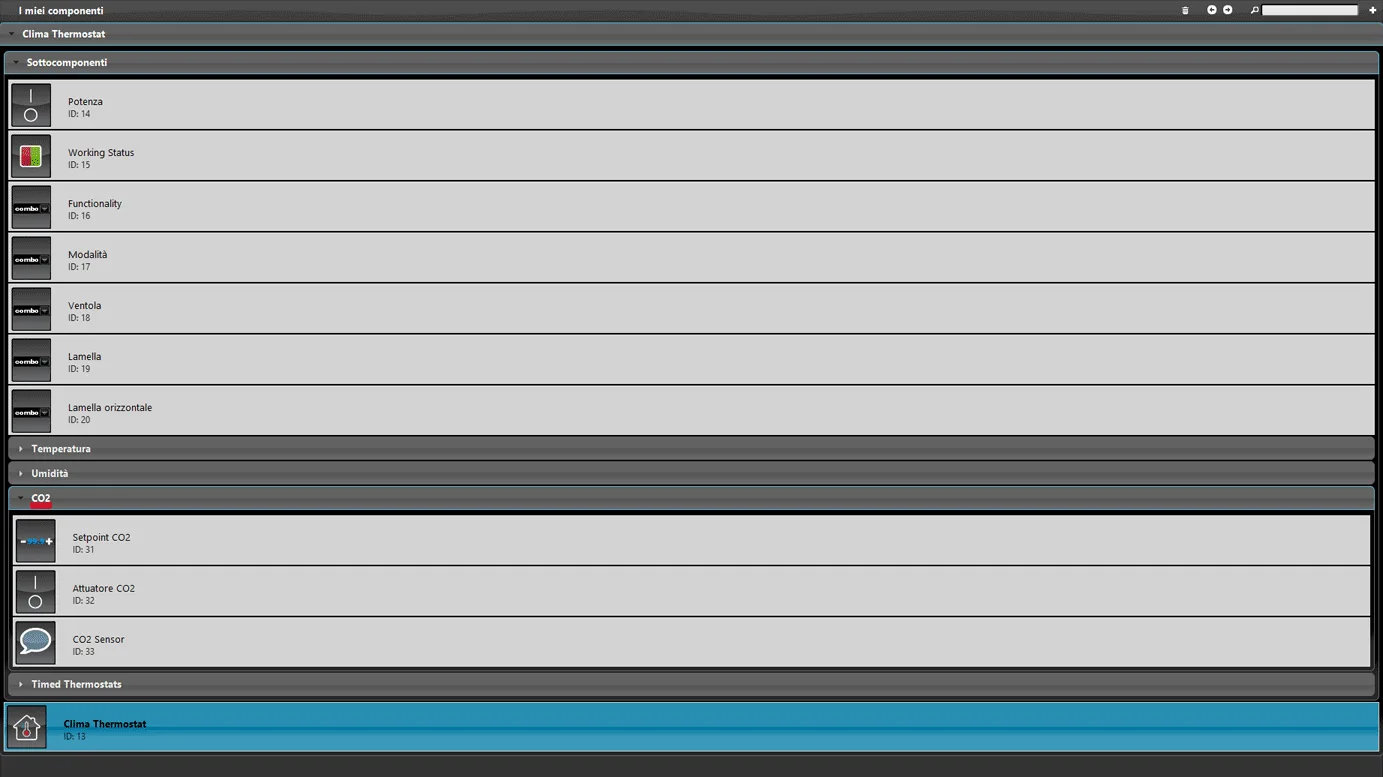
The CO2 subgroup contains all the components that allow you to monitor and control the value coming from the device. See the guide for the components contained in the group for more information: Adjustable value, Switch and Info.
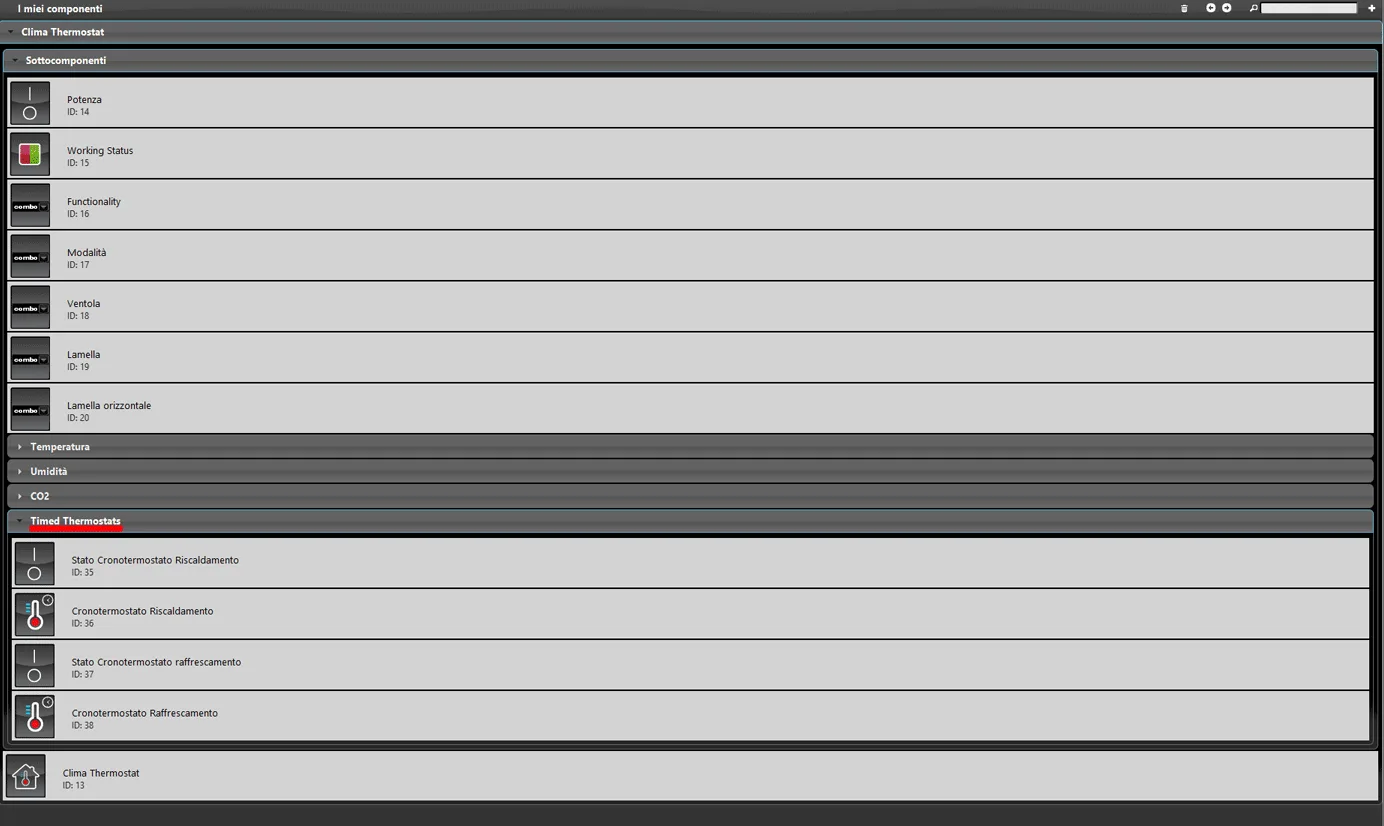
The Chronothermostat subgroup contains the components that allow time-based temperature scheduling. See the technical guide for the components contained in the group for more information: Chronothermostat and Switch.
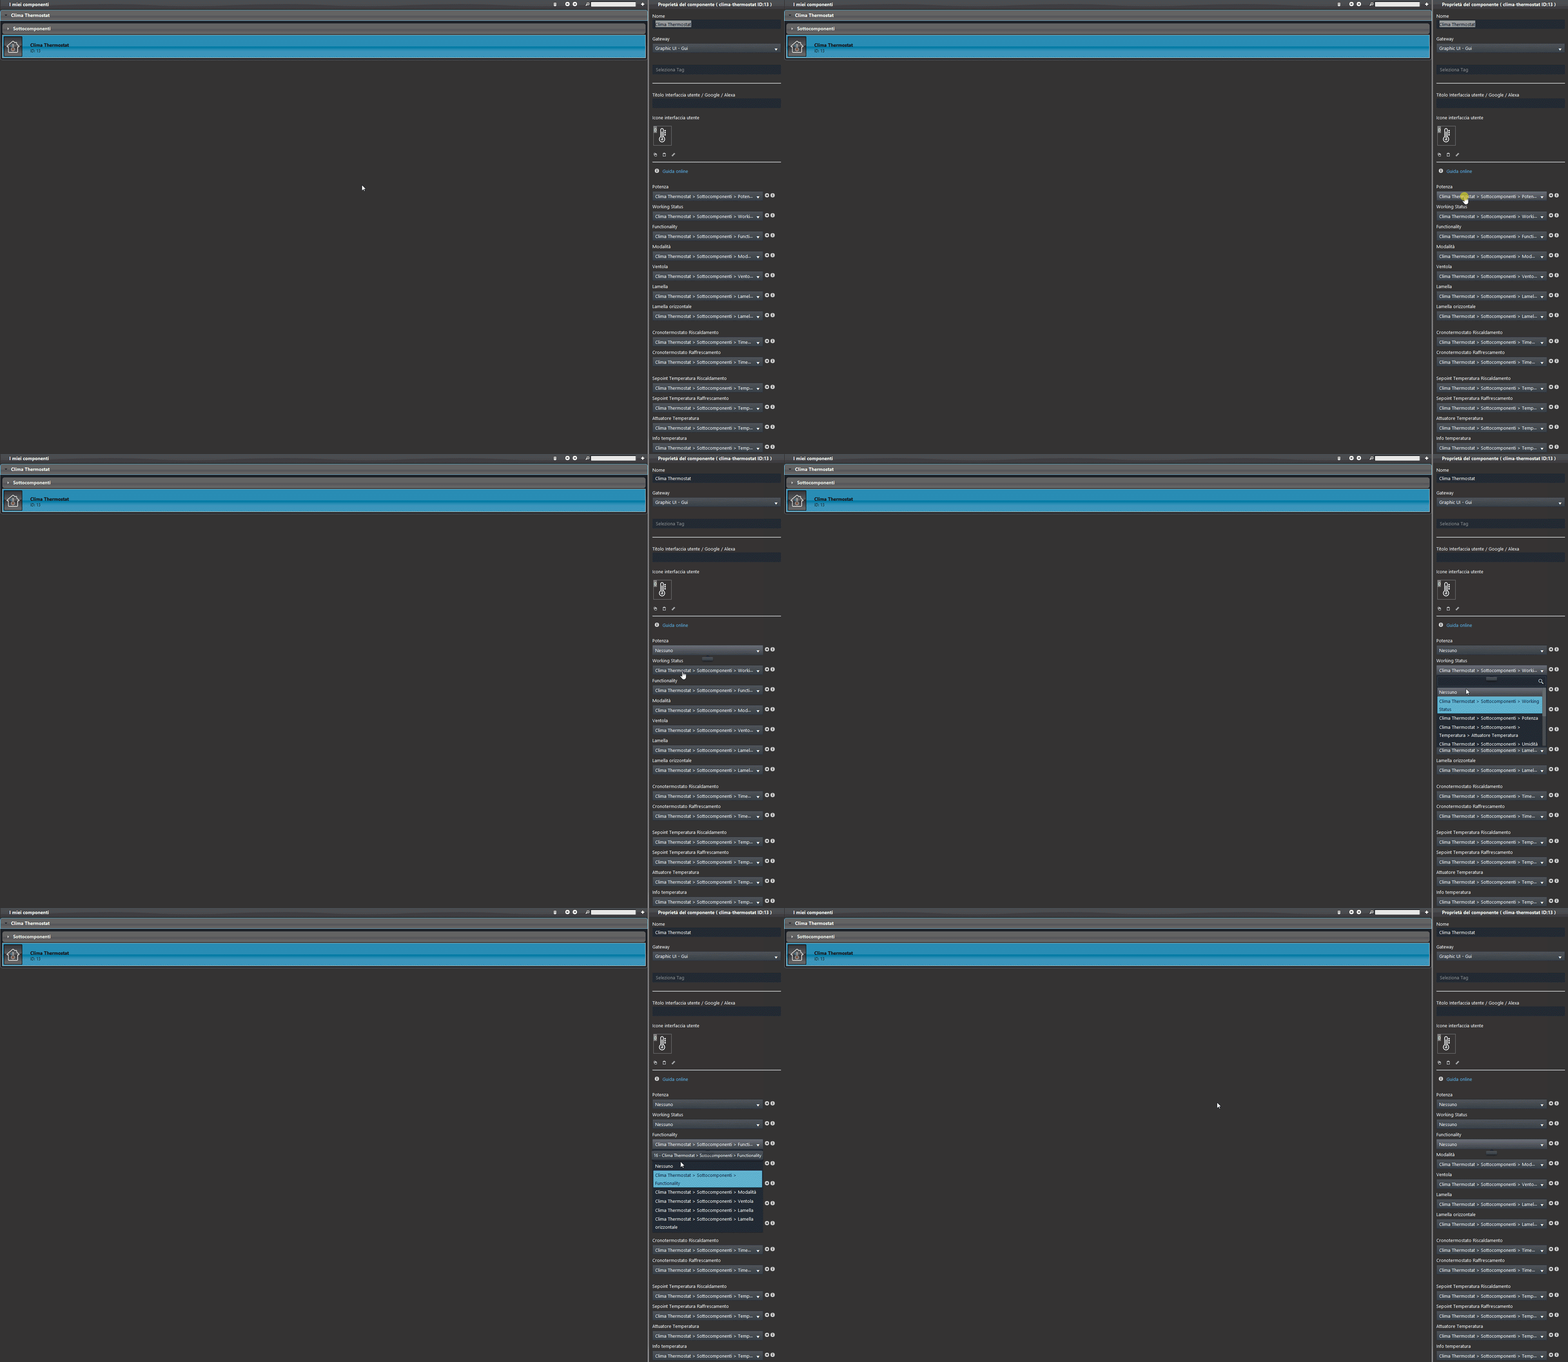
In the component properties of Clima thermostat you can choose which components will be displayed in the user interface: deselected ones will be hidden.
Components in the interface
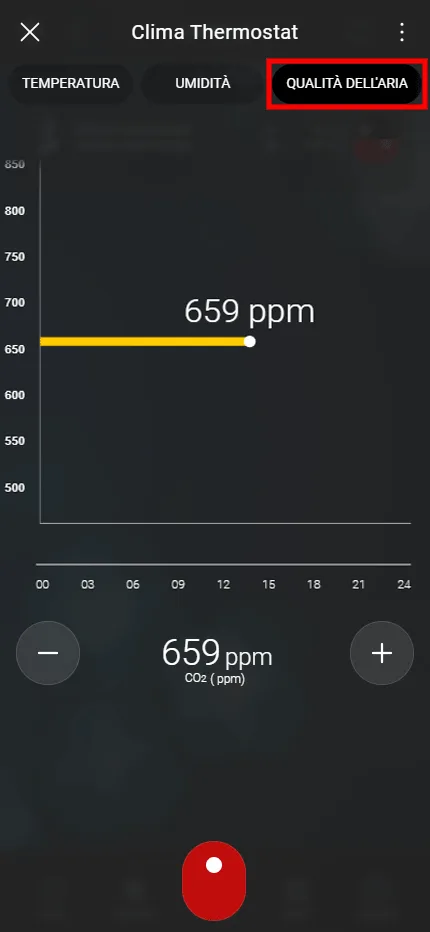
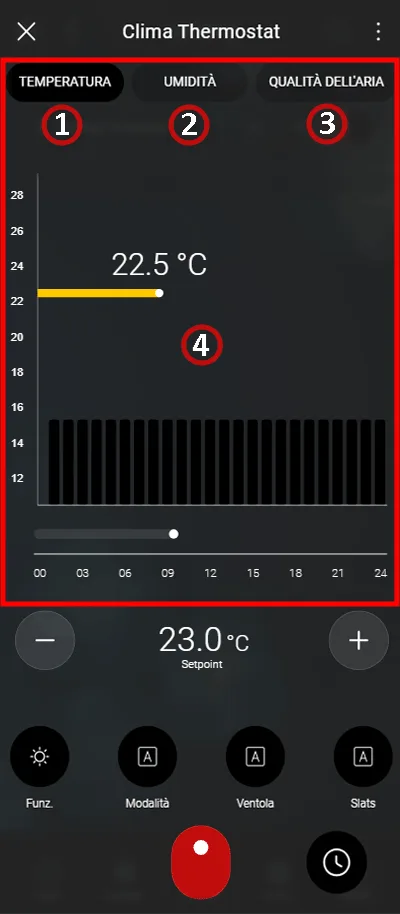
This screen shows the visual result of the Clima thermostat component in the user interface. 1. In the Temperature section, all information regarding climate and thermostat is displayed. 2. In the Humidity section, the information for monitoring and controlling humidity is displayed. 3. In the Air Quality section, the information for monitoring and controlling air quality is displayed. 4. In the Graph, the trend of the value during the day is shown in the upper part, and actuator activation in the lower part.
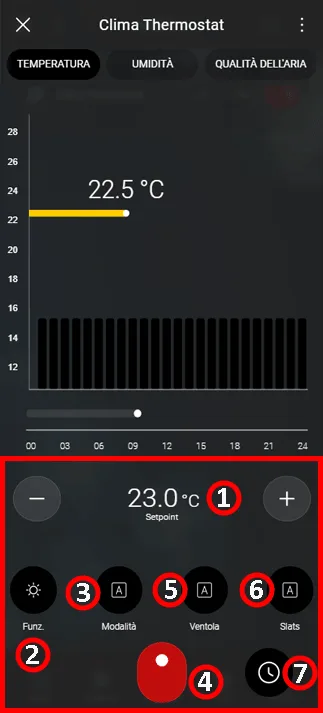
At the bottom of the screen, you can see all the components that allow interaction with the Climate/Thermostat device. 1. Component that allows you to change the thermostat temperature setpoint. 2. Component that allows you to change the function of the Climate/Thermostat device. NOTE: whenever the function is changed, remember to set the Scheduler to manual mode. Example: if the function has been changed from Winter to Summer, set the Scheduler to Manual mode. 3. Component that allows you to change the mode of the Climate/Thermostat device. 4. Component that shows the operating state of the Climate/Thermostat device. 5. Component that allows you to change the orientation of the vertical vanes of the Climate/Thermostat device. 6. Component that allows you to change the orientation of the horizontal vanes of the Climate/Thermostat device. 7. Component that allows you to program the Cooling/Heating setpoint of the Climate/Thermostat device.
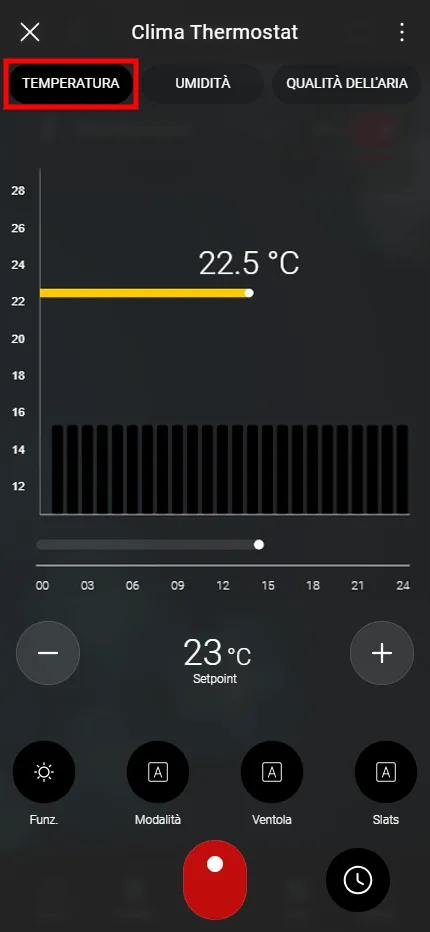
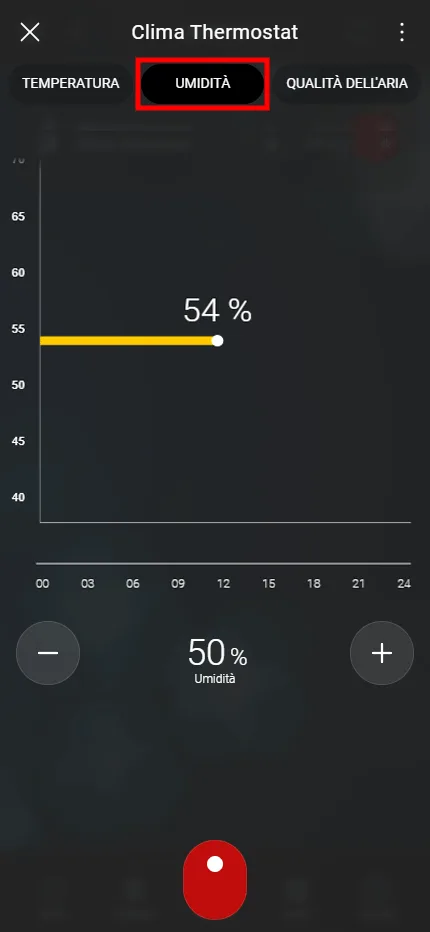
The following images show the various screens of the Clima Thermostat component in the Ilevia Control application.
Temperature section
Humidity section
Air Quality section