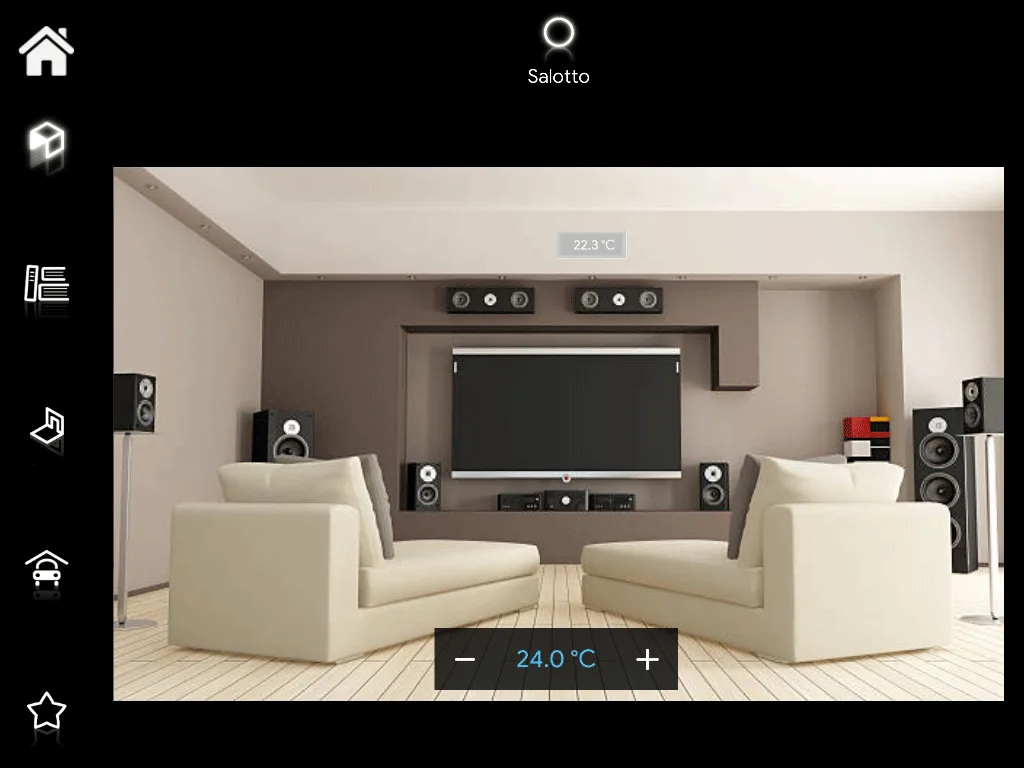
Set point
How to set up the Set point component in Ilevia Manager (limits, step, step, KNX gateway) and how it is represented in the Ilevia Control app.
INTRODUCTION
It allows you to control a thermostat setpoint or the humidity percentage of a dehumidifier.
USE CASES
You can set up the set point component to control a KNX, Modbus, etc. thermostat.
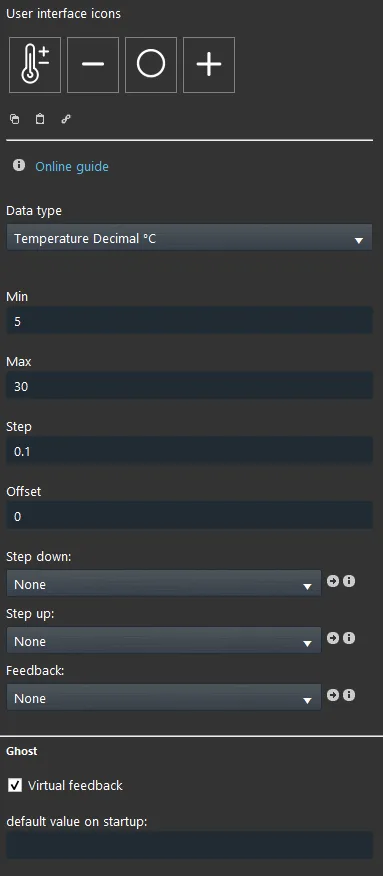
Component properties
Minimum: Minimum value the Setpoint can reach;
Maximum: Maximum value the Setpoint can reach;
Step: Step value from the previous value to the next one;
Step down: By associating a Button component, when pressed it decreases the current set point value by one step.
Step up: By associating a Button component, when pressed it increases the current set point value by one step.
Virtual feedback: The component does not require feedback from a physical device.
Default value at startup: In this text field you can set a specific value, which is applied every time the server starts.
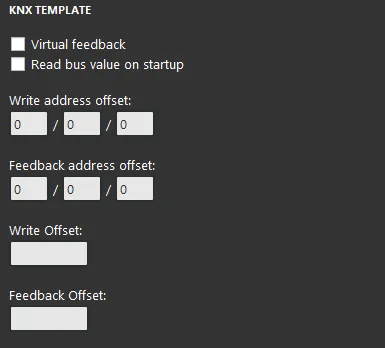
KNX
This component has been set up with the KNX gateway.
You can refer to the “Gateway / protocols” guide for more information.
Virtual Feedback: refer to the “KNX protocol” guide;
Bus value read on startup: refer to the “KNX protocol” guide;
Write / feedback address: refer to the “KNX protocol” guide;
There are three possible display modes: “CLASSIC”, “MODAL” and “HIDDEN”. For more information, refer to the “Common properties” guide.
CLASSIC DISPLAY
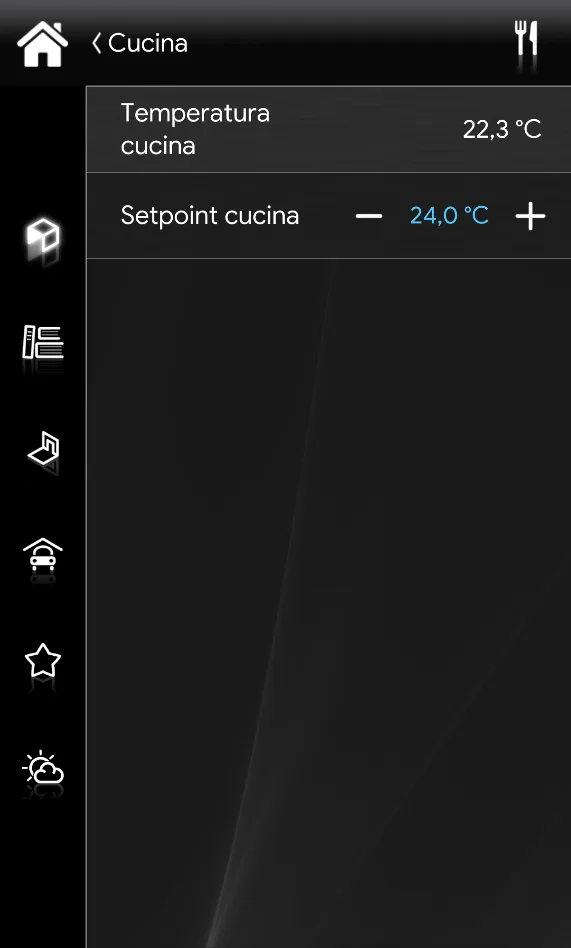
This is the component output in the Ilevia Control app (Classic style).
The Set point is shown with the following layout:
Heating ⇒ Set point icon

Step command (Set point icon)
MAP DISPLAY
This is just one of the possible outputs of the component in the Ilevia Control app (in Map style).
The icons can be customized to suit your needs: symbol, color and size.
In this case we can see the default icon:
Heating ⇒ Set point icon

Default icon (editable icon, Figure 1)

Interactive panel (Set point icon, Figure 2)
Figure 1
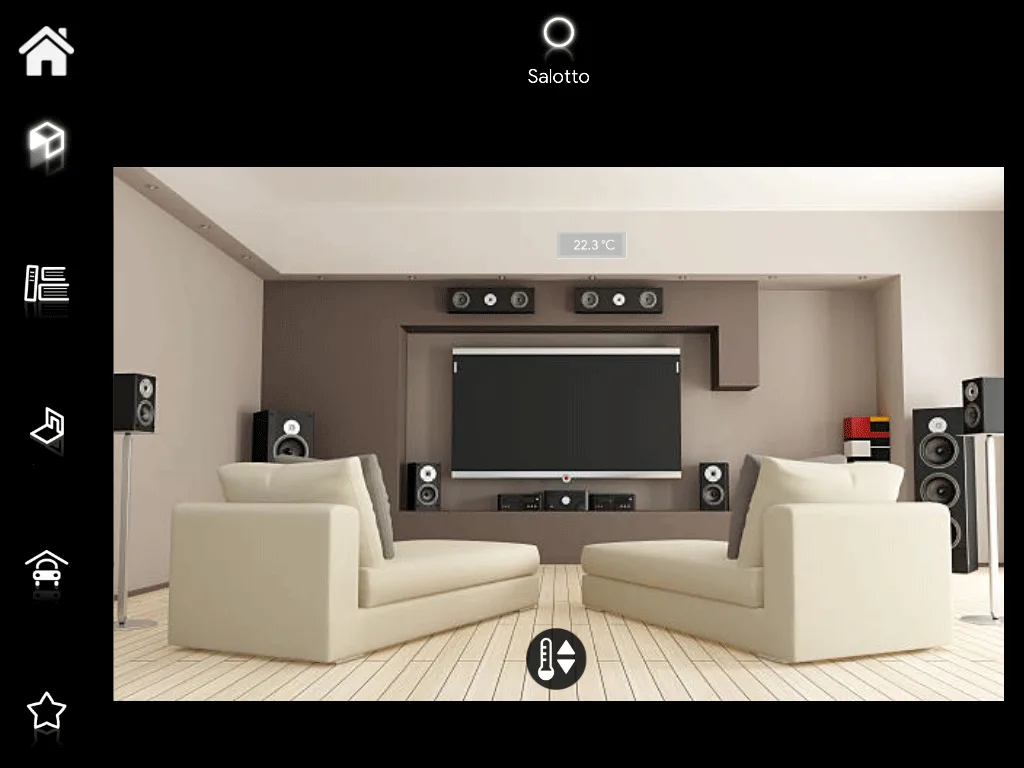
Figure 2