Chronothermostat
Complete guide on how to set up the Chronothermostat component within the Ilevia Manager configuration software and different views.
Introduction
This component allows the temperature of a thermostat to be programmed.
Use cases
The user wants to manage thermostat programming and the ability to schedule it.
Component properties
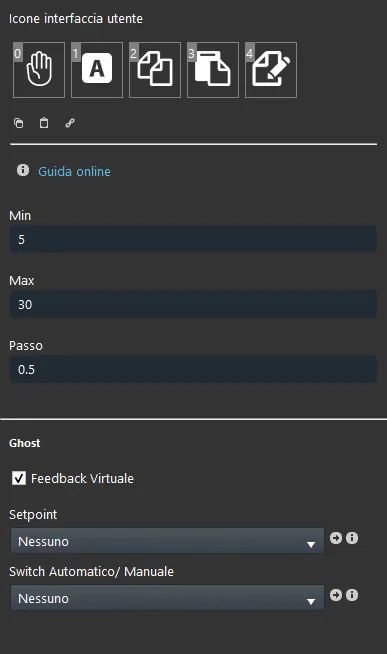
Minimum: Minimum temperature value that can be set on the Chronothermostat;
Maximum: Maximum temperature value that can be set on the Chronothermostat;
Step: Step value from the previous value to the next one;
Setpoint: The temperature at which the switch is activated;
Automatic/Manual Switch: Using a switch component, you can set the thermostat to manual or automatic mode;
Chronothermostat interface view
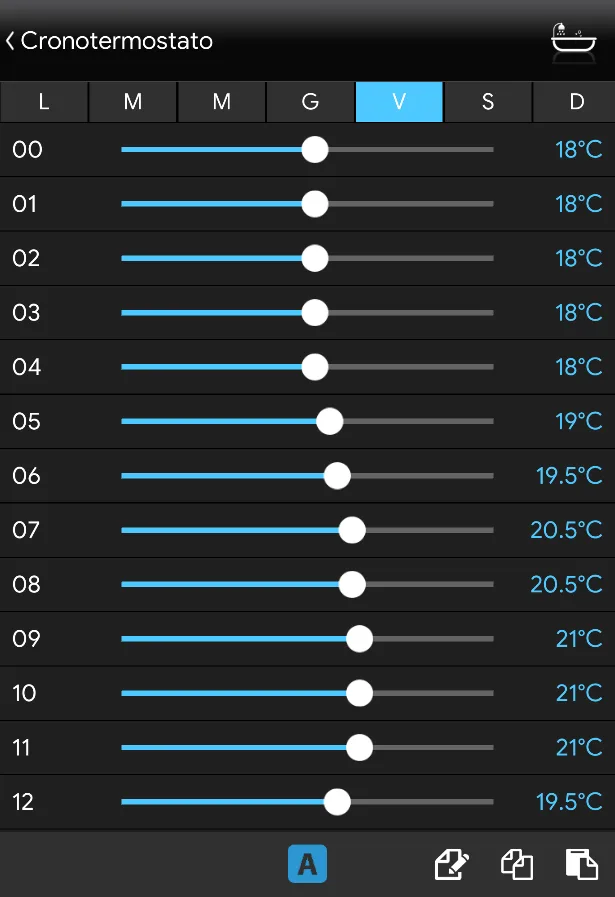
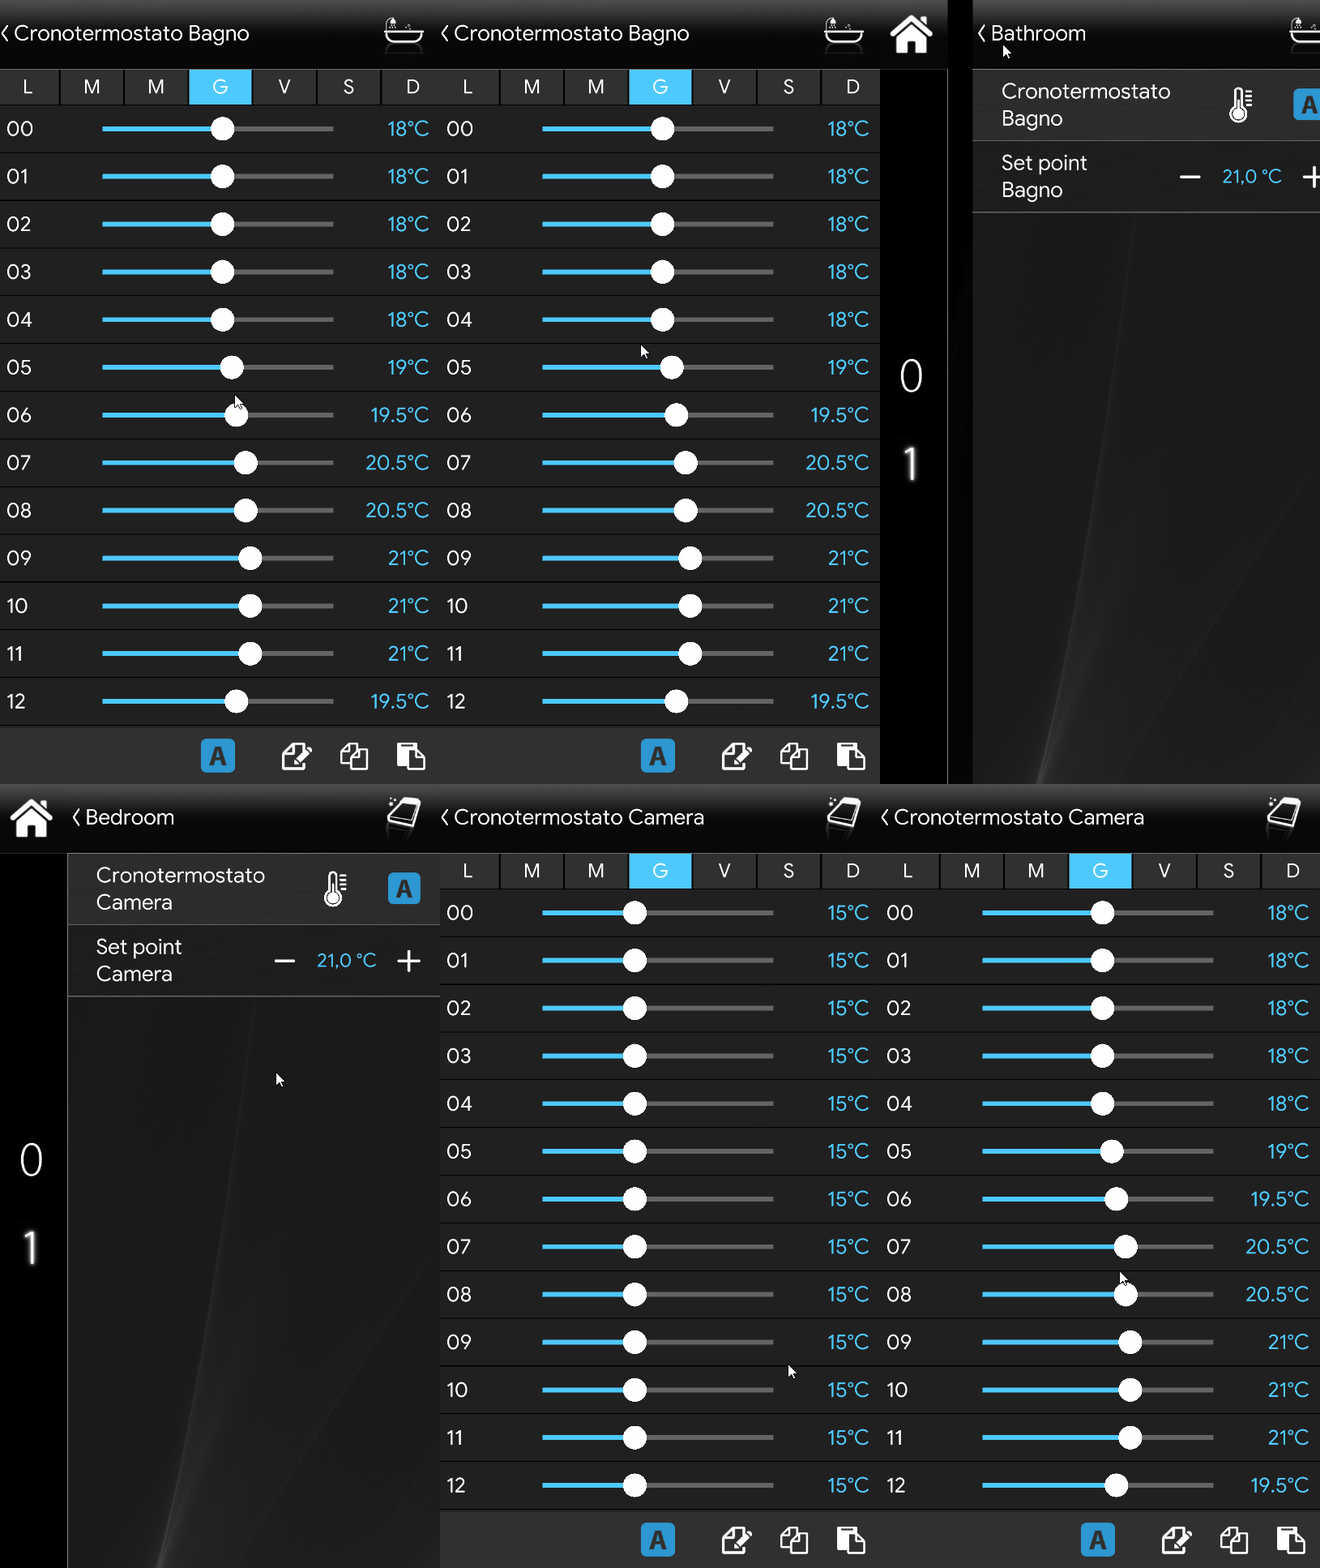
This is one of the possible results of the component within Ilevia Control (classic view).
The timed thermostat is shown with the following masks:
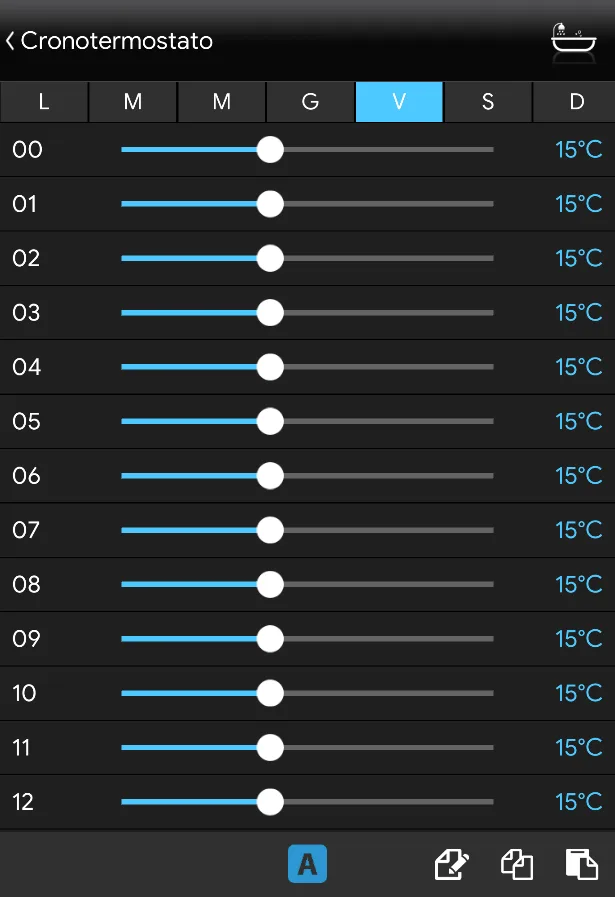
Timed thermostat ⇒ Timed thermostat mask

Select day (Mon, Tue, Wed, Thu, Fri, Sat, Sun);

Scroll bar from 5°C to 30°C (Timed thermostat mask). The temperature is set using a scroll bar;

Manual mode;

Automatic mode;

Copy settings

Paste settings

Edit settings
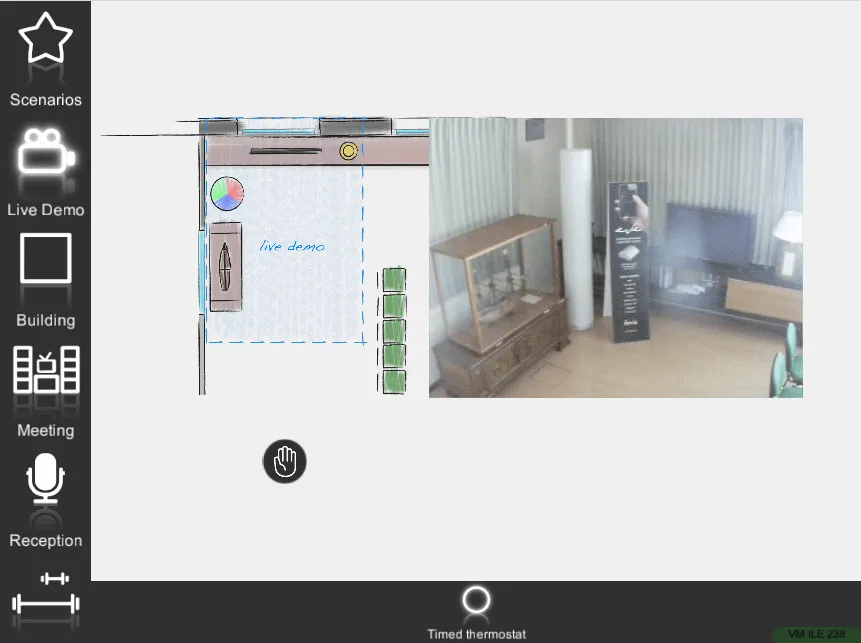
Timed thermostat in Manual mode
Timed thermostat ⇒ Manual icon

Default icon (customizable icon)
Classic user interface
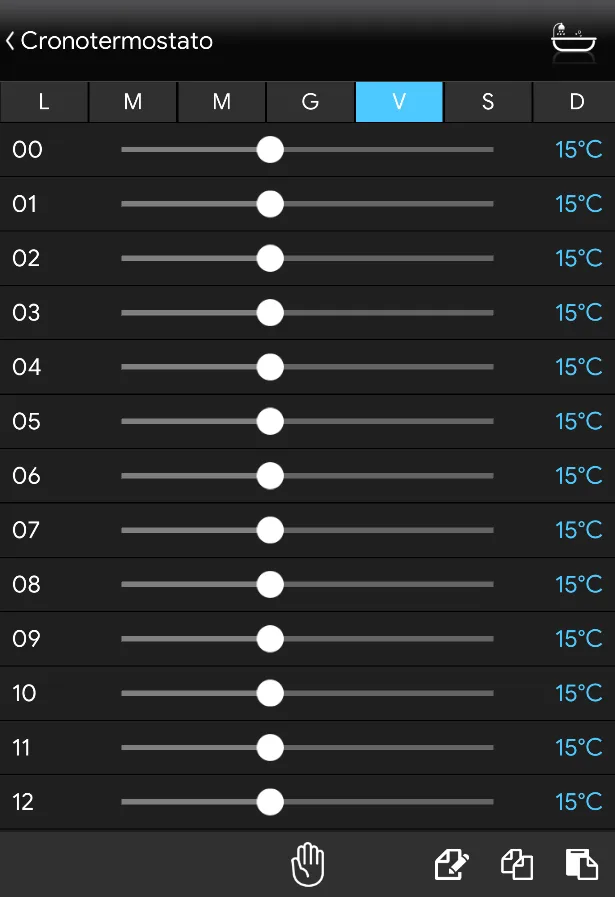
Map user interface
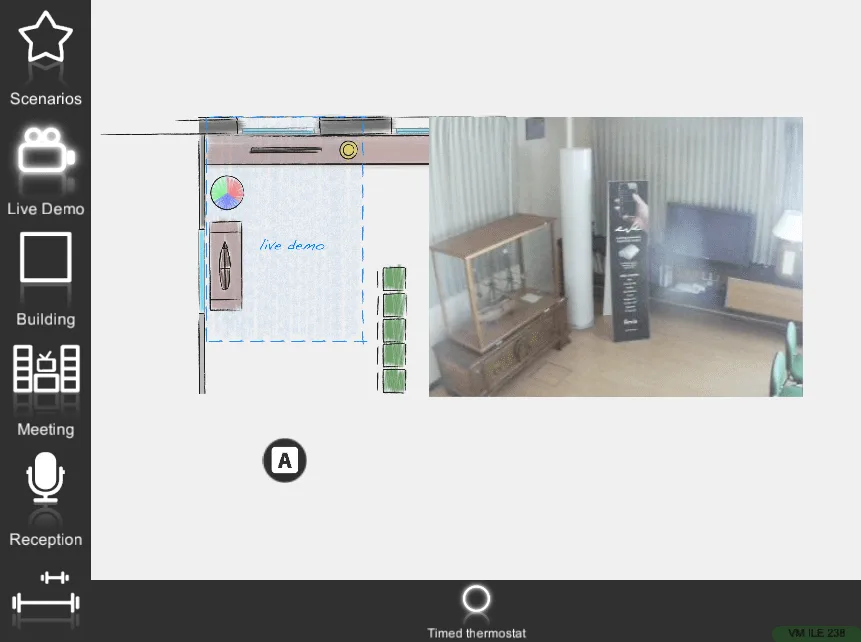
Timed thermostat in Automatic mode
Timed thermostat ⇒ Automatic icon

Default icon (Customizable icon)
Classic user interface
Map user interface
PRACTICAL GUIDE TO CONFIGURING THE TIMED THERMOSTAT
The main benefit of using one or more timed thermostats in the home is the ability to adjust the temperature according to our schedule, with the goal of using heating only when truly needed. Using the Ilevia Control app, it will be possible to enable heating automatically according to the timing set by the user, or simply control it manually.
Using multiple chronothermostats in a home makes it possible, for example, to keep the sleeping area cooler and heat it only during the evening hours. Distinguishing between different zones and parts of the house results in a significant energy saving.
How to configure a timed thermostat
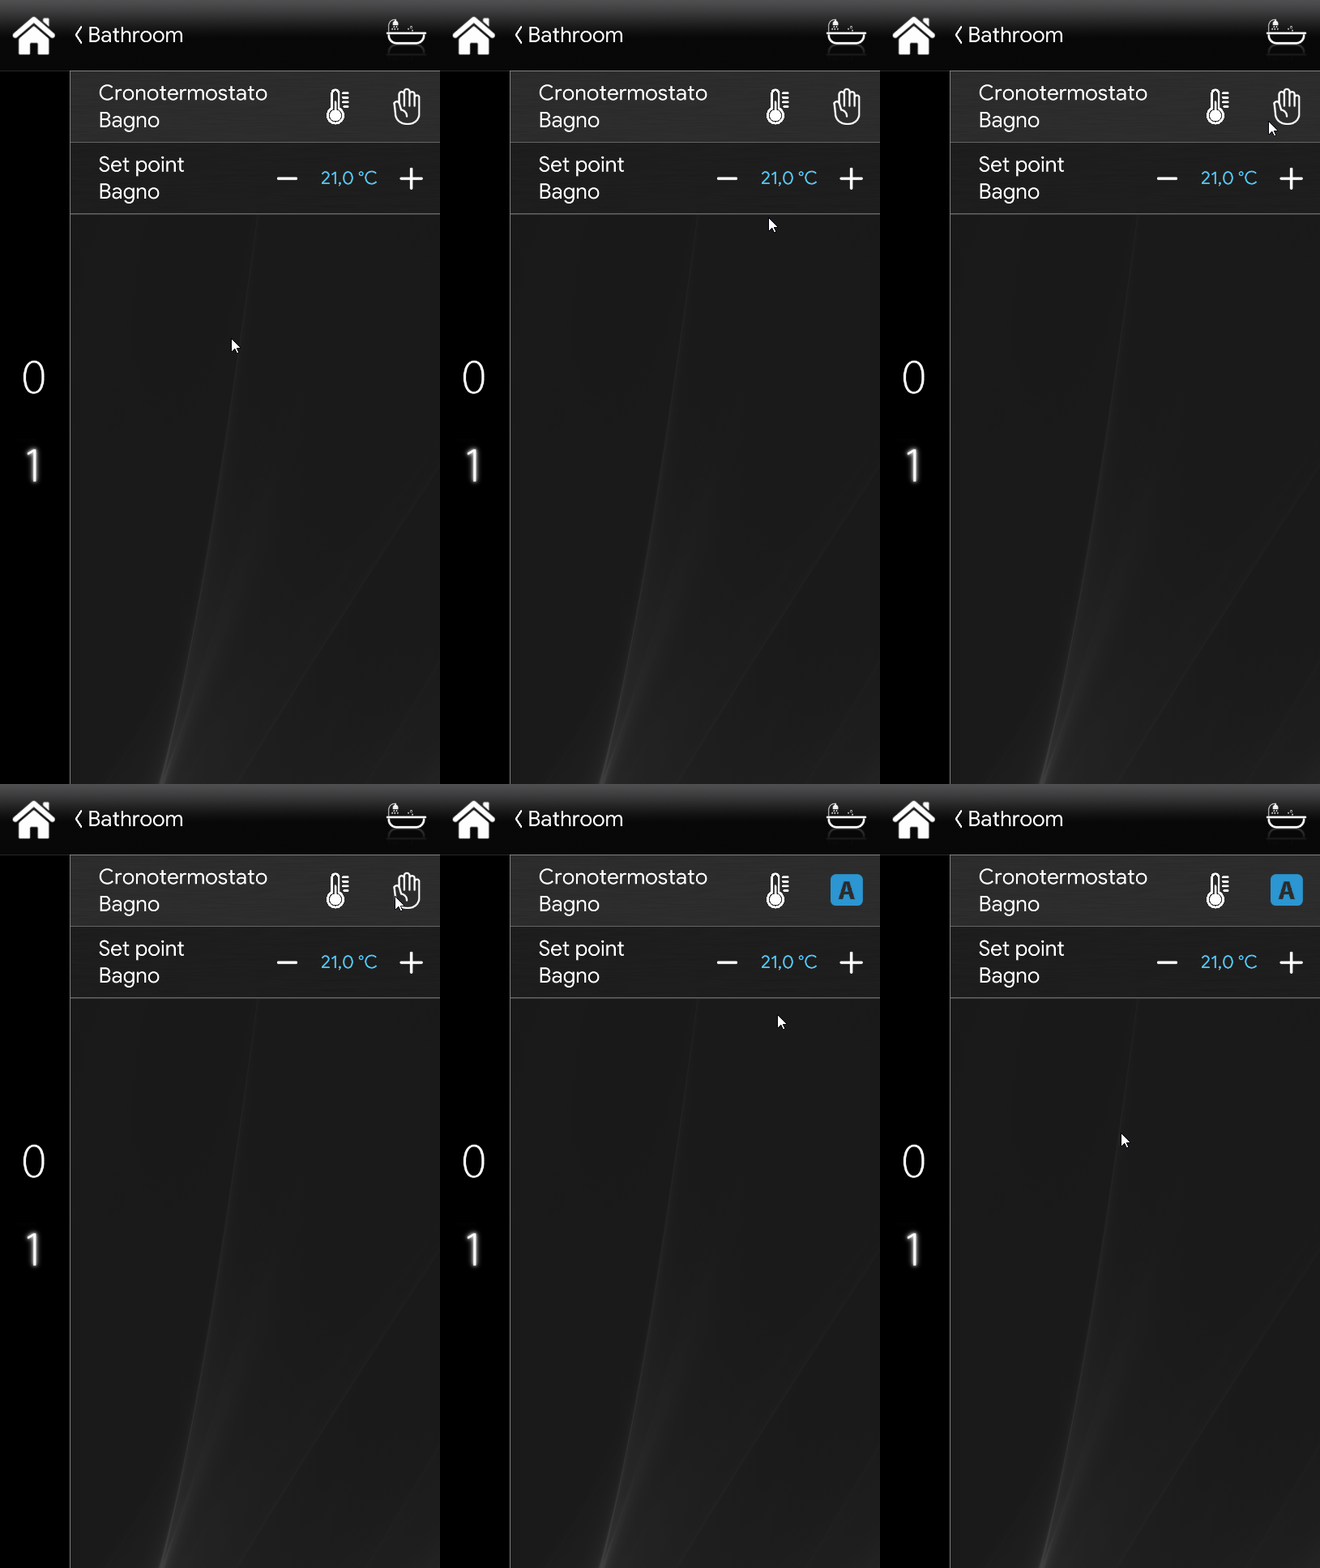
On this screen we will find only 2 components:
1. The Chronothermostat component appears in the interface with two icons; by pressing the thermometer icon

you will enter the programming mode, which we will see in the next step, and the hand icon

, this means that the Chronothermostat is in manual mode, and from now on it will no longer take into account the program we set in the time settings. By pressing the hand icon, the component setting will change to automatic mode

and therefore it will follow the schedule set by the user.
2. The thermostat controls the temperature using the – and + commands.
To enter the programming mode of our Chronothermostat, click once on the thermostat icon
The screen that appears contains the 7 days of the week and the 24 hours of the day. With the horizontal slider, it will be possible to increase or decrease the temperature for a specific time period; alternatively, by holding down the circle on the slider you can set the value using the virtual keyboard. In the example shown, we have set a typical working week, increasing the temperature only when the person is at home.
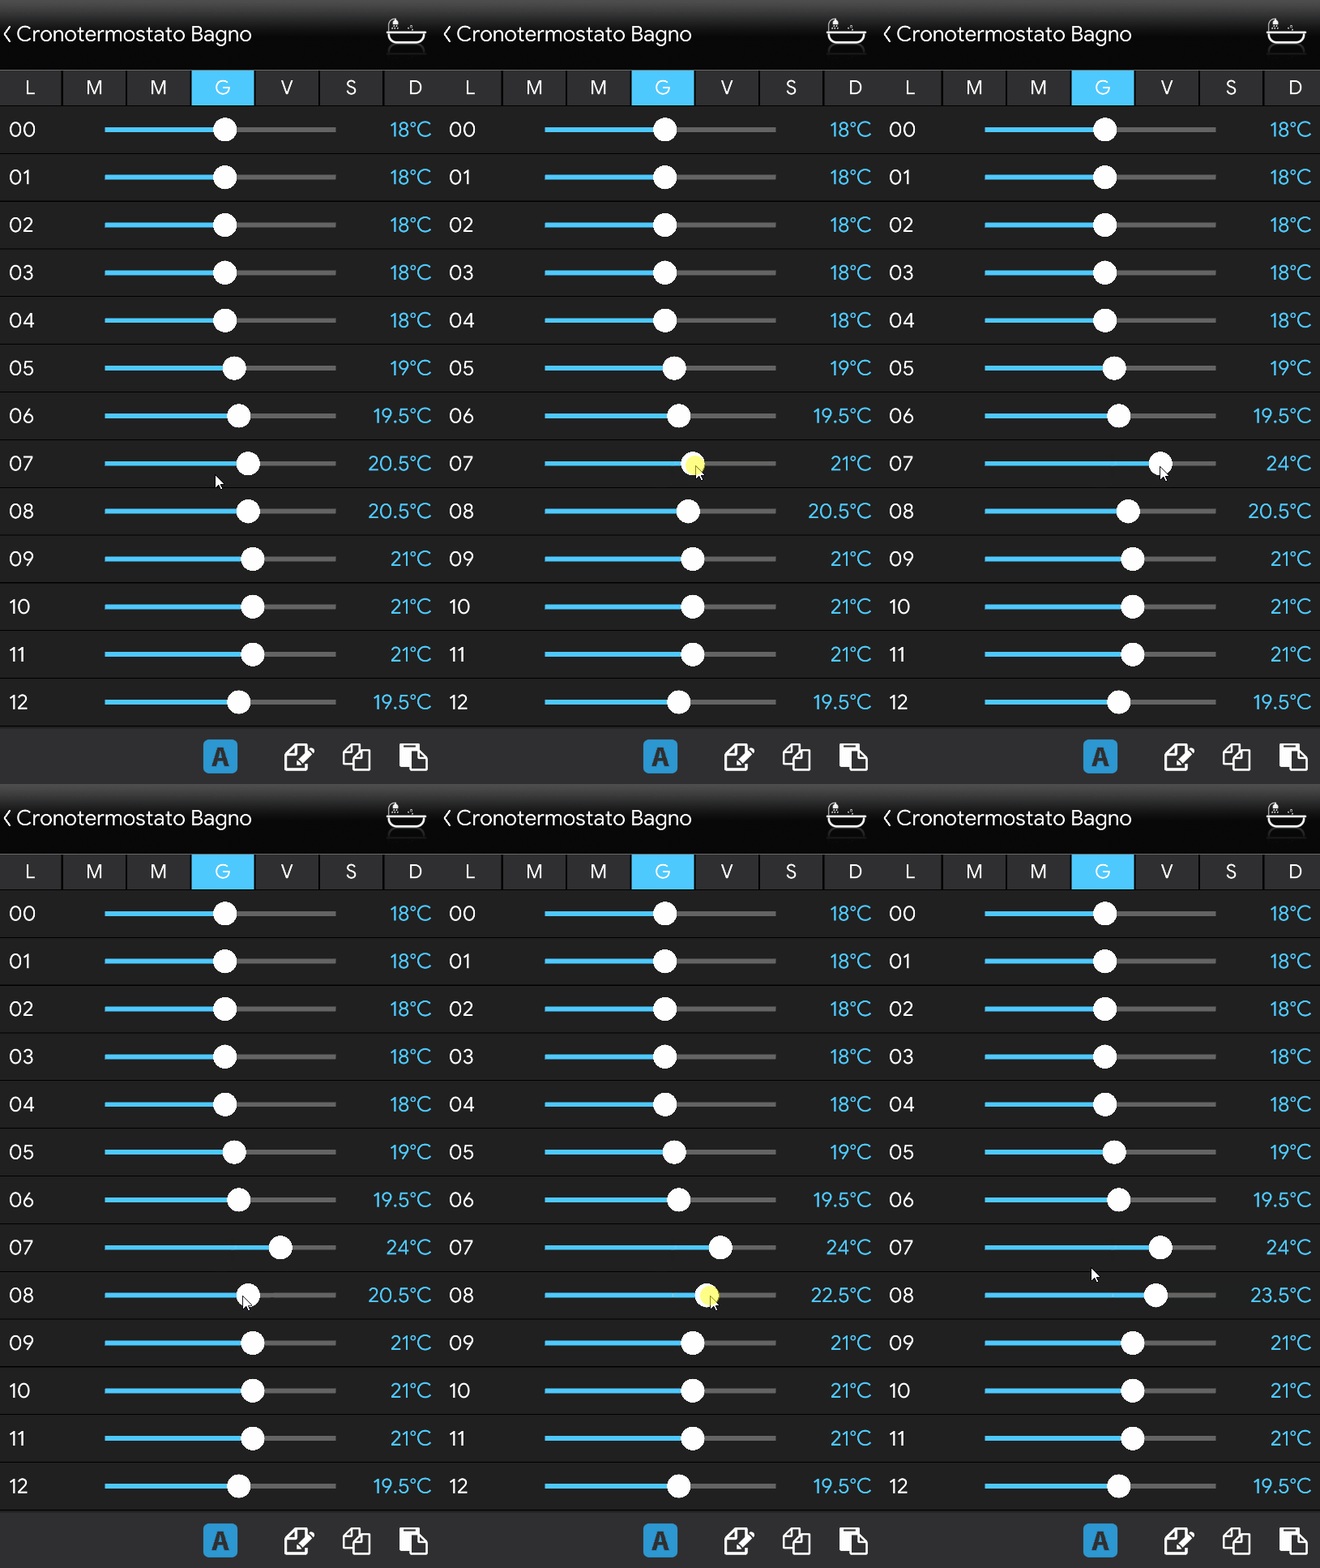
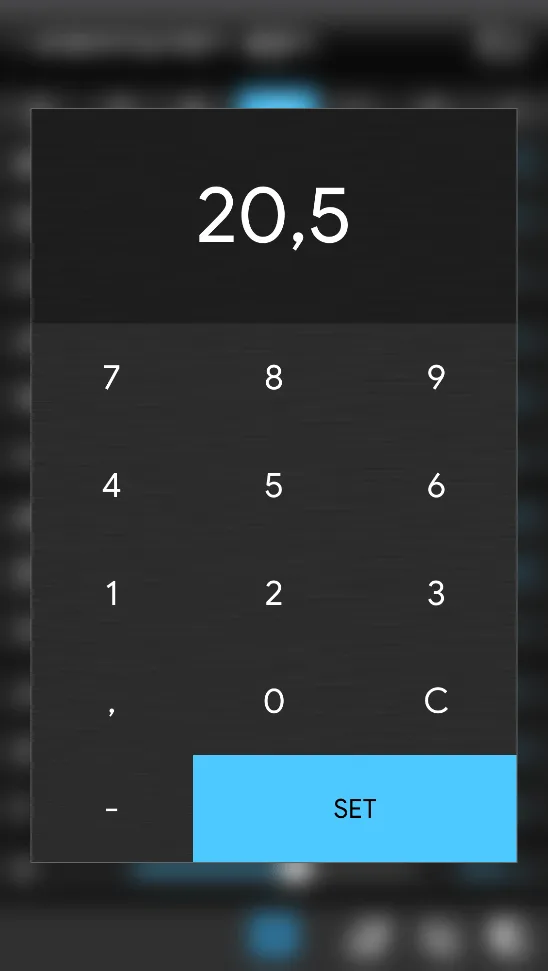
The icons at the bottom right represent respectively:
Day copy/paste

.
Copy Timed thermostat values

Paste Timed thermostat values

.
To copy the values of a day, press the copy icon
for the day we want to use as a reference, and select the days of the week to which to copy the value by clicking the corresponding day button. For example, this icon

indicates the day to which the value will be copied. Once the copy icon is reopened
, the days will be copied as reference days initially chosen by us.
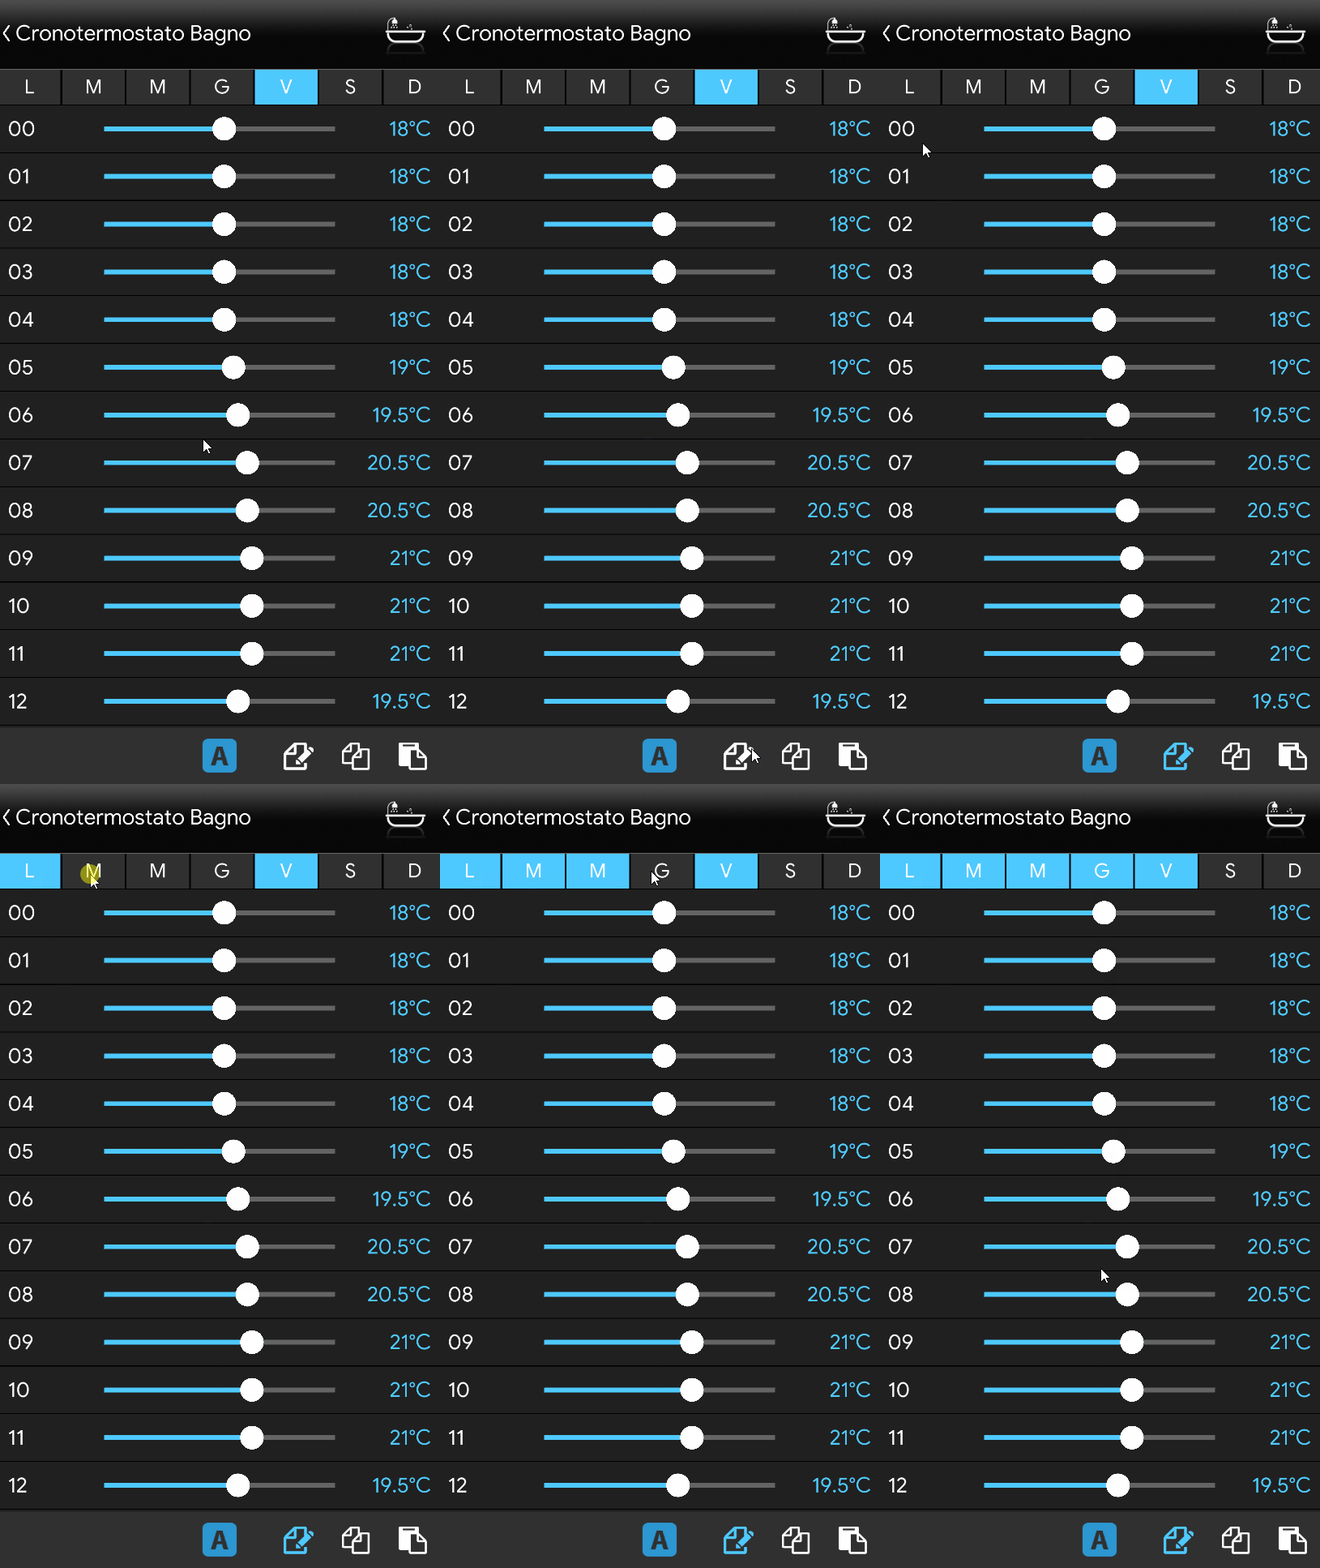
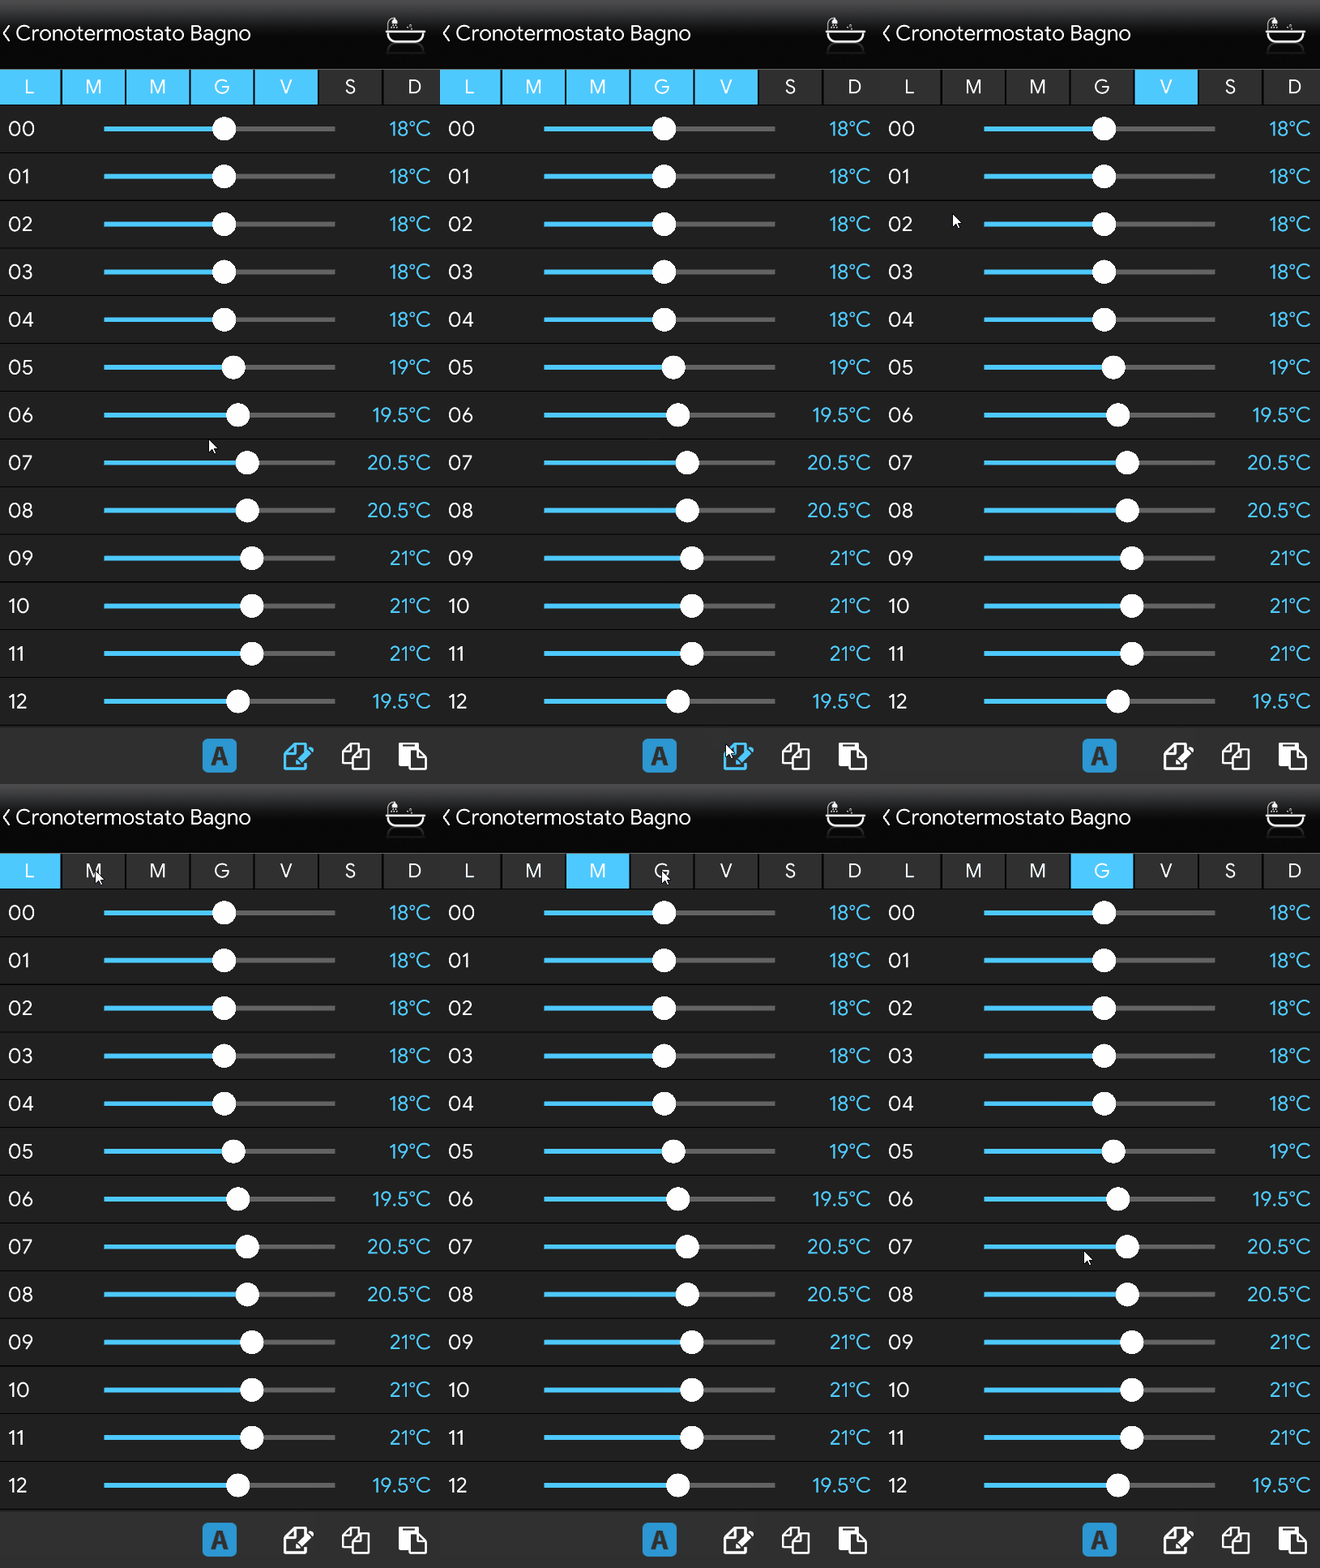
If there are multiple programmable timed thermostats, it is possible to copy the values from thermostat 1 and paste them into timed thermostats 2, 3, 4, etc. To complete this operation, press this icon
in the timed thermostat with the original values, go to the desired timed thermostat and paste the values by pressing this icon
.