
Integration of the Nuki smart lock via MQTT
How to enable MQTT in the Nuki app and configure the gateway and components in Ilevia Manager to open, close, and monitor the Nuki smart lock.
Introduction
The Nuki smart lock (Fig. 1) lets you remotely control the opening and closing of a door. This guide explains how to integrate this Nuki product with the Ilevia supervision system via the MQTT protocol.
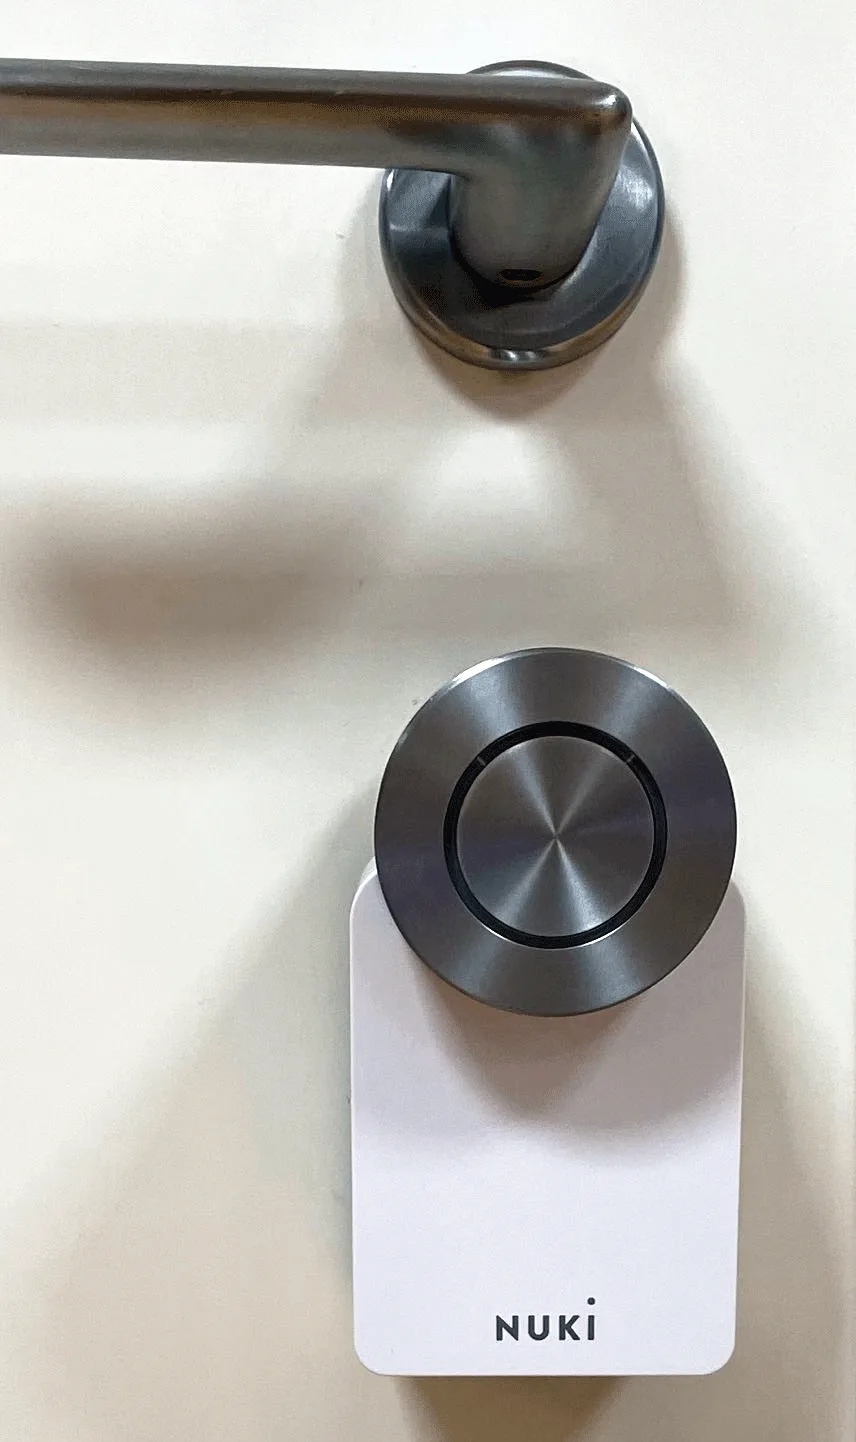
Fig. 1
How to enable and configure the MQTT protocol in the Nuki app
Step 1:
Open the Nuki app on your mobile device. Then click Settings next to the device name at the bottom of the app.
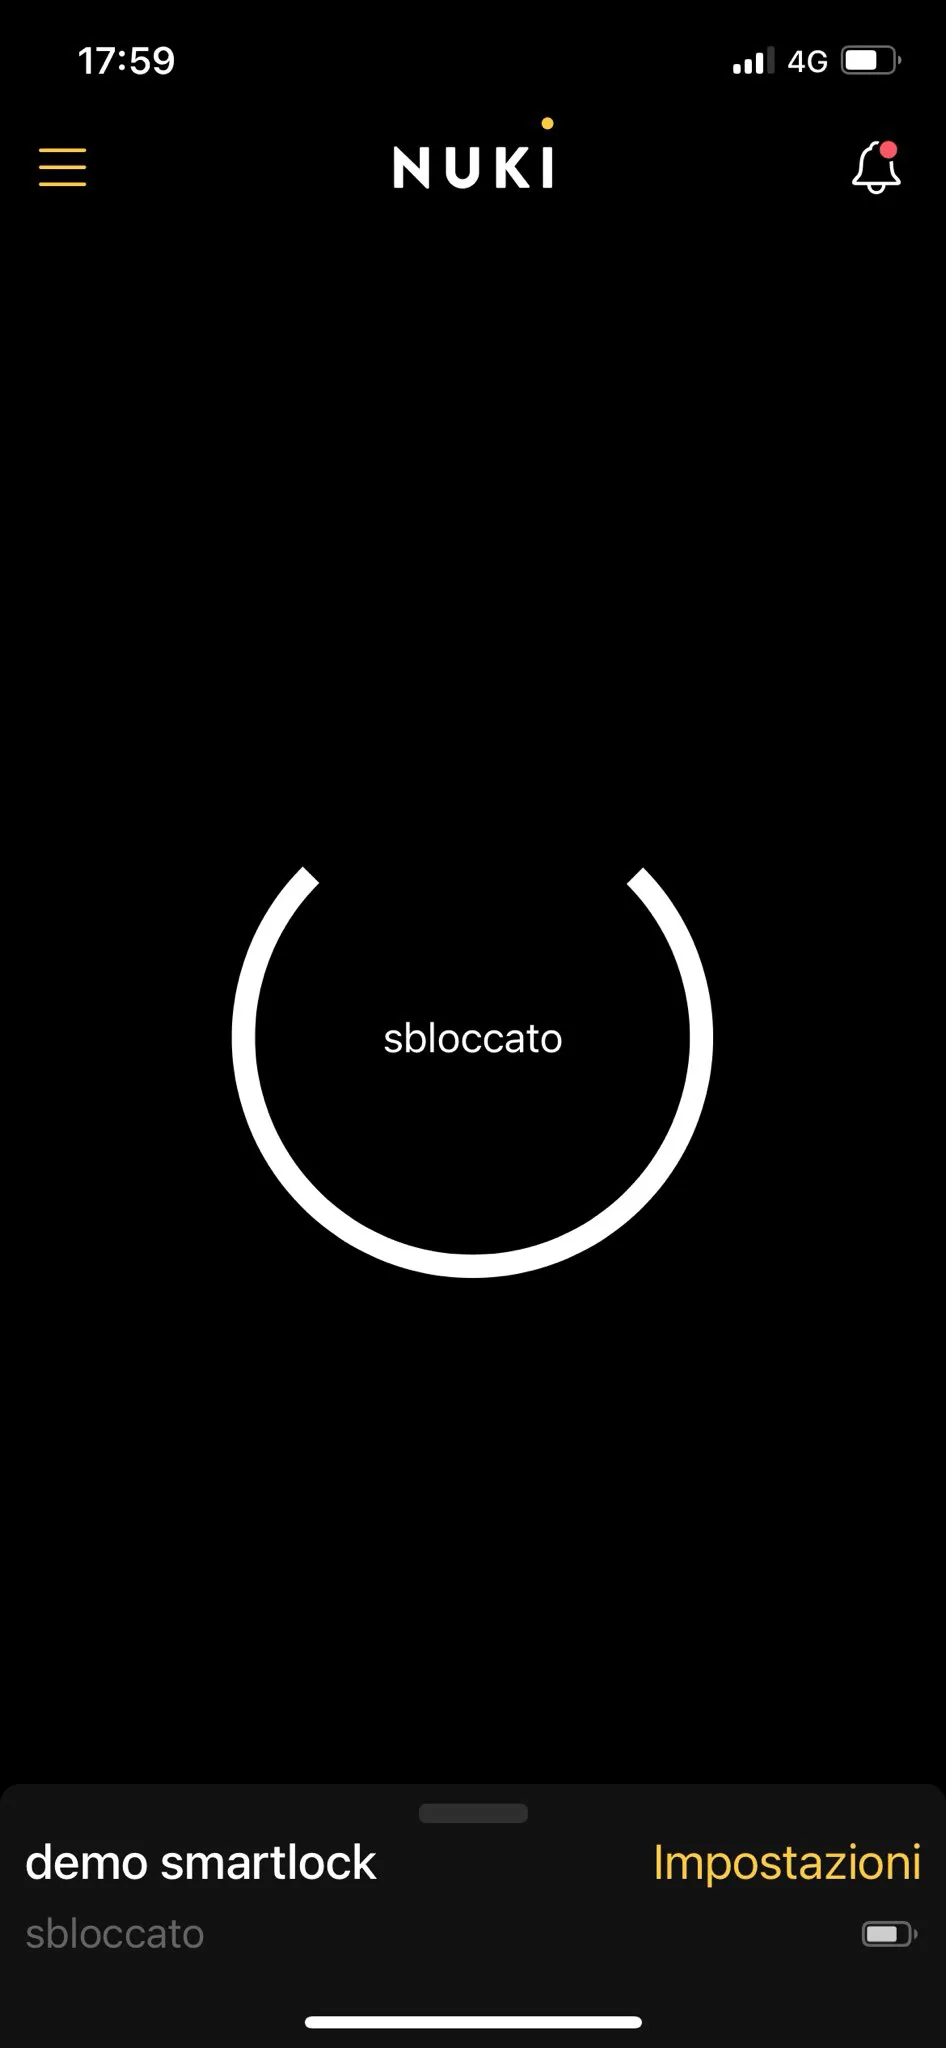
Step 2:
Click Functions and configurations.
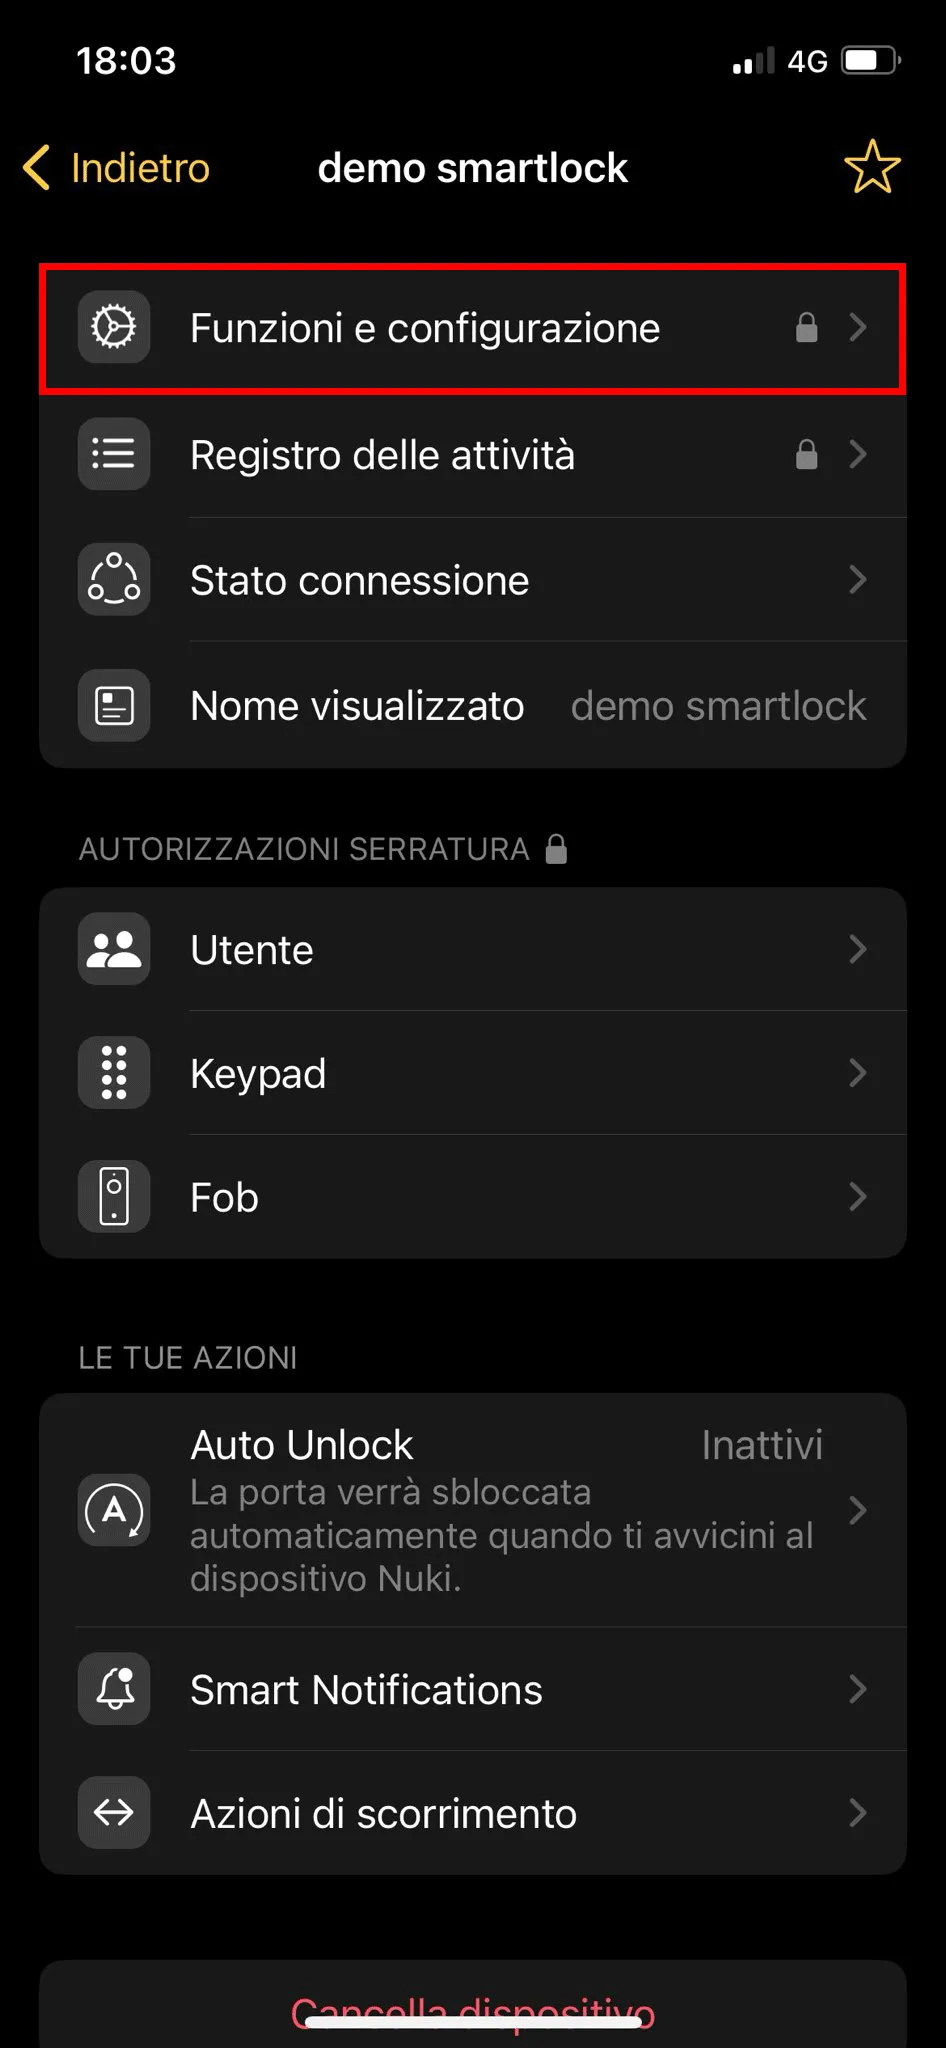
Step 3:
Click the search icon at the top right, enter MQTT as the search term, and click the first result.
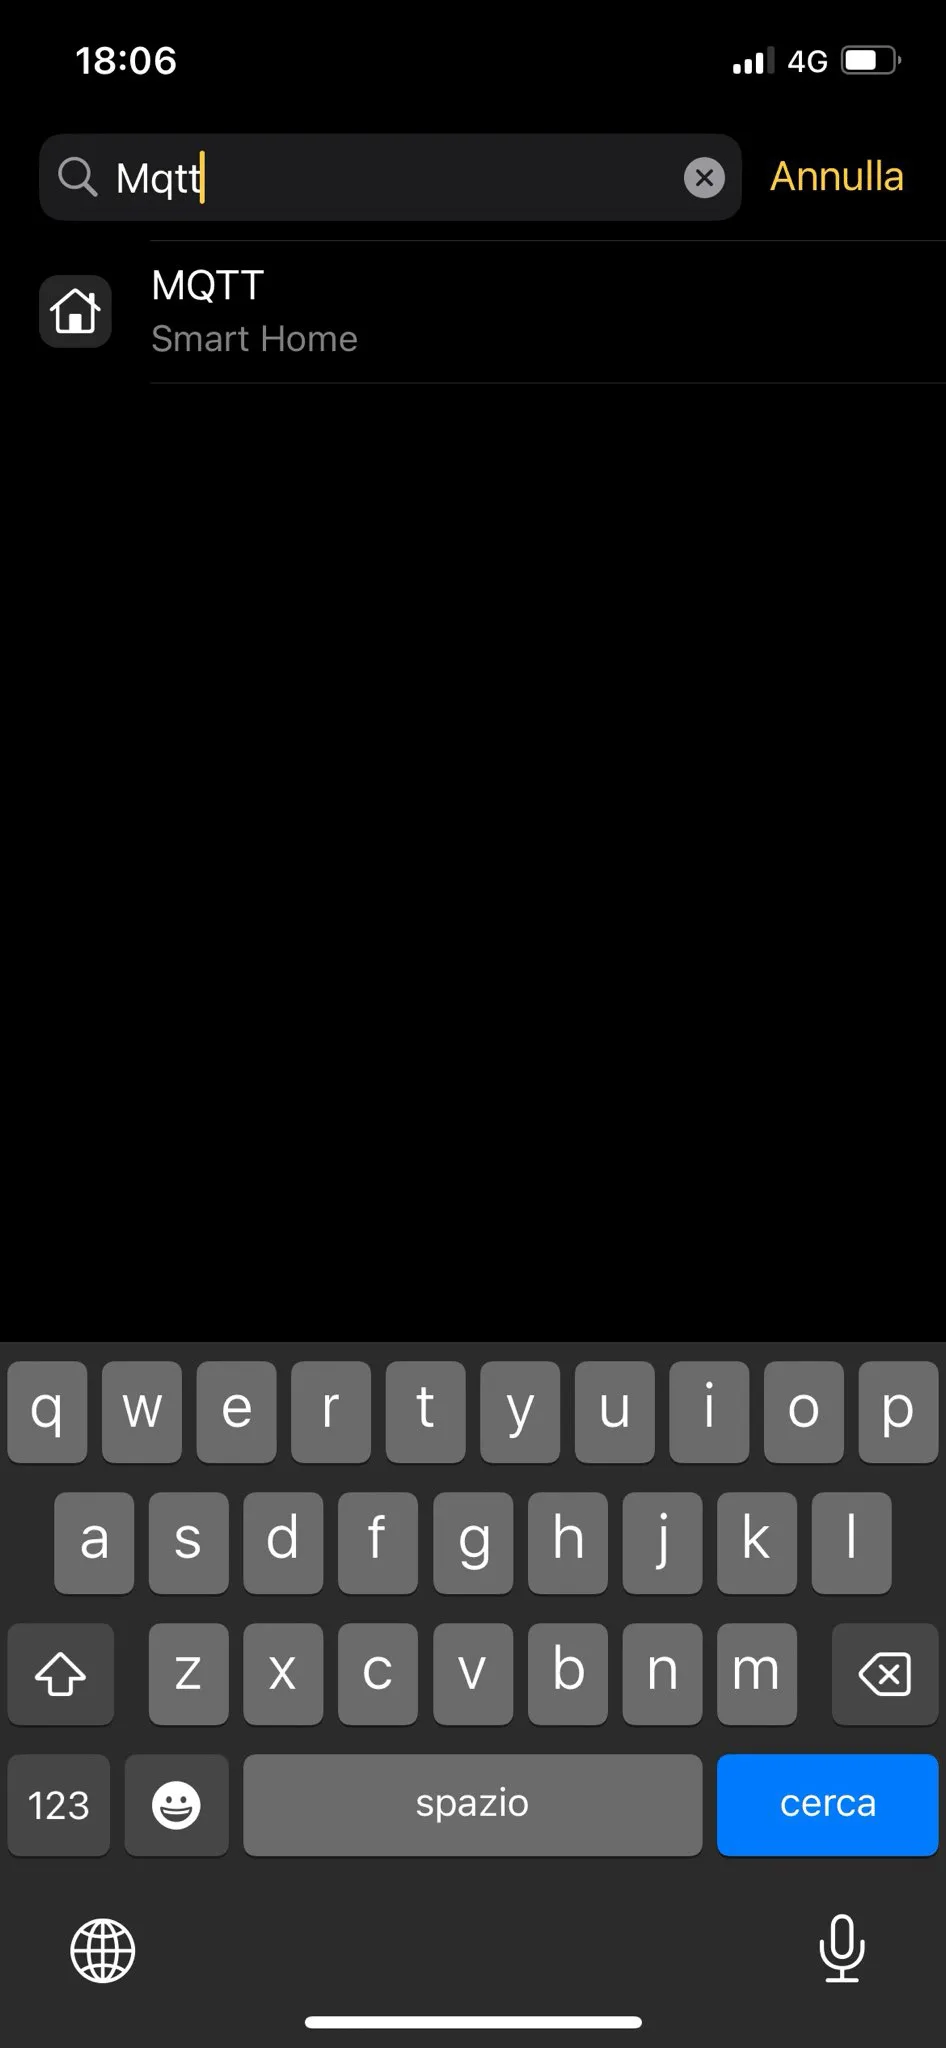
Step 4:
Click MQTT; you will be asked to enable it, then click Enable.
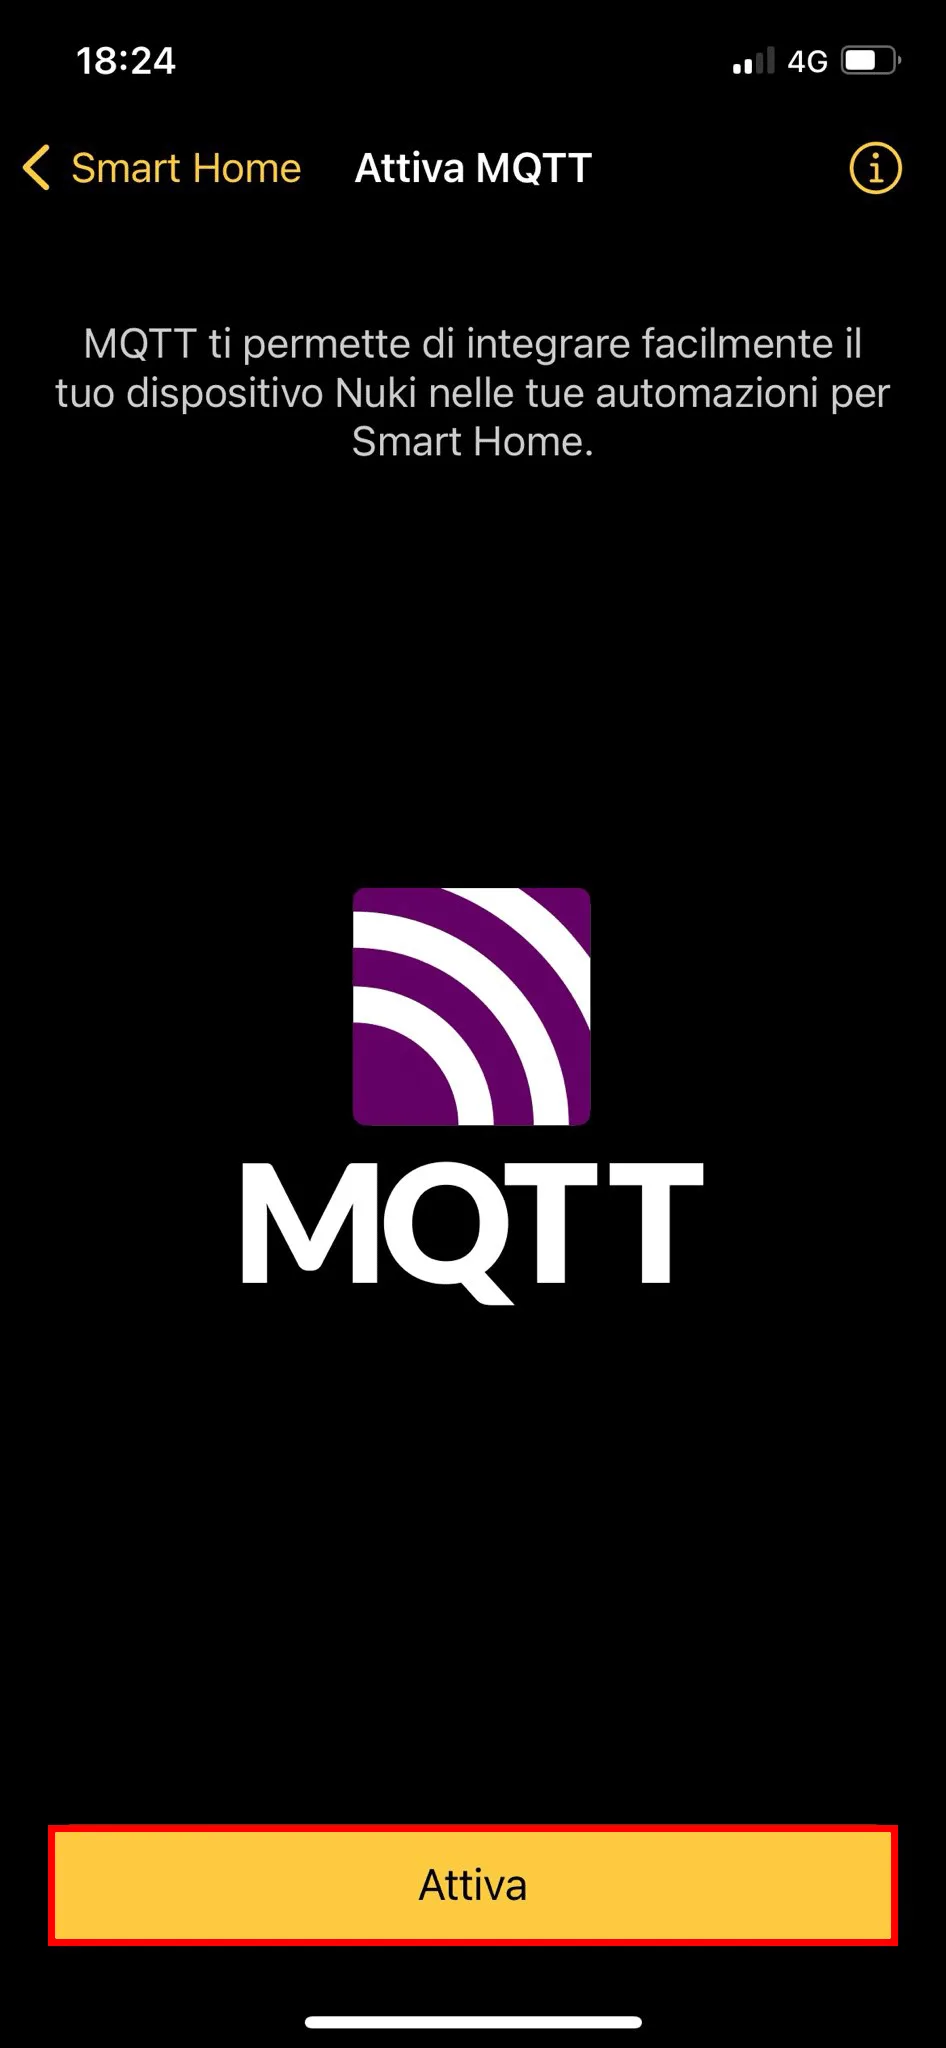
Step 5:
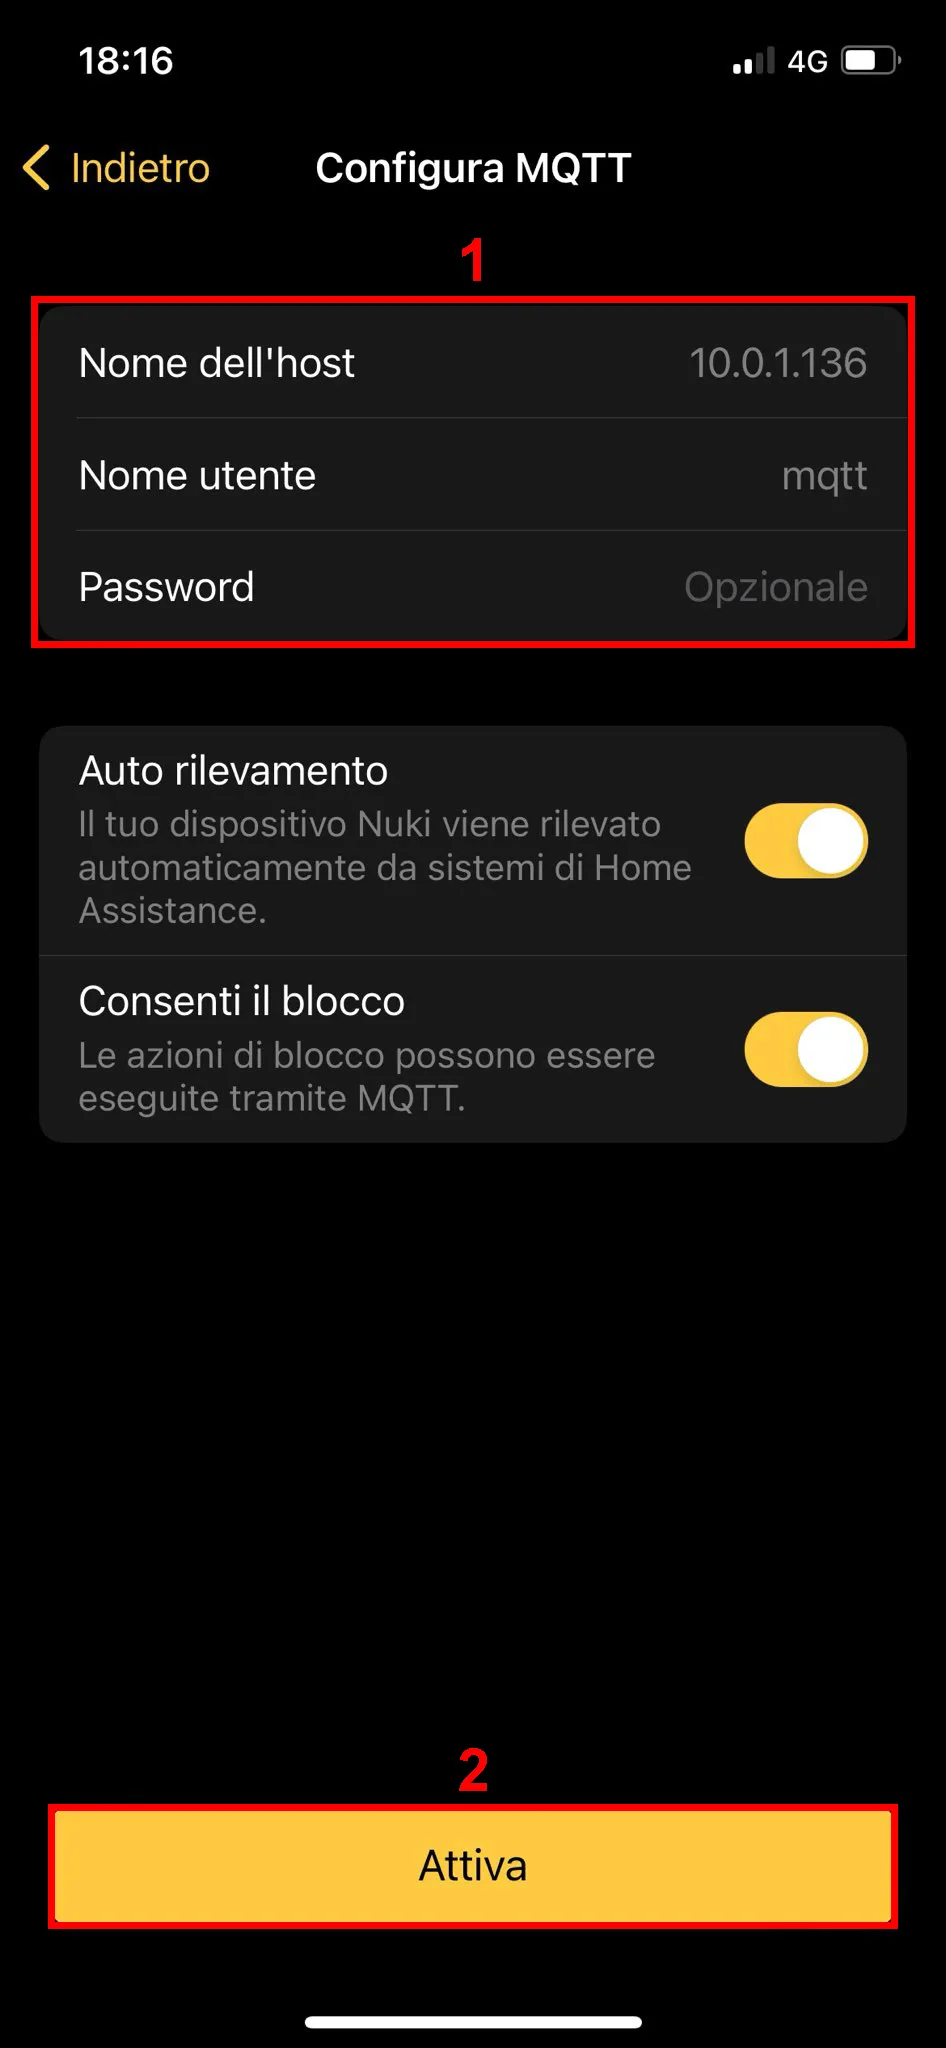
1. Enter the parameters for configuring the MQTT protocol: the IP address of the X1 server and a username, which in this case is mqtt. 2. Finally, click Enable to confirm the settings.
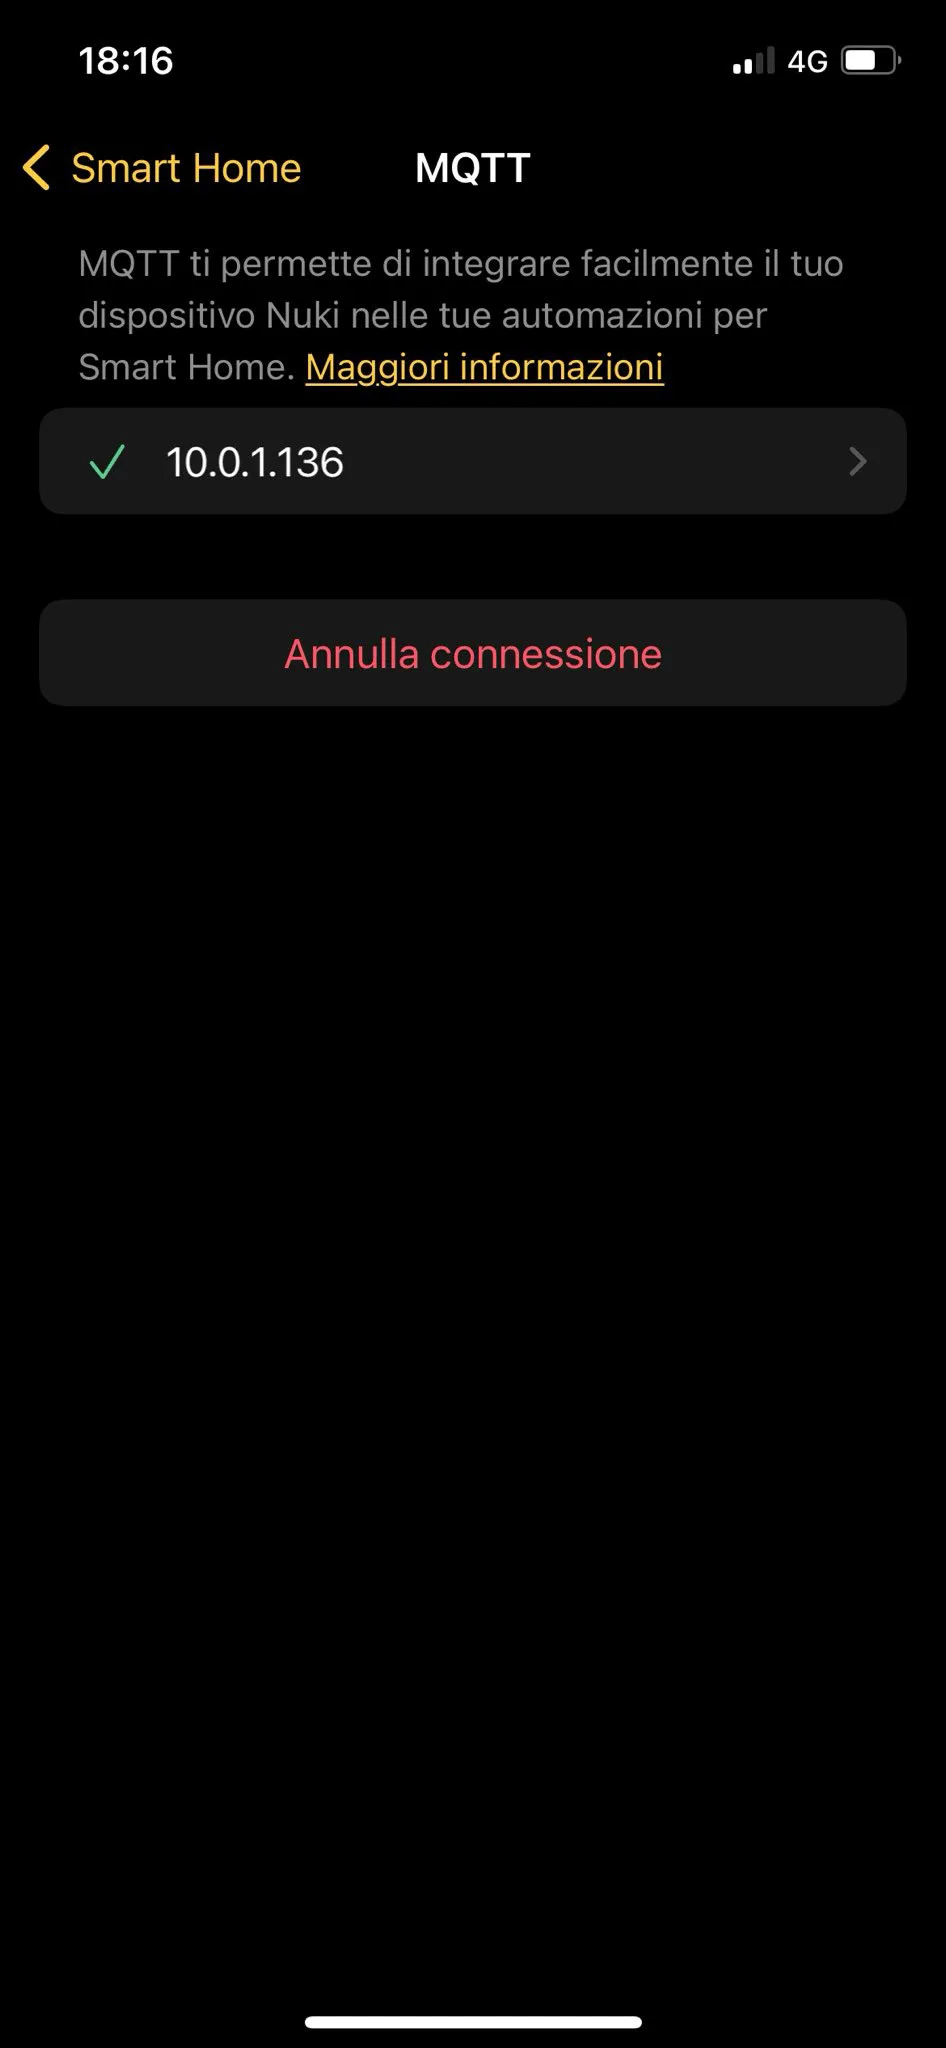
If all settings are correct, this screen is displayed.
Project configuration in Ilevia Manager
This section of the guide describes the configuration of the gateway and components in the Ilevia Manager configuration software.
Step 1.1:
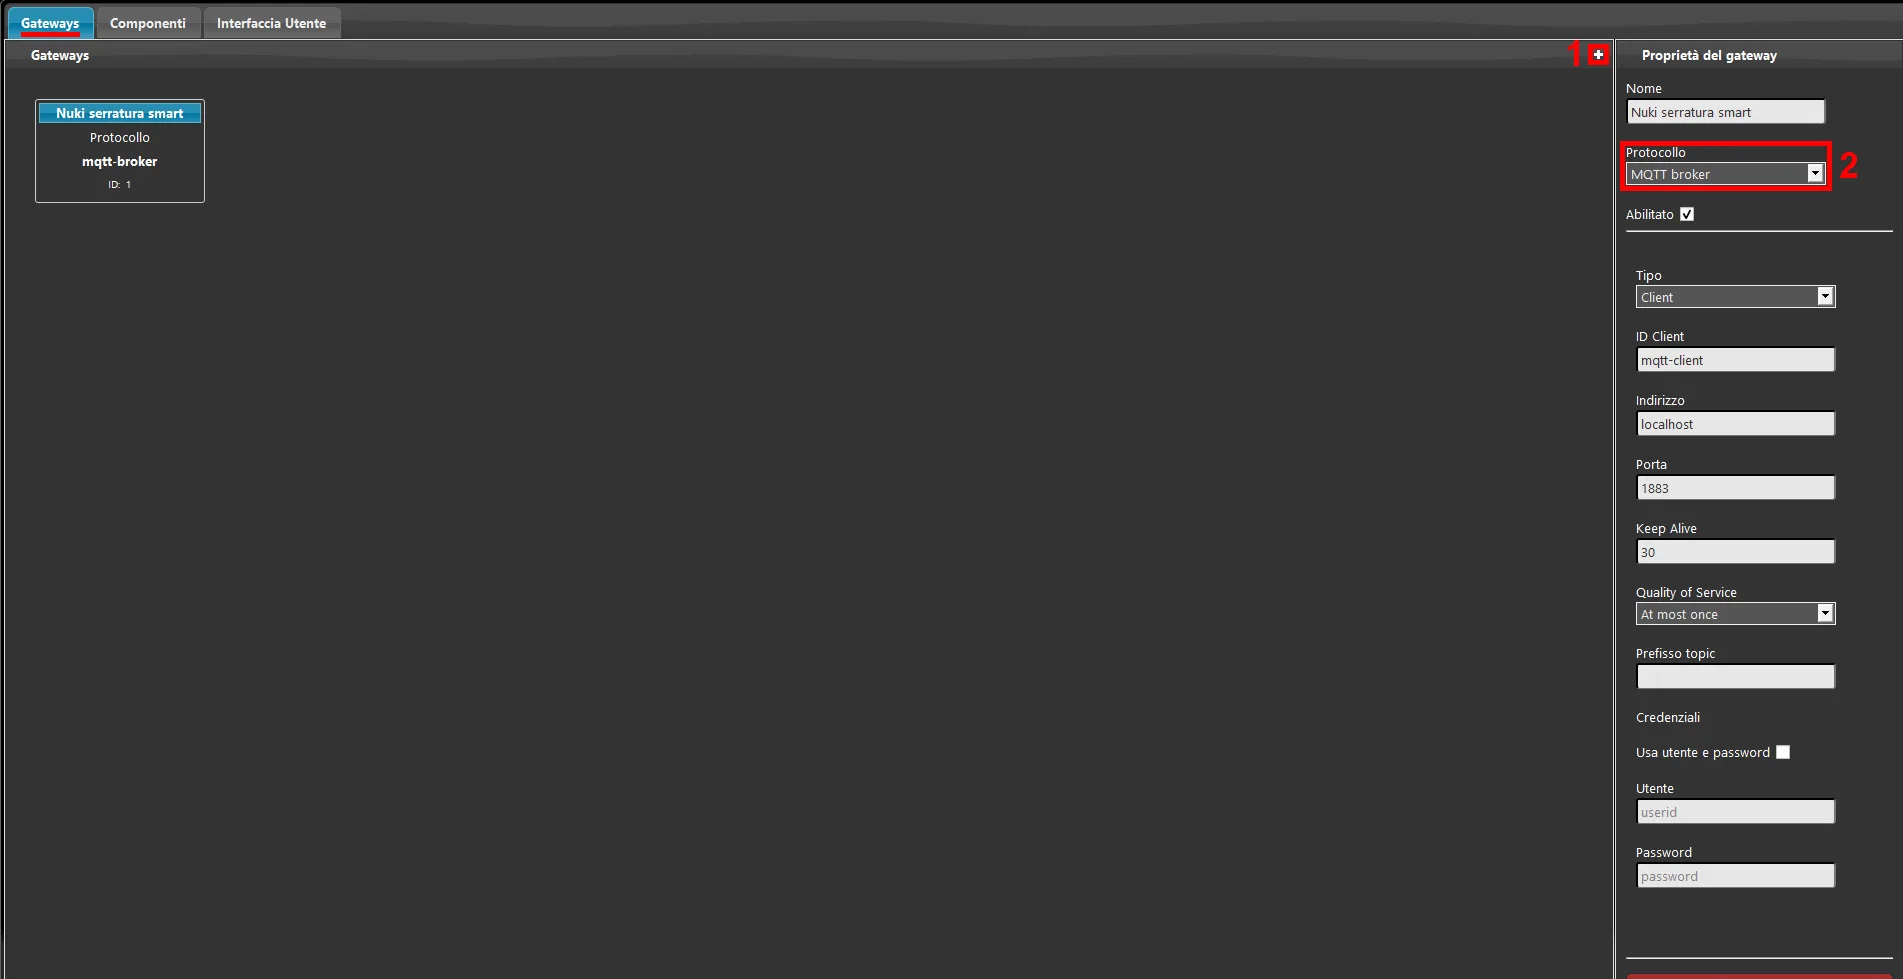
Open the Ilevia Manager software. 1. Go to the Gateway section and add a new gateway; 2. then select the MQTT protocol from the Protocol drop-down menu.
Step 2.1:
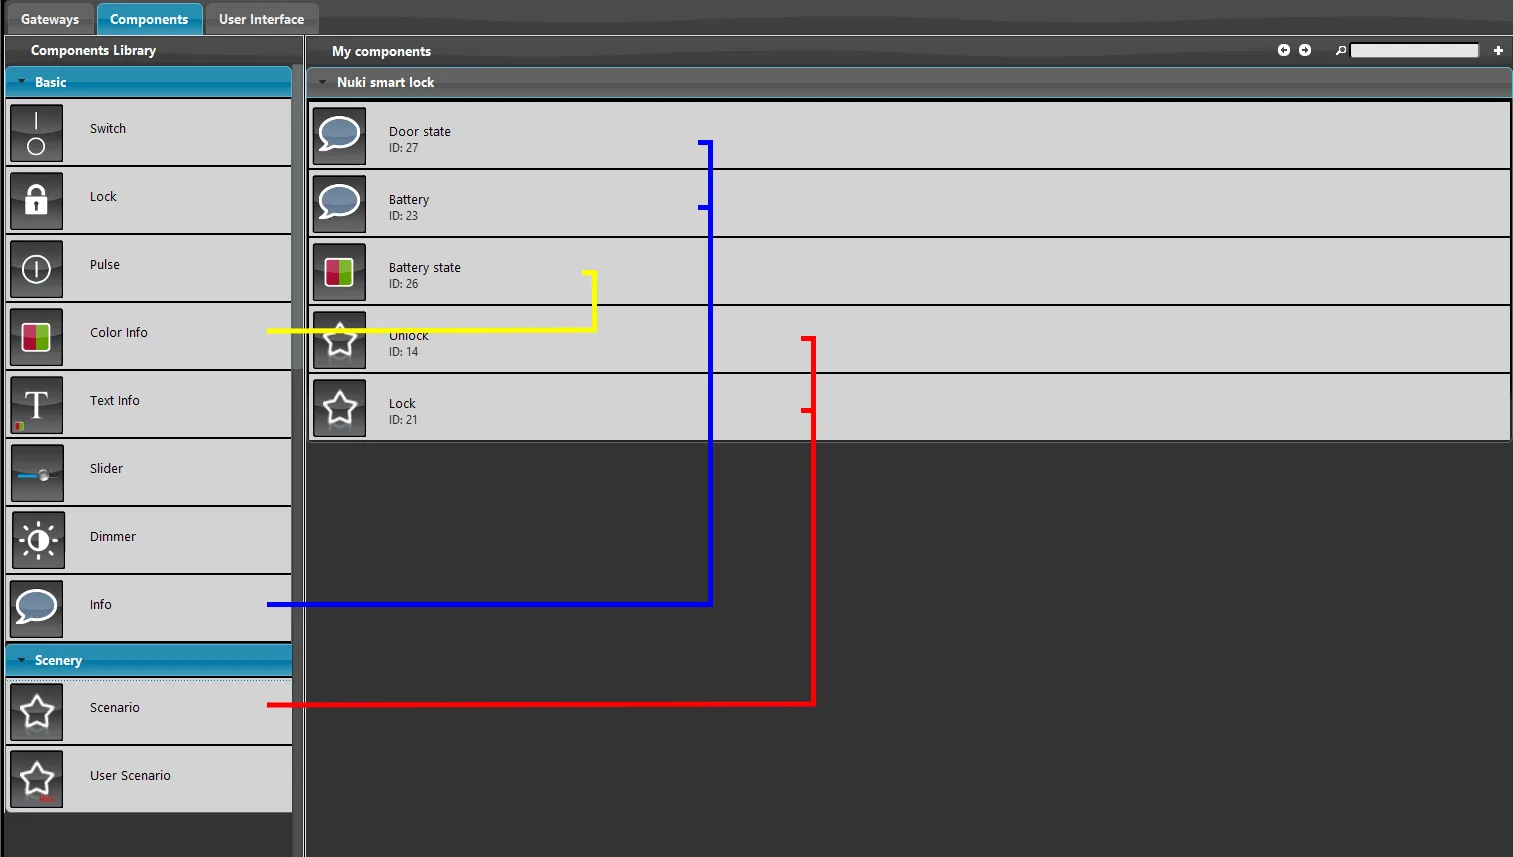
Open the Components section of the Ilevia Manager software and add the following components to the project:
2 Scenario components.
2 Info components.
1 Colored Info component.
Step 3.1:
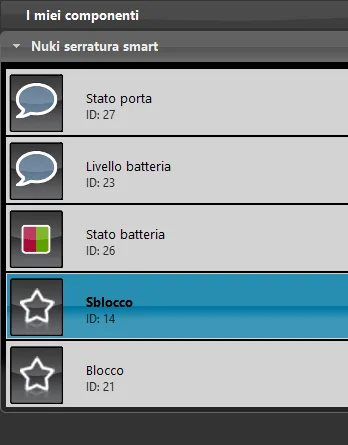
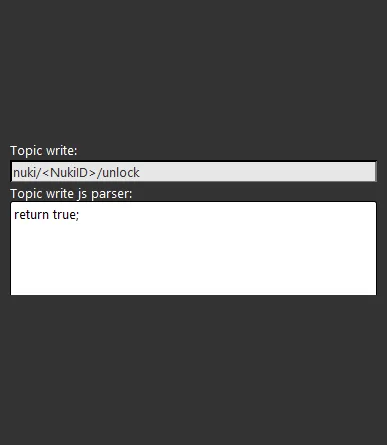
Let's start configuring the Scenario components. The first Scenario component is set for unlocking the lock and in this example it is called Unlock. The settings for the first scenario are as follows:
Enter the following Topic in the Topic Write parameter: nuki/<NukiID>/unlock
Click here to view the component Js parser configuration.
Step 4.1:
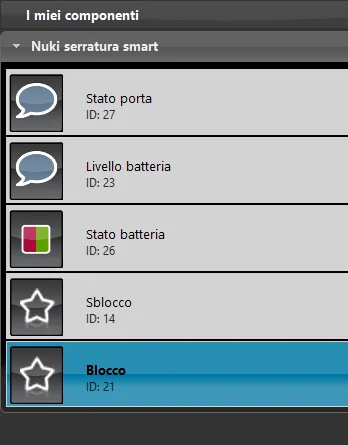
The second Scenario is instead set for locking the lock; in this example it is called Lock.
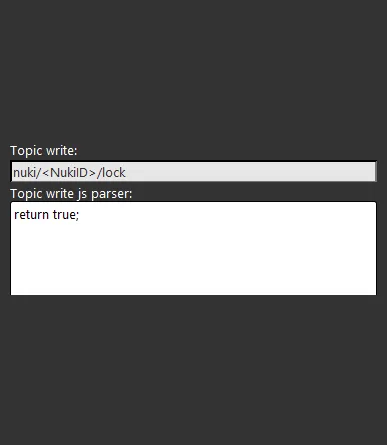
Enter the following Topic in the Topic Write parameter: nuki/<NukiID>/lock
Click here to view the component Js parser configuration.
Step 5.1:
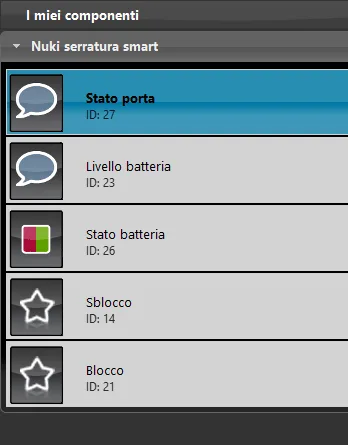
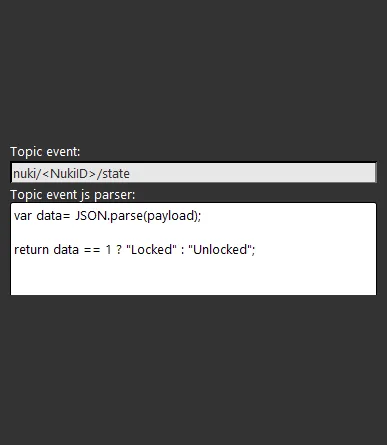
Select the first Info component, which represents the current door status (Closed / Open). Make sure the configured gateway is the MQTT gateway.
Enter the following Topic in the Topic Event parameter: nuki/<NukiID>/state
Click here to view the component Js parser configuration.
Step 6.1:
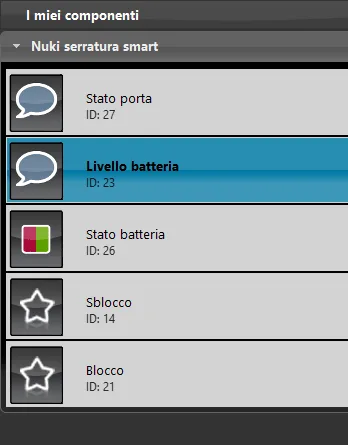
Select the second Info component; this component will report the device’s current battery level. Make sure it is configured with the MQTT gateway.
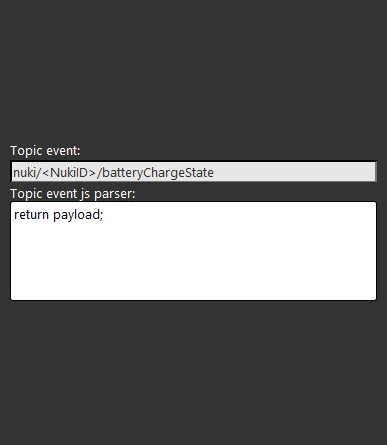
Enter the following Topic in the Topic Event parameter: nuki/<NukiID>/batteryChargeState
Click here to view the component Js parser configuration.
Step 7.1:
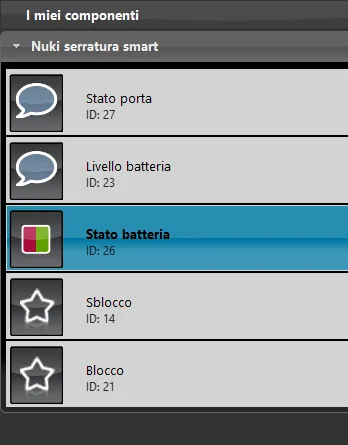
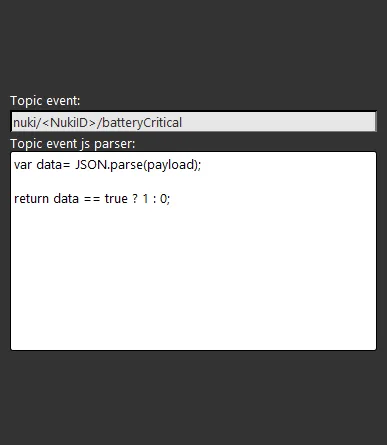
Select the Colored Info component, which will report whether the battery level is critical (very low). Make sure the component is configured with the MQTT gateway.
Enter the following Topic in the Topic Event parameter: nuki/<NukiID>/batteryCritical
Click here to view the component Js parser configuration.
Step 8.1:
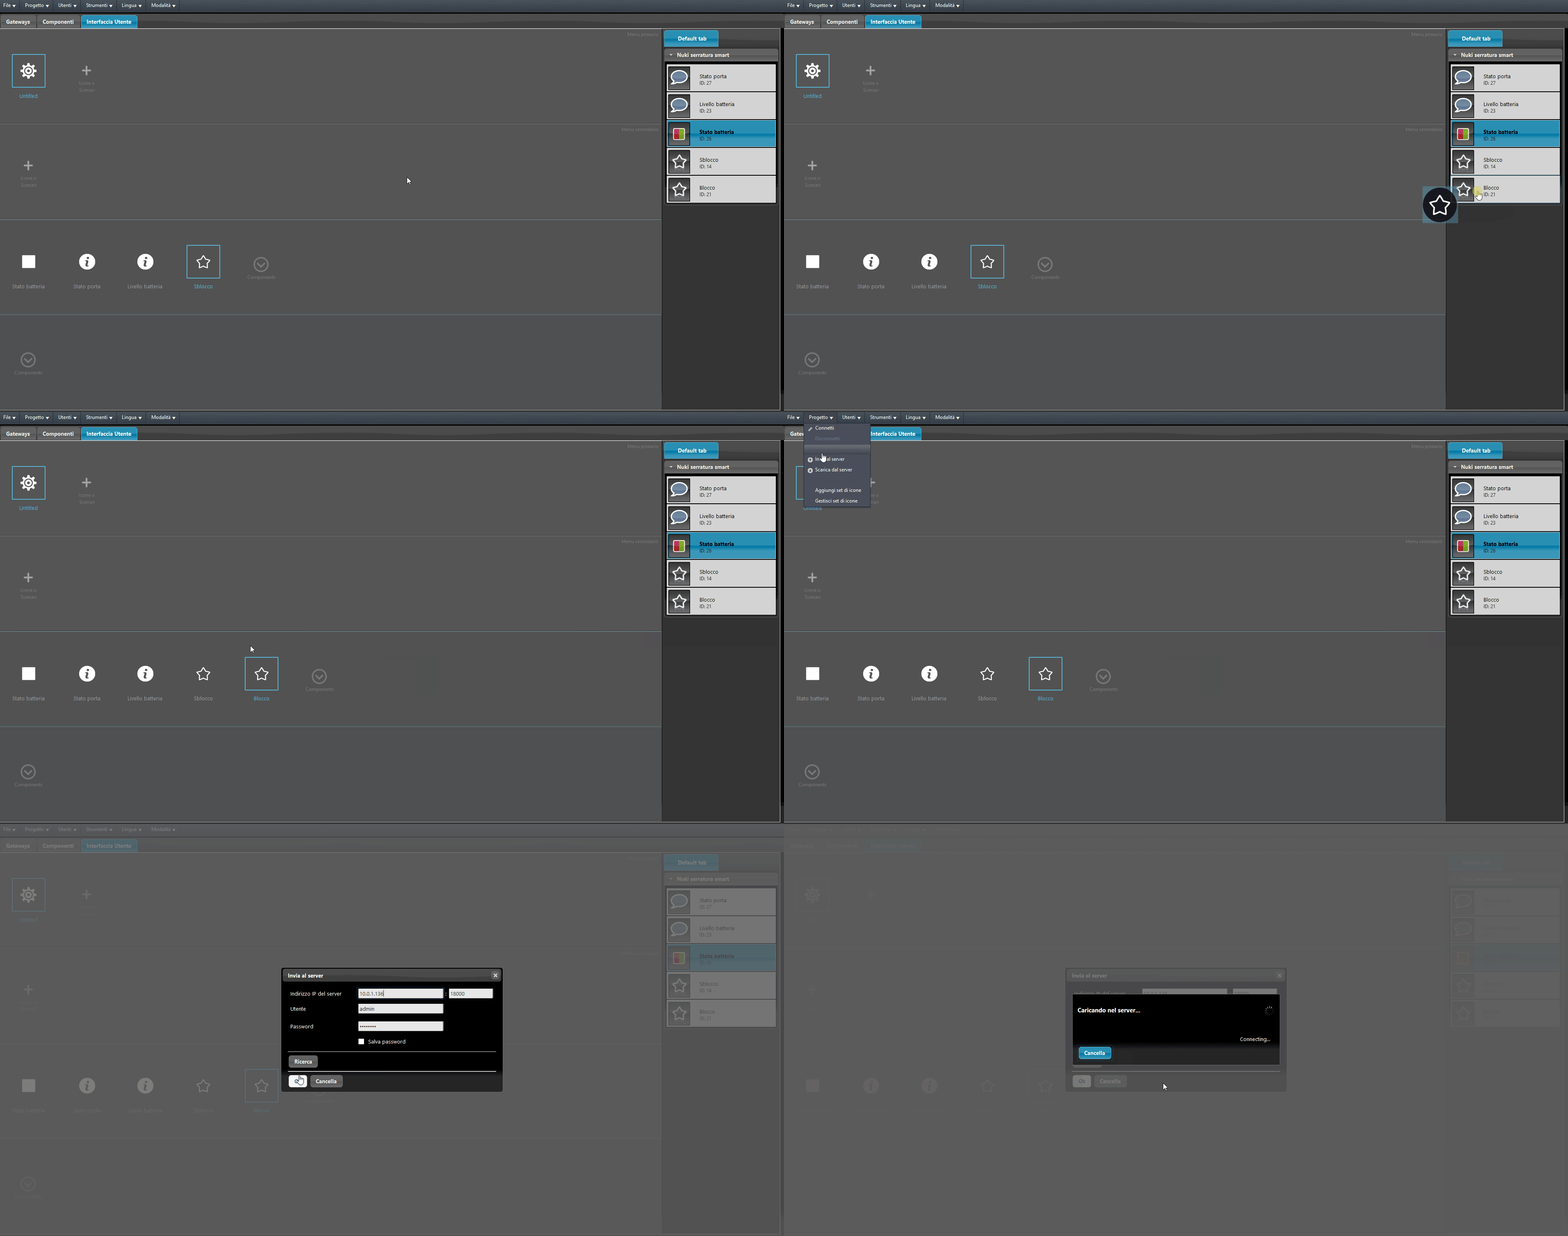
Add the components within the user interface. In this example, the Classic-style Interface was used.
Final result
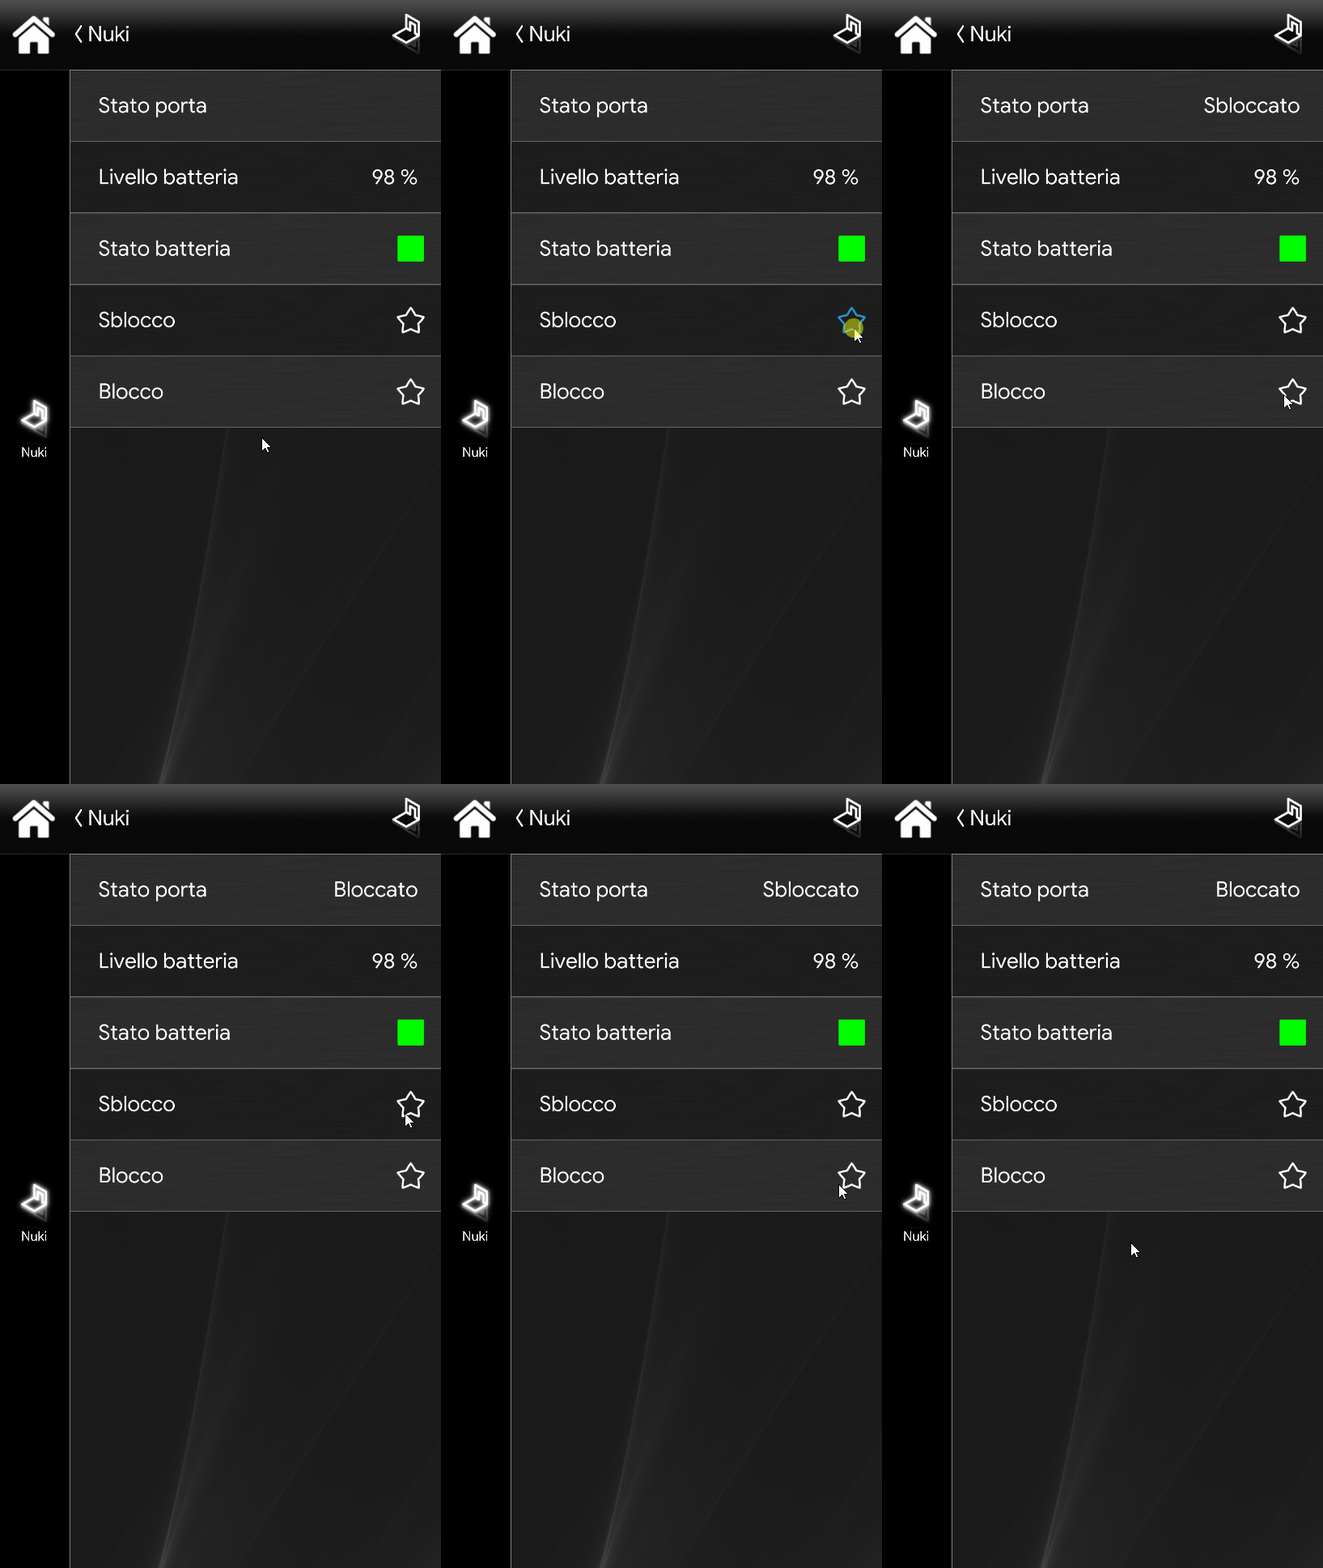
This is the final result of the configuration. By clicking the two scenarios, you can see the lock open and close, while the Info components display the device information in real time.
Available downloads:
Nuki smart lock MQTT protocol settings user manual
Test project for MQTT configuration of the Nuki smart lock device