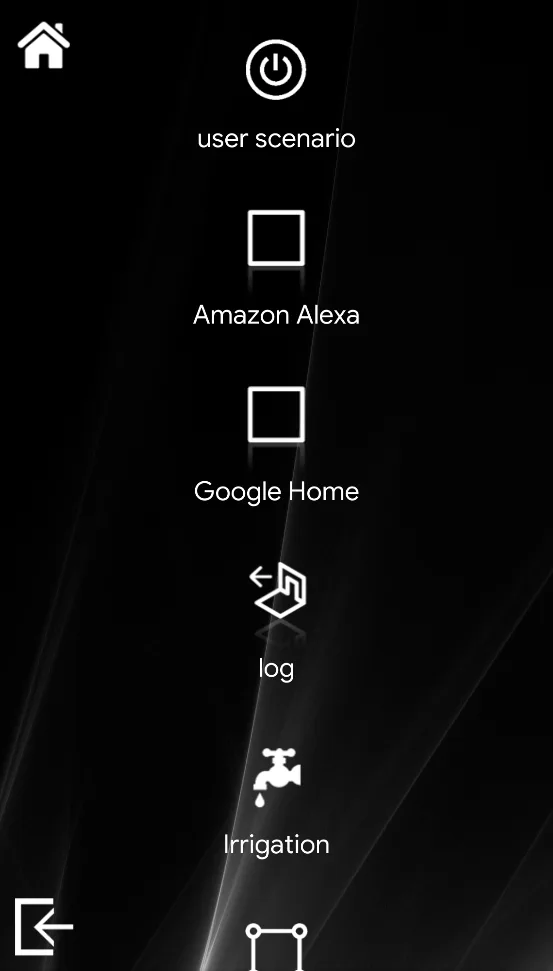
User settings, duplication and Linked users
How to configure users in Ilevia Manager: parameters, interface, Ilevia Control app, test mode and Duplicate and Linked commands.
On this page you will find the configuration parameters for Ilevia Manager users and the procedures for creating new users using the Duplicate and Linked commands.
USER SETTINGS
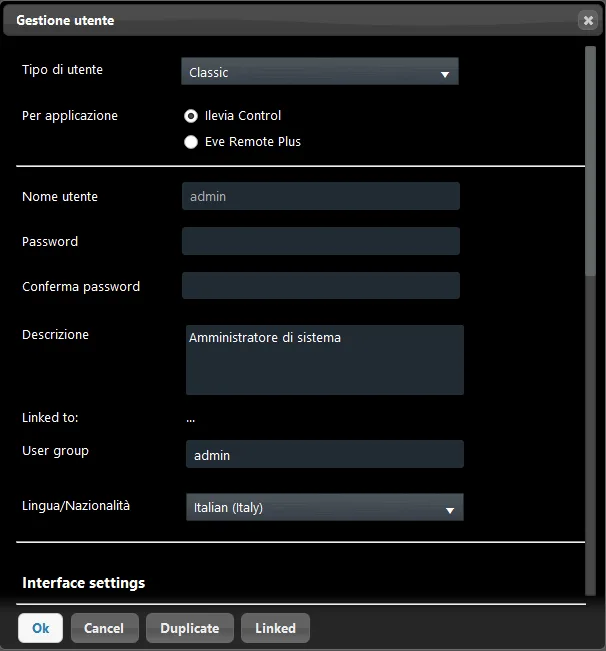
User type: Sets the type of user interface assigned to the user. You can choose between Classic and Maps.
For the app: Here you select which app will be used for this specific user; this selection affects the execution of some components, such as: Graph, Irrigation and Load control.
Name: This name will be used as the User ID.
New password: When editing the user, you will also be prompted to enter a new password;
Confirm password: When editing the user, you will also be prompted to confirm the new password;
Description: Here you can enter information about the user by adding a brief description.
User group: This text field lets you assign a keyword that can be applied to certain objects in the user interface, so that only objects containing the entered word are displayed in the user settings. For more information about the User group parameter, we recommend consulting this guide.
Permissions: User management screen, see the dedicated page for more information;
Language/Nationality: Choose the user's nationality to customize the currency type and data;
INTERFACE SETTINGS
Below are the primary settings based on the interface type selected for the user.
Classic User Interface
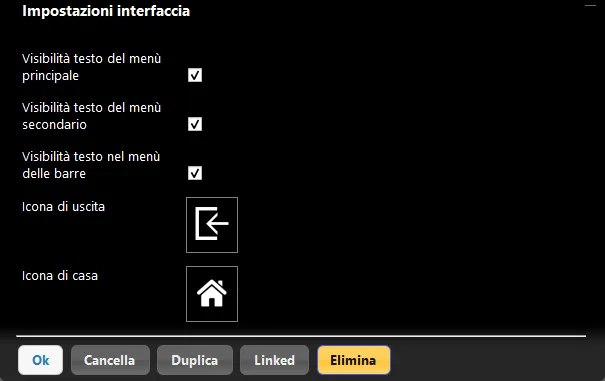
Main menu text visibility: This checkbox lets you choose whether the main menu text is displayed in the user interface in the Ilevia Control app or not.
Secondary menu text visibility: This checkbox lets you choose whether the secondary menu text is displayed in the user interface in the Ilevia Control app or not.
Bar menu text visibility: This checkbox lets you choose whether the bar menu text is displayed in the user interface in the Ilevia Control app or not.
Exit icon: This setting lets you replace the account logout icon with a custom one, which is displayed in the user interface of the Ilevia Control app.
Home icon: This setting lets you replace the home icon with a custom one, which is displayed in the user interface of the Ilevia Control app.
Map User Interface
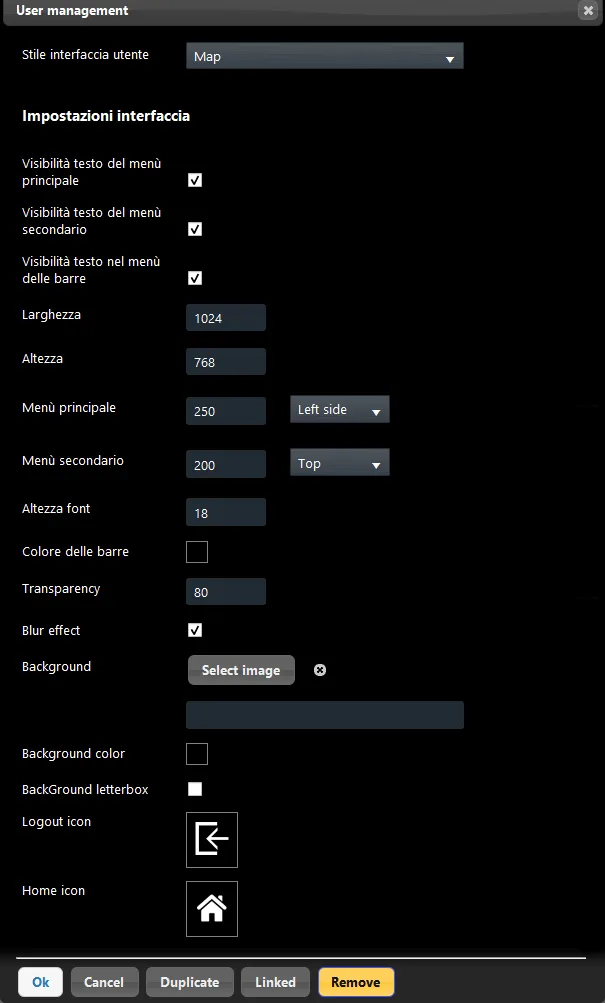
Main menu text visibility: This checkbox lets you choose whether the main menu text is displayed in the user interface in the Ilevia Control app or not.
Secondary menu text visibility: This checkbox lets you choose whether the secondary menu text is displayed in the user interface in the Ilevia Control app or not.
Bar menu text visibility: This checkbox lets you choose whether the bar menu text is displayed in the user interface in the Ilevia Control app or not.
Exit icon: This setting lets you replace the account logout icon with a custom one, which is displayed in the user interface of the Ilevia Control app.
Width: Resolution width (pixels) of the device (smartphone, iPhone, iPad, tablet) that the user will use to view the custom interface;
Height: Resolution height (pixels) of the device (smartphone, iPhone, iPad, tablet) that the user will use to view the custom interface;
Primary menu: Height resolution (pixels) of the main menu. Right / Left: It is possible to place a main menu on the right or left side of the screen.
Secondary menu: Height resolution (pixels) of the secondary menu. Top / Bottom: It is possible to place a secondary menu on the top or bottom of the screen.
Bar color: Color picker used to customize the color of the primary and secondary menus;
Transparency: The transparency percentage (from 0% to 100%) of the color bar (main menu and secondary menu);
Blur effect: If this checkbox is selected, the colors of the main menu and secondary menu will have a gradient effect;
Background color: Here you can choose a background image different from the default one;
Exit icon: This setting lets you replace the account logout icon with a custom one, which is displayed in the user interface of the Ilevia Control app.
Home icon: This setting lets you replace the home icon with a custom one, which is displayed in the user interface of the Ilevia Control app.
APP SETTINGS
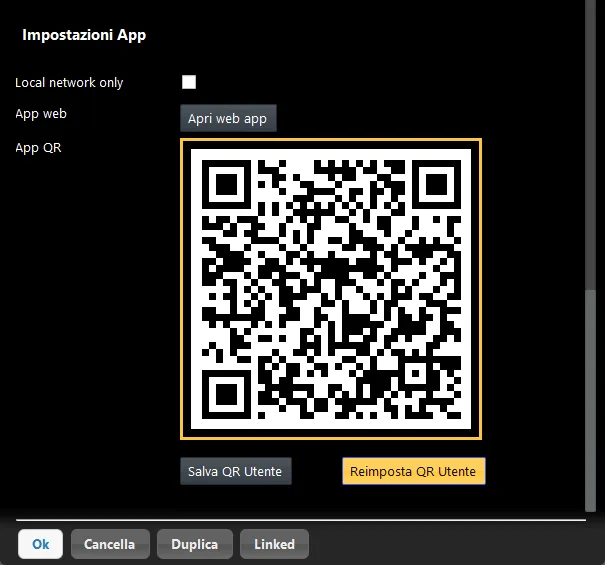
Here are listed the commands related to connection and access to the Ilevia Control app.
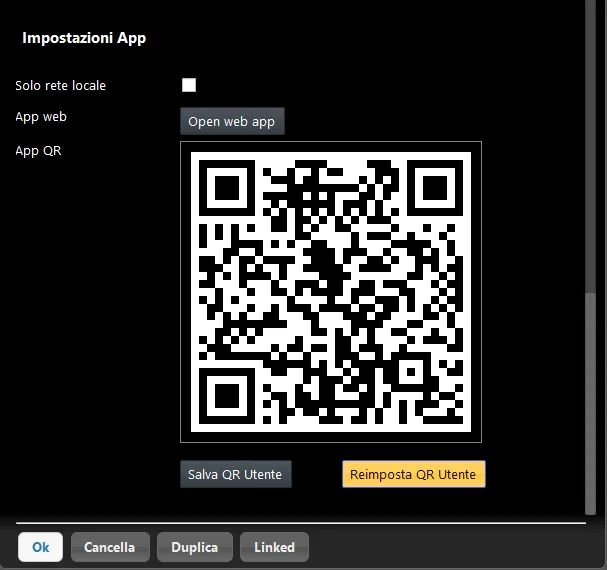
Local network only: This checkbox will configure the QR code to work only on the local network.
Web app: Clicking “Open Web App” opens a new tab in the default browser, automatically logs in to the Ilevia Control Web App application, and connects to the interface of the selected user.
QR app: This is the QR code you will need to use to connect to the selected user interface.
Save QR code: This button lets you save the QR code to your local files.
Reset QR code: This button lets you reset the QR code of the selected user.
TEST MODE
Enable Test Mode from the Users menu. This option allows you to create a temporary QR code.
Duplicate command
What do you need to duplicate a user?
User duplication becomes very useful when you need to create many users with the same user interfaces. It is also useful if you need to make several changes to the user interface or to the credentials. This allows you to save time during design and, consequently, increase customer satisfaction with better performance.
How do I duplicate an existing user?
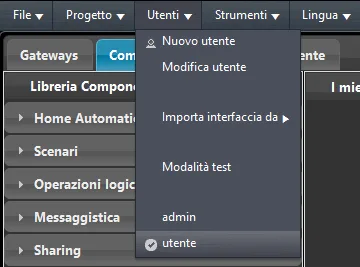
Step 1: To duplicate an existing user, go to the project main menu, item Users.
Select the user you want to duplicate (current user) and then select the “Edit” command.
Step 2:
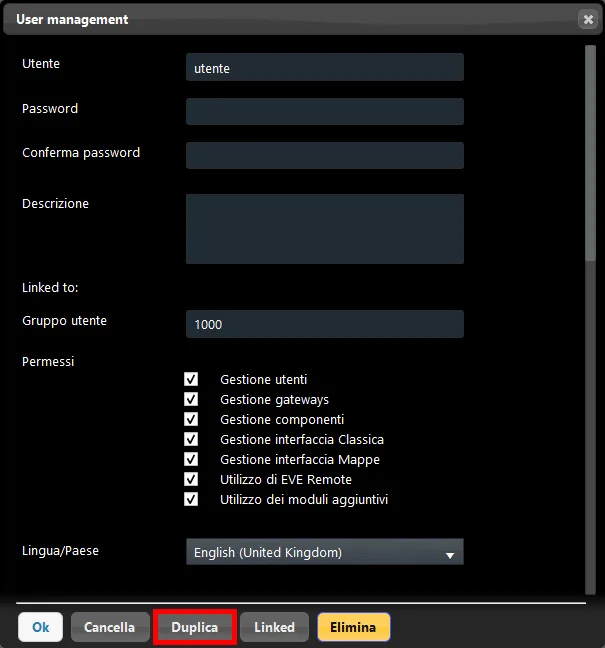
Once the “User management” panel is open, select the “Duplicate” command at the bottom of the window.
Step 3:
Click Users in the menu bar: you will find a new user, for example “user(1)”.
Select the duplicated user you want to edit, then click the “Edit” command.
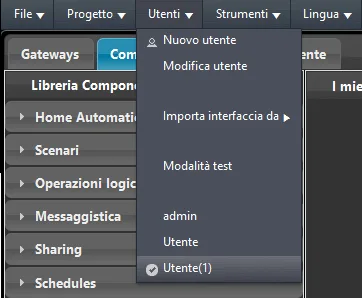
Step 4:1. Apply the changes to the user and / or to the interface settings, 2. Confirm the changes by clicking OK.
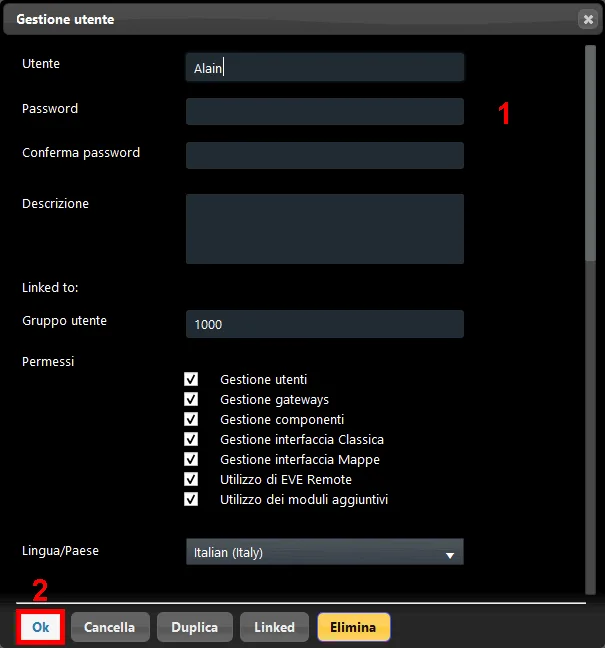
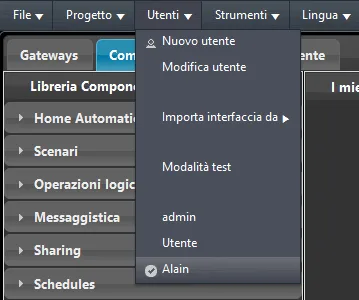
Step 5:
By opening the user list from the main menu bar (Users), you can see the duplicated user with the applied changes.
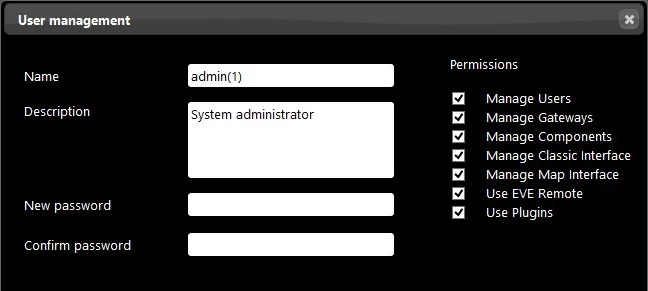
Admin duplication: WARNING!
Duplicating the Admin user is possible. However, keep in mind that the duplicated user will have the same credentials and the same permissions as the original. For this reason, it is very important to change the credentials of the duplicated user (for example “admin(1)”) and make the necessary changes.
Linked command
The Linked command lets you create a new user who cannot modify the user interface from the Ilevia Manager configuration software. The interface shown when connecting with the Ilevia Control app is that of the source user, i.e. the user from which it was created.
Step 1:
Select the user to which you want to apply the Link by choosing it from the user list in the Users menu.
Step 2:
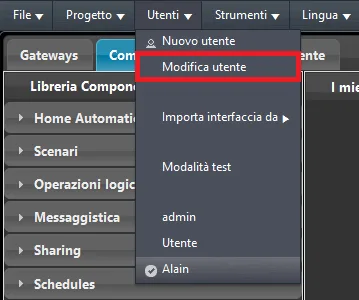
Access the user settings by clicking Edit user in the Users menu.
Step 3:
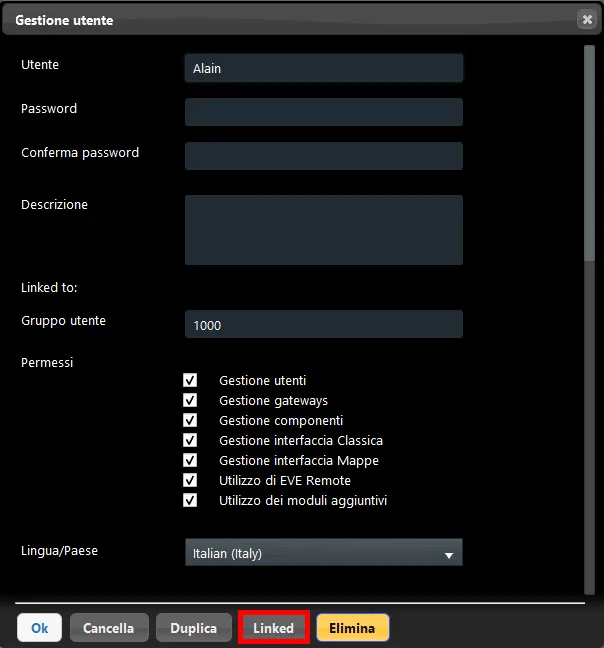
Now click Linked; this will close the user window. When you open the Users menu, you can see that a new user has been created.
Step 4:
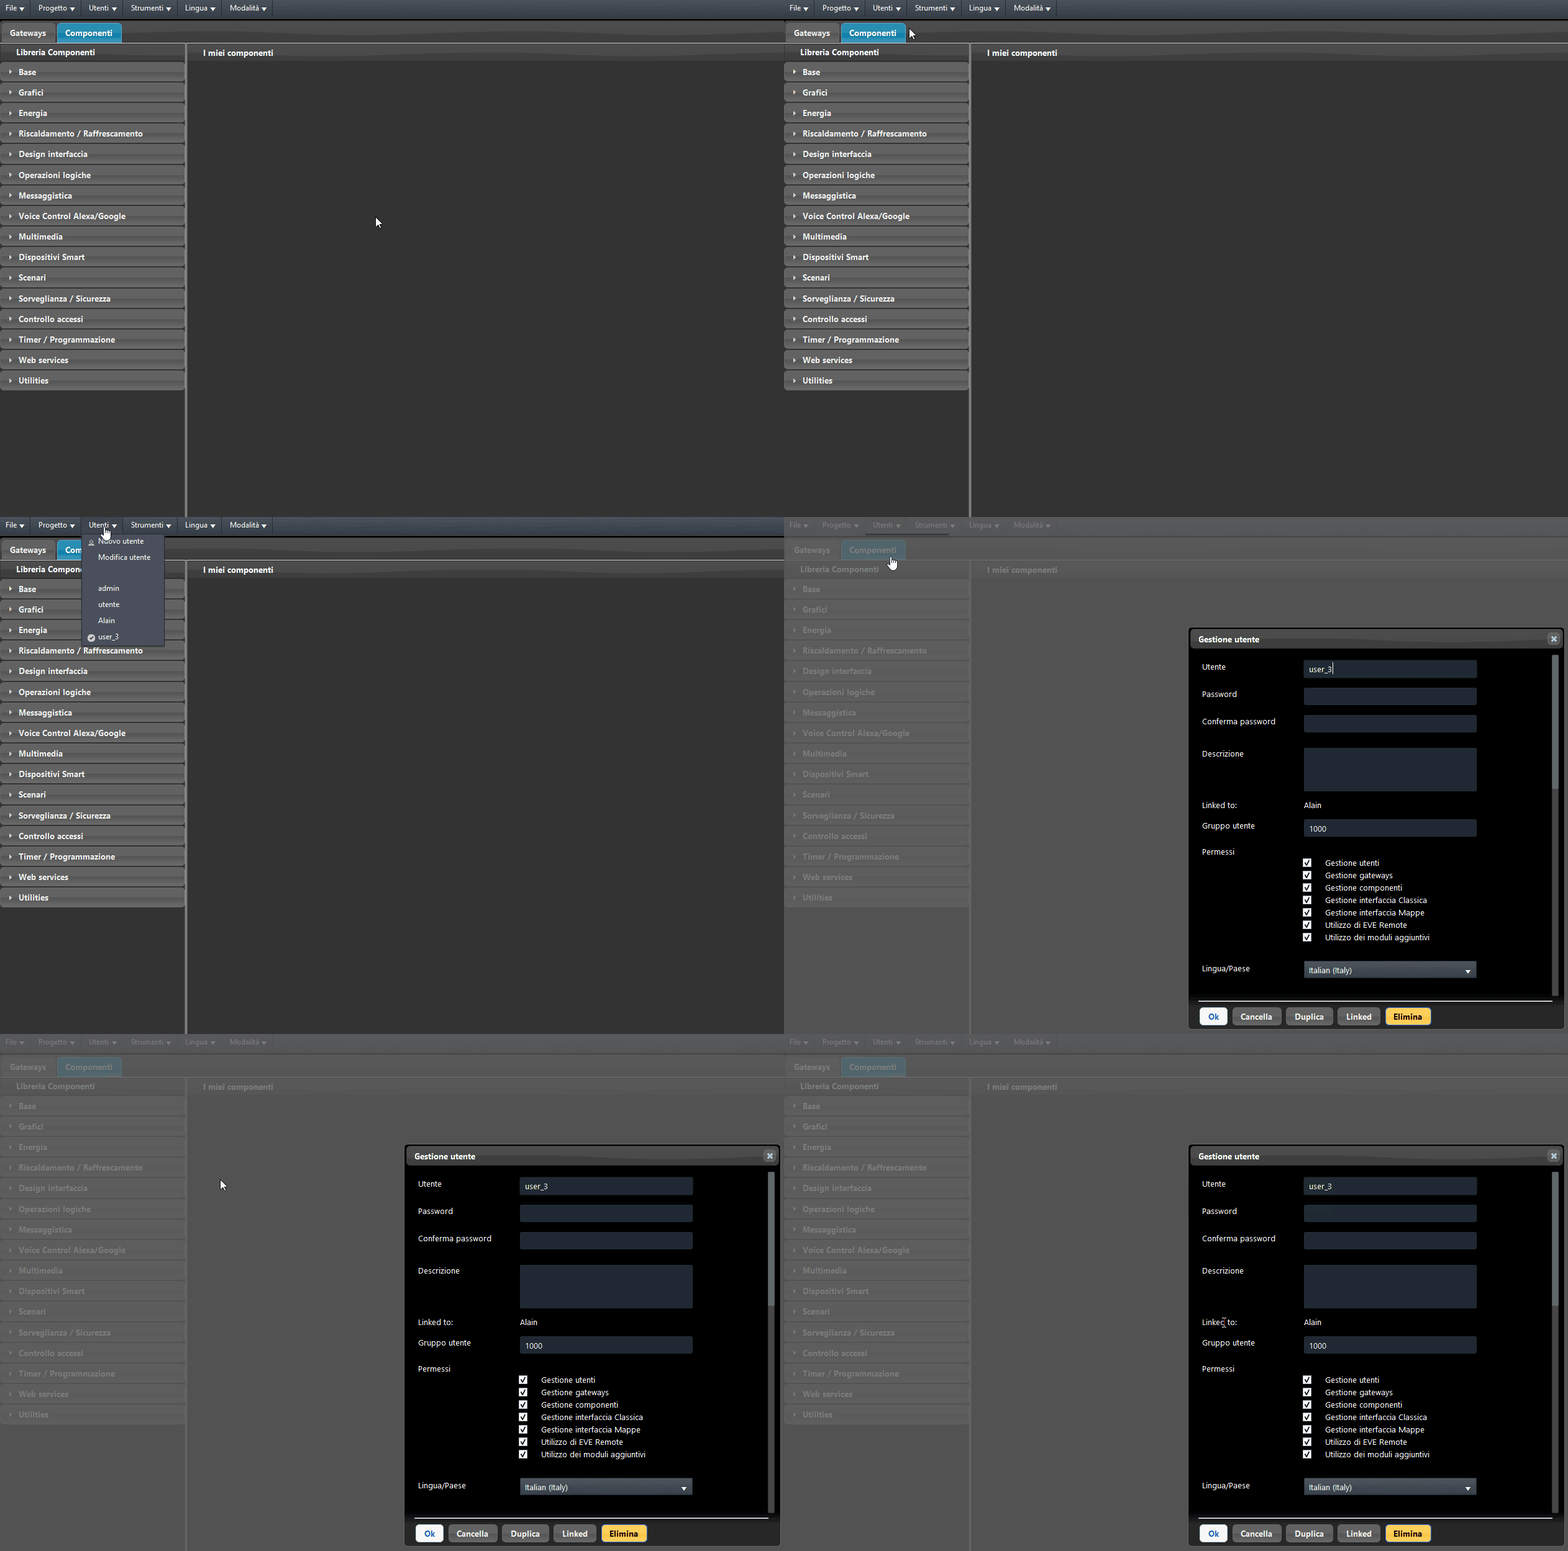
Once the user has been created, you can access it and apply changes to the credentials.
Step 5:
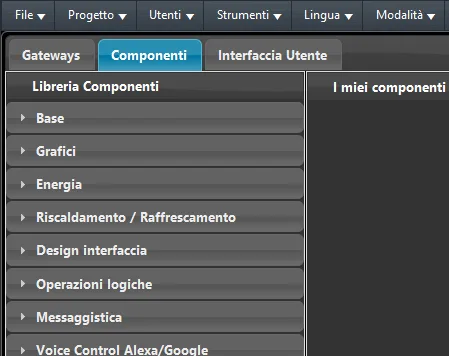
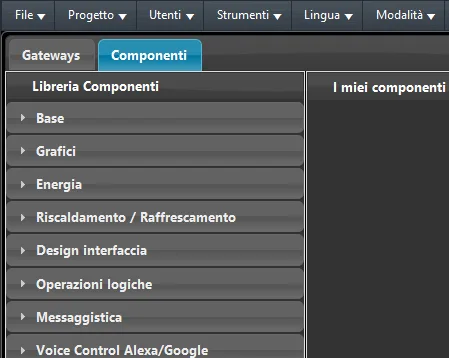
By selecting the new linked user, you will notice that the User Interface option is not available. In the images below, you can compare the configuration options of the source user (in the example “Alain”) and the Linked user. The user created via Linked cannot access the user interface editor.
User without Link
User with Link
Step 6:
When you log in to the Ilevia Control app with the Linked user, the user interface has the same structure as the source user (in the example “Alain”).
Source user interface
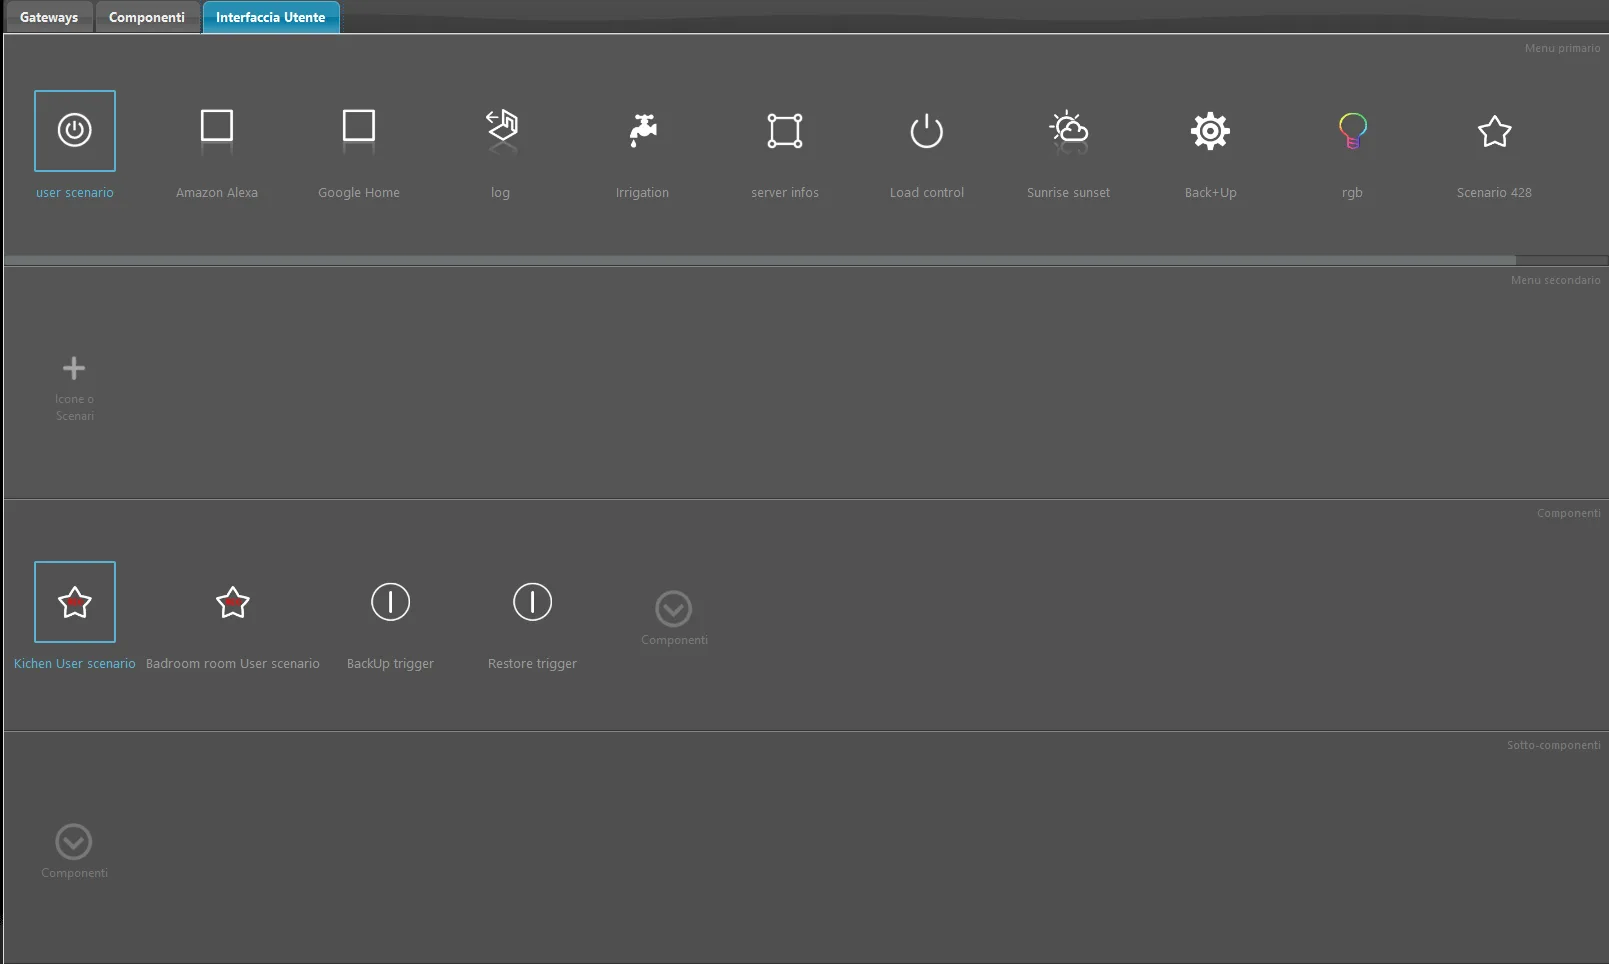
Linked user interface