
Example Projects: Weekly Timer Calendar
Four downloadable example projects, from the simplest to the most complete, to learn how to configure the Weekly Timer Calendar in Ilevia Manager.
The Weekly Timer Calendar component can be configured in many ways, so we have divided the project into several examples, from the simplest to the most complex. Each example can be downloaded, opened in Ilevia Manager, and tested on your Ilevia server.
First example project
The goal of this example is to show you how to use the Weekly Timer Calendar component to activate timers manually.
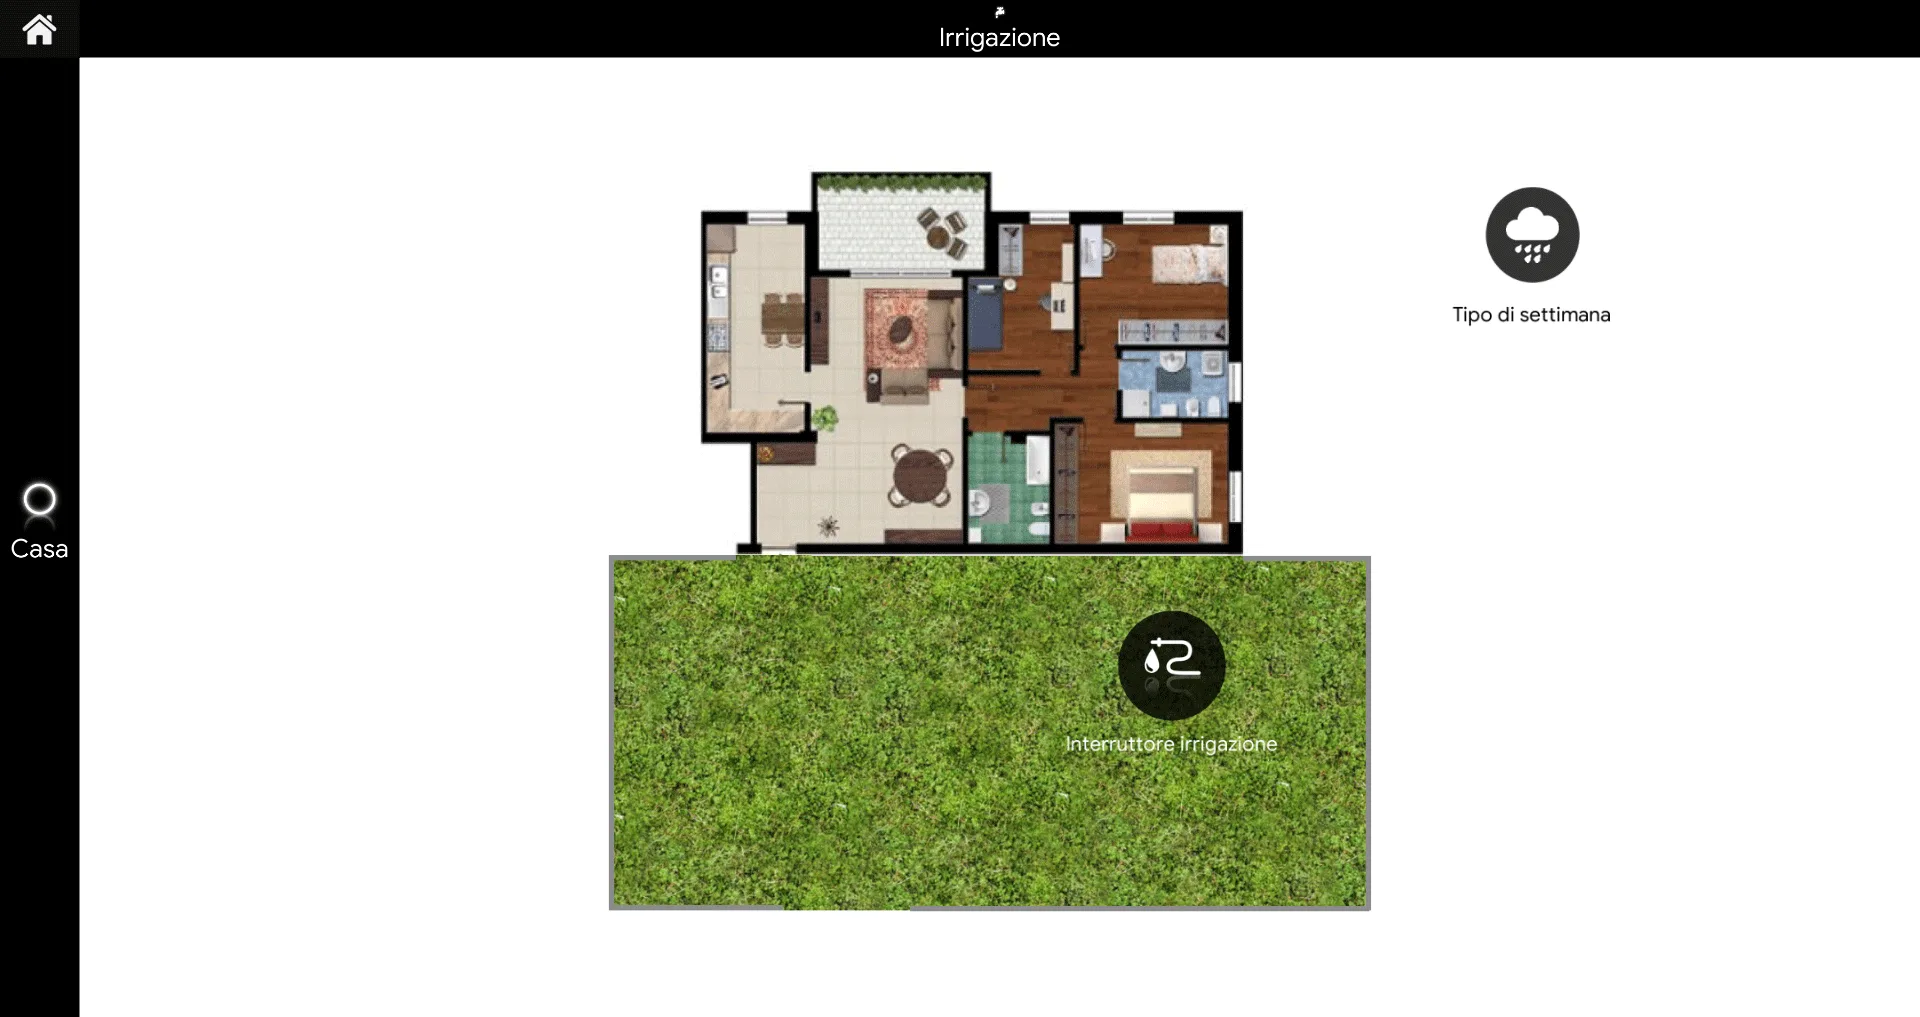
In particular, we use the Irrigation component, in which two weekly timer components have been configured:
Dry week: Activates the irrigation system every day from 21:00 to 23:30;
Rainy week: Keeps the system disabled.
Preparation and loading of the project in Ilevia Manager:
Unzip the files;
Open Ilevia Manager, click File at the top left – Open – press “OK” in the message that appears and select the .eve file you just unzipped;
Start your Ilevia server;
Update and install the guide logic module.
Step 1
After logging into Ilevia Manager, once the project is loaded, the components used to configure the project are visible in the “My Components” area:
1 Option list
1 Switch
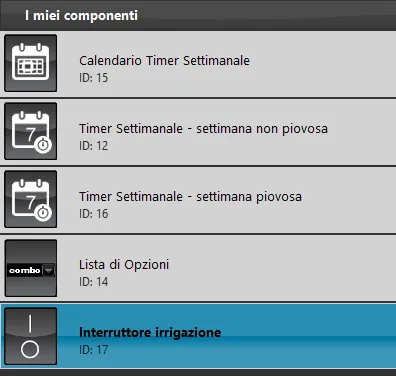
Step 2:
Go into “Weekly Timer Calendar” to view its settings:
In the “Weekly selector” field, we selected the Option list component (Figure 1);
Make sure the Weekly timer that the server will consider as Default has the check mark in its properties (Figure 2);
The “Disable weekly events” parameter is optional: it allows you to disable a weekly timer individually. For more information, refer to this guide.
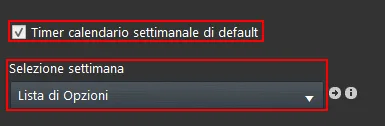
Figure 1
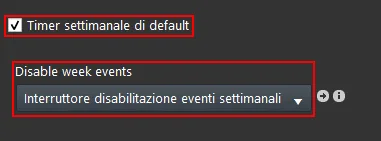
Figure 2
Step 3:
Once the project has been loaded onto the server, at the top of Ilevia Manager click the “Project” menu – Load to server; here you must enter the IP address of your Ilevia server, then enter the credentials and log in to the Ilevia Remote Plus application.
ACCOUNT LOGIN CREDENTIALS:
User: admin;
Password: password;
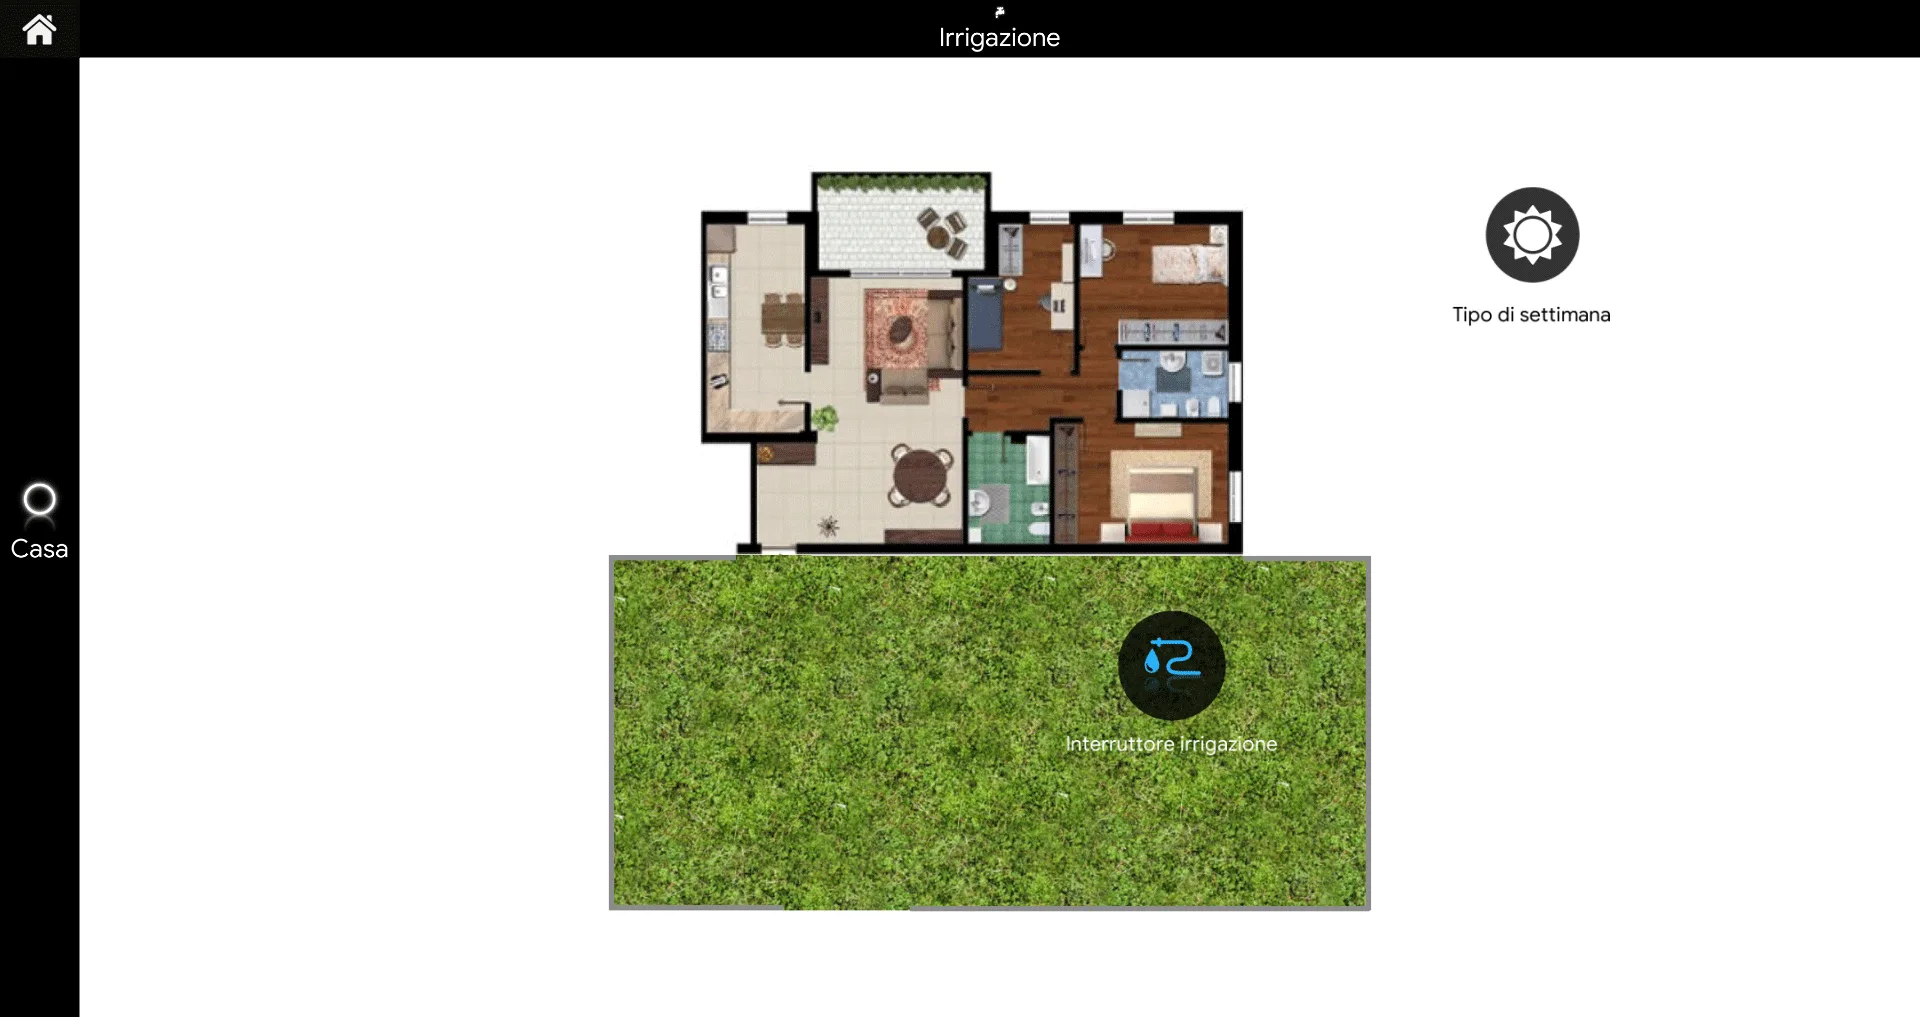
In this interface, by pressing the option list menu, represented by the Sun or Rain icon, you can decide whether to enable or disable irrigation scheduling based on weather conditions.
To change the template type of the two Weekly timers, enter Timer programming mode. For more information on this procedure, refer to this guide.
Click the link to download the first example project of the Weekly Timer Calendar component and try it out.
Second example project
The goal of this example, whose project you can download at the end of this section, is to show how to use the Weekly Timer Calendar component and manage Weekly timers.
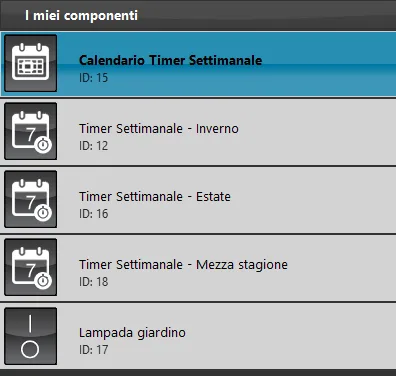
In particular, we use the components to manage an outdoor light with three configured Weekly timers:
Winter: Winter period timer that turns on the outdoor light every day from 17:00 to 23:30;
Summer: Summer period timer that turns on the light every day from 21:00 to 23:30;
Mid-season: Timer for the mid-season periods that turns on the light from 18:00 to 23:30.
Preparation and loading of the project in Ilevia Manager:
Unzip the files;
Open Ilevia Manager, click File at the top left – Open – press “OK” in the message that appears and select the .eve file you just unzipped;
Start your Ilevia server;
Update and install the guide logic module.
Step 1:
After opening Ilevia Manager and loading the project, the components used for configuration are visible in the My components area:
Step 2:
Access the properties of the Weekly Timer component to view its settings:
Select the Weekly timer you want to be used as the default weekly timer (Figure 1)
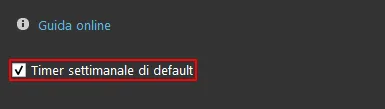
Figure 1
Step 3:
Once the project has been loaded on the server, at the top of Ilevia Manager click the “Project” menu – Load to server; here you must enter the IP address of your Ilevia server, then enter the credentials and log in to the Ilevia Remote Plus application.
ACCOUNT LOGIN CREDENTIALS:
User: admin;
Password: password;
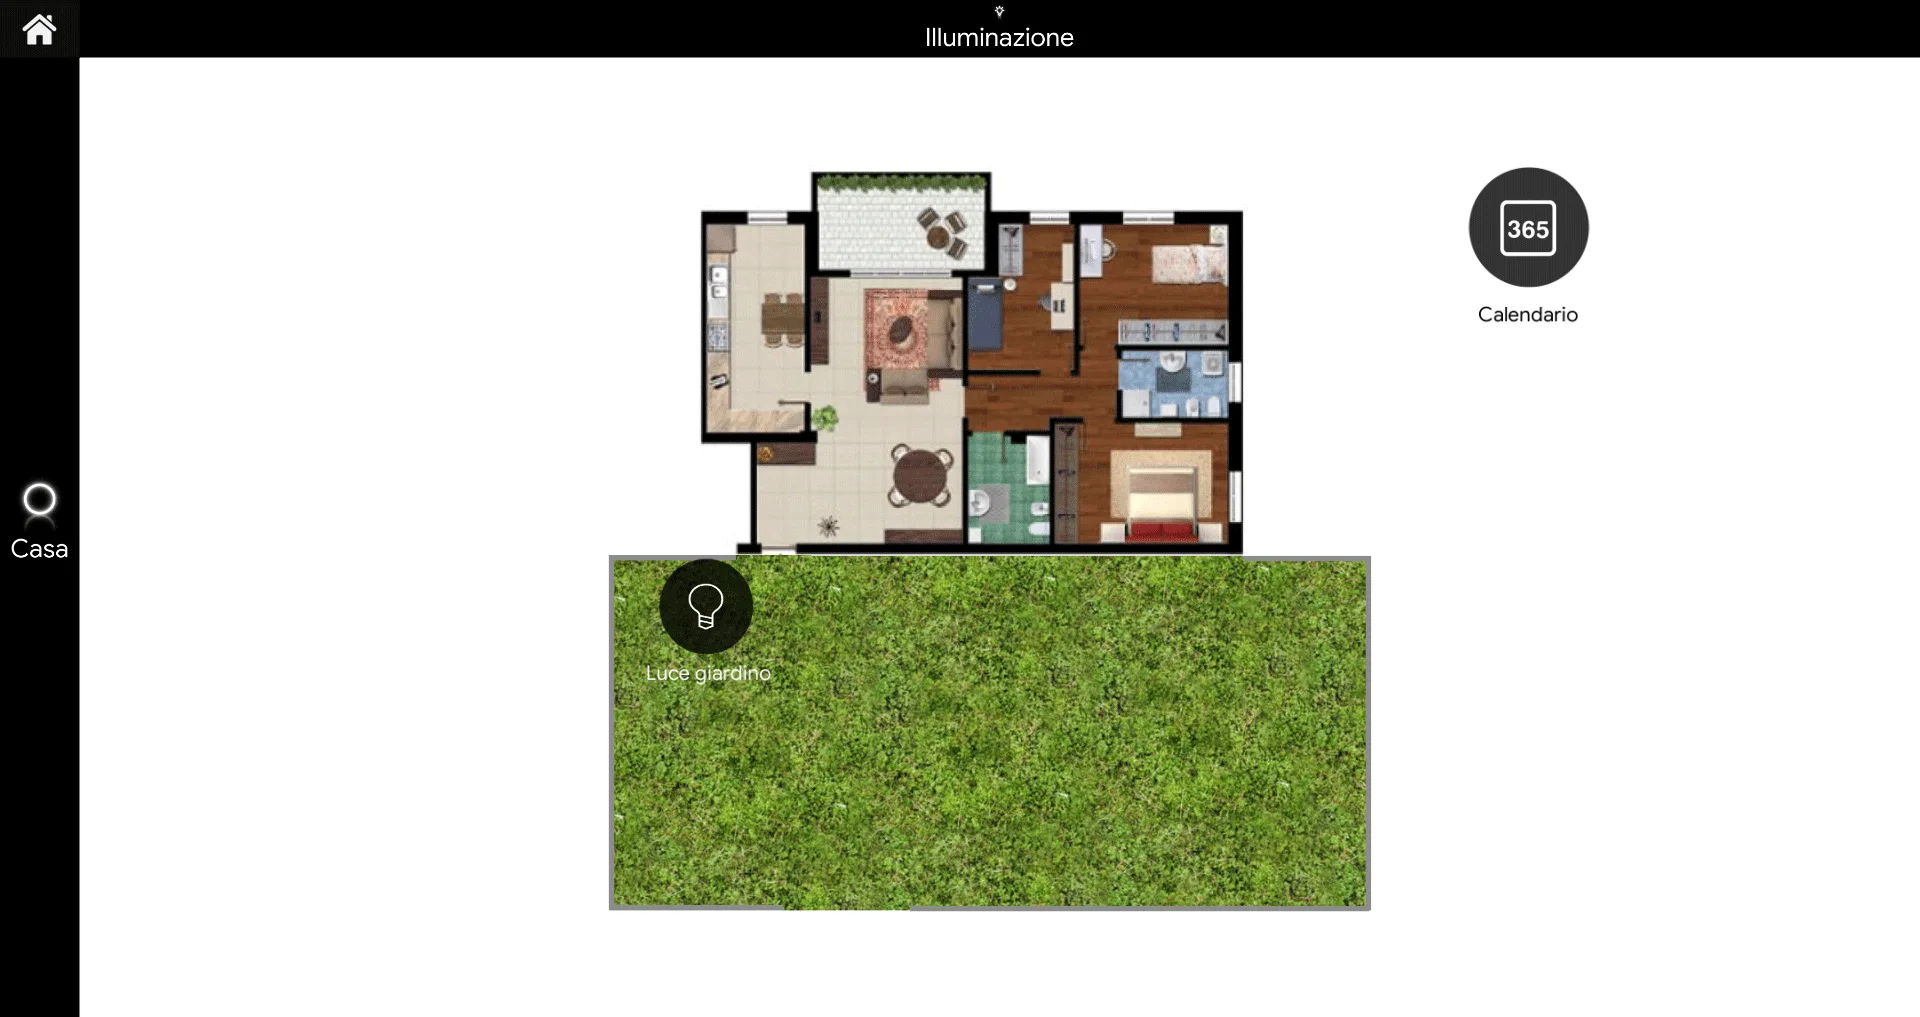
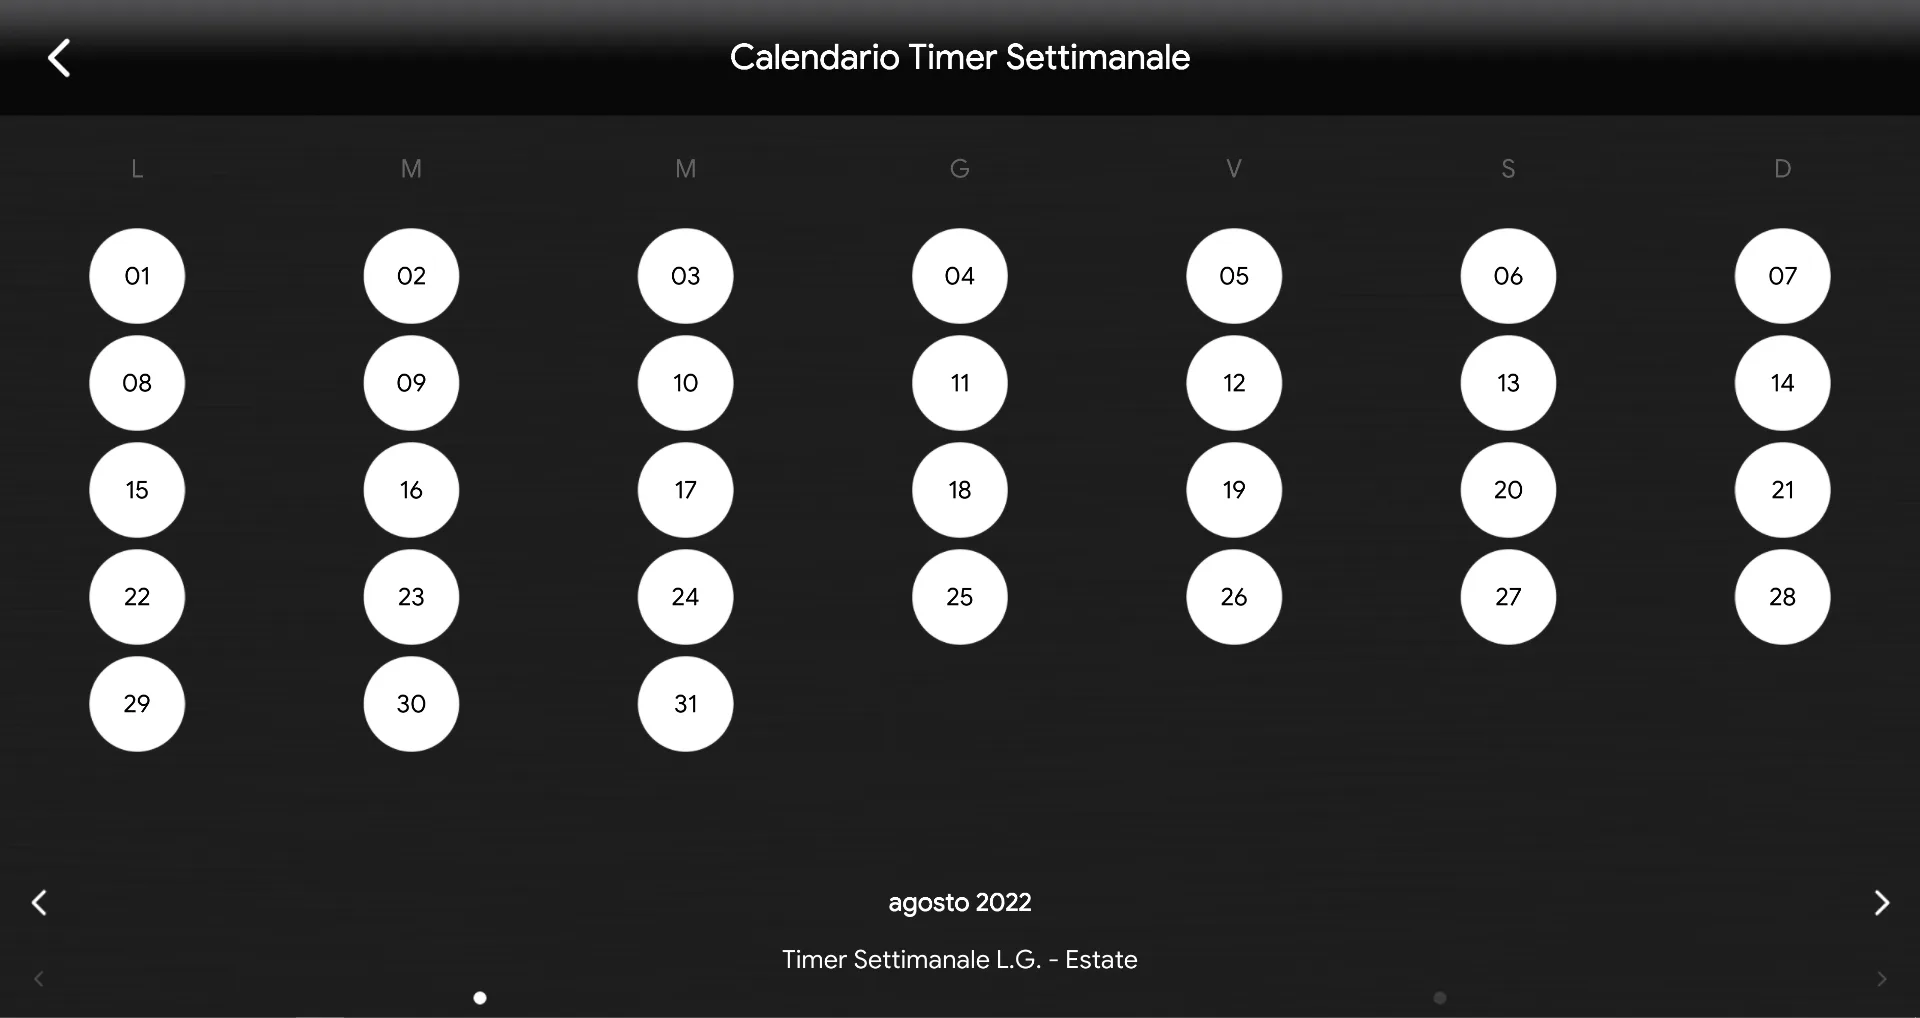
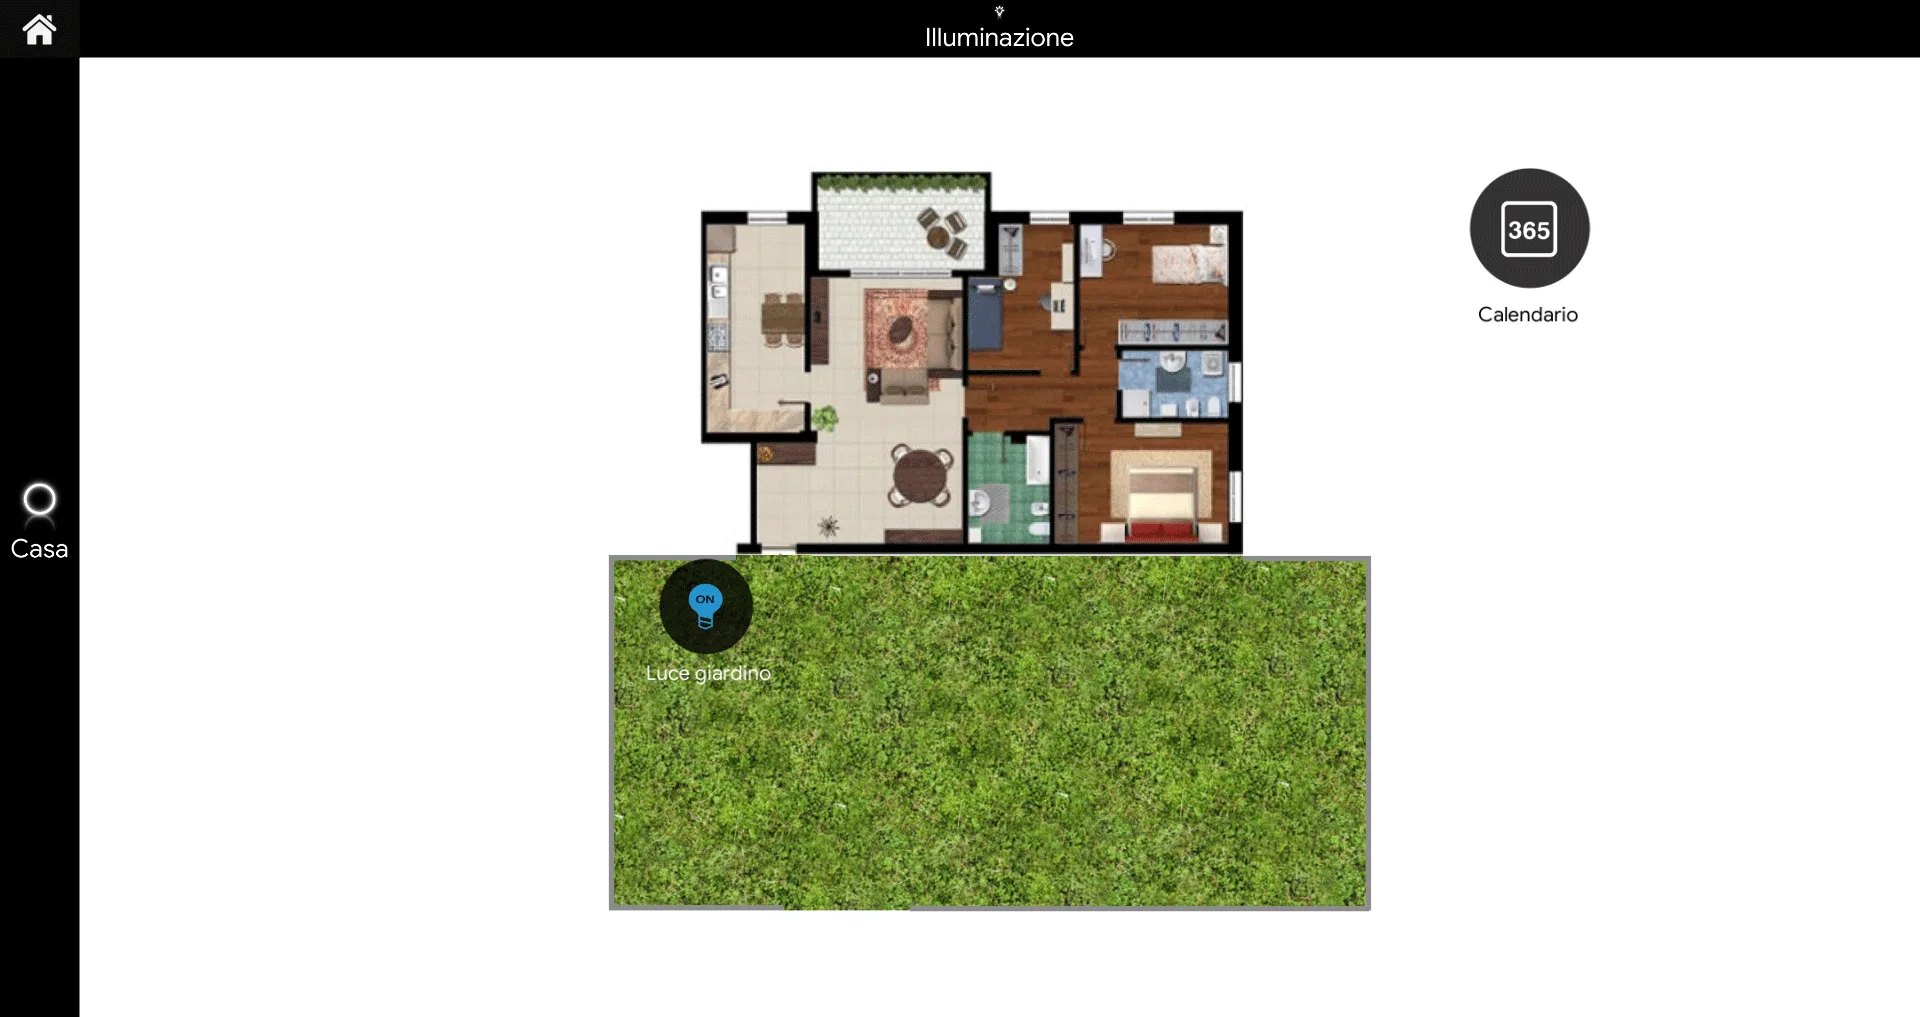
In this interface example, by clicking the Weekly Timer Calendar component, you can select the days on which each weekly timer will run. The weekly timer set as “default” in Ilevia Manager runs on all unselected days.
Click the link to download the second example project for the Weekly Timer Calendar component and try it out.
Third example project
The purpose of this example, which you can download at the end of this section, is to explain how to manage more than one Weekly Timer Calendar.
More specifically, we will use one weekly timer to manage the garden light, as in the previous example, and a second one to manage the other devices in the house, represented by two Shutter components.
Project preparation and upload in Ilevia Manager:
Unzip the files;
Open Ilevia Manager, and click File at the top left – Open – press “OK” in the message that appears and select the file with the .eve extension you just unzipped;
Start your Ilevia server;
Update and install the guide logic module.
Step 1:
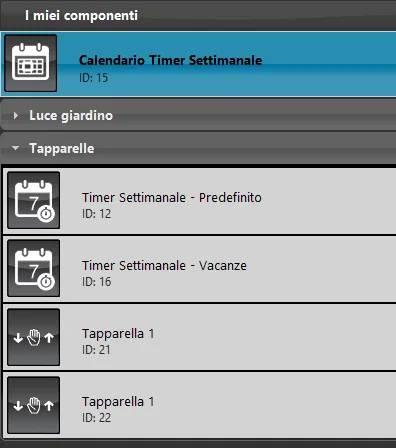
When you access the Ilevia Manager software, once the project has been loaded, the components used for the configuration are visible in the My components area:
The two Weekly timer components are used to set the opening and closing of the shutters.
Step 2:
Access the properties of the “Weekly Timer Calendar” component to check its configuration:
Make sure the “Default Weekly Timer Calendar” checkbox is enabled only on the weekly timer calendar component considered default;
This setting defines a Weekly Timer Calendar component that can access all the Weekly timers in the project.
In the second Weekly Timer Calendar you must add the Weekly timers and the Shutter components to the corresponding lists: enter the Weekly timer components in the Timers list and the Shutter components in the Components list.
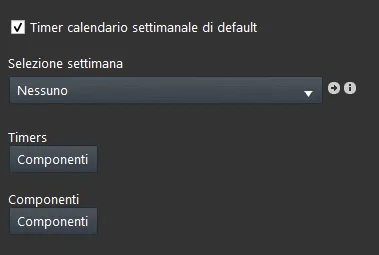
Figure 1
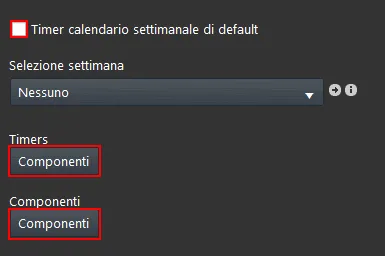
Figure 2
Step 3:
Once the project has been loaded on the server, at the top of Ilevia Manager click the “Project” menu – “Load to server”, enter the IP address of your Ilevia server, then enter the credentials and log in to the Ilevia Remote Plus application.
ACCOUNT LOGIN CREDENTIALS:
User: admin;
Password: password;
In this interface, by clicking the Weekly Timer Calendar, you can select the days on which to run the Weekly timers. The weekly timer set as default in the Ilevia Manager project runs on the unselected days.
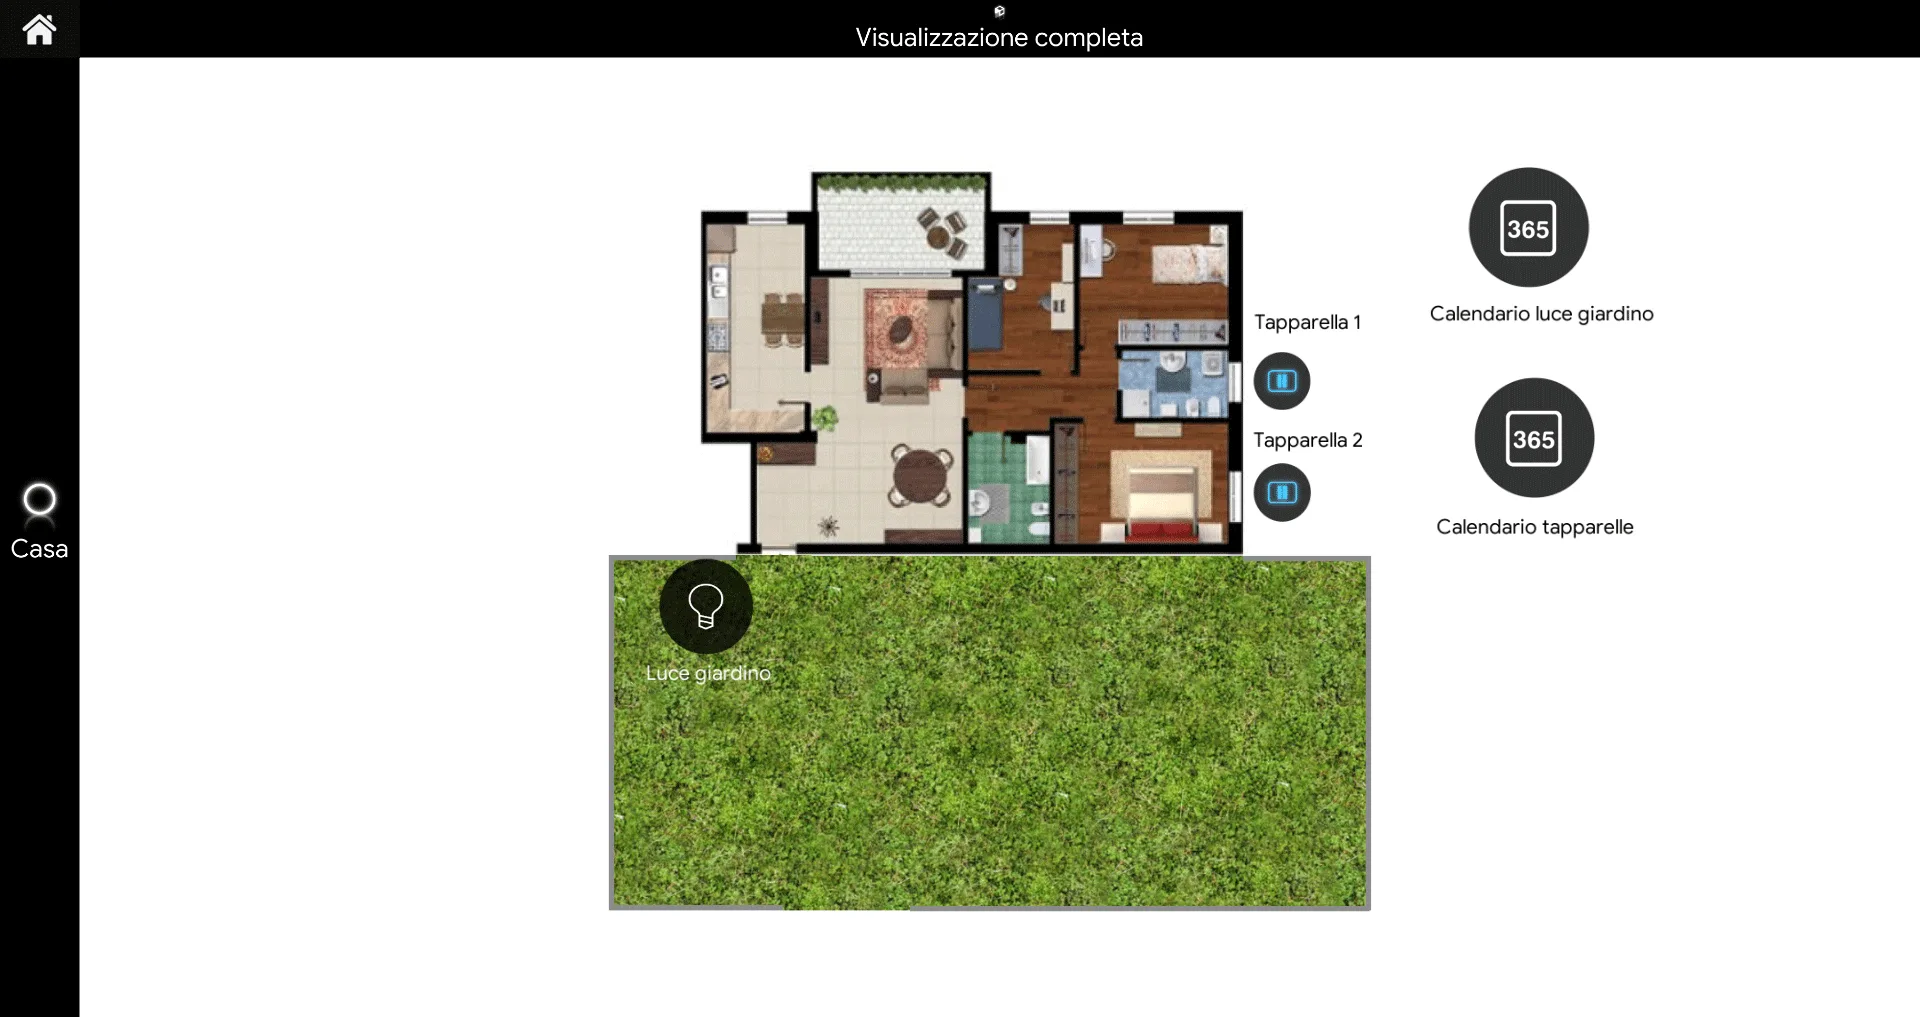
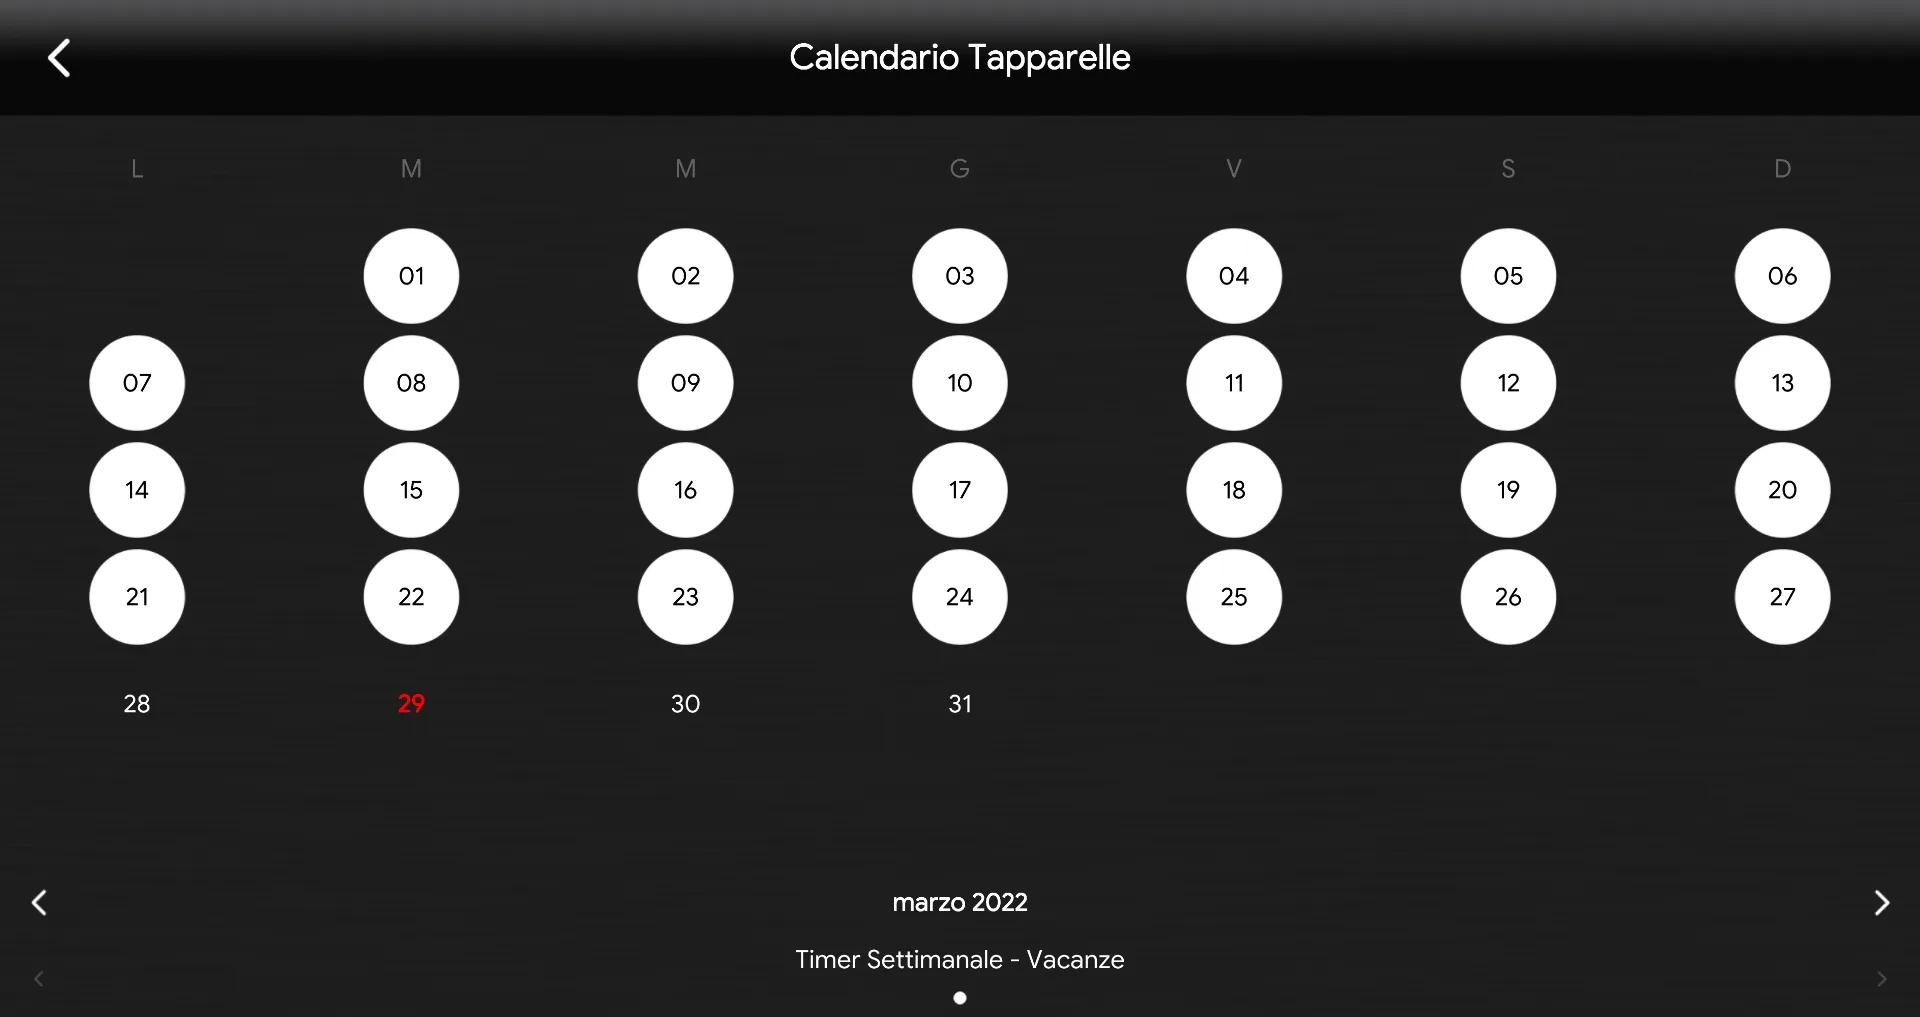
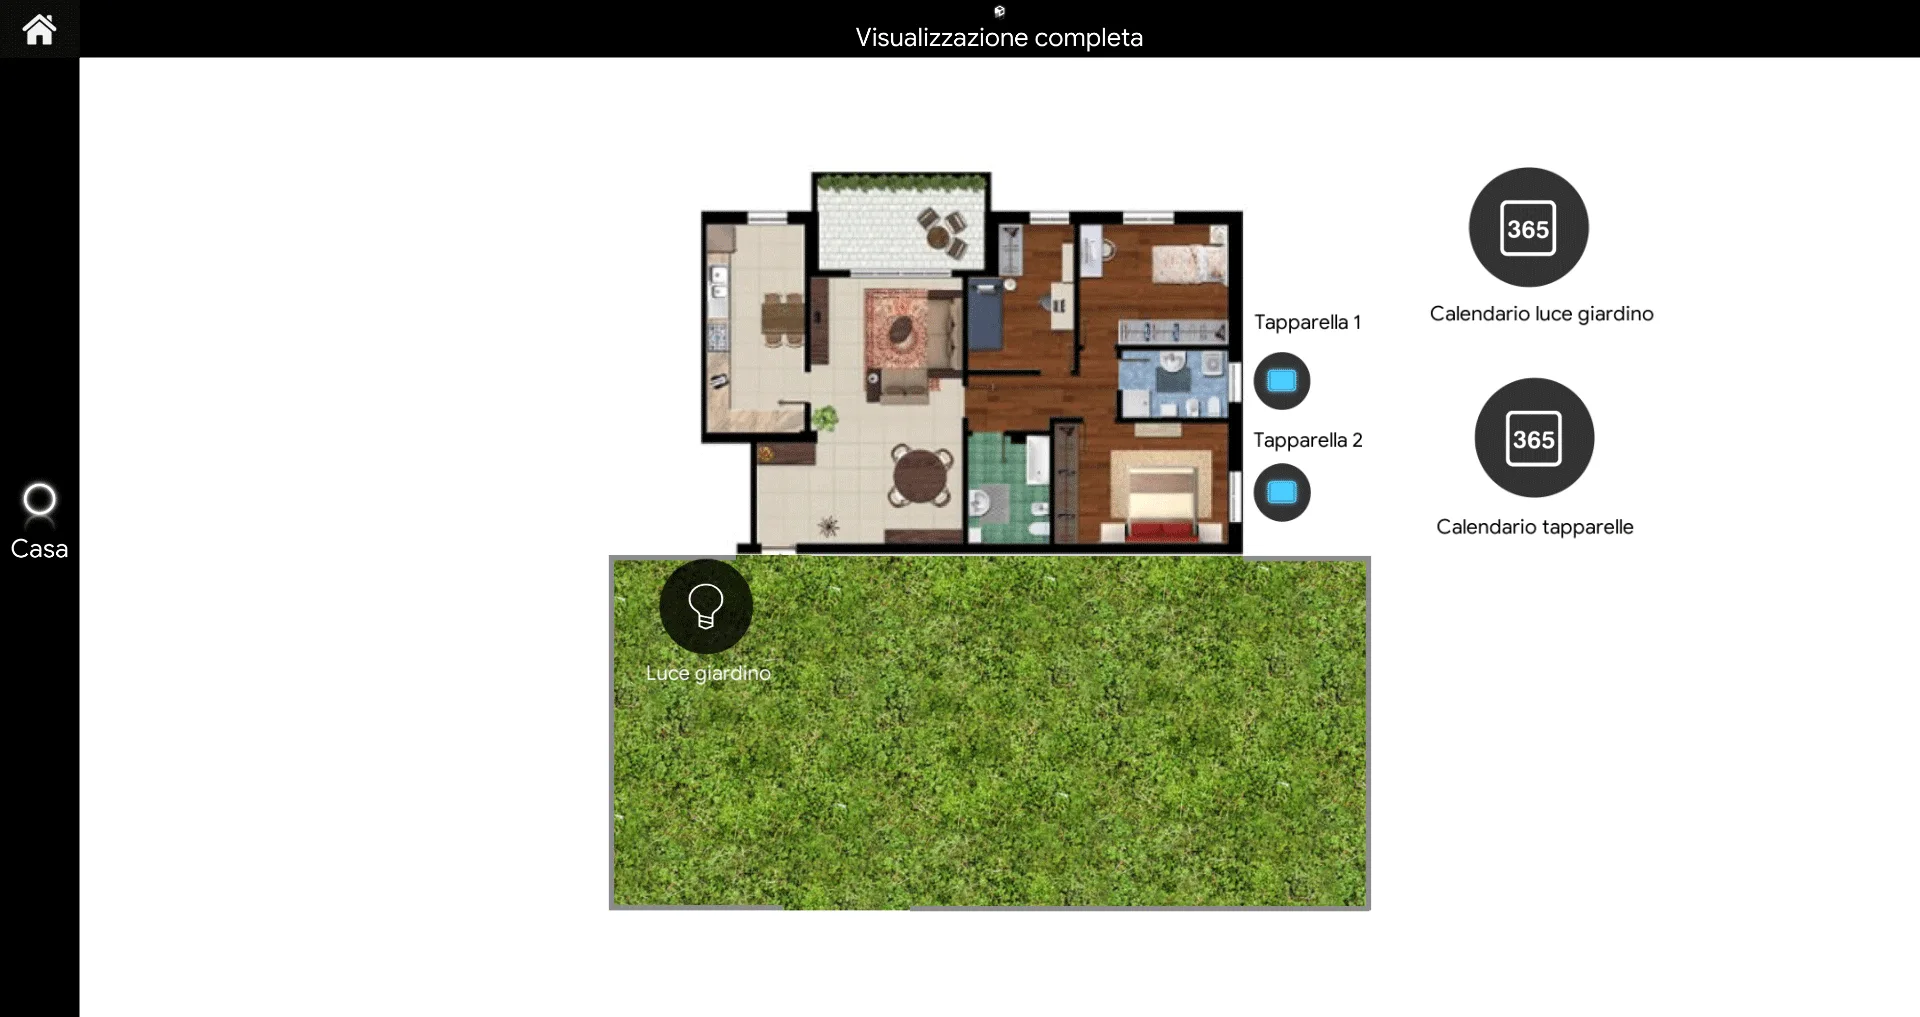
Click the link to download the third example project for the Weekly Timer Calendar component and try it out.
Fourth example project
In this last example, downloadable at the end of this section, the first three projects are merged; they were separated to show the different uses and configurations of the Weekly Timer Calendar component.
Project preparation and upload in Ilevia Manager:
Unzip the files;
Open Ilevia Manager, click File at the top left – Open – press “OK” in the message that appears and select the file with the .eve extension you just unzipped;
Start your Ilevia server;
Update and install the guide logic module.
Step 1:
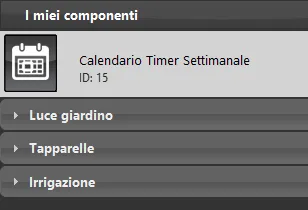
By opening the project in Ilevia Manager, you can see the groups coming from the previous projects.
Step 2:
Once the project has been loaded on the server, at the top of Ilevia Manager click the “Project” menu – “Load to server”, enter the IP address of your Ilevia server, then enter the credentials and log in to the Ilevia Remote Plus application.
ACCOUNT LOGIN CREDENTIALS:
User: admin;
Password: password;
Step 3:
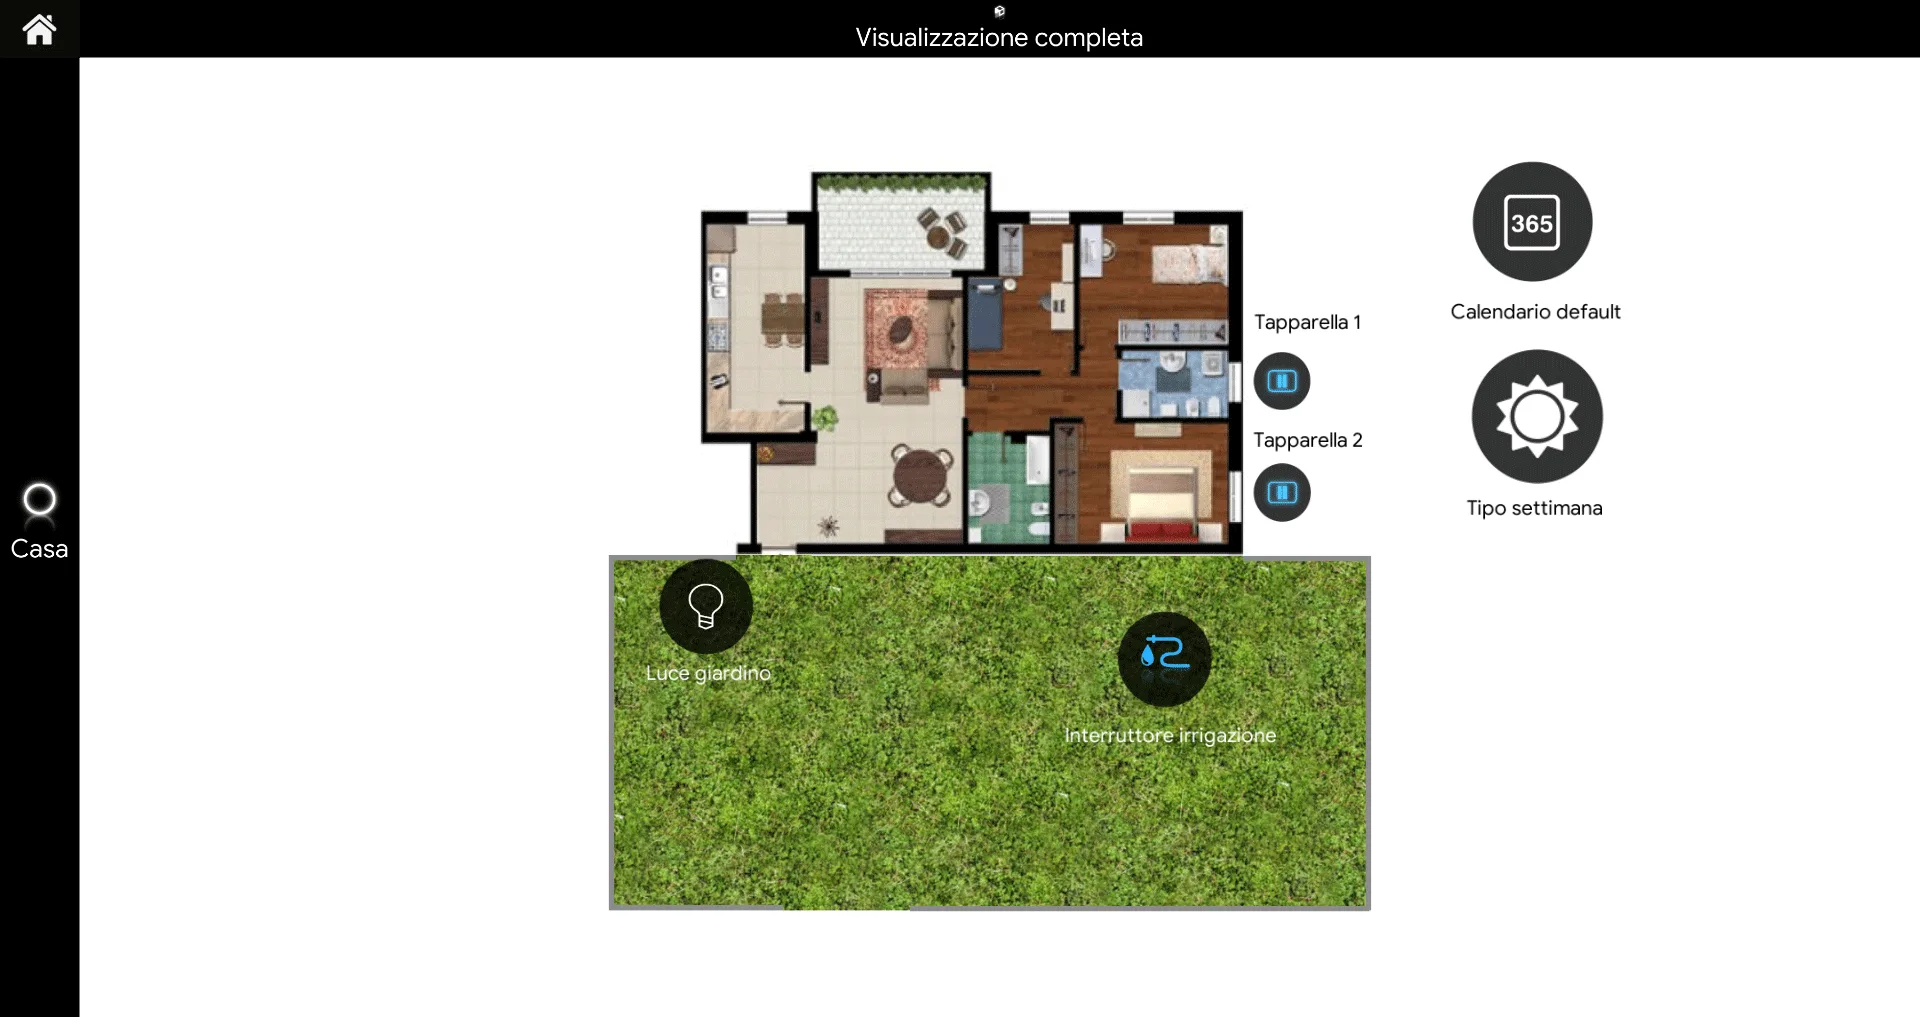
In this interface, by clicking the icon of the Weekly Timer Calendar component, you can select on which days each Weekly Timer is executed. The Weekly Timer set as default in the project is executed on all unselected days.
Now that there are multiple Weekly Timers, during configuration it is very important to select the correct Weekly Timer for the component you are configuring.
The correct Weekly Timer is selected in the component scheduling configuration interface.

For more information on component scheduling with Weekly Timers, see this guide.
Click the link to download the fourth example project for the Weekly Timer Calendar component.