
Integration with Amazon Alexa (classic procedure)
How to connect the Ilevia server to Amazon Alexa via Cloud Ilevia and the Ilevia Smart Home skill to control lights, switches and scenes by voice.
Amazon Alexa includes home automation features that allow owners to use it as a central hub to control smart devices through voice commands.
Before starting the setup
If you are on this page because you are approaching the integration of your Ilevia server, or if you are working on a new installation, or simply looking into how to do it, we suggest you consult the new integration procedure here.
How to control your home automation system using Amazon Alexa
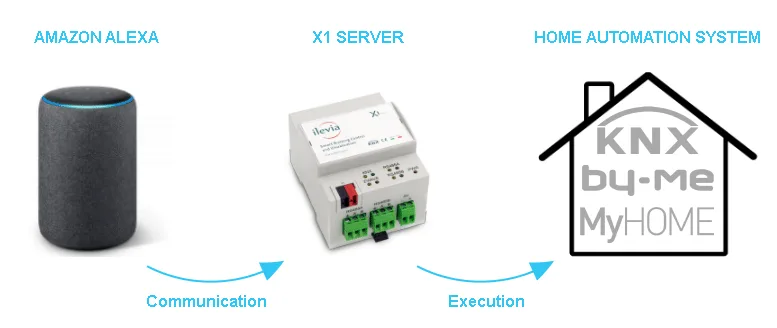
ILEVIA has made it possible to use Amazon Echo with KNX, Vimar By-Me, My Home by BTicino, Z-Wave devices and other Ilevia System protocols.
One of the greatest strengths of our system is that you can use the Amazon Alexa app on your smartphone even on systems not managed by our Ilevia server.
After installing our system, the user, without using any app, will be able to control devices simply by using Amazon Assistant voice recognition or Amazon Echo devices.
In the following sections, we will explain how to configure a KNX light through Ilevia Manager and the related Amazon Alexa configuration.
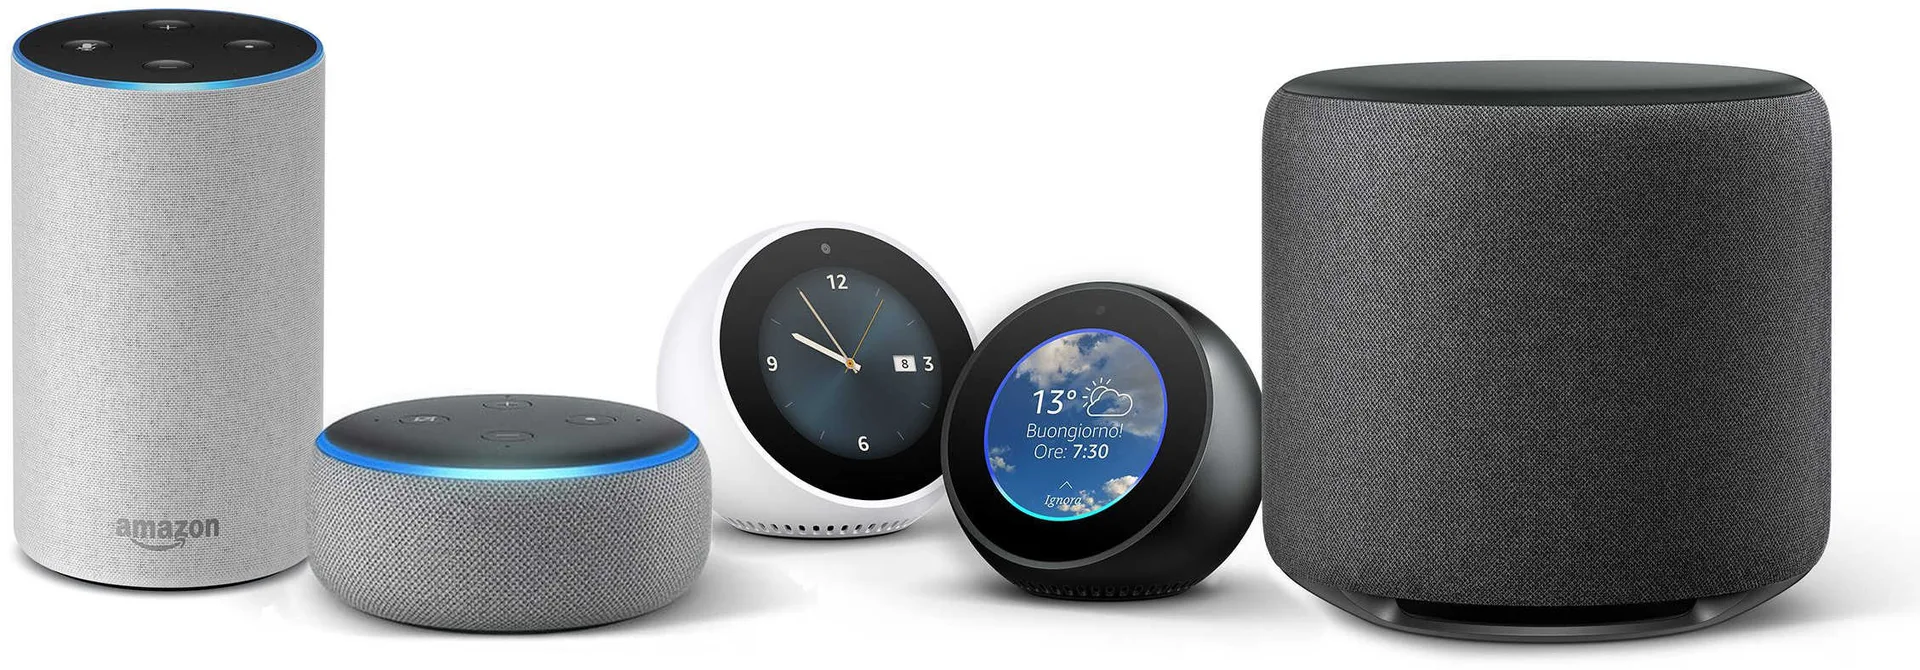
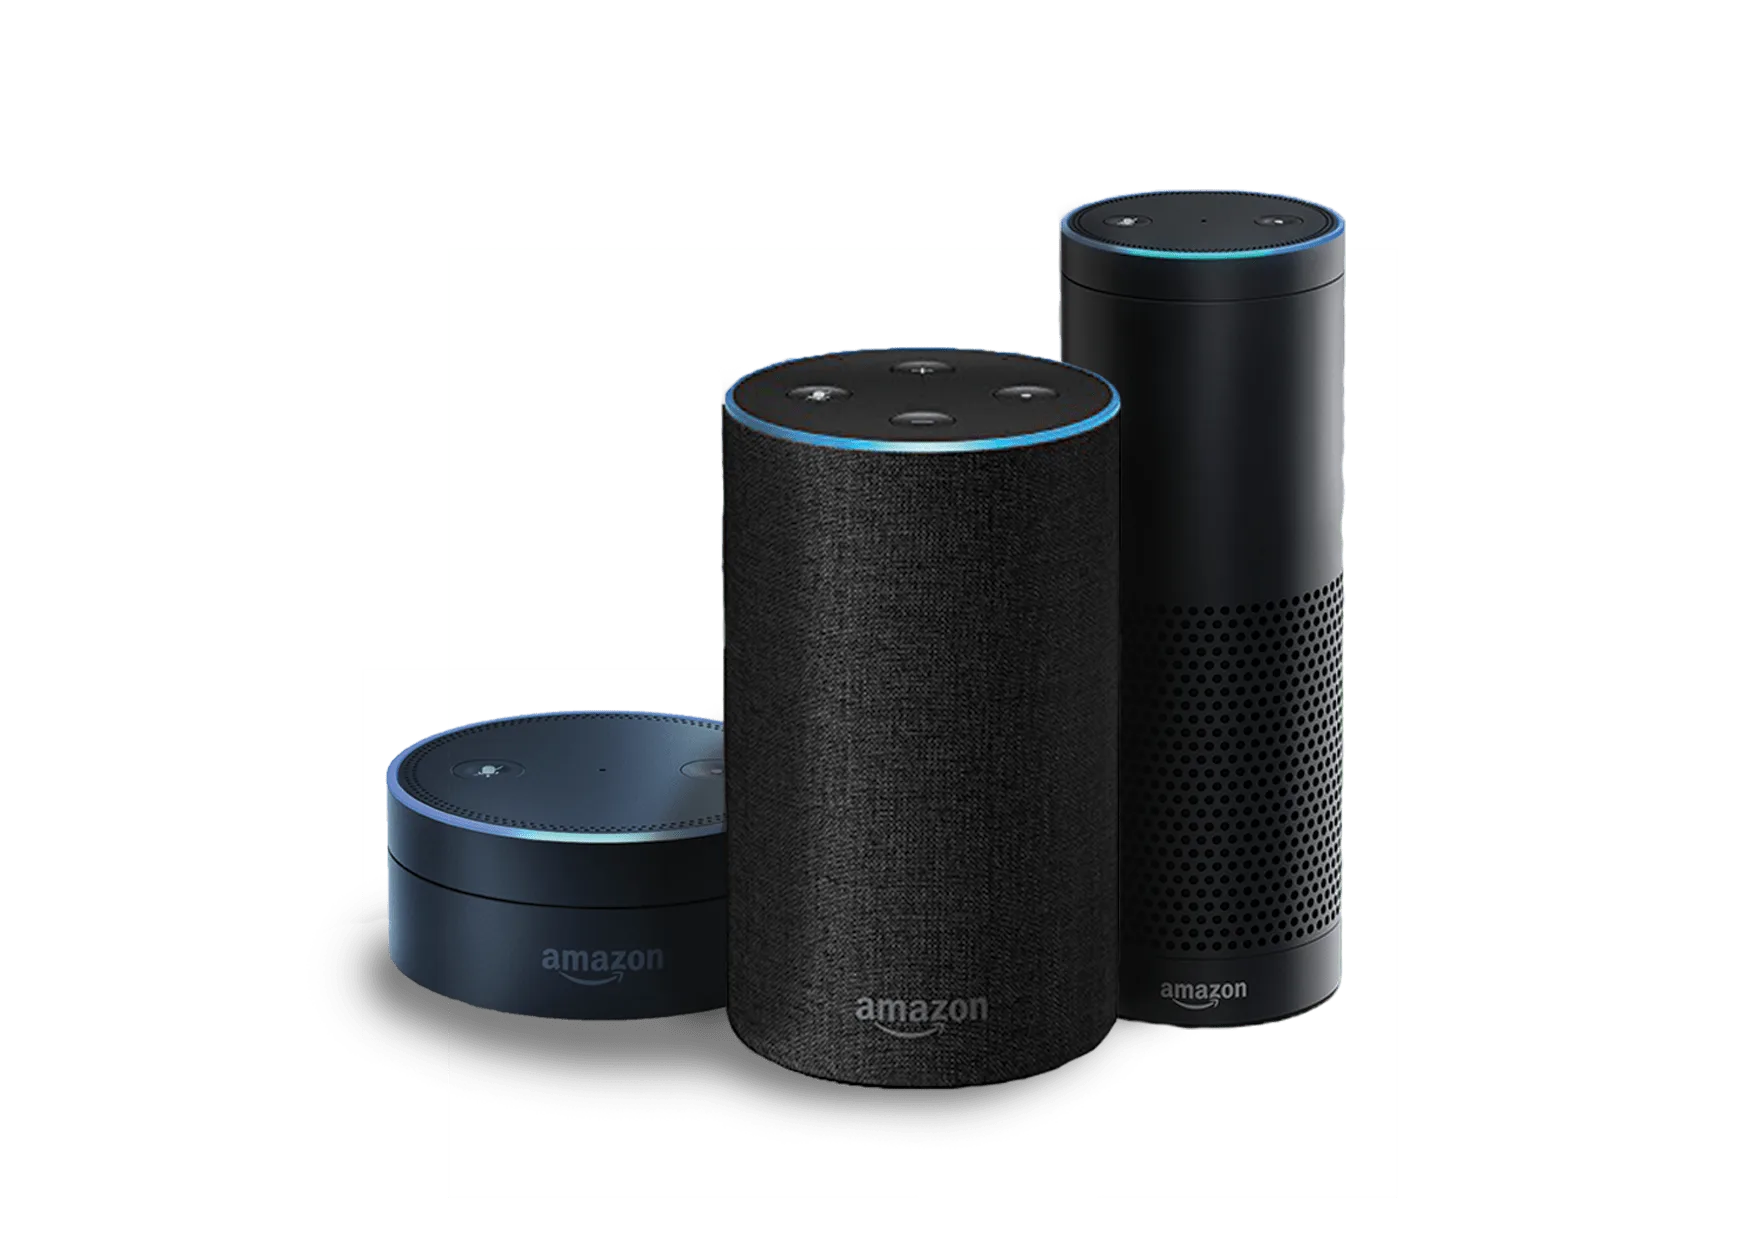
The Amazon Echo speakers allow users to speak voice commands to interact with services through Amazon's intelligent personal assistant called Amazon Echo. A large number of services, both internal and third-party, are integrated, allowing users to listen to music, control video or photo playback, or receive news updates entirely by voice.
Amazon Echo devices also have built-in support for home automation, allowing users to control smart appliances and KNX devices with their voice. Multiple Amazon Echo devices can be placed in different rooms in a house to control devices in a specific room. In this guide, you will learn how to set up a KNX light in a living room and control it by voice.
A reminder before continuing:
You must already have an Ilevia system configured (we recommend following our tutorial at this link).
Download and install the updated Ilevia logics to enable the Amazon plug-in correctly (follow this link);
Update your server with the latest available firmware by following this guide.
Practical guide
Step 1
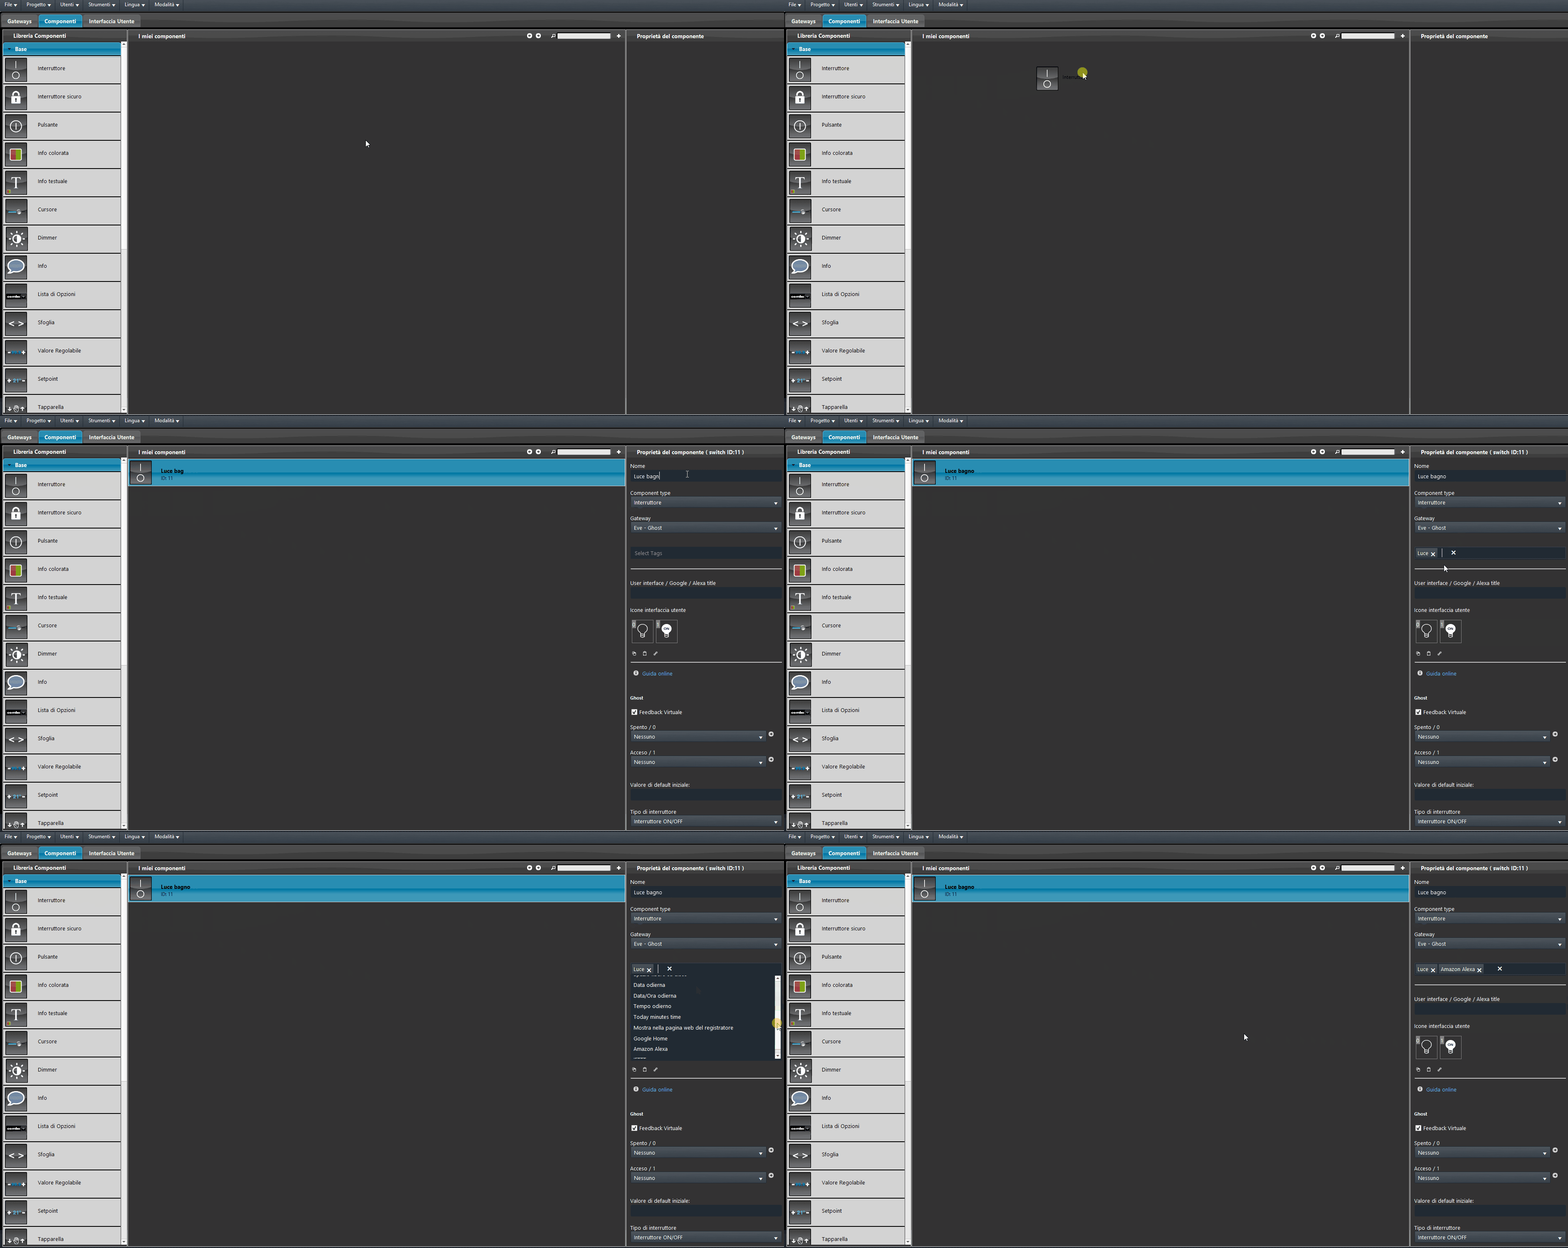
In this guide, we will see how to correctly set up a Switch that will turn a table light on and off using an Amazon Alexa device. After selecting the Components screen, insert a Switch and assign the user title “Table Light” (you can choose a different name according to your preferences): this will be the keyword to speak to the Amazon Alexa device. Now, under “Select tags”, select “Light” and “Amazon Alexa”: this step allows you to use the service correctly and to identify which device is a light and which is not. Repeat the step for every component in the system you want to make manageable through Amazon Alexa; if the selected device is not a light, use only the “Amazon Alexa” tag.
Step 2
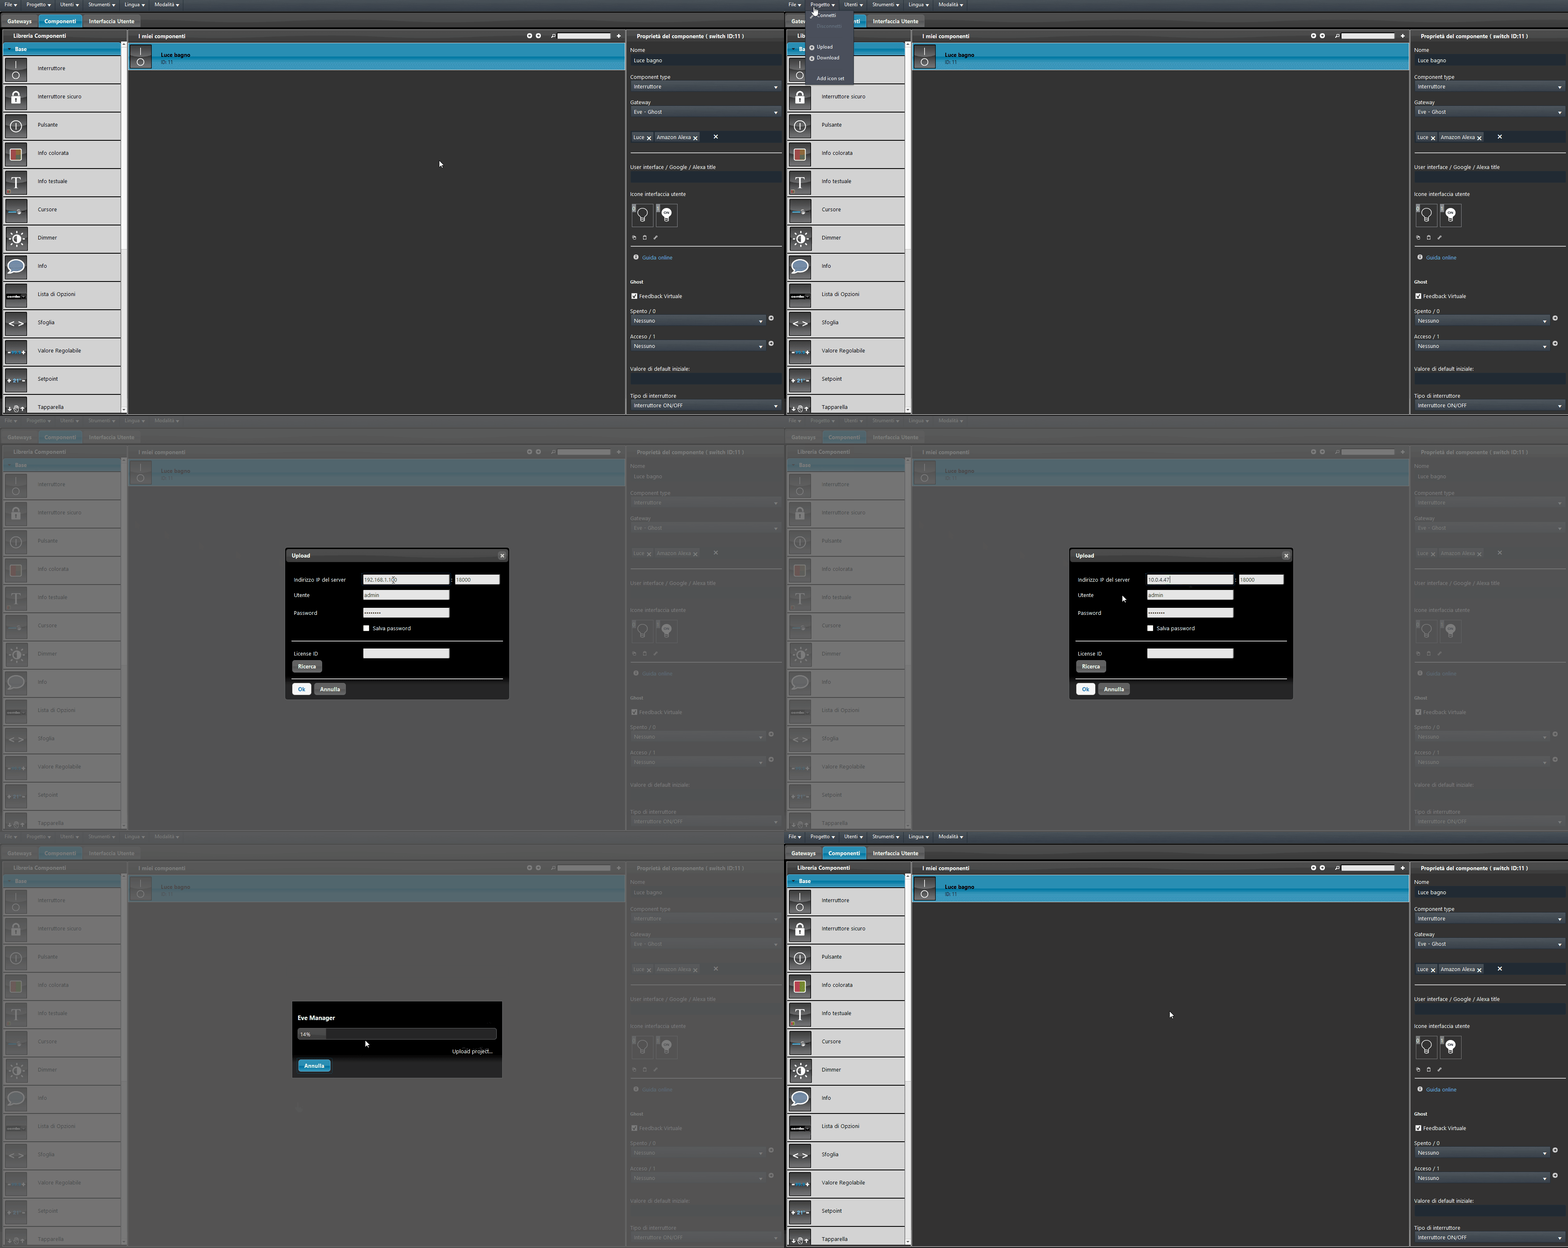
Click Project -> Upload to server and you're done! Now move on to the next topic: Ilevia Cloud and Amazon Alexa app.
SHUTTERS AND BLINDS
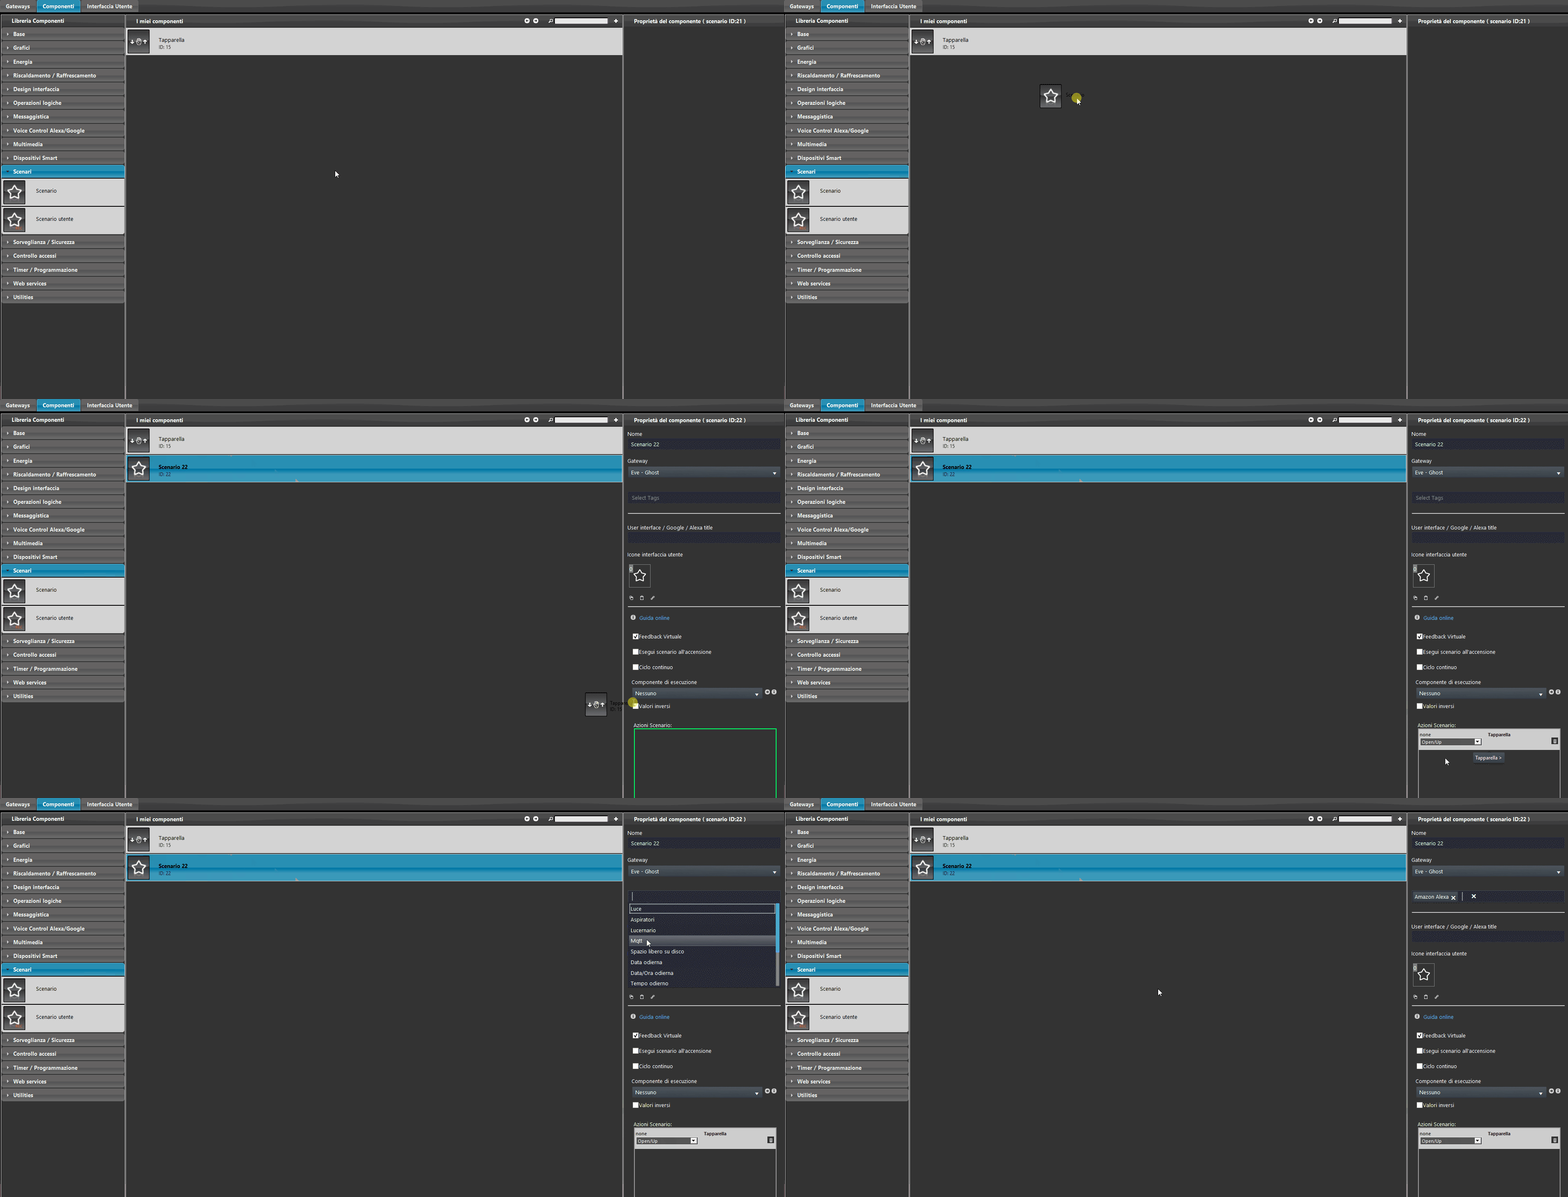
The integration of shutters and blinds requires a structure created as follows:
Add a new Scene component from the Component Library menu, on the left in Ilevia Manager, in the Scenes section. The scene must be set with the Ilevia – Ghost gateway to complete the operation. Drag the Shutter component into the Scene actions box: the drop-down menu in the scene actions lets you choose the action that will be performed when the scene is triggered.
Required operation
If uploads to the server are frequent, after uploading the project you will need to restart the Logics module. The Logics module is software inside the Ilevia server that manages the project's logic operations, such as the connection between the server and Cloud Ilevia. To restart it, connect to the Ilevia server from the Project menu → Connect; then, from the Tools menu, first run stop logic and then start logic.
Step 3
Creating an Ilevia account
Sign up for Cloud Ilevia
1. Open the browser on your phone or PC.
2. Enter http://api.cloud.ilevia.com in the browser address bar.
3. Select the “Sign Up” option to create a new account on the ILEVIA cloud.
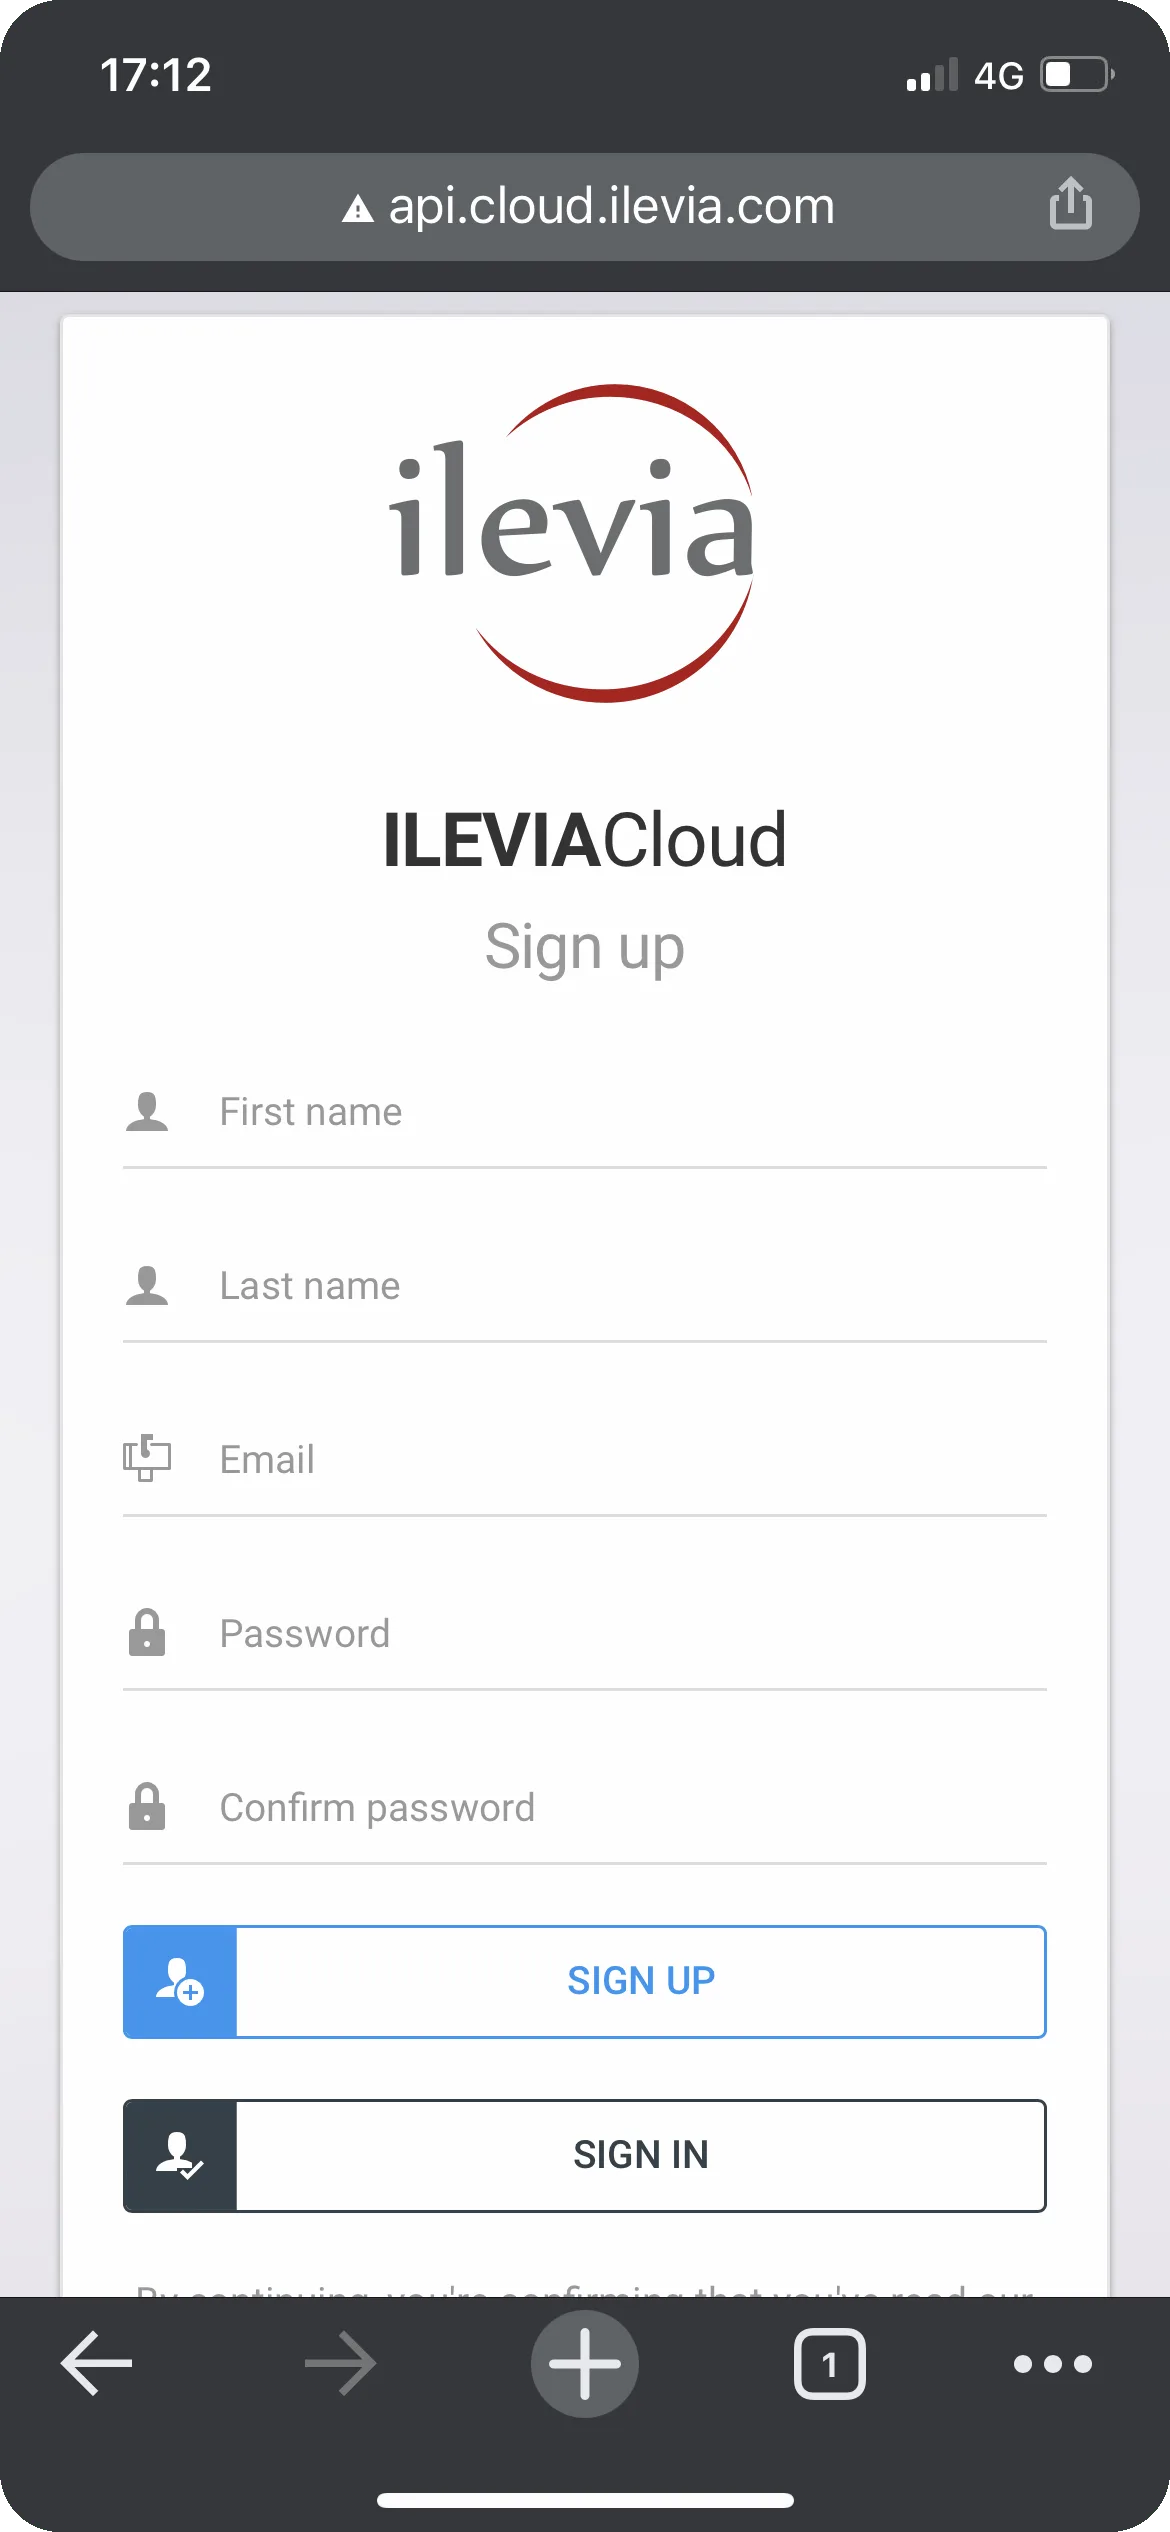
Step 4
Registering the Ilevia server
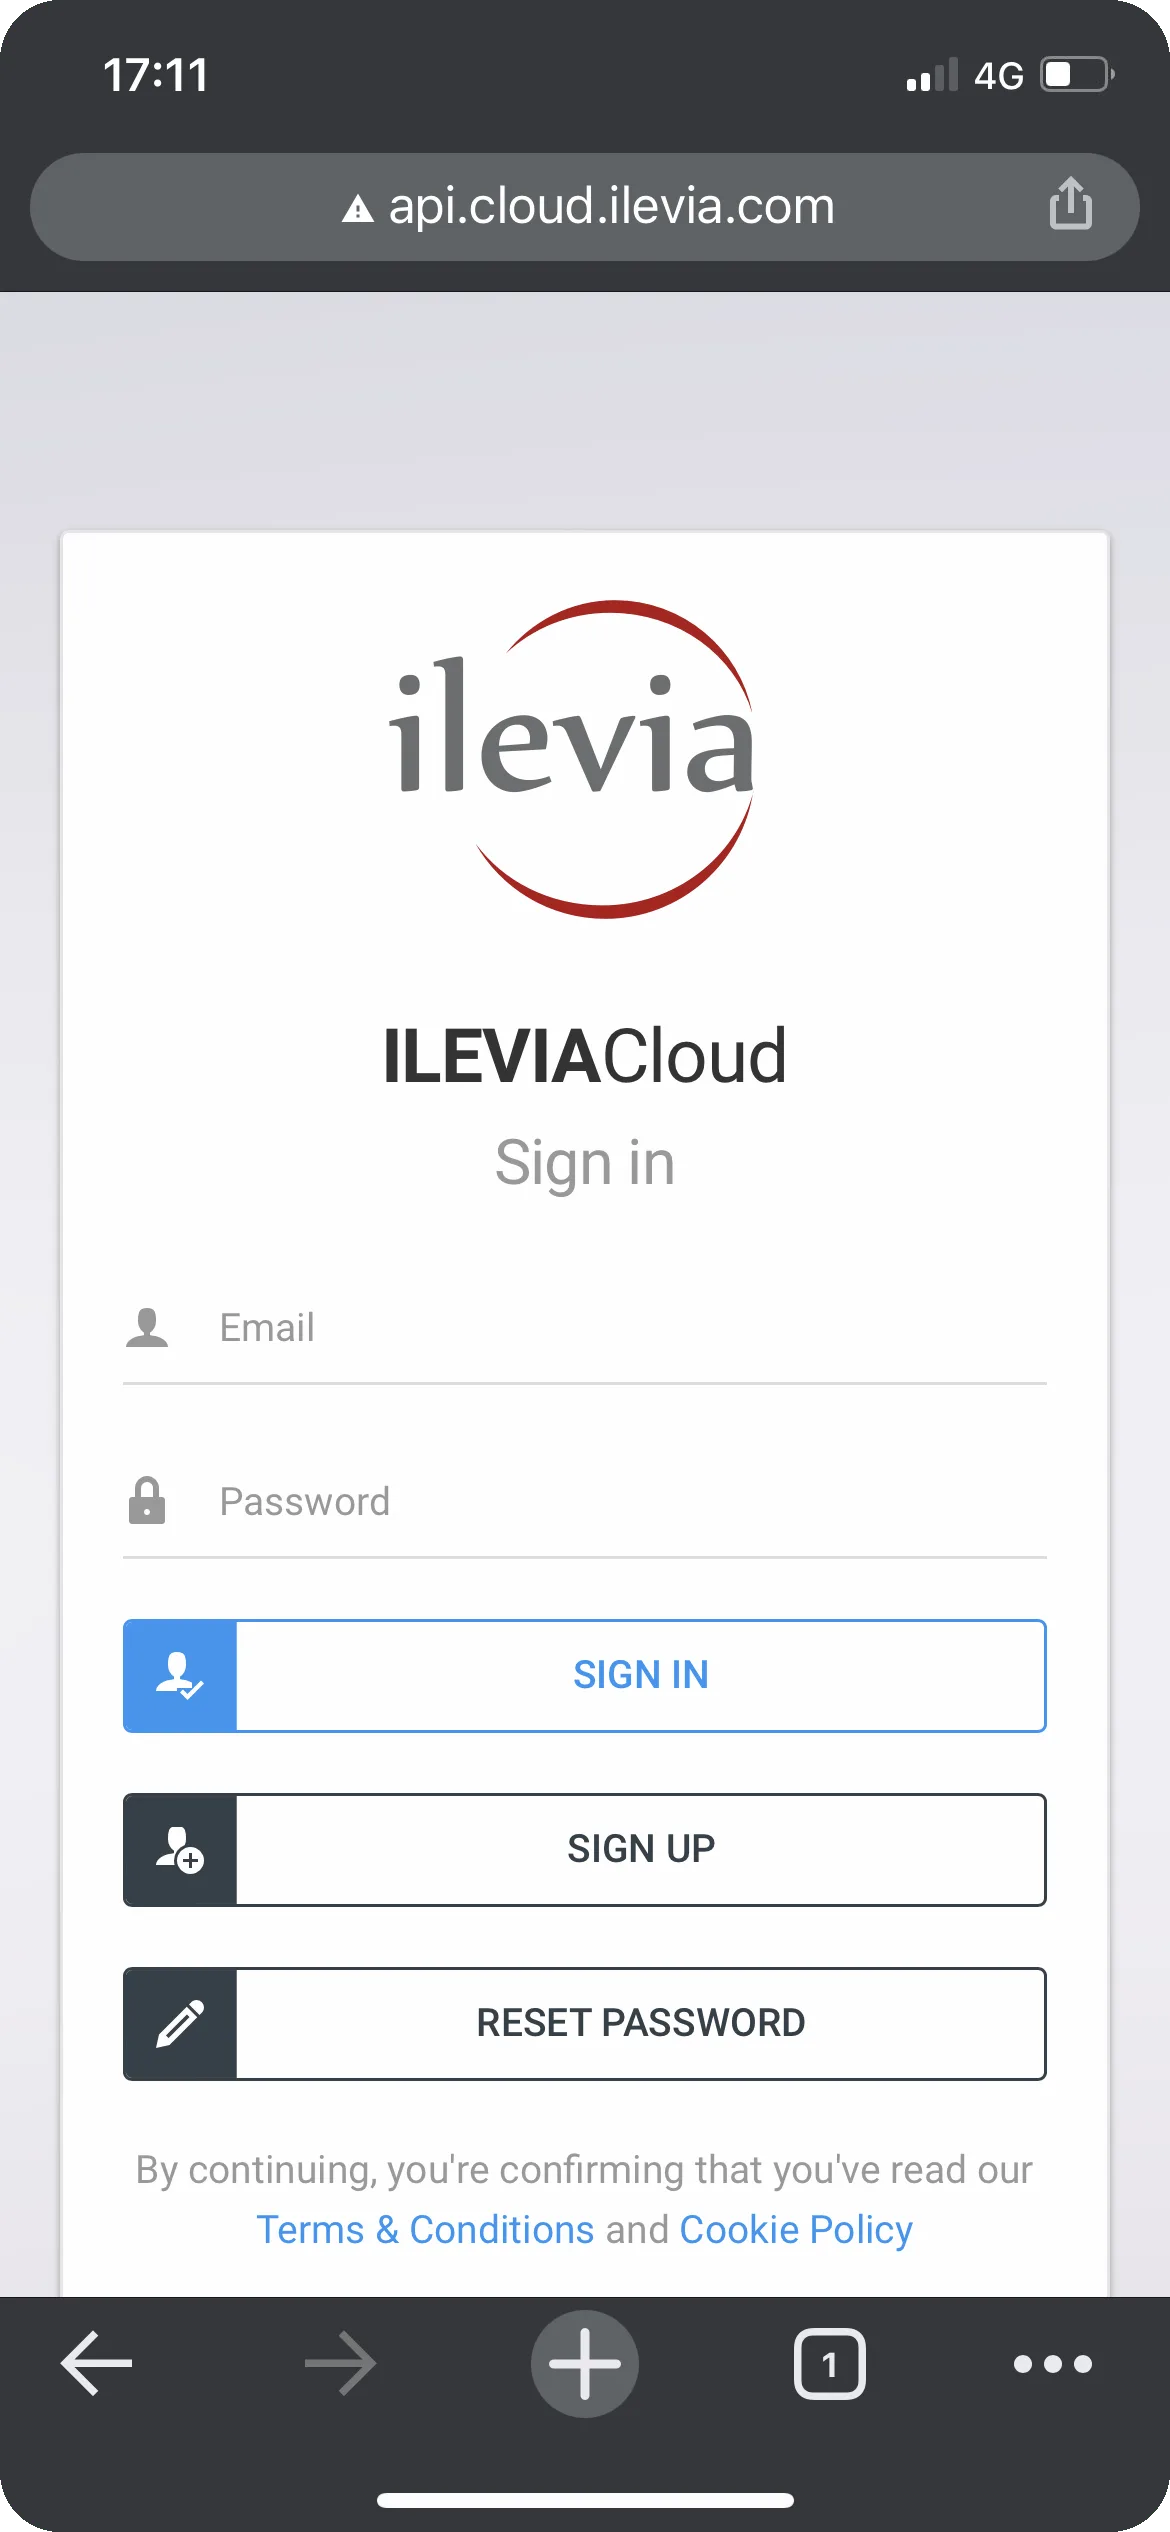
1. Log in to your ILEVIA account by entering your credentials and clicking “Sign Up“.
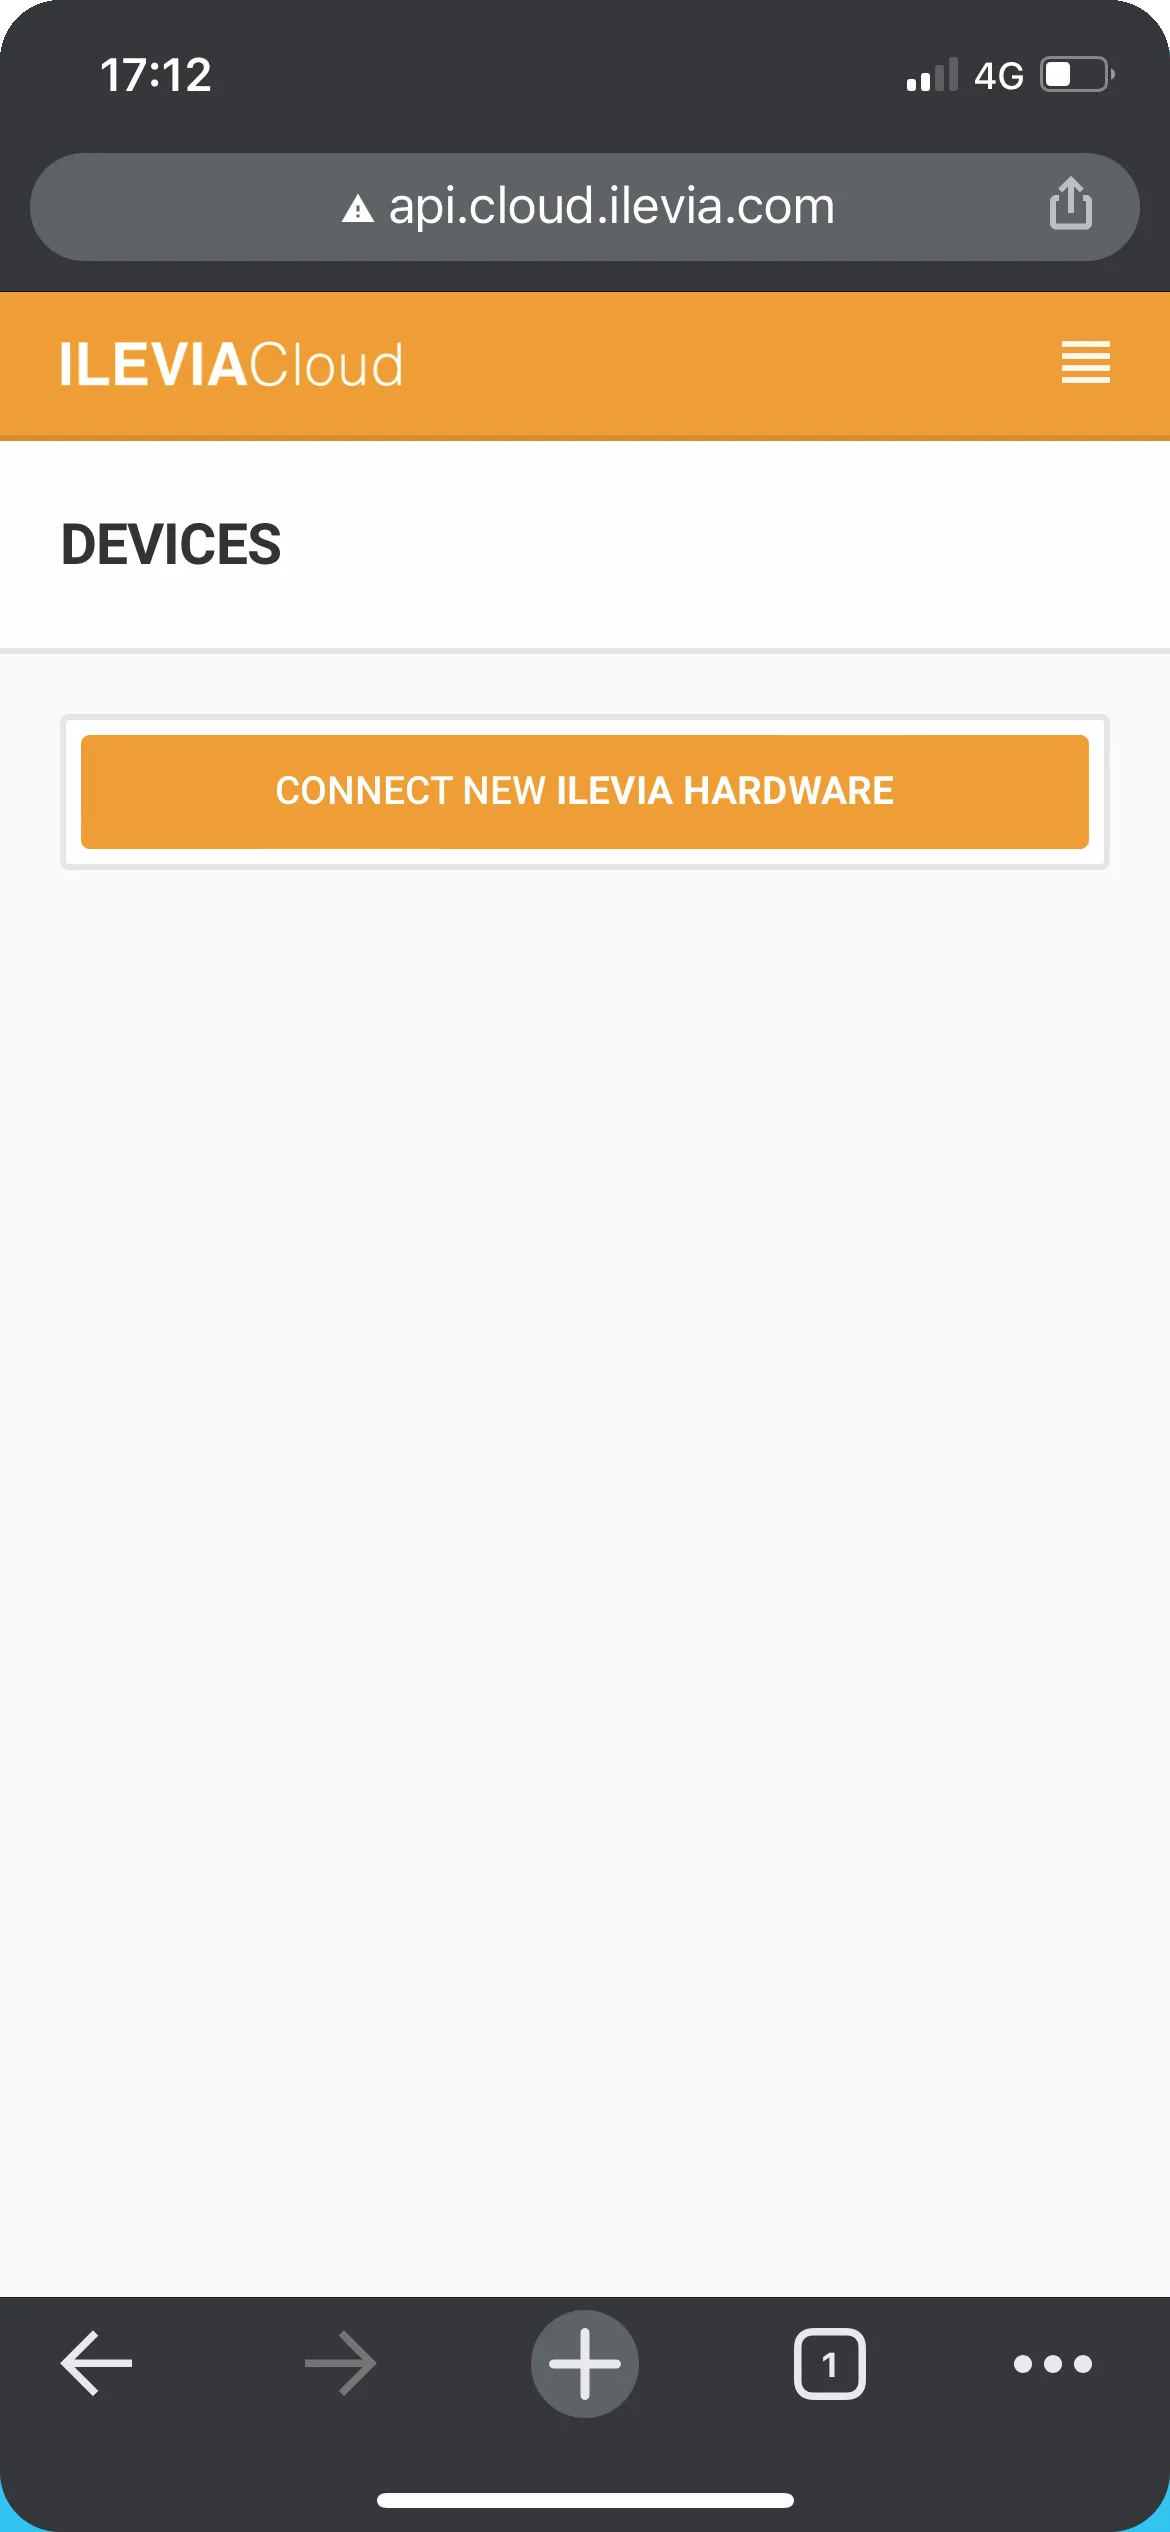
2. Click the green button Connect New Ilevia Hardware.
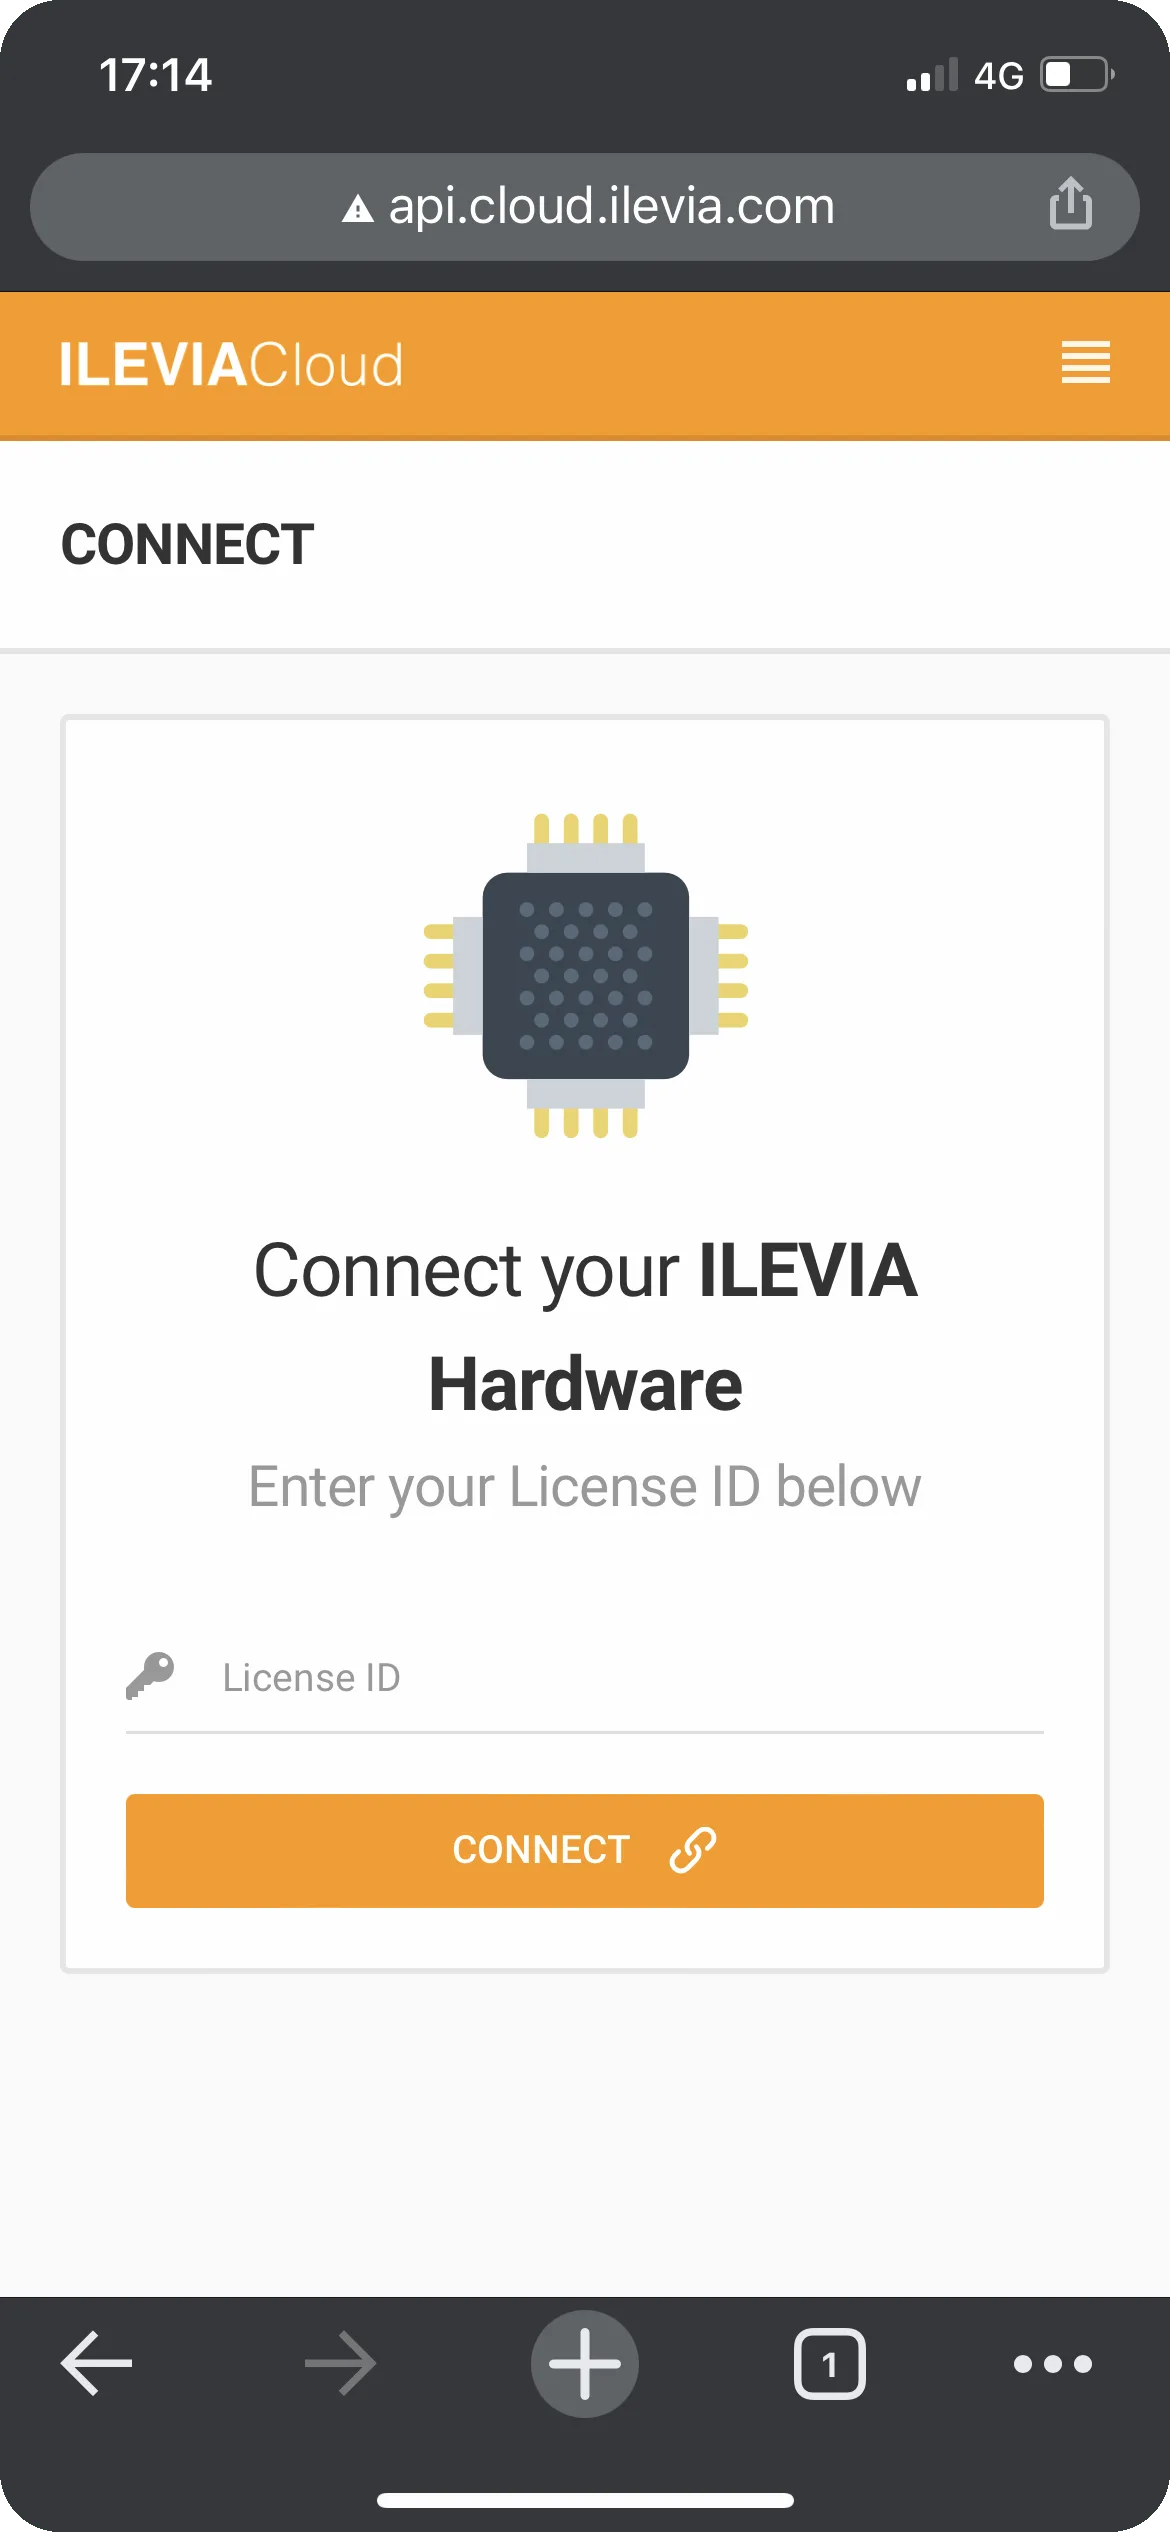
3. Enter your license number; if you do not know where to find it, follow this guide.
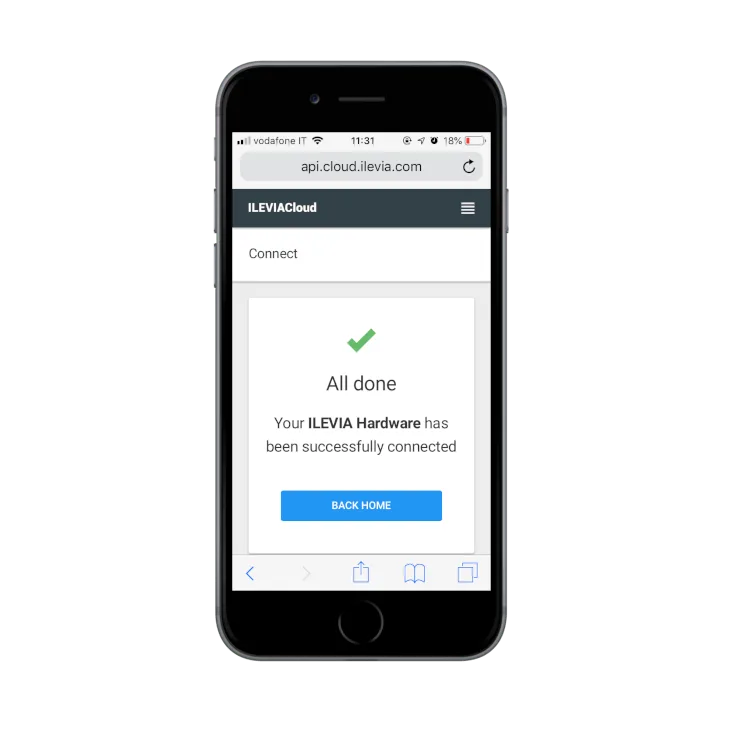
4. Press Back Home to return to the main screen.
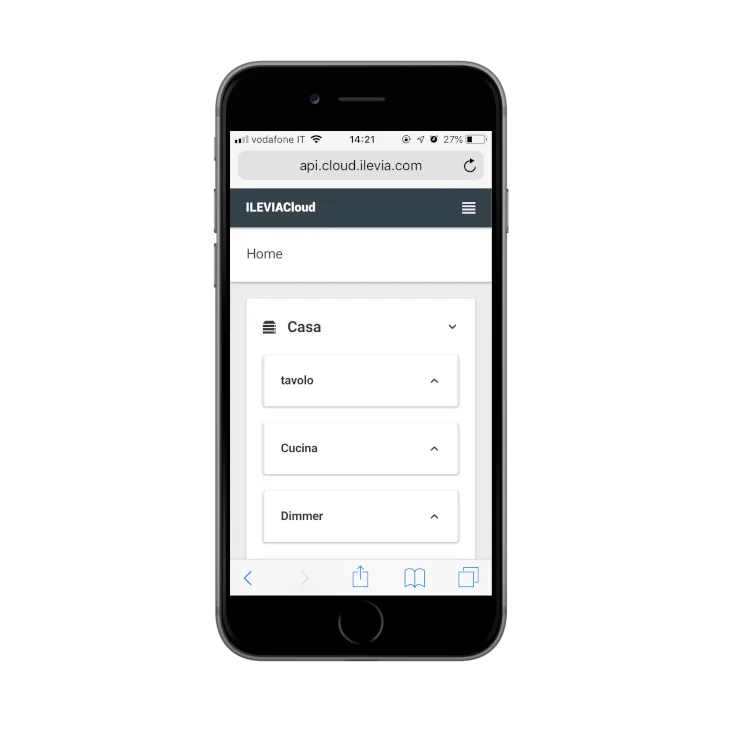
5. If you have followed all the steps correctly, on the Home screen you will see all the devices previously configured in Ilevia Manager.
Step 5
Amazon Alexa app setup

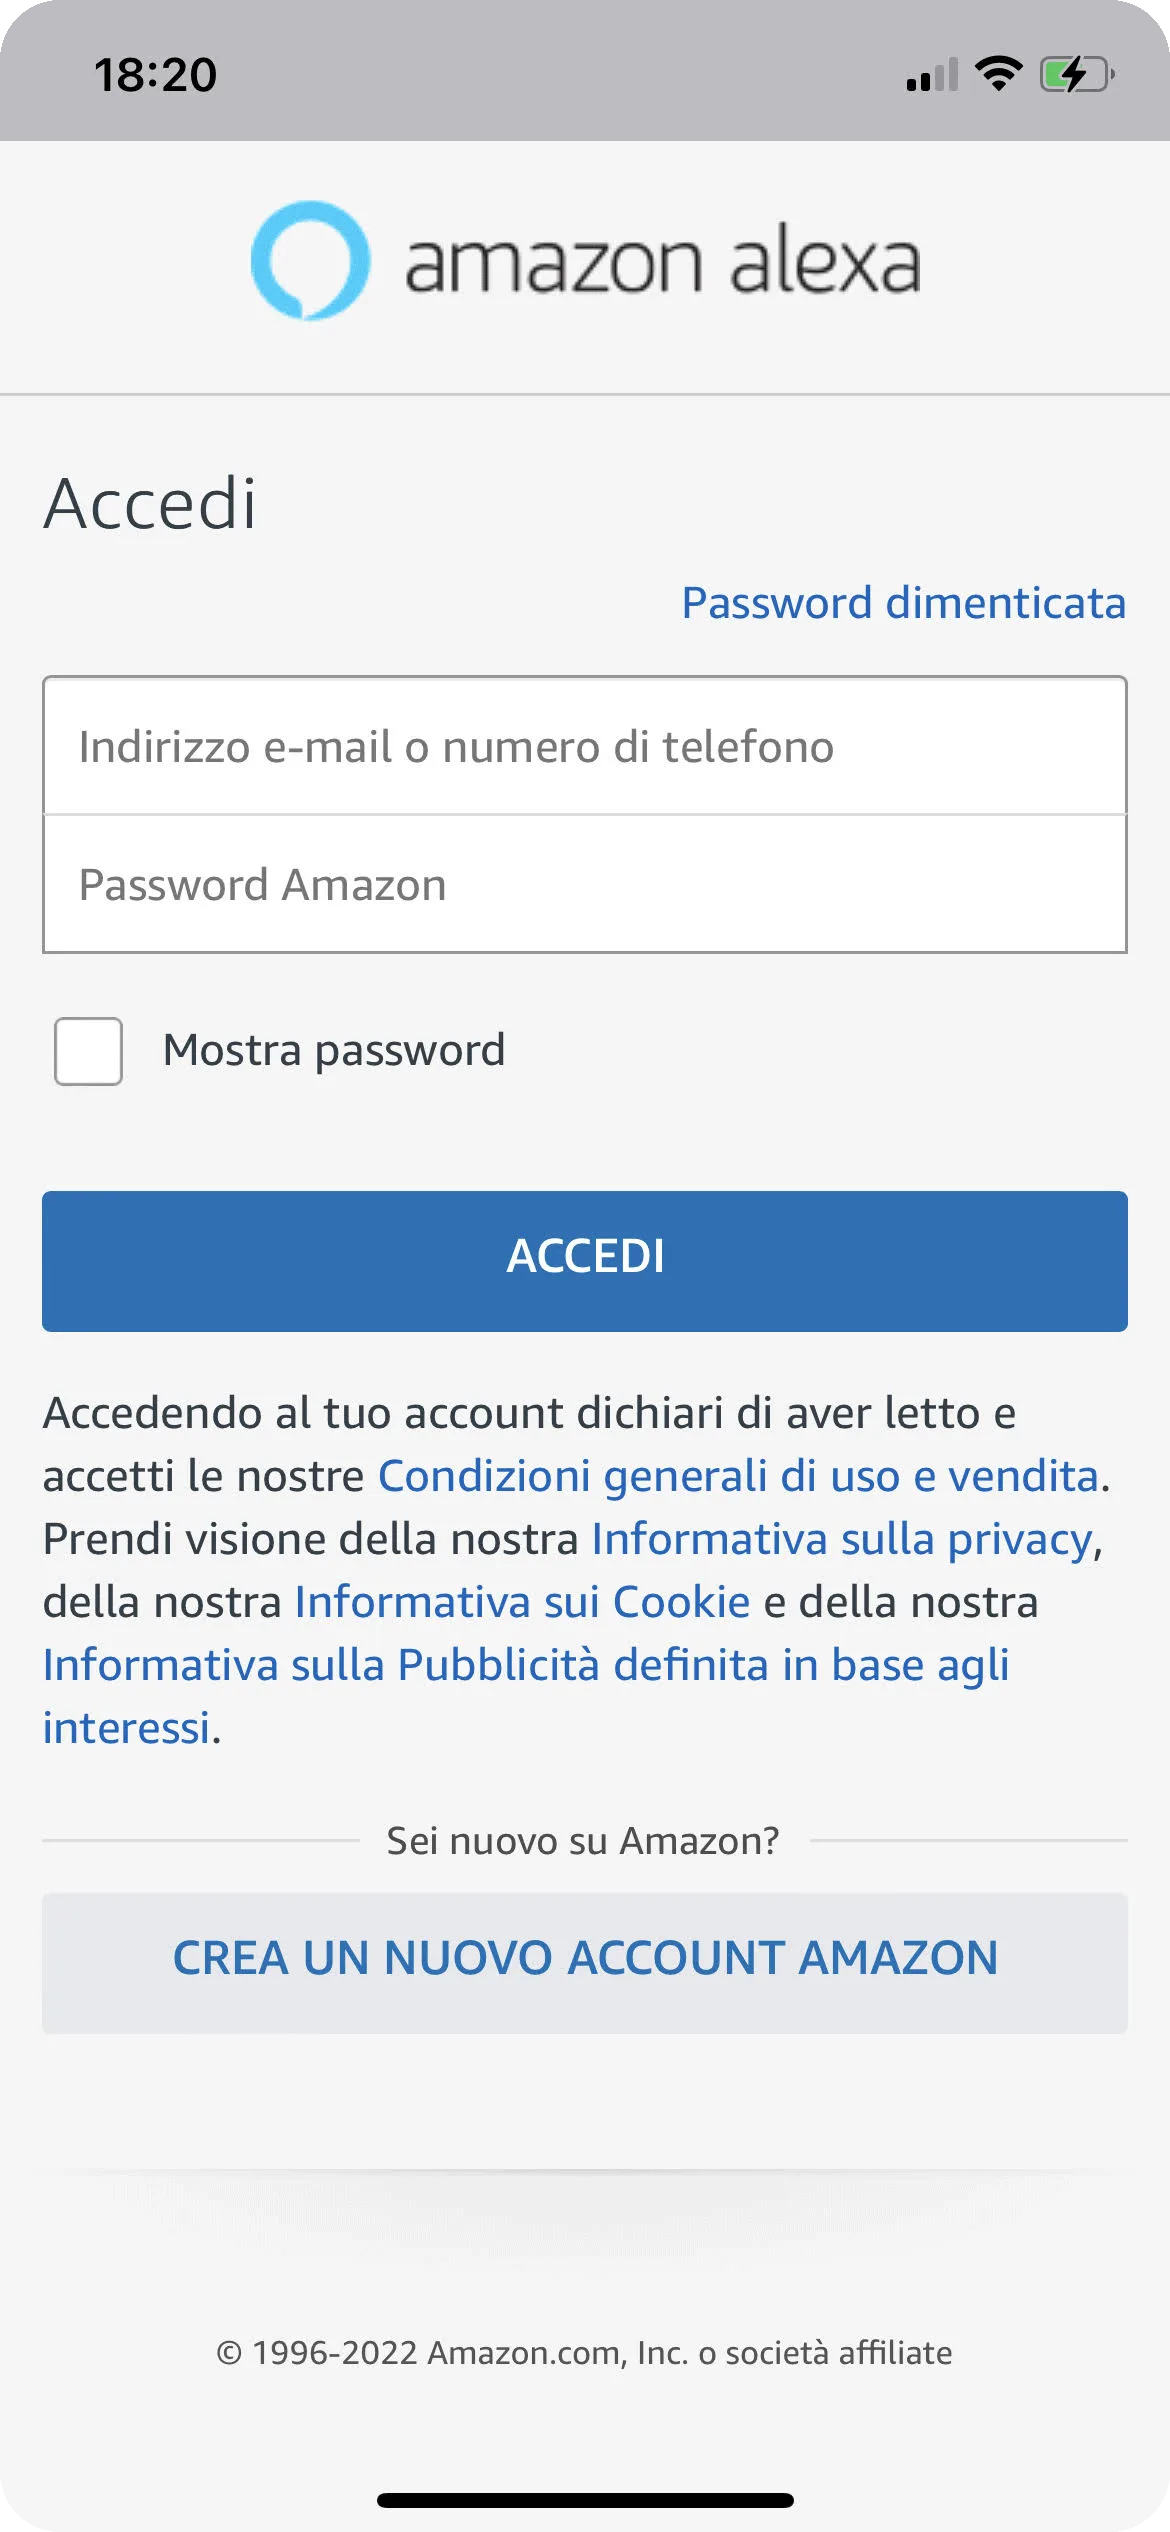
1. After installing the Amazon Alexa app, open it: this will be the first screen you see. Log in with your Amazon credentials.
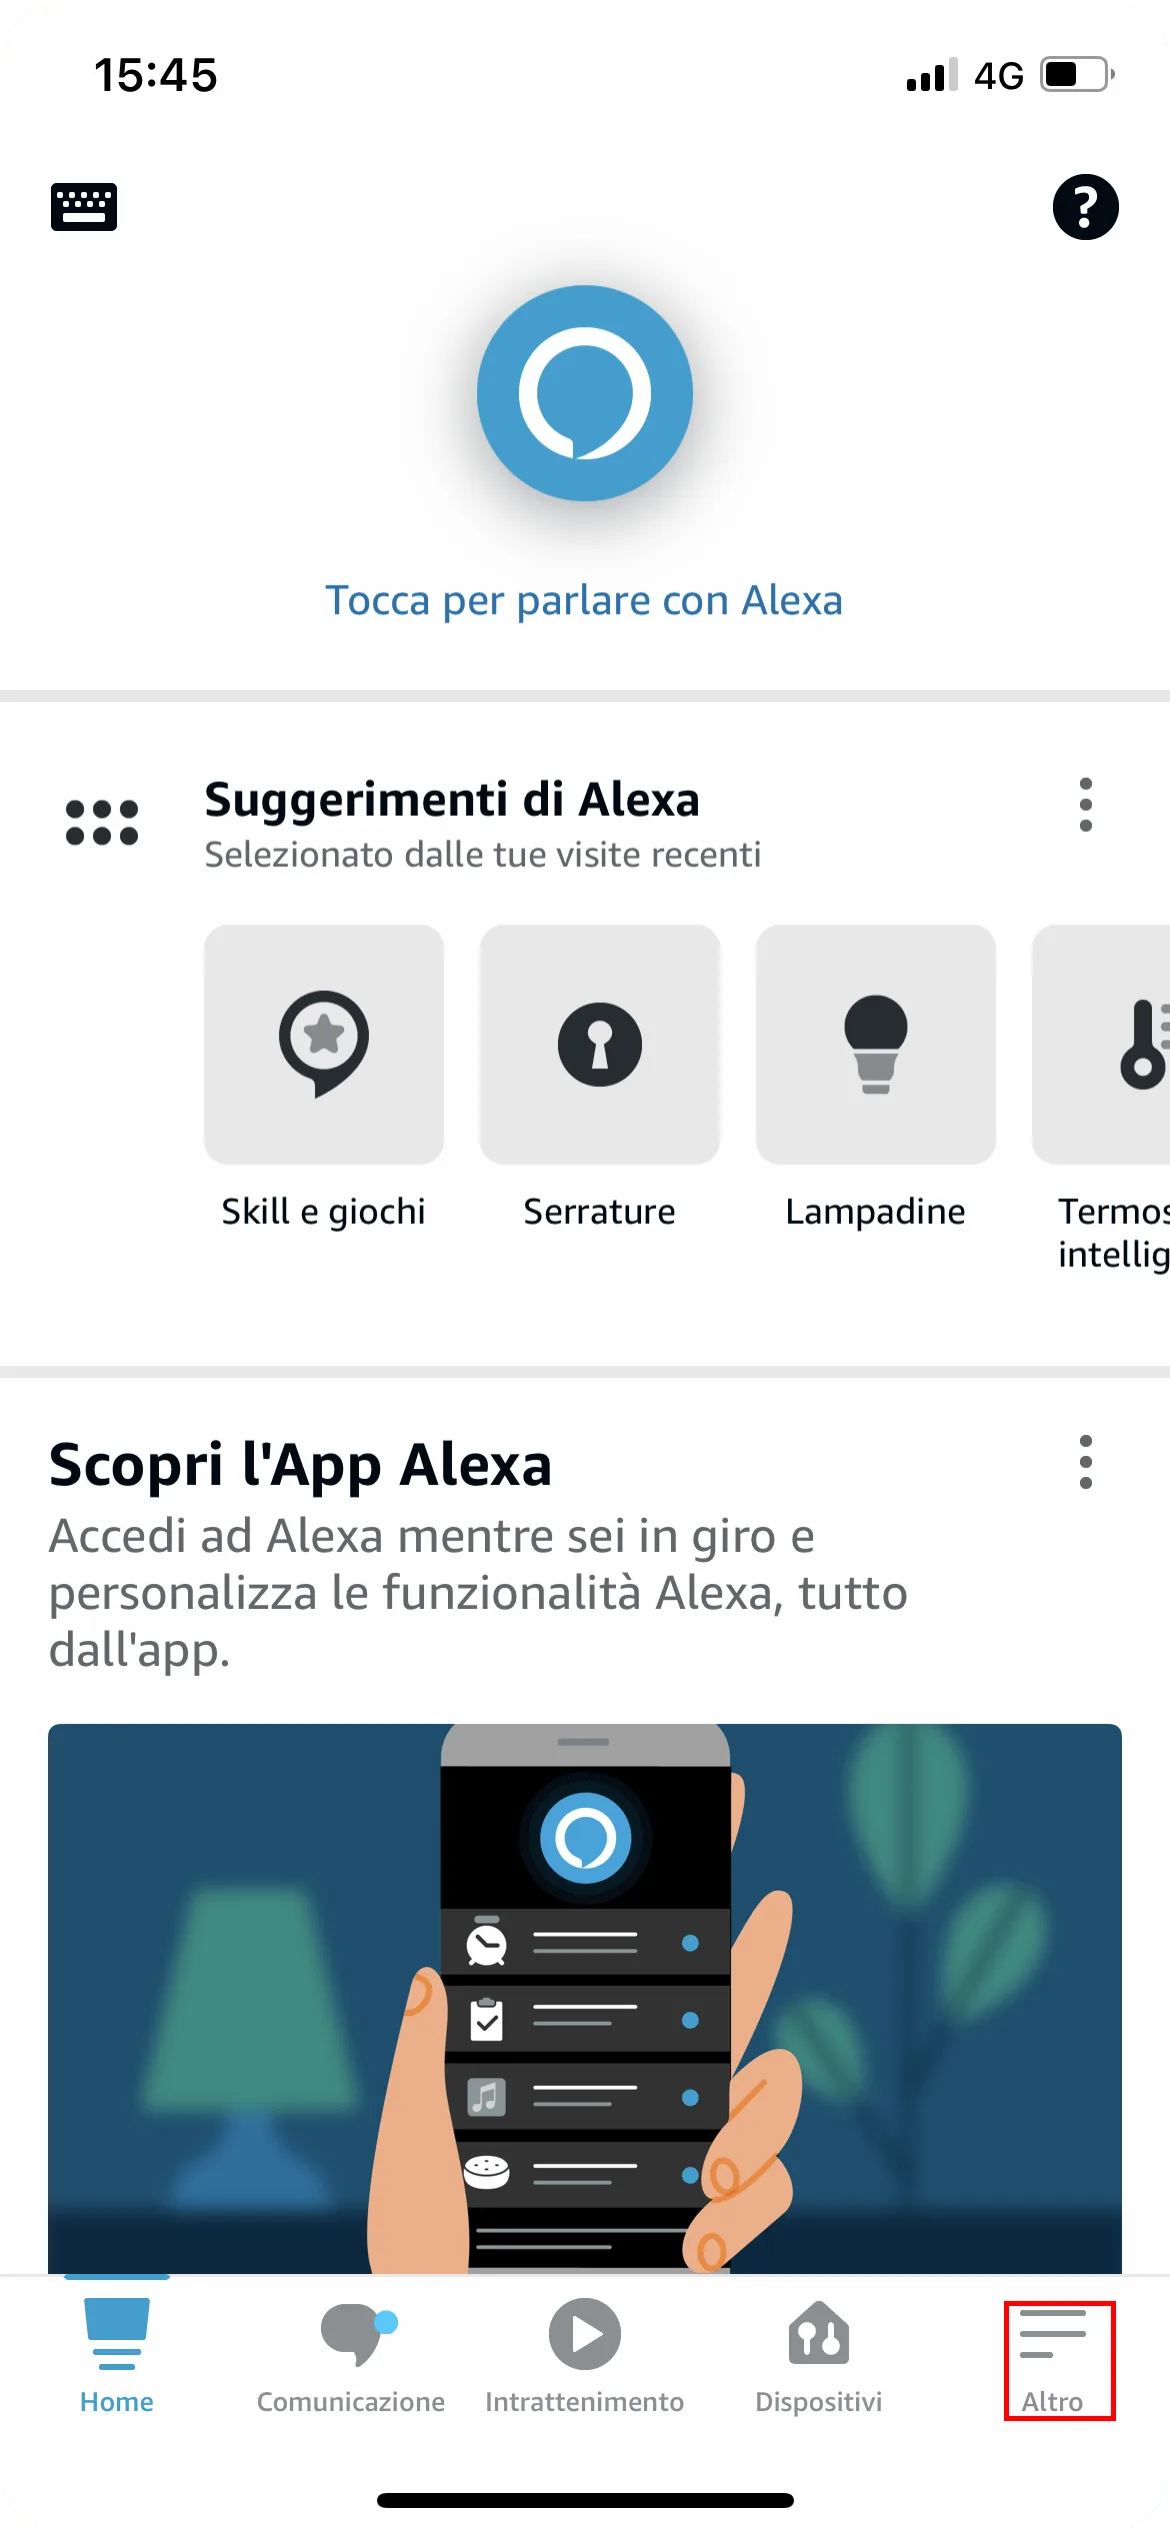
2. On the main screen, tap the menu (hamburger) in the top left.
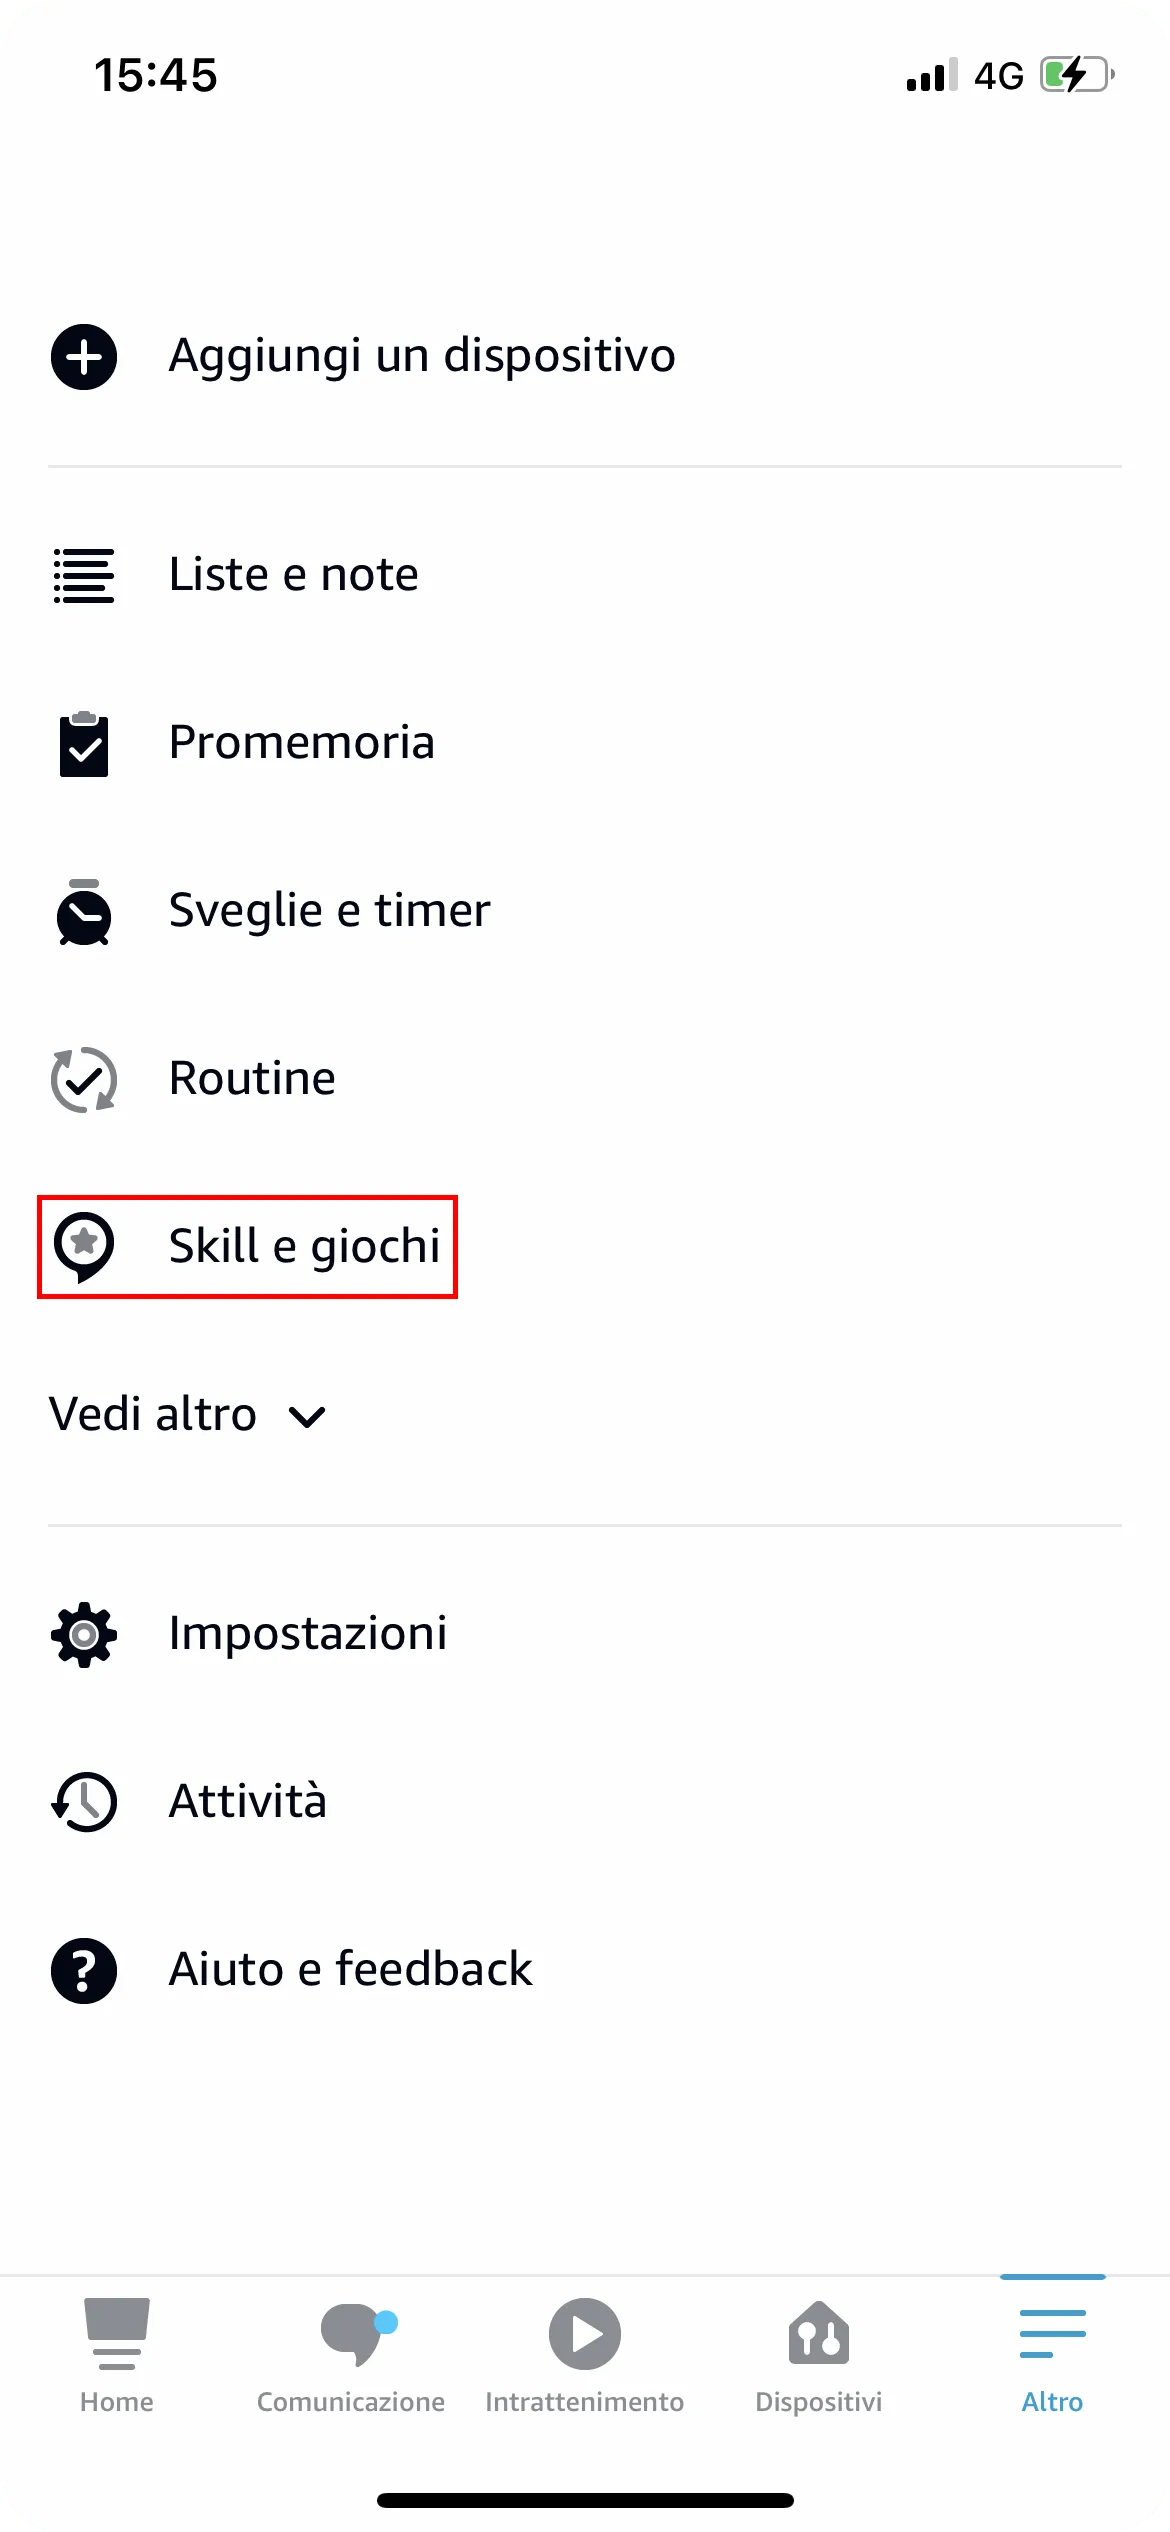
3. Select Skills & Games.
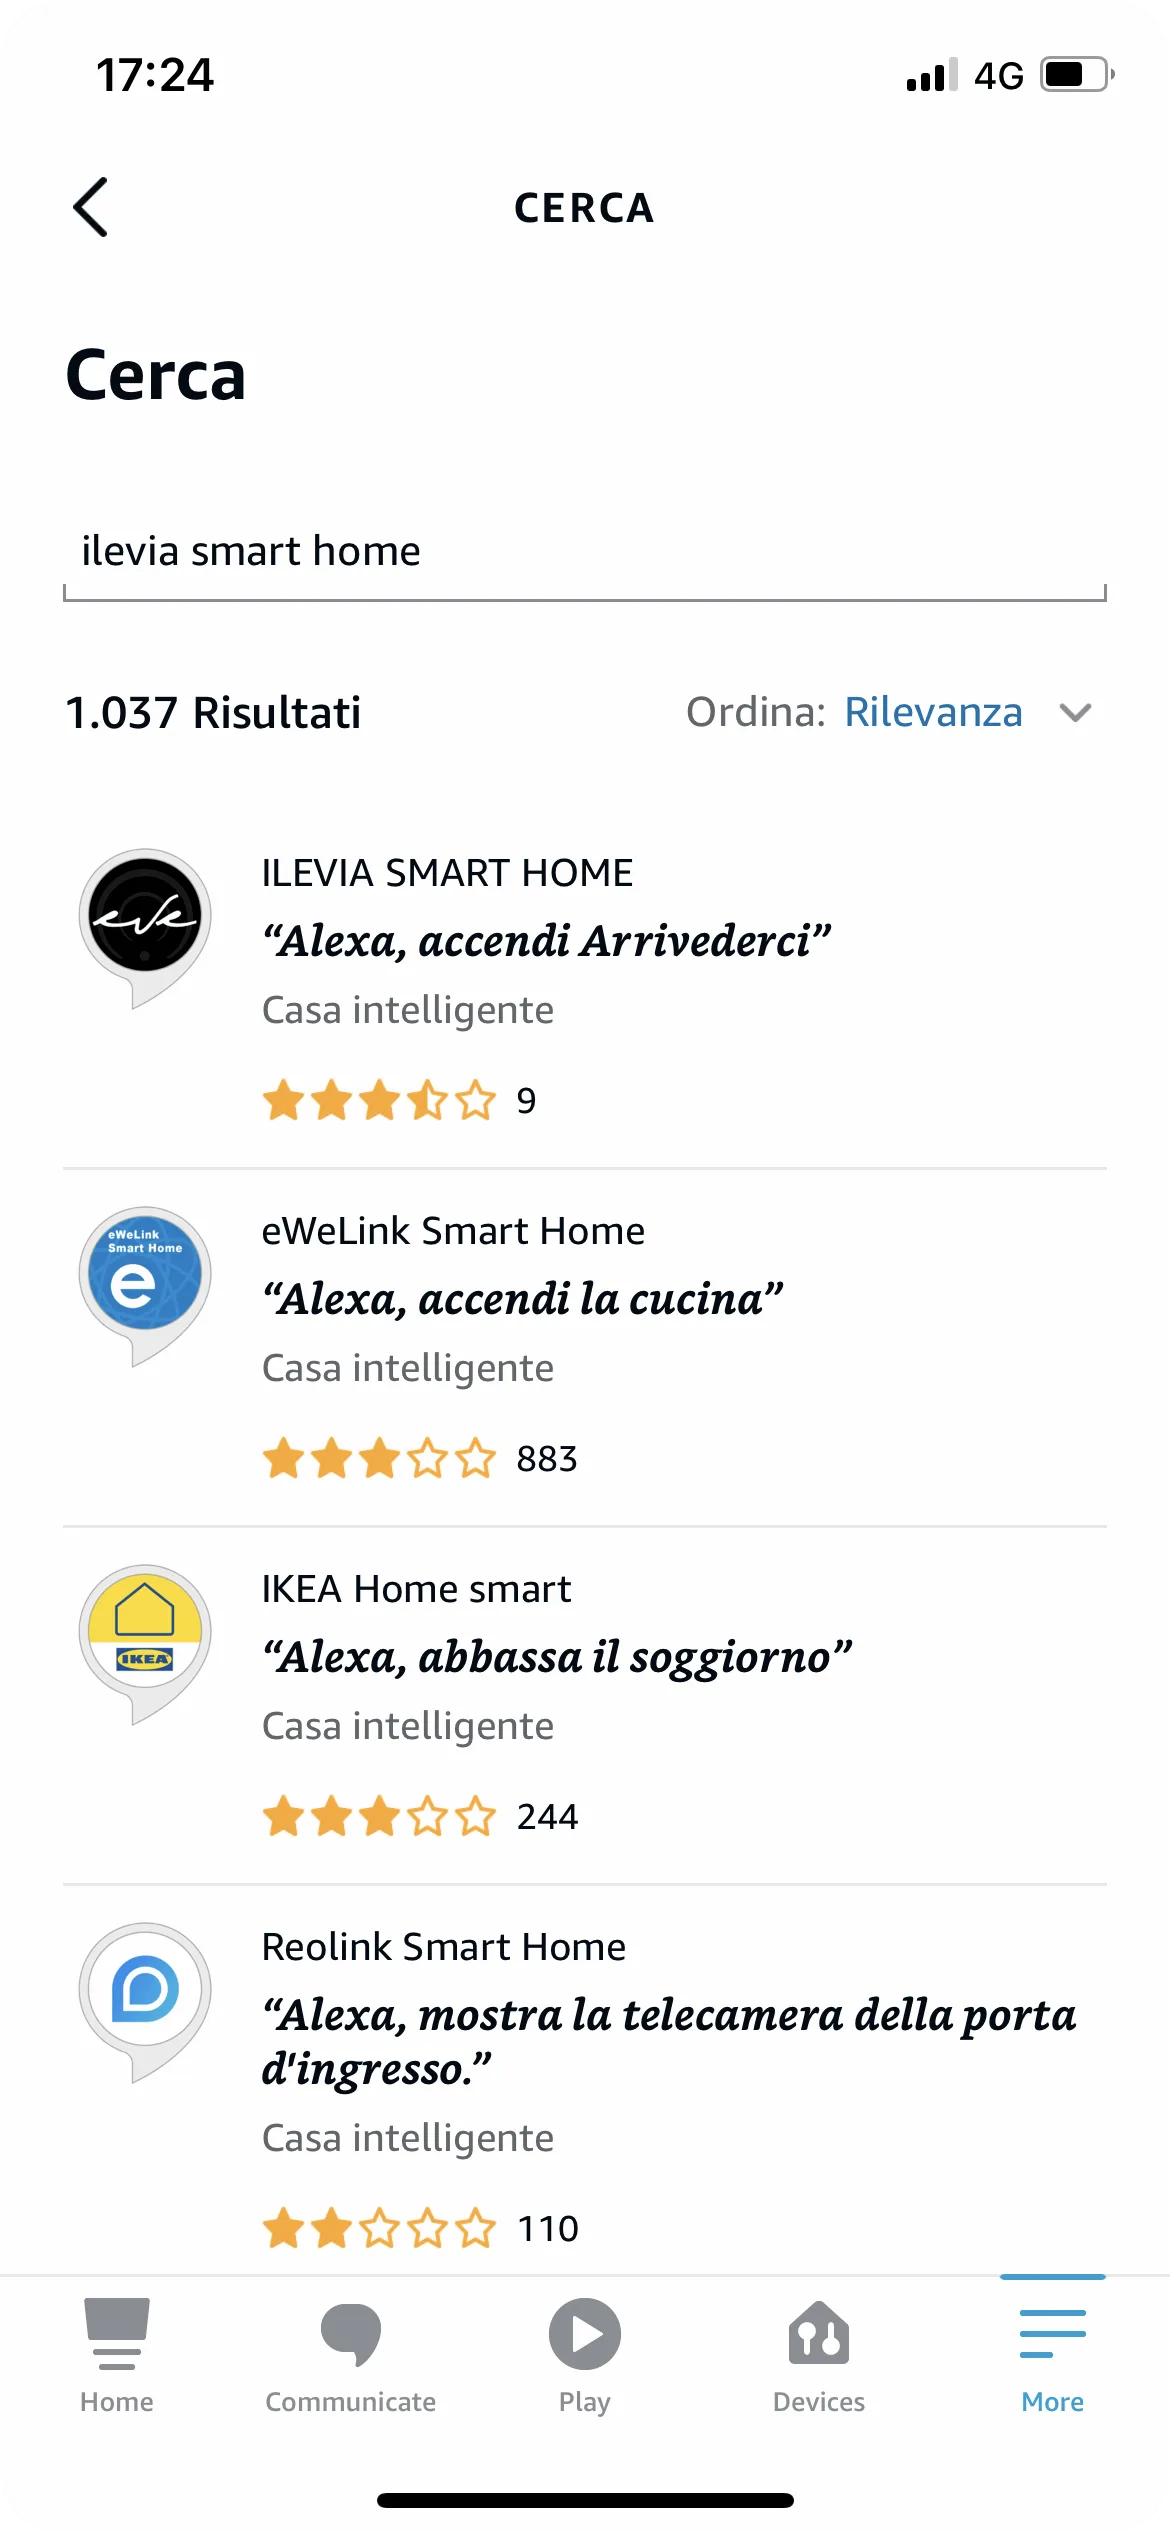
4. Tap Search at the top right and search for our Amazon Alexa skill Ilevia Smart Home.
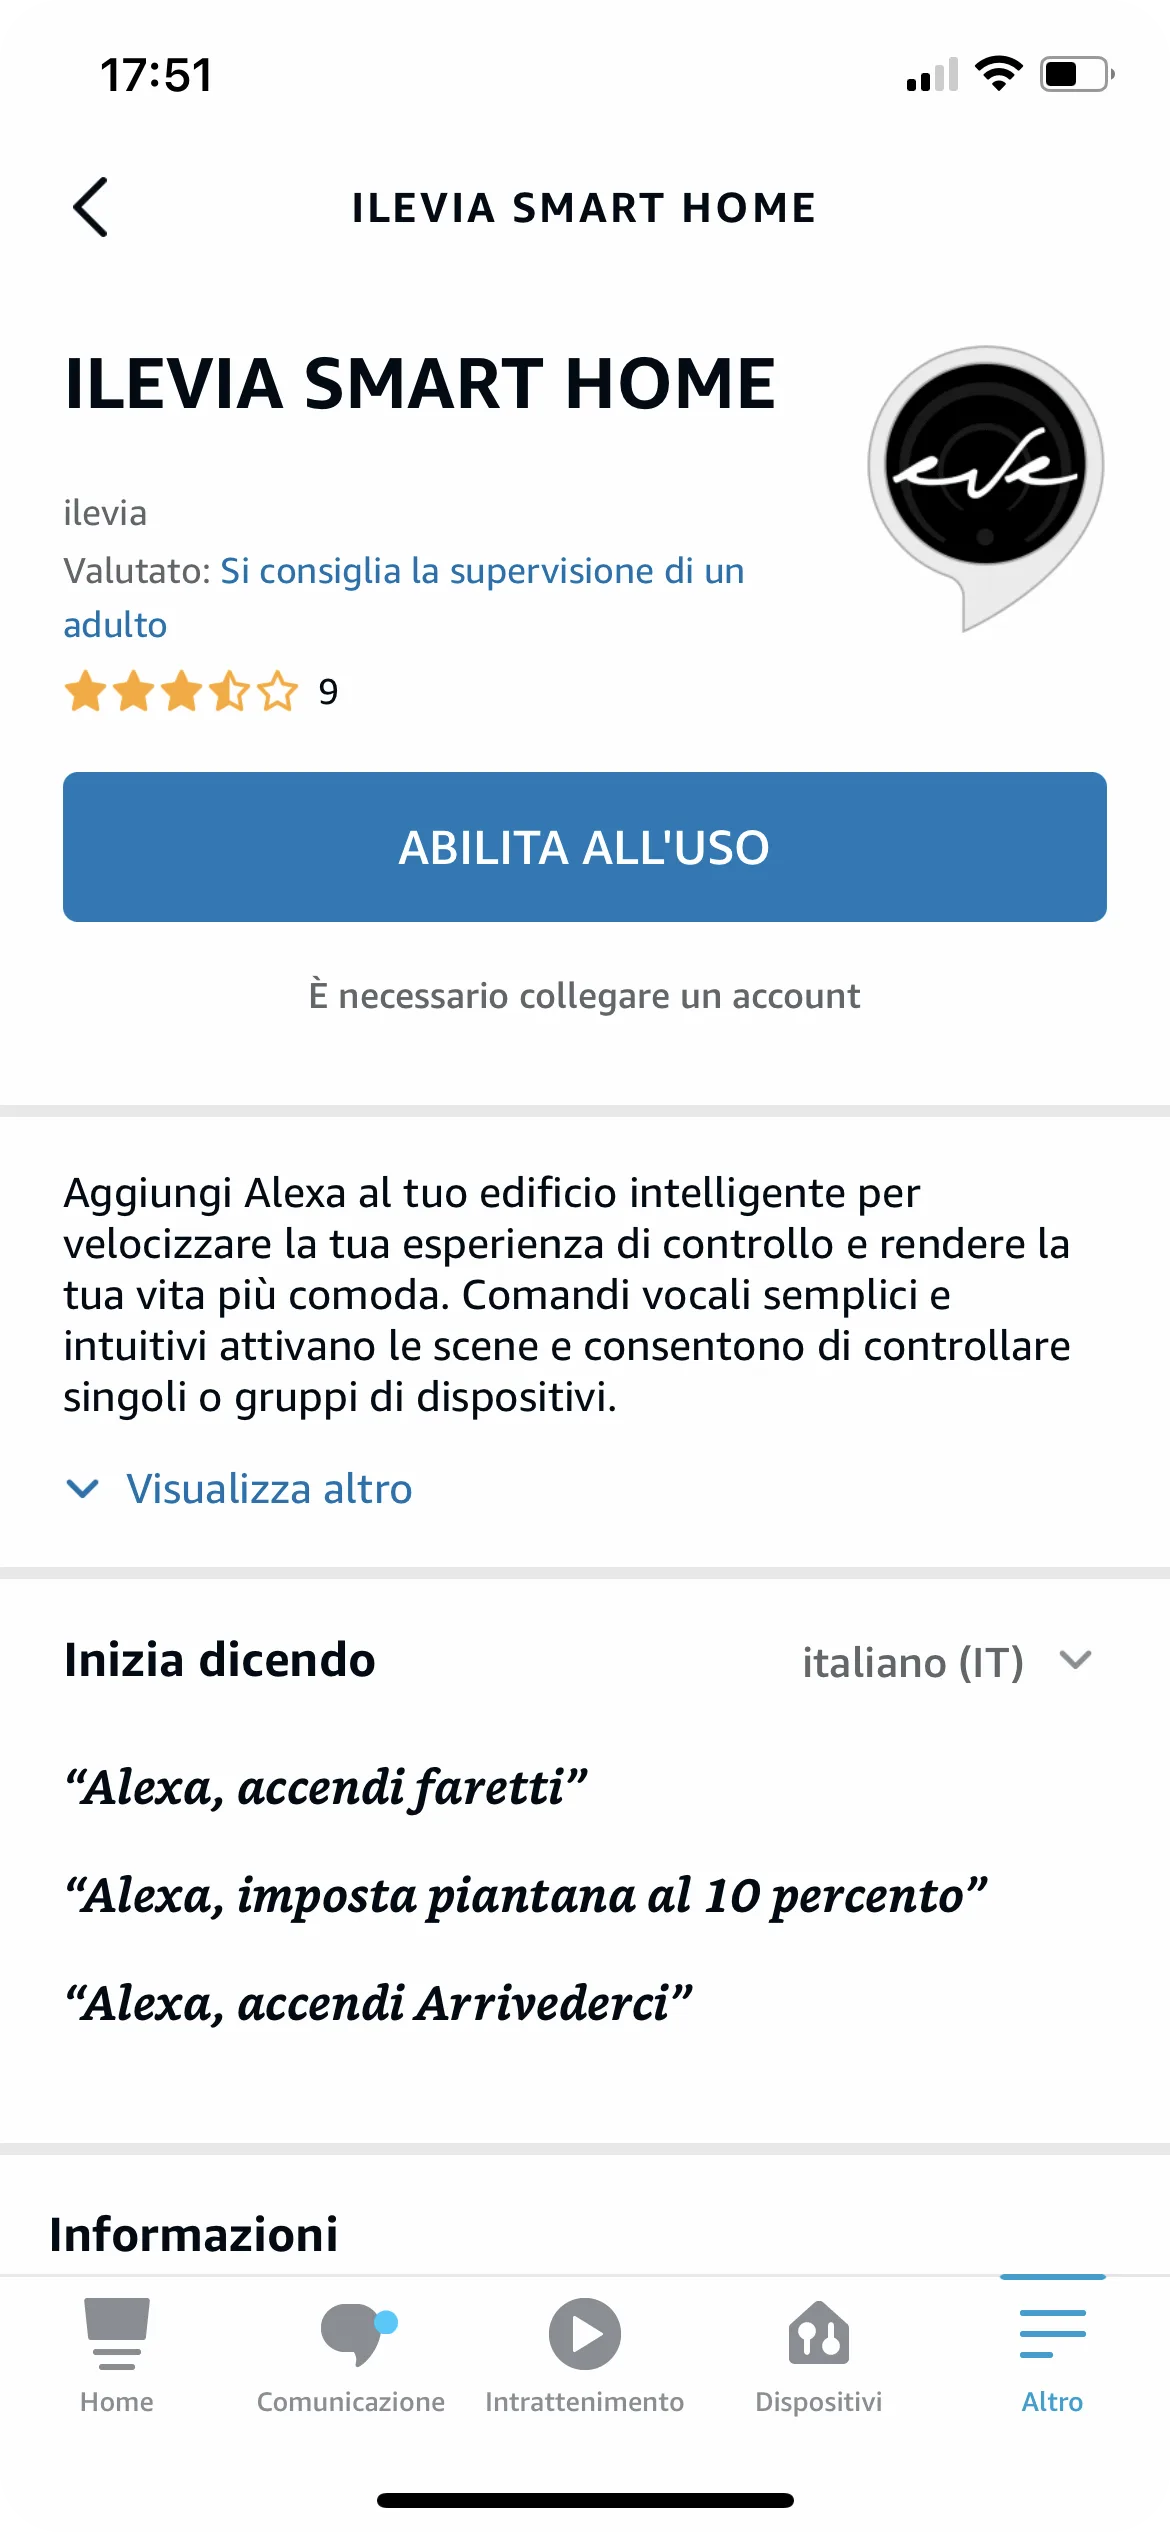
5. Tap Enable To Use.
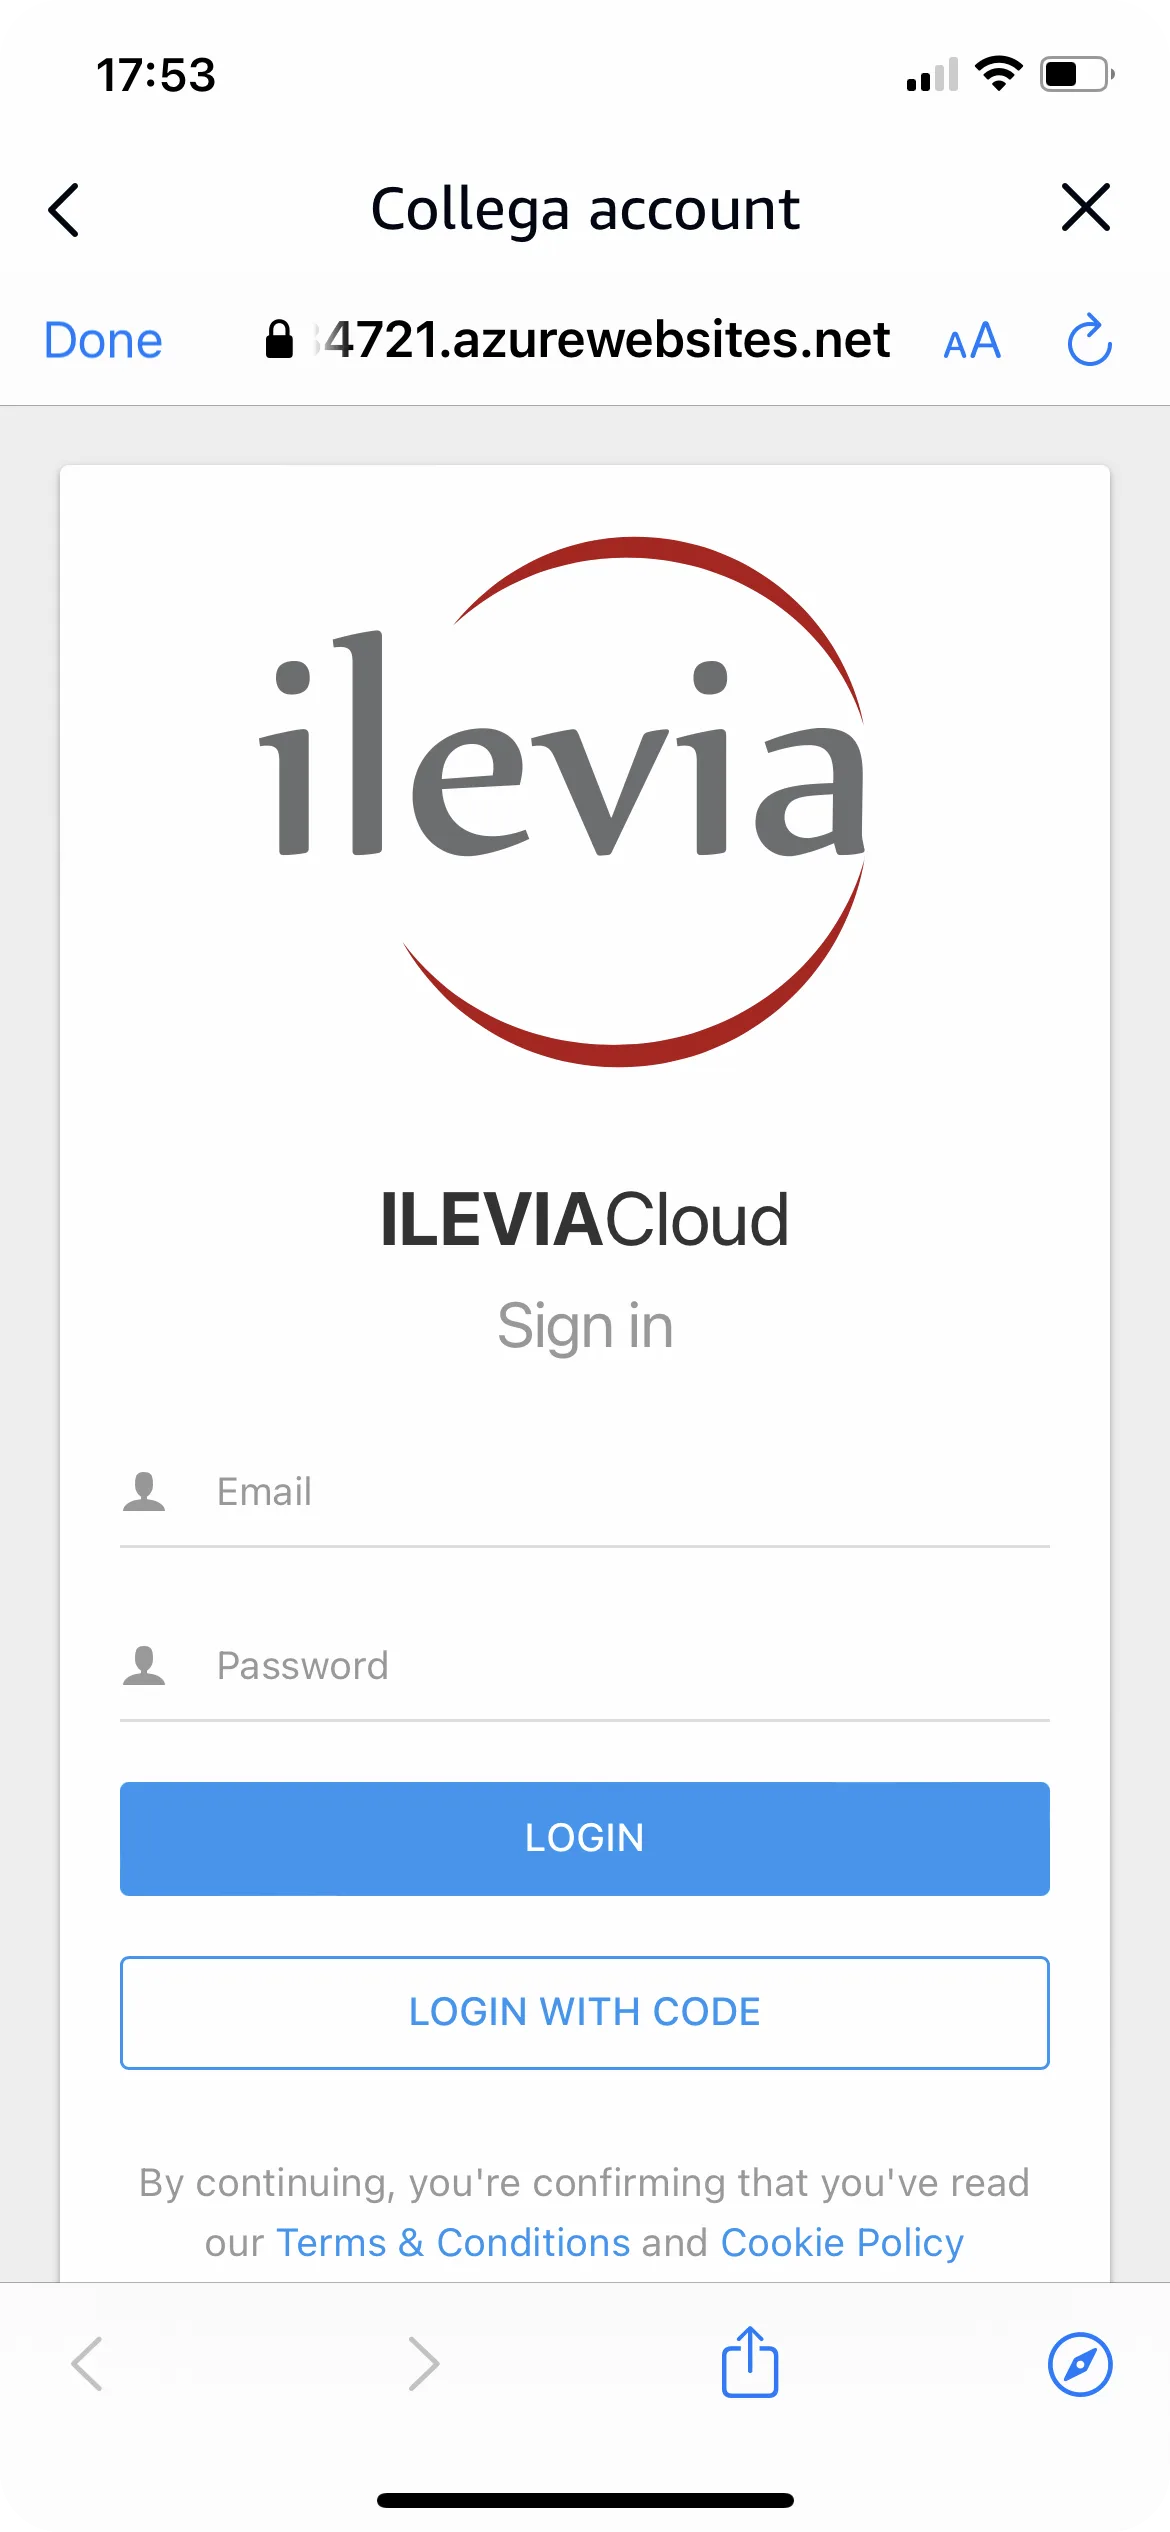
6. Enter the credentials created previously for your Ilevia Cloud profile.
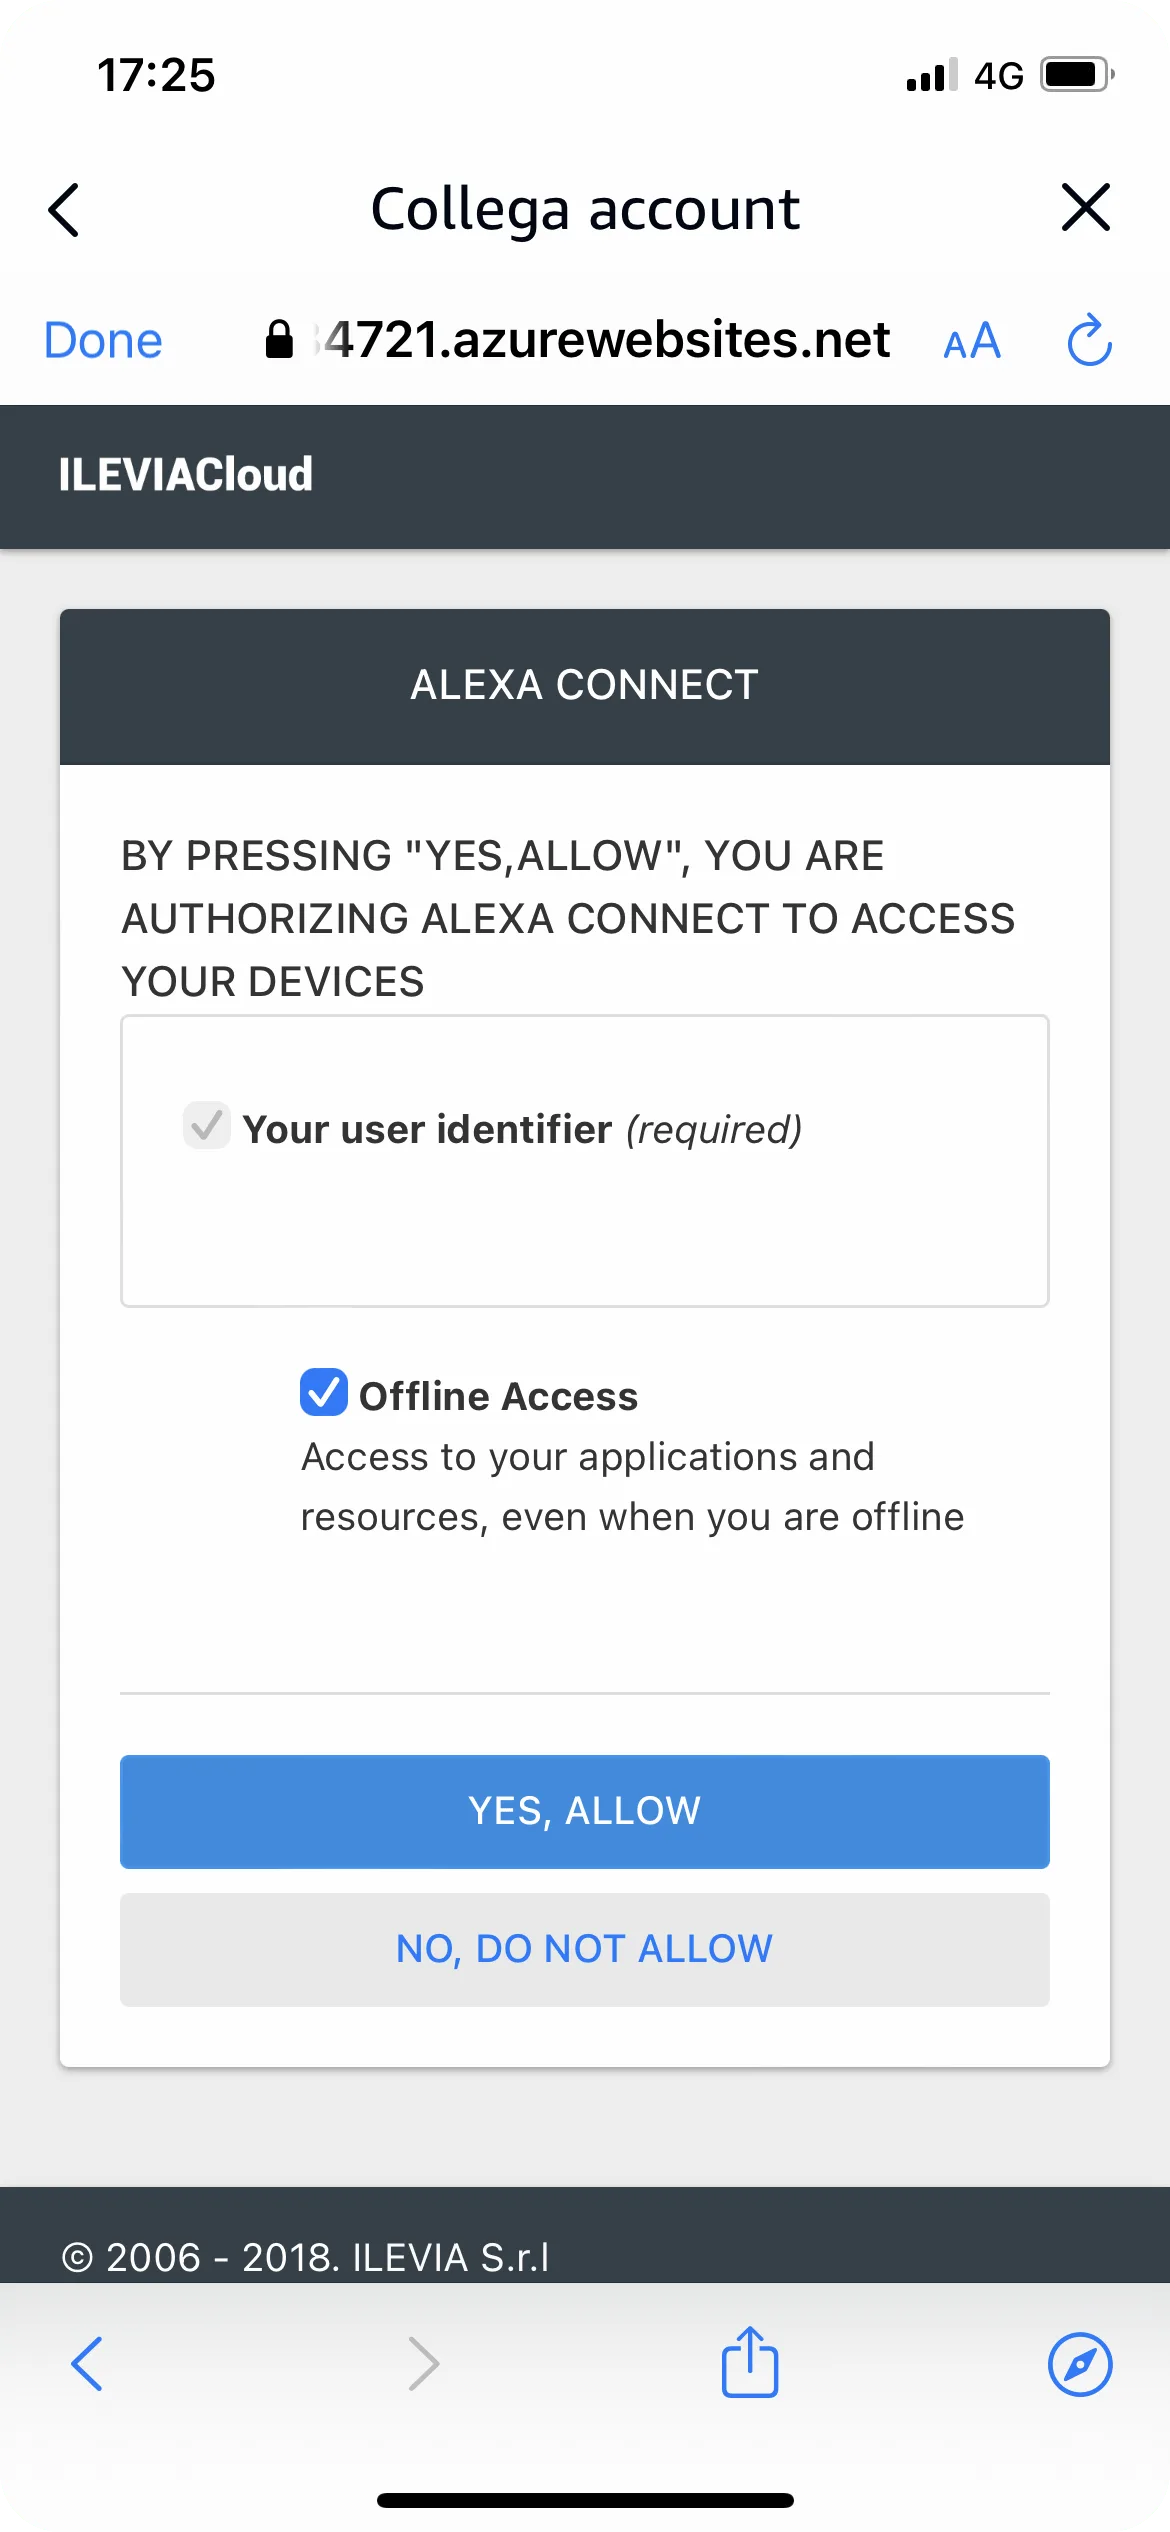
7. Tap Yes -> Allow.
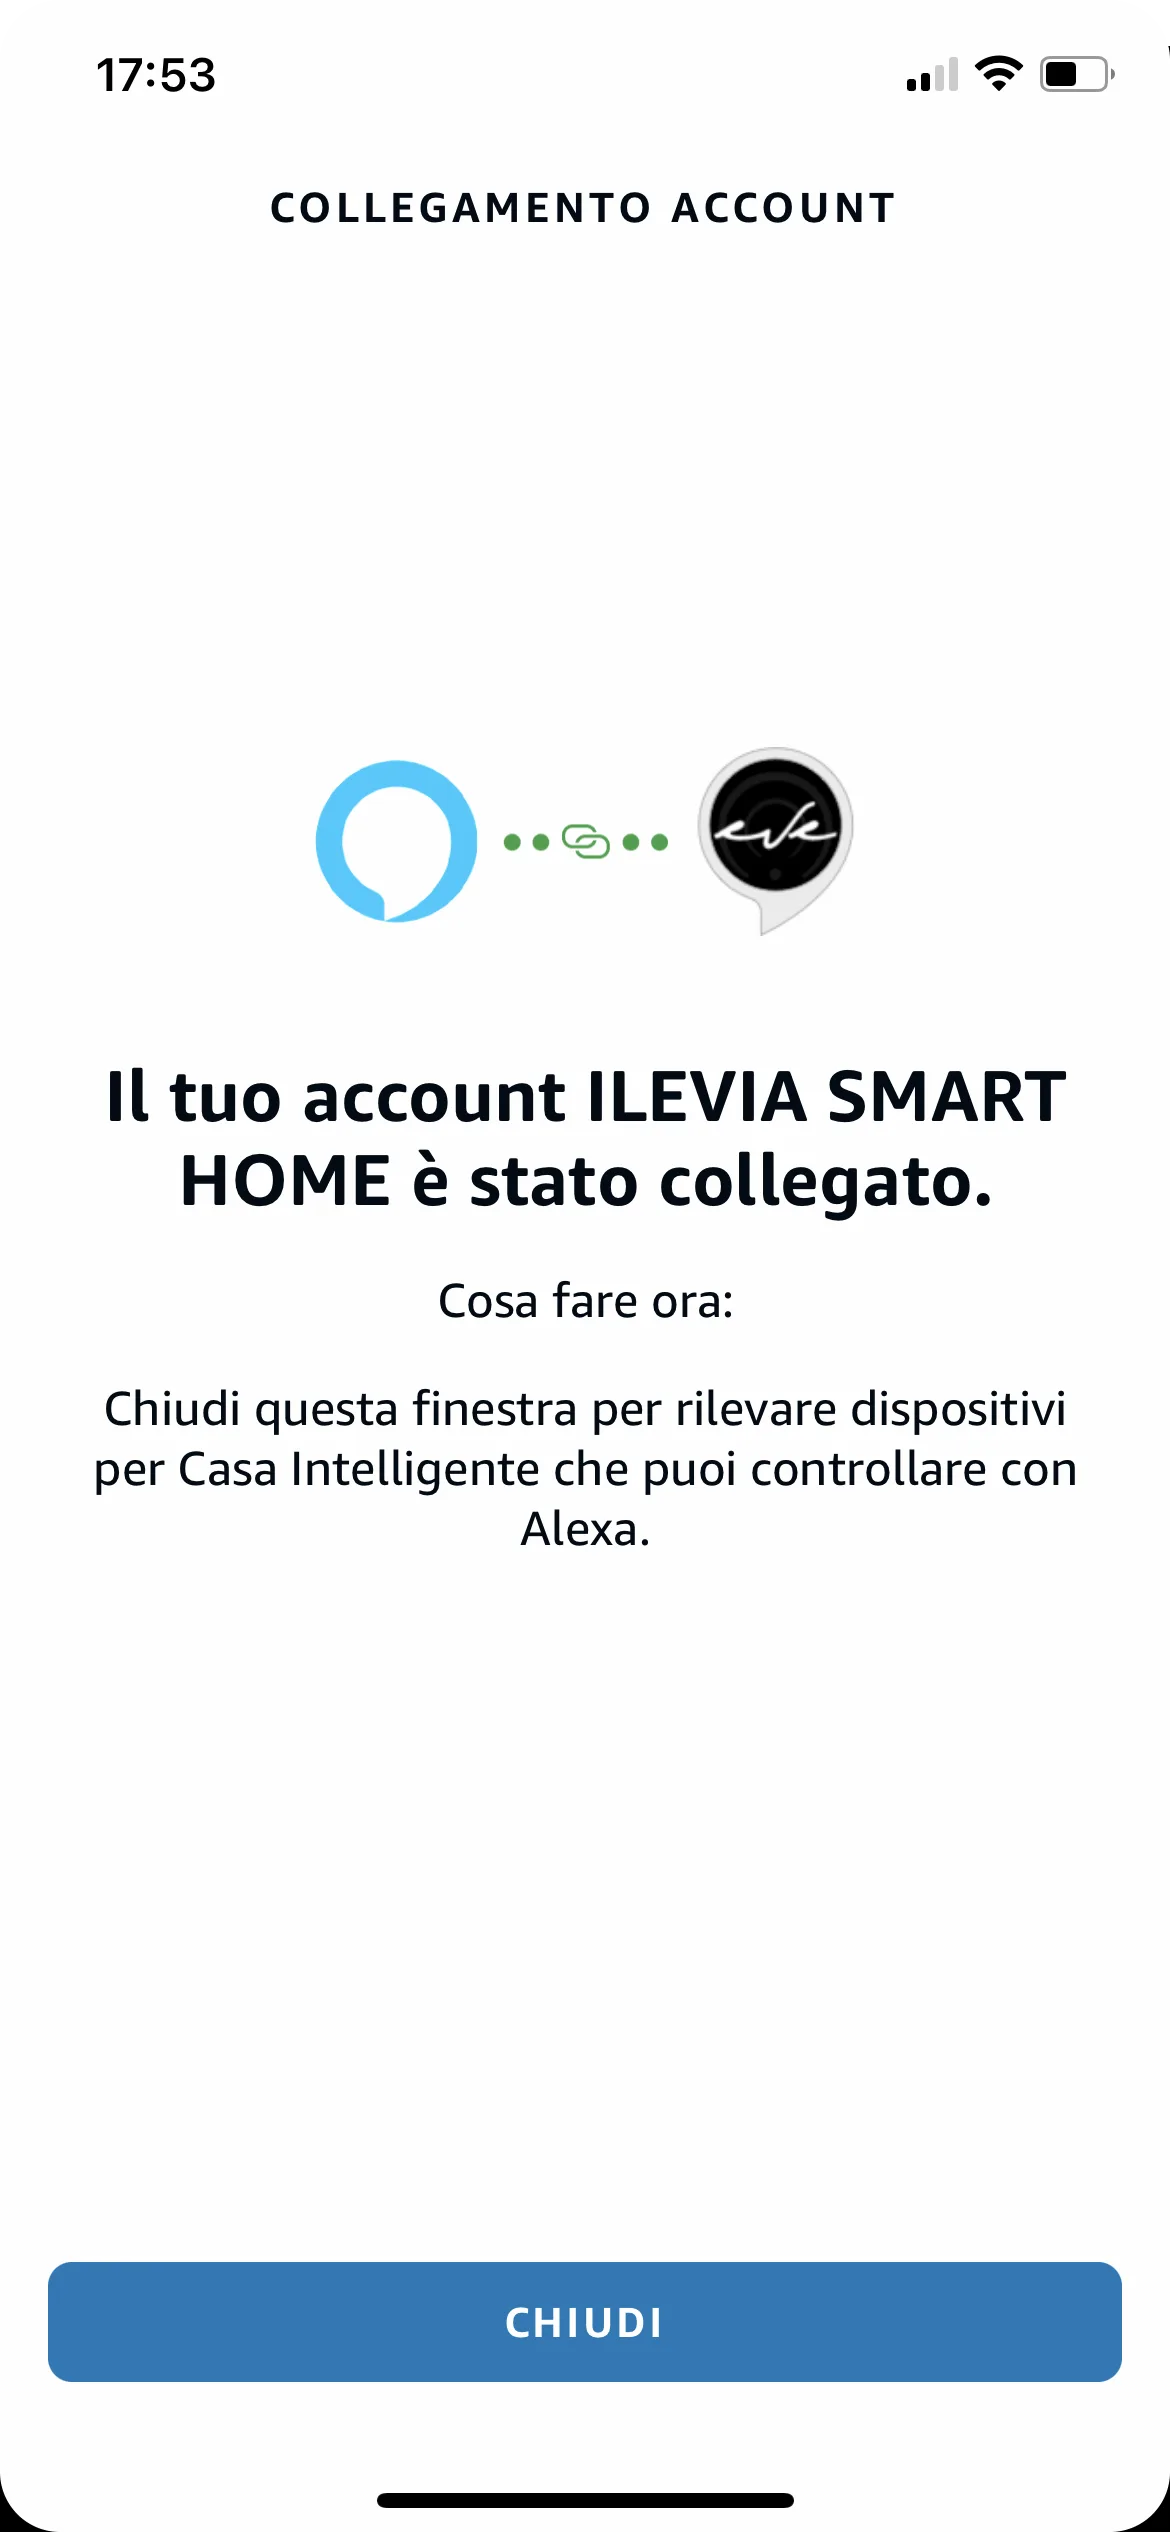
8. If everything went well, you will see this screen.
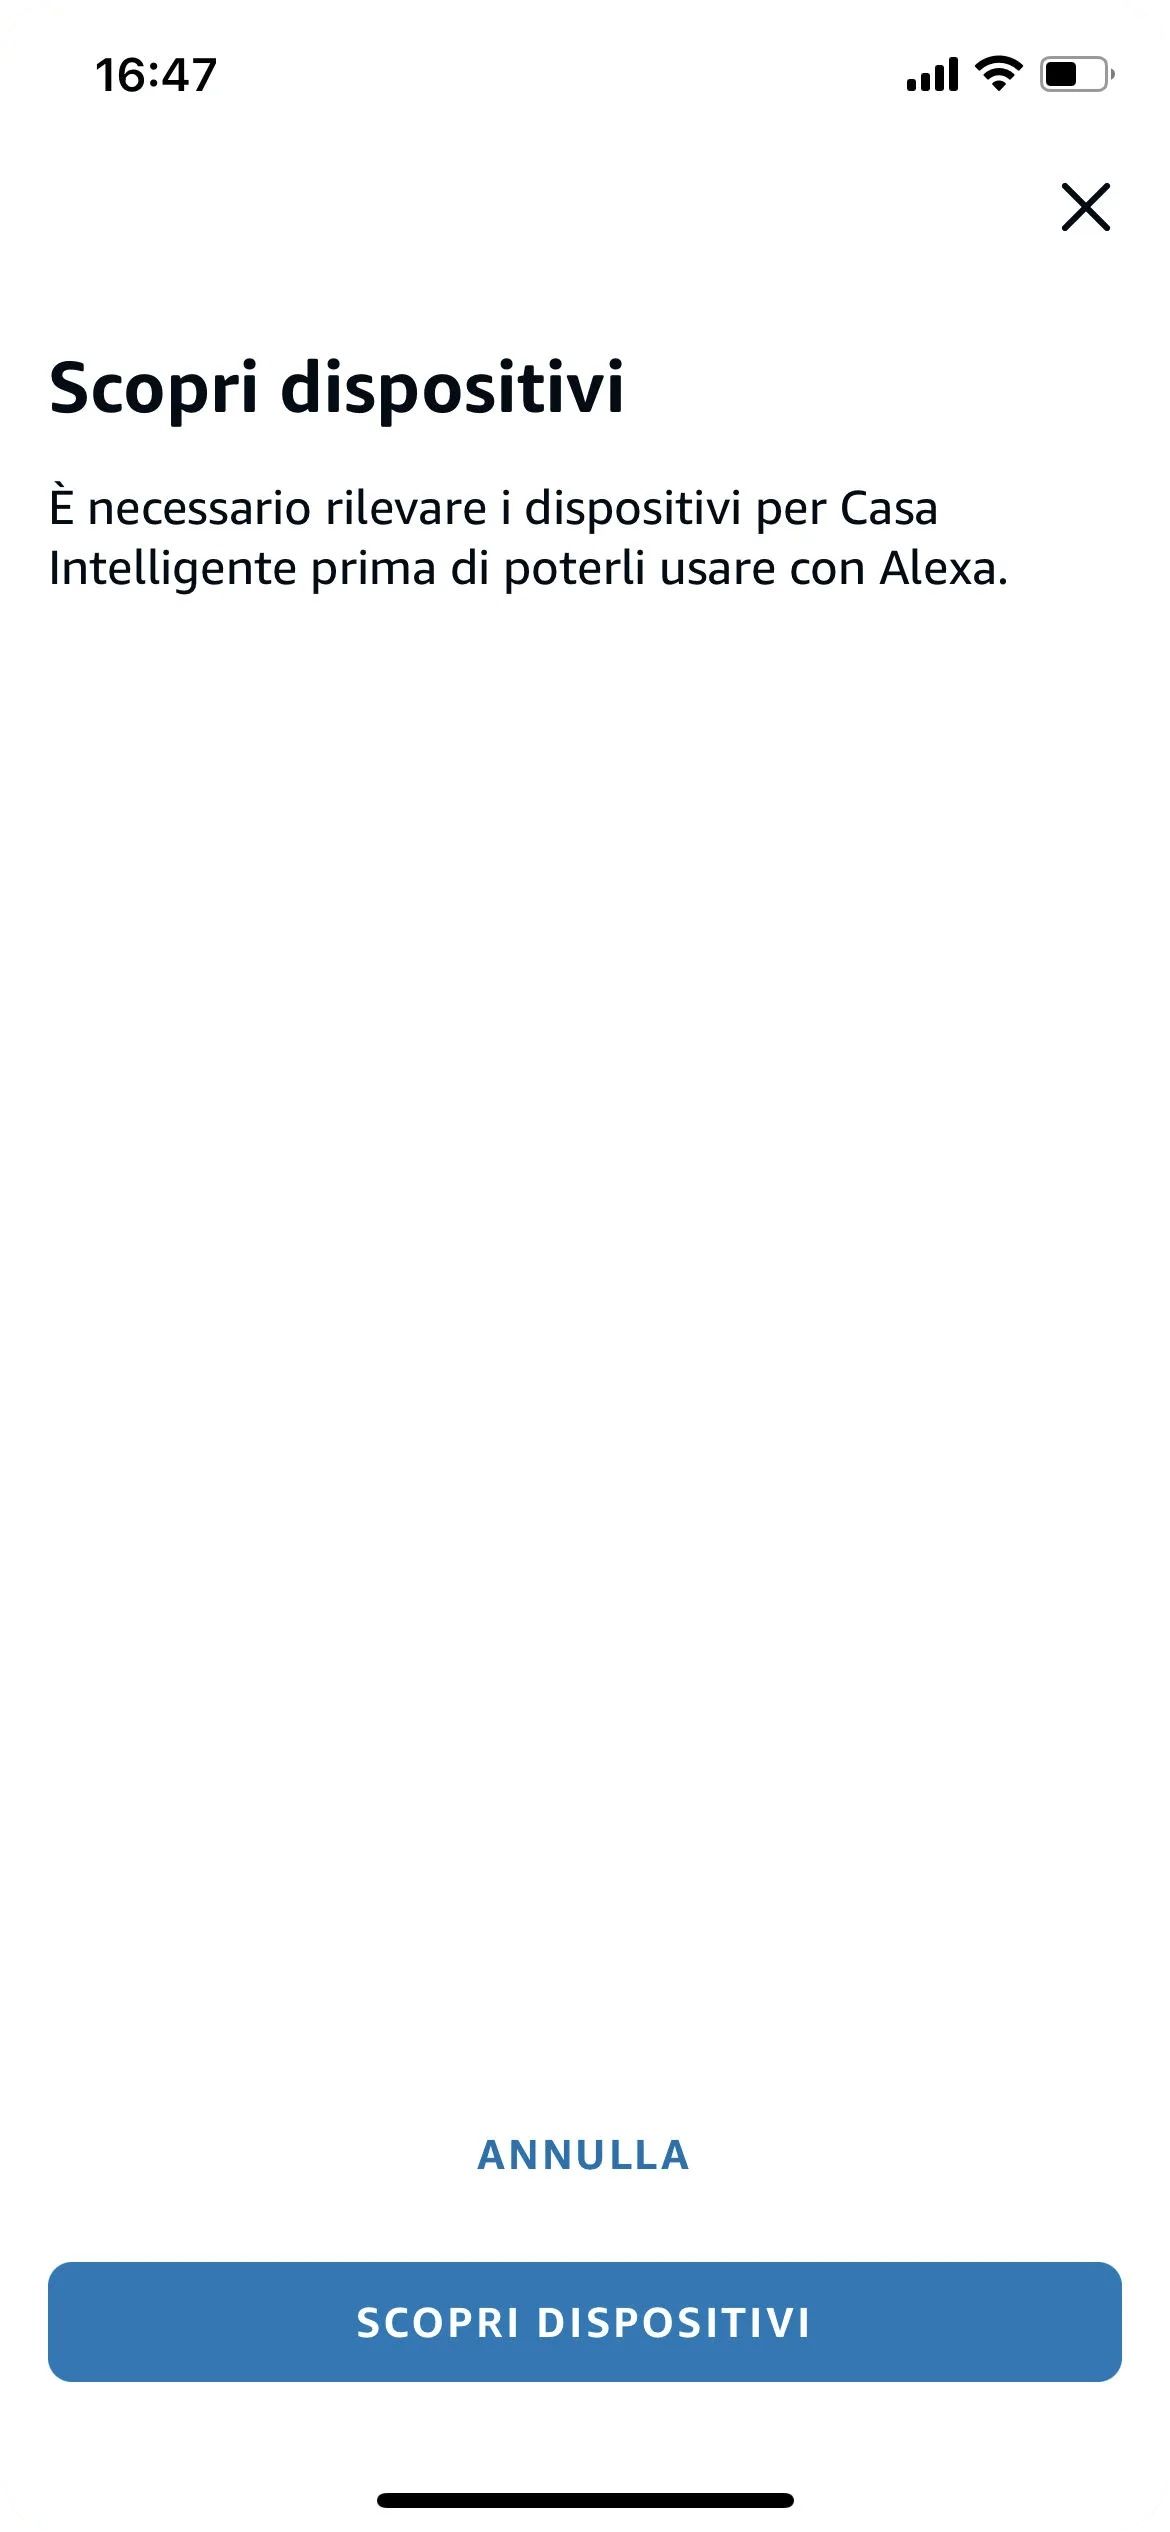
9. Tap Discover devices.
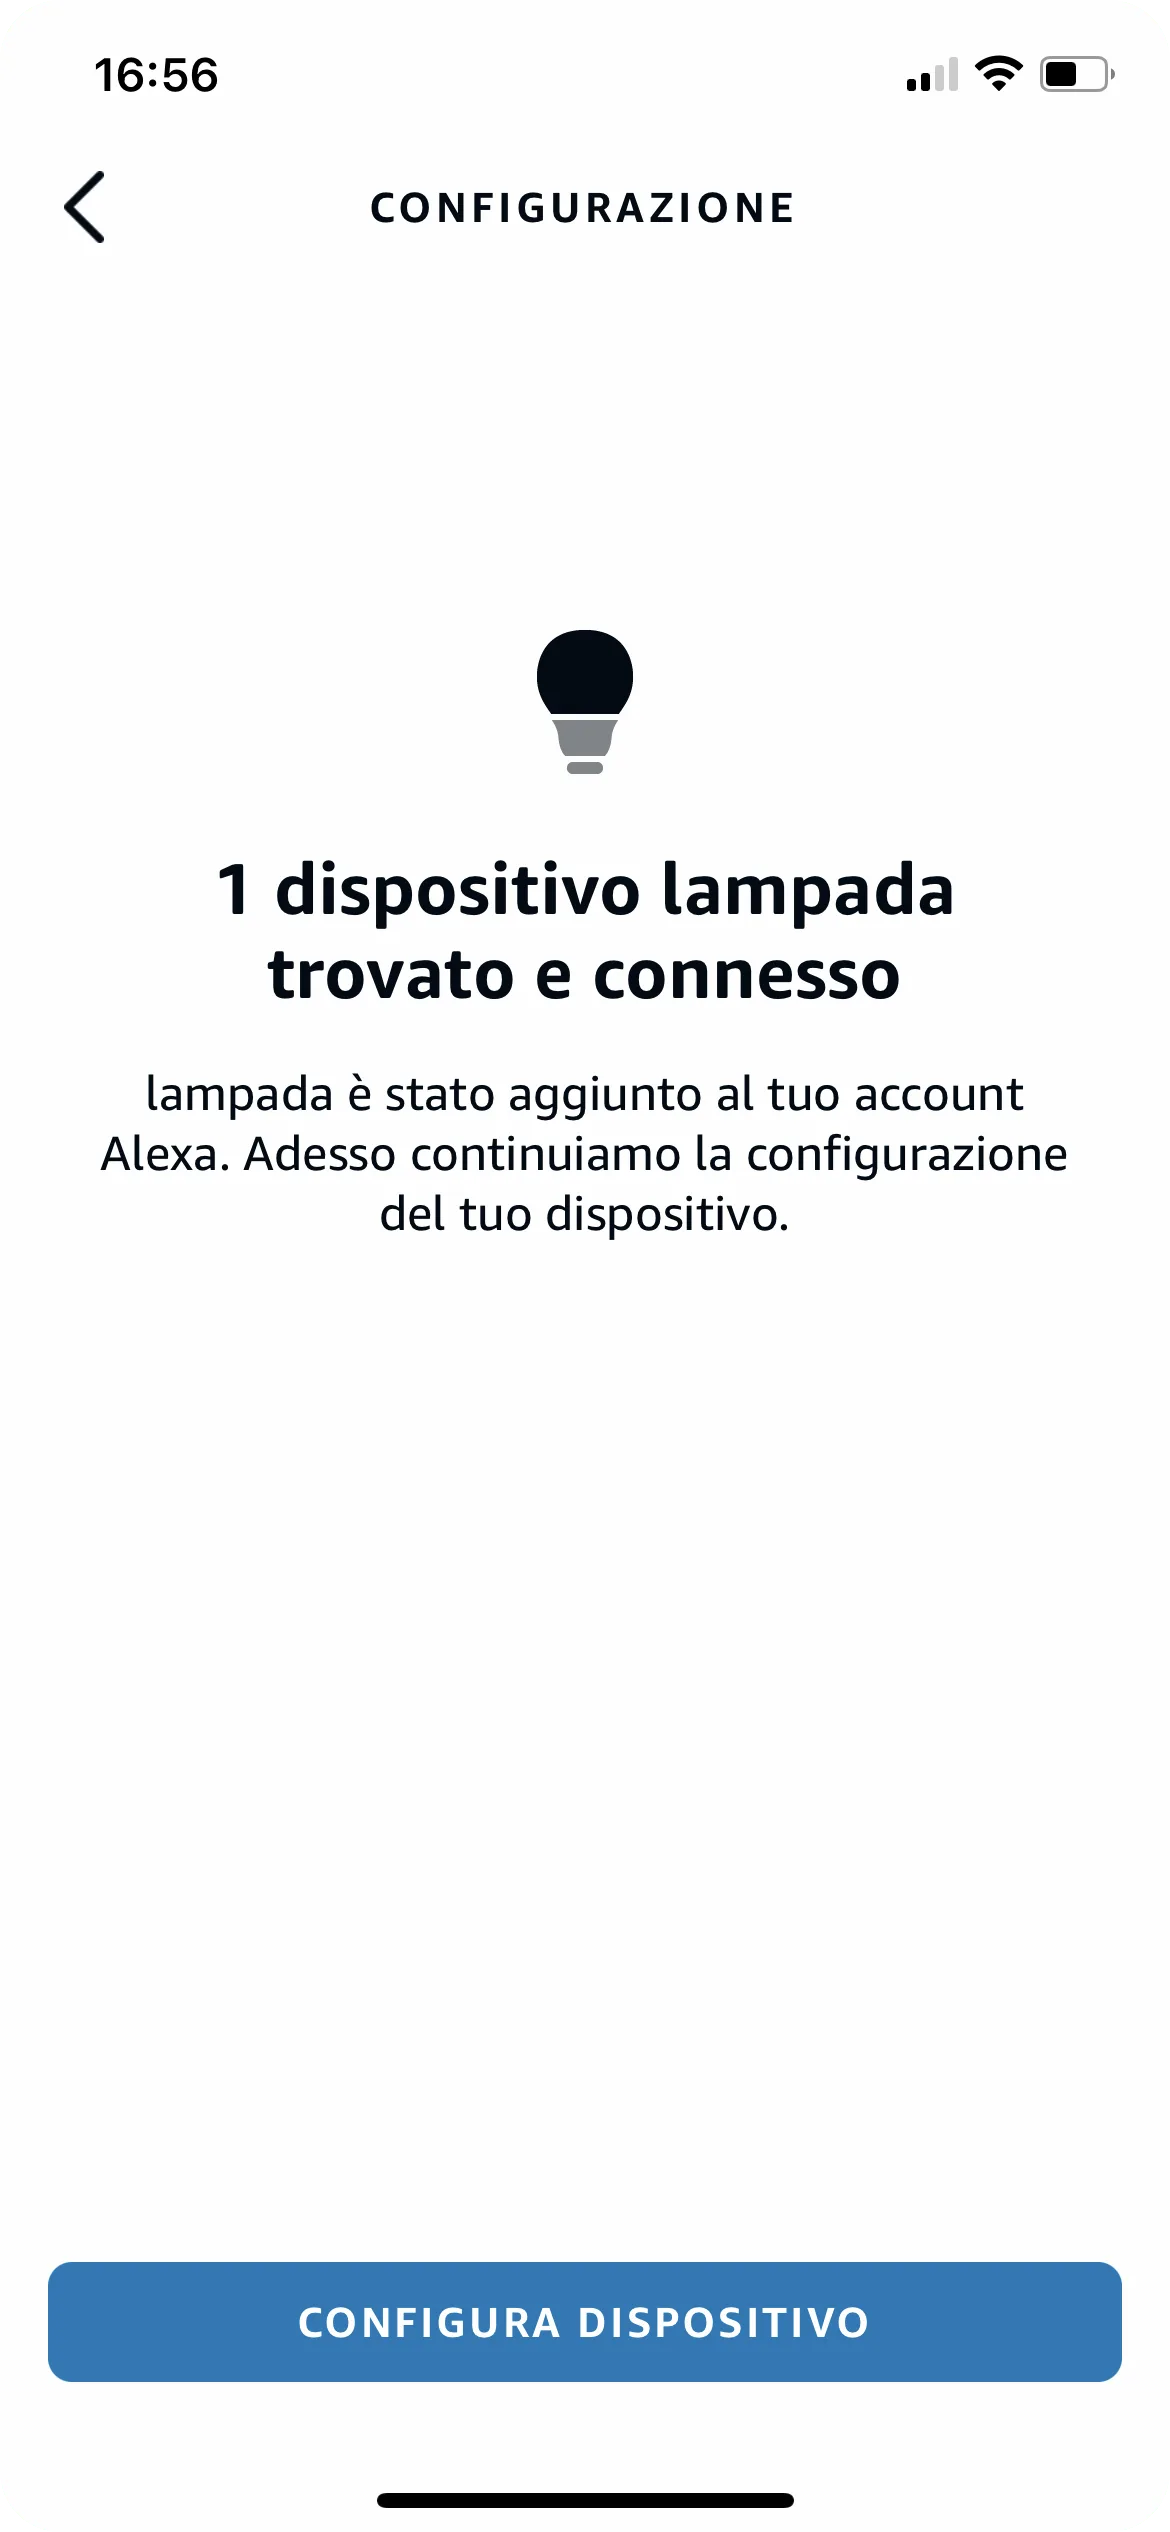
10. The app will start searching for the devices previously configured within Ilevia Manager.
Add / remove devices
If in the future you want to add new devices (for example, a new light or a new switch in the house), carefully follow the next steps.
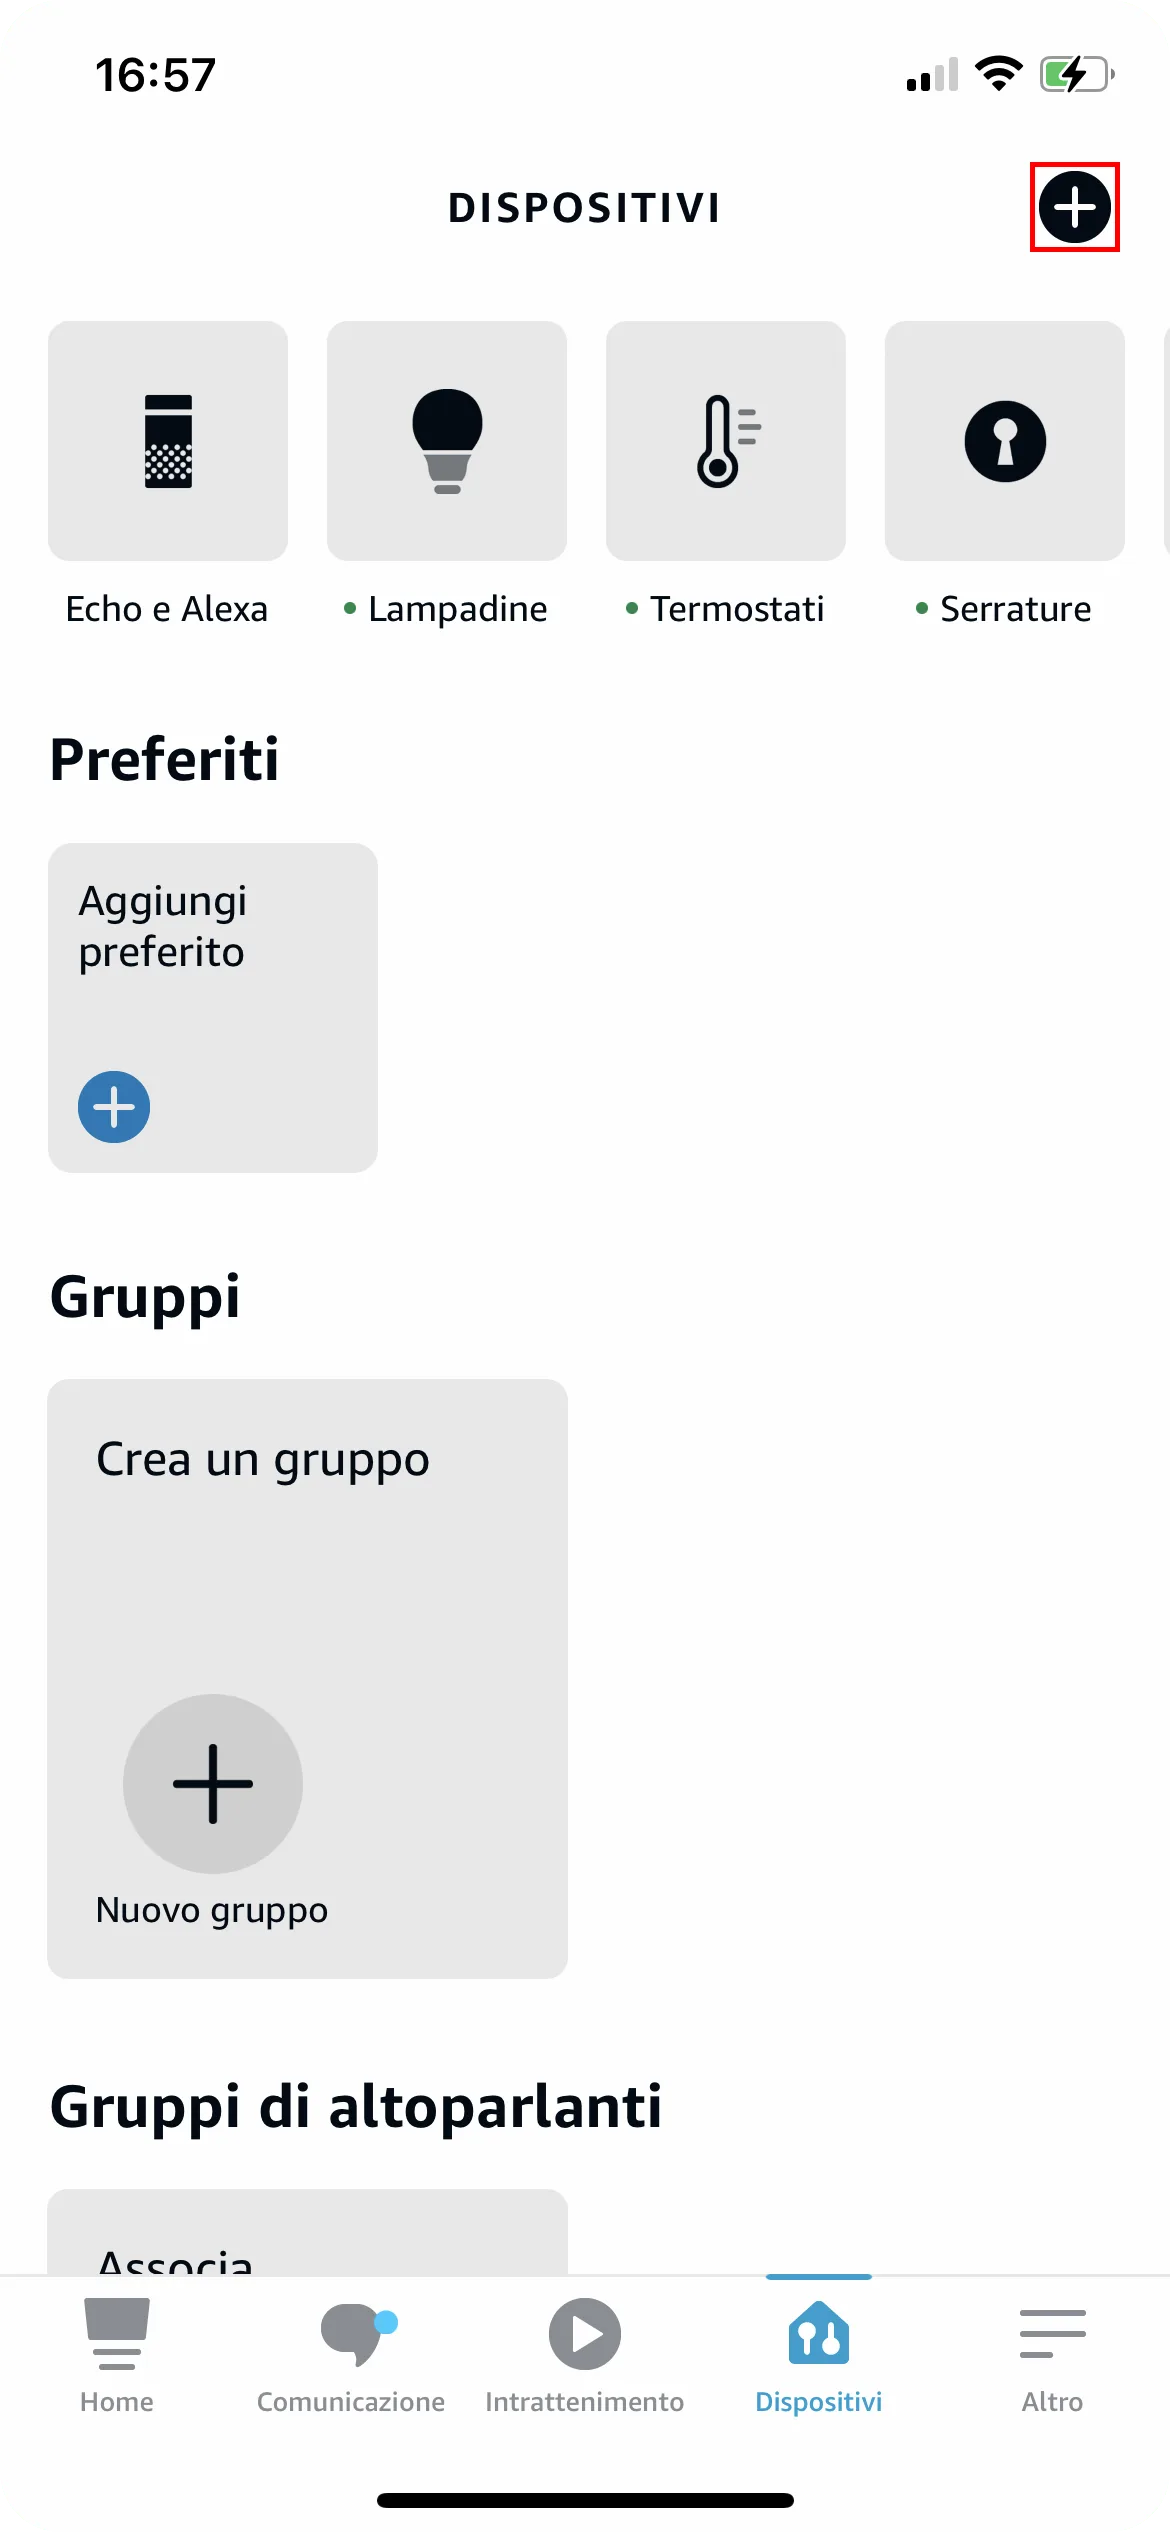
1. Tap the + symbol in the top right.
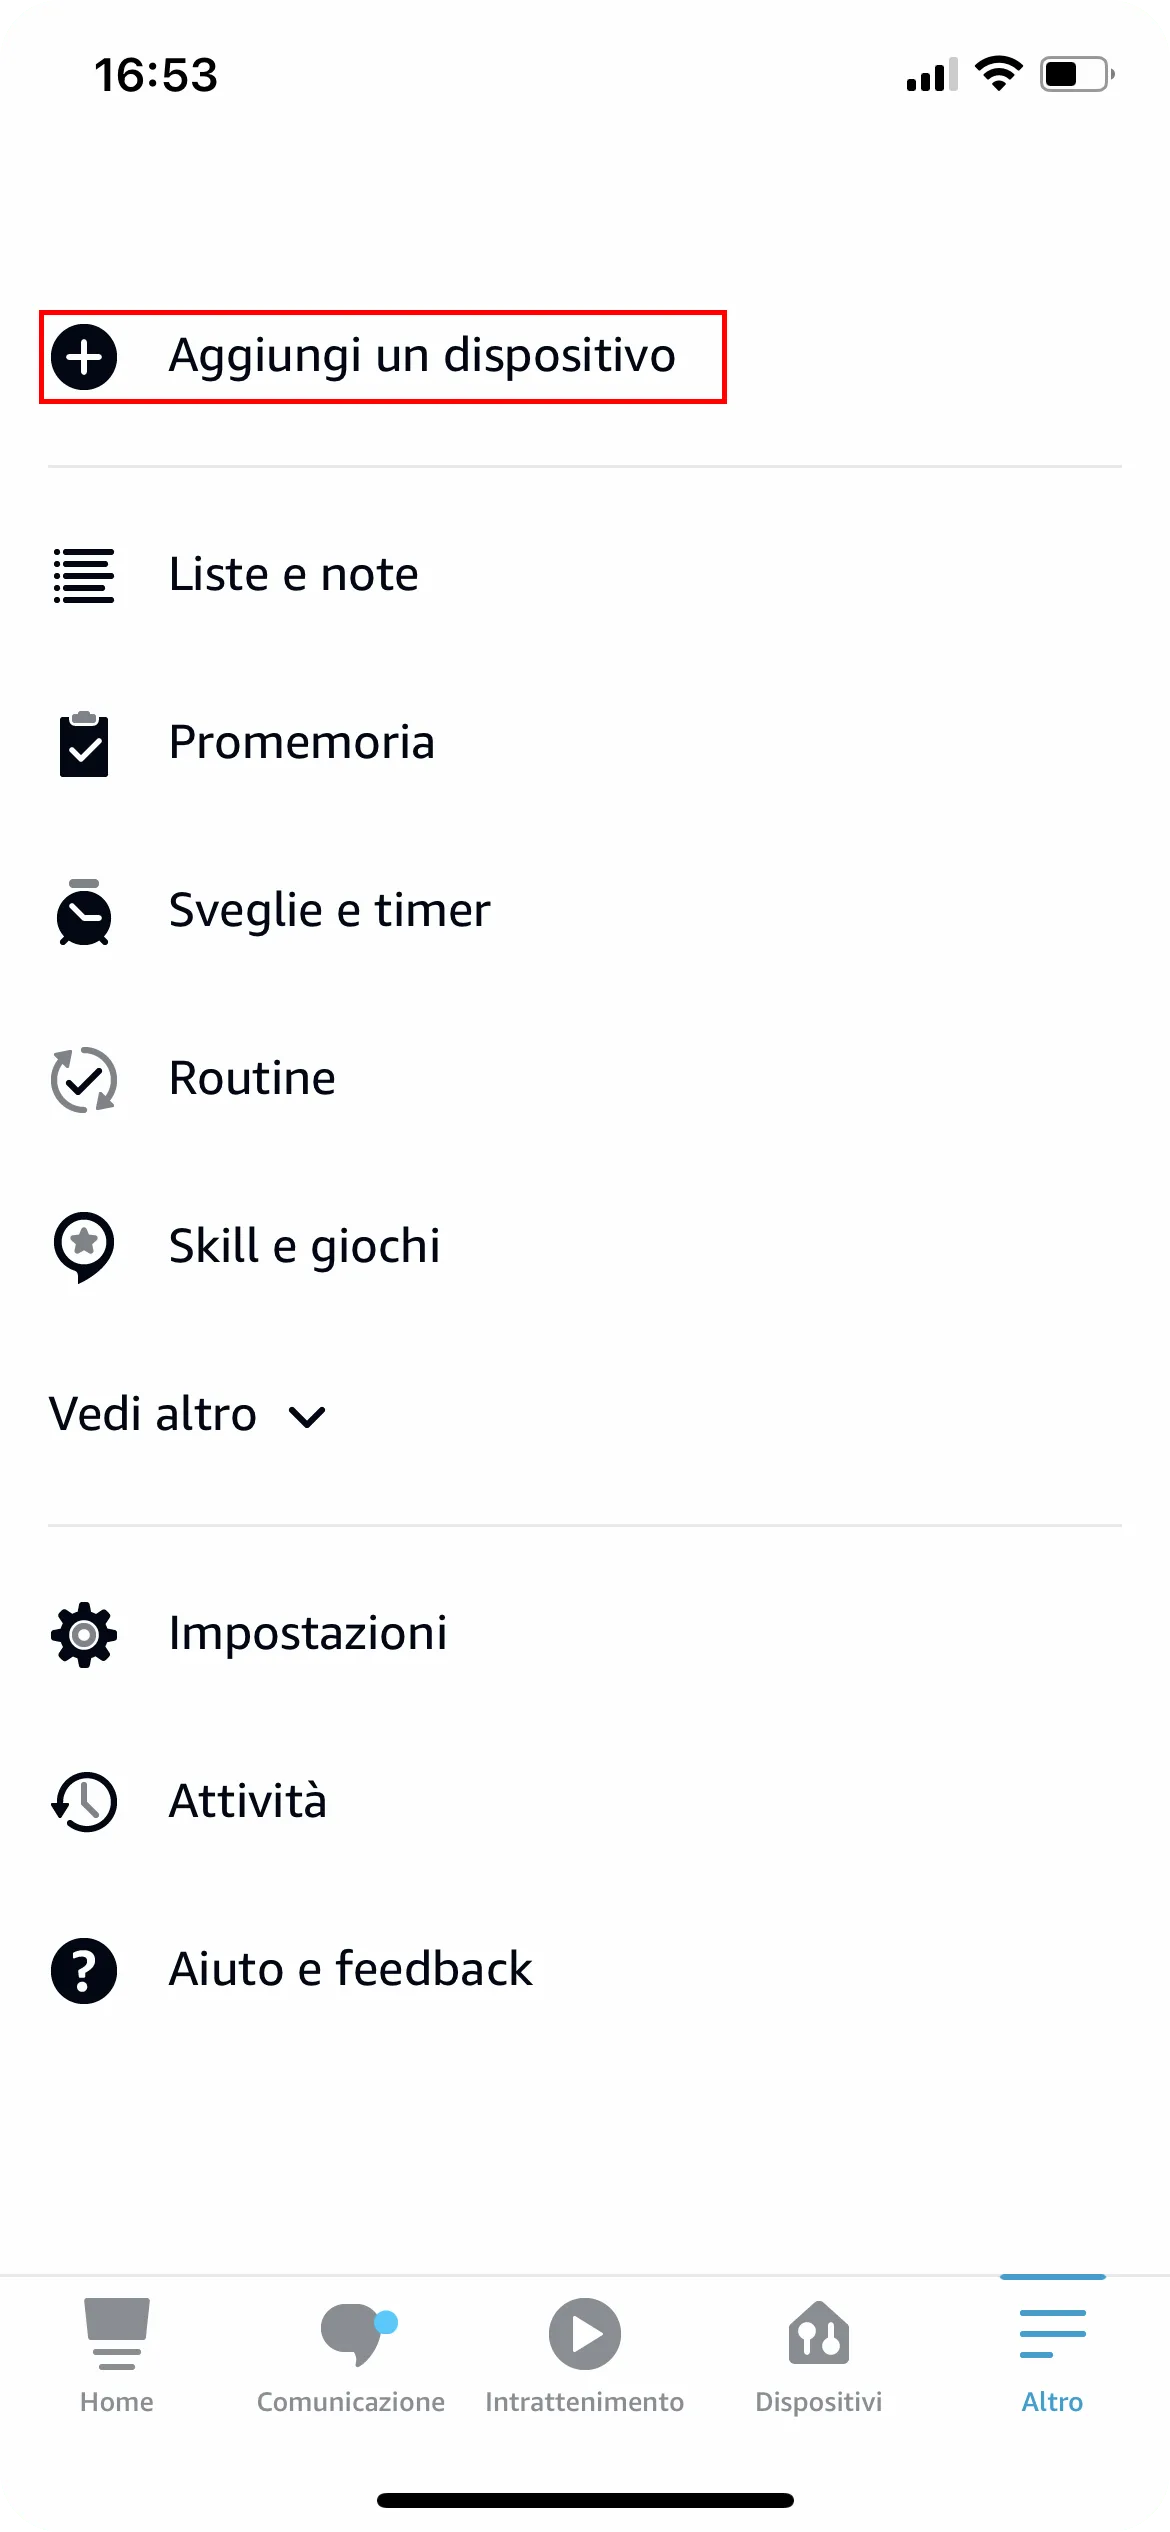
2. Tap Add Device.
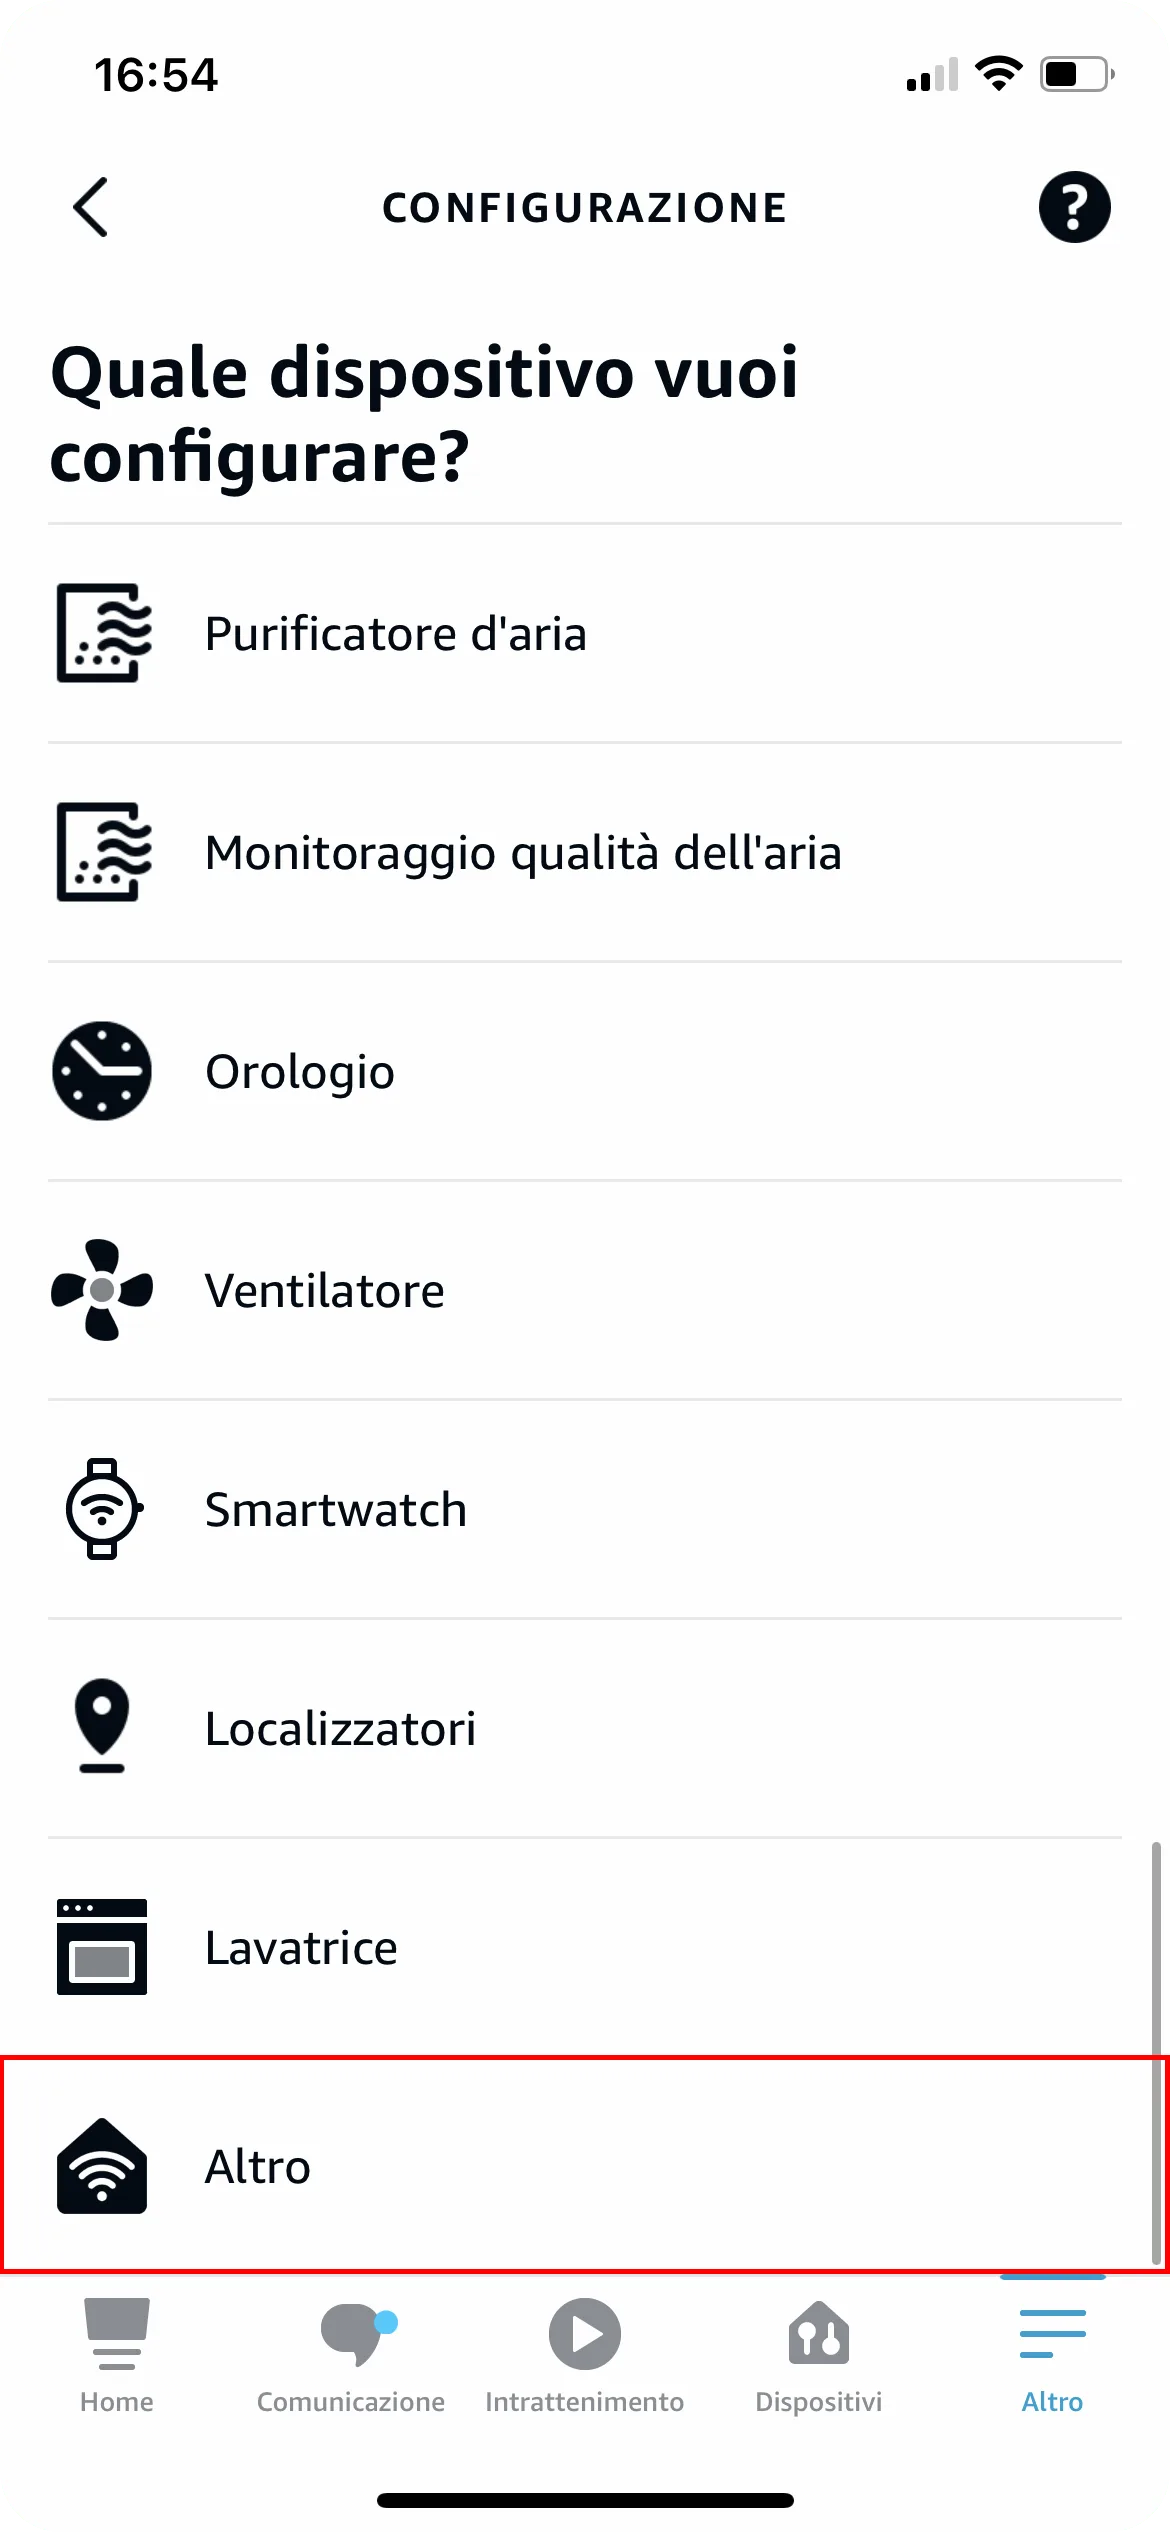
3. Tap Other.
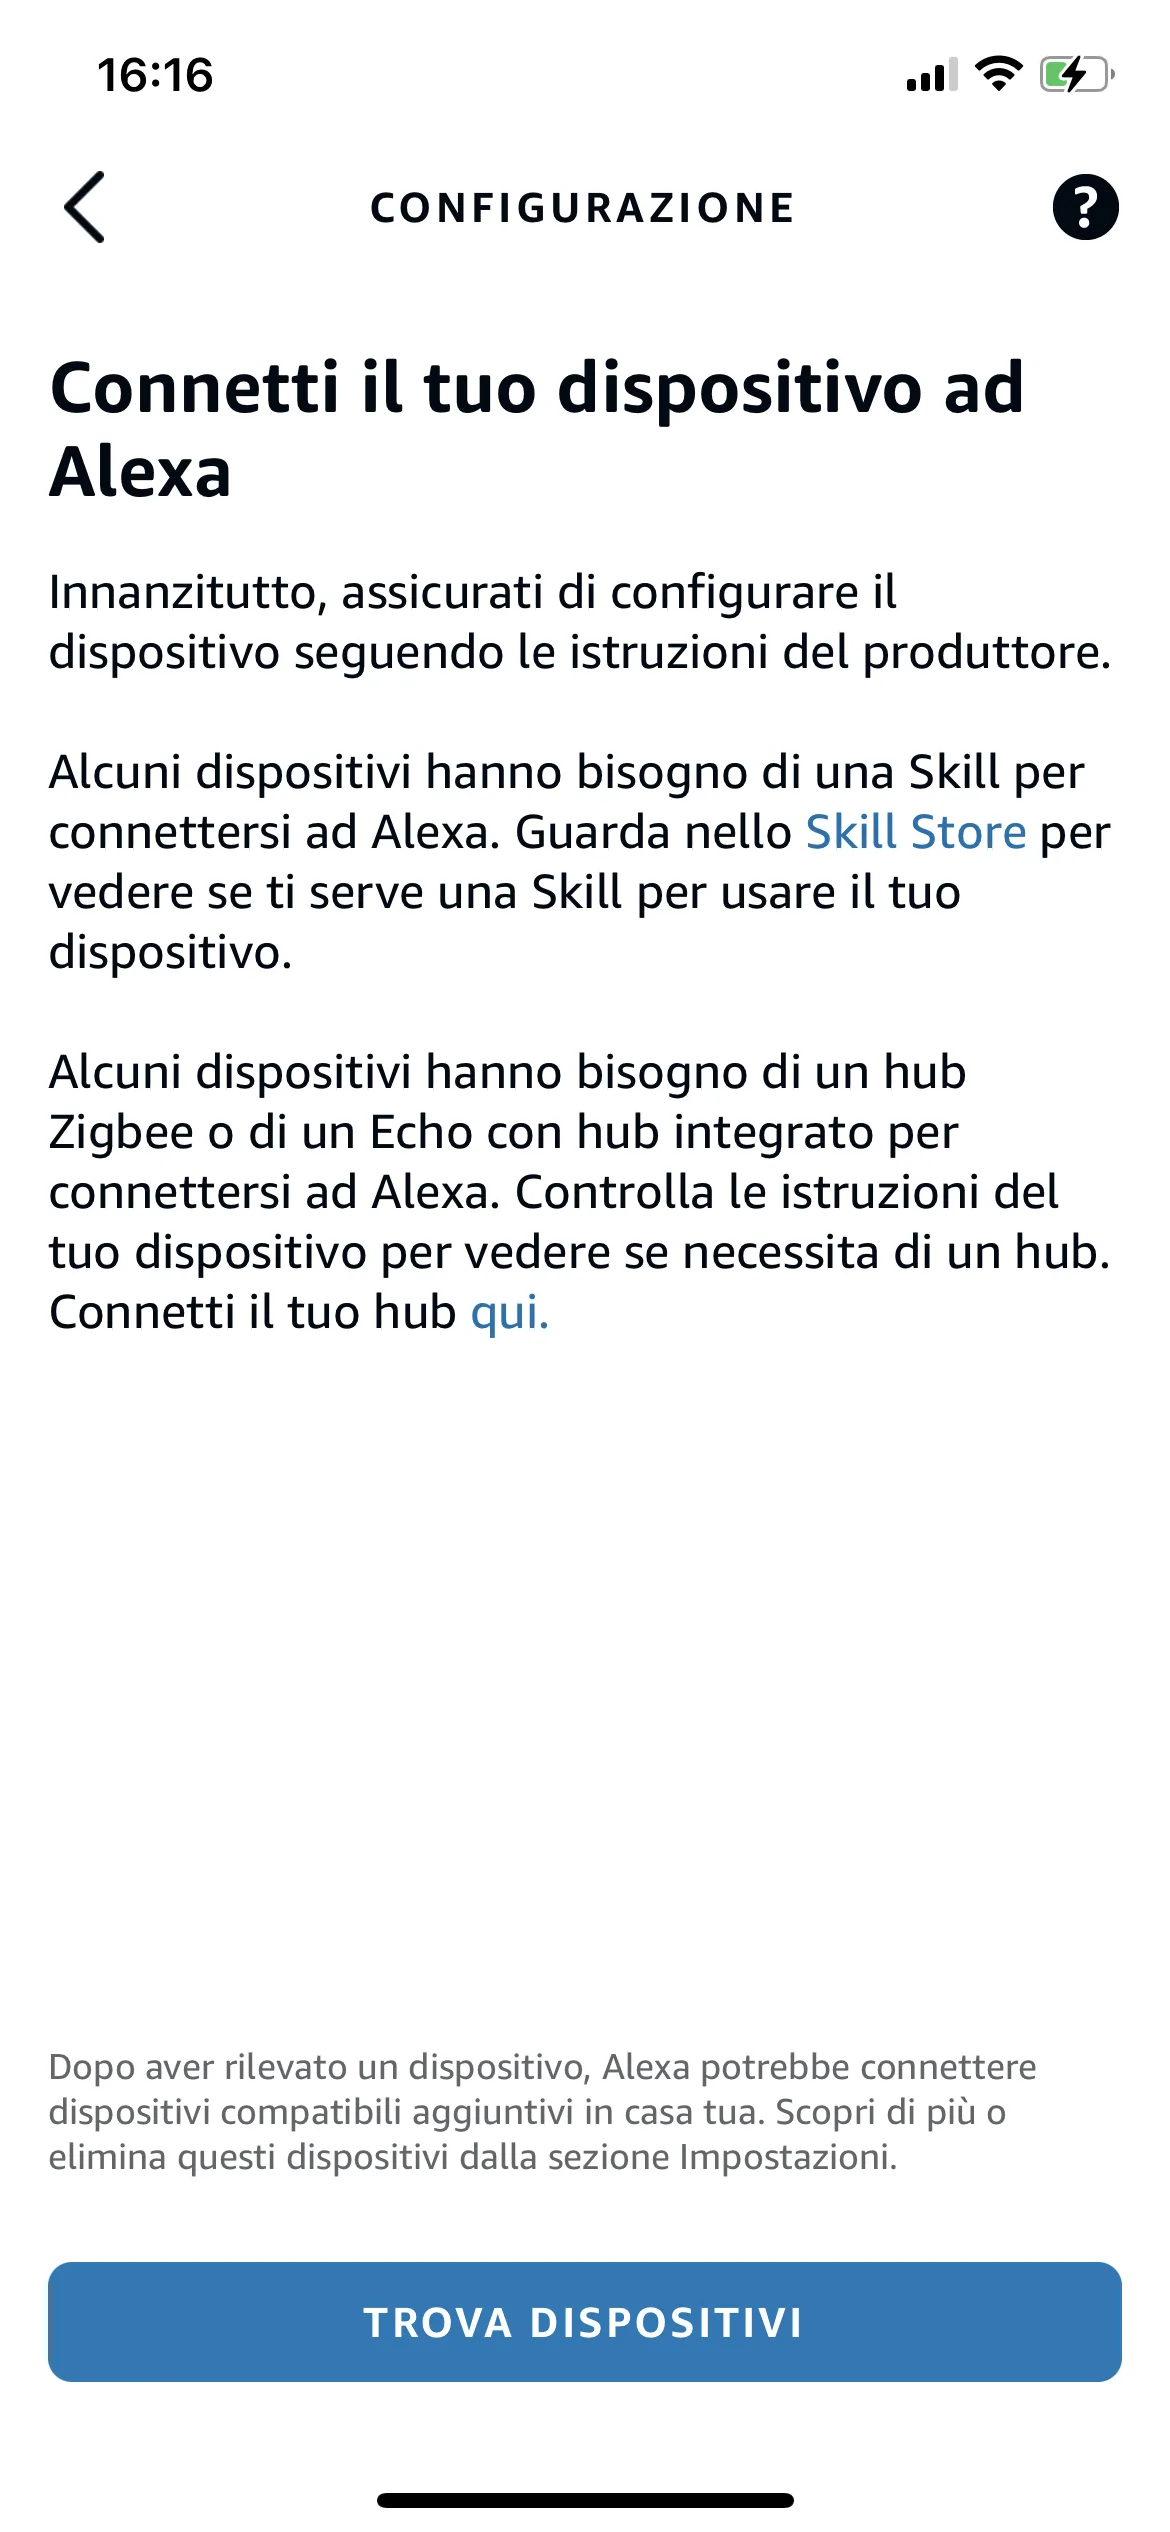
4. Now tap Find Devices.
5. The app will start searching for devices subsequently added in Ilevia Manager.
Examples of Amazon Alexa voice commands
You can use voice for Amazon Alexa functions such as Scenarios, Remote scenarios, Activations, Lights, temperatures, Blinds and much more. Just follow these examples:
Lights:
To do this: | Say “Alexa” and then… |
Turn light on/off | “Turn on/off <light name>” |
Set light intensity | “Set the brightness of <light name> to 10%” |
Change light color | “Set <light name> to <desired color>” |
Turn all the lights in a room on/off | “Turn the lights in <room name> on / off” |
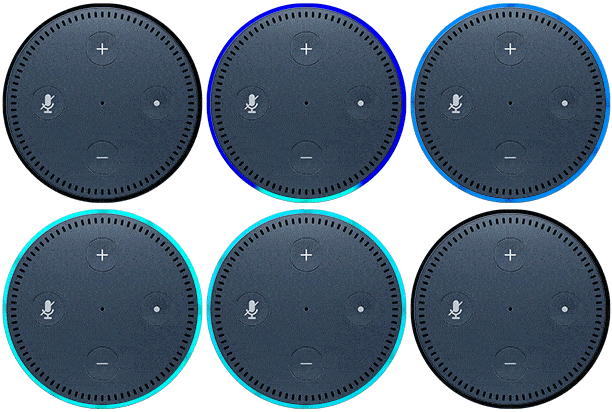
“Alexa, turn on Table Light”
“Alexa, set the brightness of Table Light to 20%”
“Alexa, set Table Light to blue”
Switches:
To do this: | Say “Alexa” and then… |
Turn switch on/off | “Turn on/off <switch name>” |
“Alexa, turn the TV on/off”
Scenarios & User Scenarios:
Note: for this type of component, we recommend following the example in this guide to better understand how to create Scenarios and User Scenarios. By also using the Script component in combination, it is possible to create endless combinations and customizations for: temperature control, blinds and much more.
To do this: | Say “Alexa” and then… |
Execute | “Turn on <scenario name>” |
Execute | “Turn on <user scenario name>” |
“Alexa, turn on I’m leaving home”