
Ilevia integration with Amazon Alexa
How to control your Ilevia system by voice via Amazon Alexa: supported commands, enabling the Ilevia Smart Home skill, and adding devices.
Amazon Alexa includes home automation features that allow owners to use it as a central hub to control smart devices by voice command.
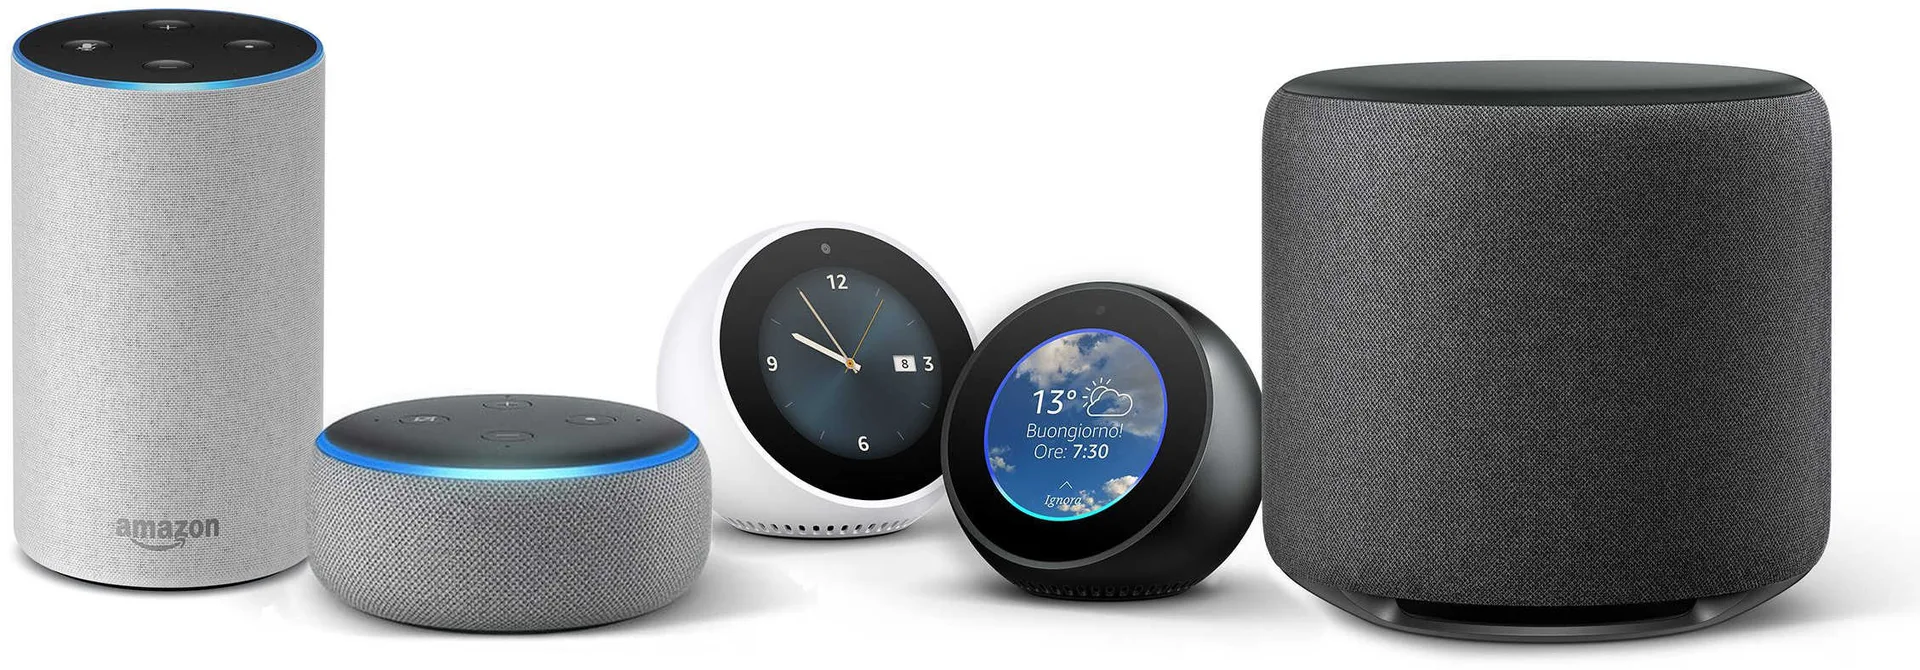
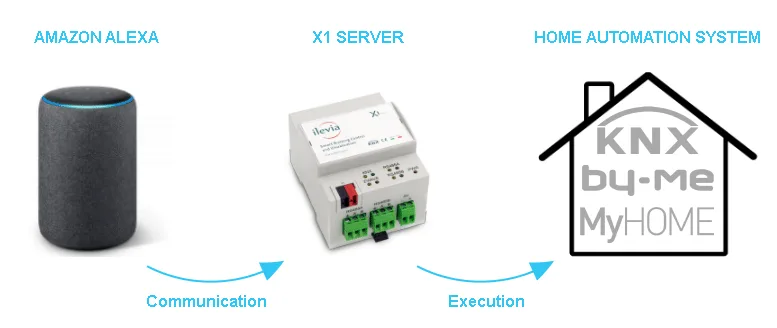
How to control your smart home using Amazon Alexa
ILEVIA has made it possible to use Amazon Echo with KNX, Vimar By-Me, My Home di BTicino, Z-Wave devices and other Ilevia System protocols.
One of the main strengths of our system is that the Amazon Alexa app can also be used on a smartphone with systems not managed by our Ilevia server.
After installing our system, the user, without using any app, will be able to control devices simply by using Amazon Assistant voice recognition or Amazon Echo devices.
In the following sections, we will explain how to configure a KNX light through Ilevia Manager and the related Amazon Alexa setup.
Amazon Echo speakers allow users to issue voice commands to interact with services through Amazon's intelligent personal assistant called Amazon Echo. A wide range of services, both native and third-party, are integrated, allowing users to listen to music, control video or photo playback, or receive news updates entirely by voice.
Amazon Echo devices also include built-in support for home automation, allowing users to control smart appliances and KNX devices by voice. Multiple Amazon Echo devices can be placed in different rooms in a home to control devices in a specific room. In this guide, you will learn how to set up a KNX light in a living room and control it by voice.
Reminder before proceeding:
You must already have an Ilevia system configured (we recommend following our tutorial at this link).
Download and install the updated Ilevia logic files to correctly enable the Amazon plug-in (follow this link);
Update your server to the latest available firmware by following this guide;
Ask Alexa
Lights:
Voice command: | Say “Alexa” and then… |
To turn a light on / off | Turn on / off <light name> |
To dim a light | Dim <light name> |
To brighten a light | Brighten <light name> |
Set the brightness of a light | Set <light name> to 50% |
Dim / brighten to a specific percentage | Increase / decrease the brightness of <light name> by 50% |
Change the color of a light | Set <light name> to green |
Turn all lights in a room on / off | Turn on / off <room name> |
Turn all lights on / off | Turn all lights on / off |
Scenes:
Voice command: | Say “Alexa” and then… |
Activate a scene | Activate <scene name> |
Switches, Sockets:
Voice command: | Say “Alexa” and then… |
Turn a switch or socket on / off | Turn on / off <switch, socket name> |
Valve:
Voice command: | Say “Alexa” and then… |
Open / close a valve | Open / close <valve name> |
Blinds, Shutters, Curtains:
Voice command: | Say “Alexa” and then… |
Open / close blinds, shutters, curtains | Open / close <blind, shutter, curtain name> |
Set blinds, shutters, curtains to a specific percentage | Set <blind, shutter, curtain name> to 50% |
Lock
Voice command: | Say “Alexa” and then… |
Lock / unlock | Lock / unlock <lock name> |
Thermostat
Voice command: | Say “Alexa” and then… |
Set a thermostat temperature to a specific degree in Celsius | Set <thermostat name> to 22 degrees Celsius |
Set the thermostat mode | Set <thermostat name> to heating |
Ask for the current temperature | What is the temperature <thermostat name / room name where the thermostat was added> |
Ask to increase or decrease the temperature, with the mode set accordingly | I'm hot / I'm cold |
Configuration guide
Introduction
Integration requires an Ilevia Manager project already configured: follow the Voice Control Manager guide to set up the project and make it ready for integration with Amazon Alexa.
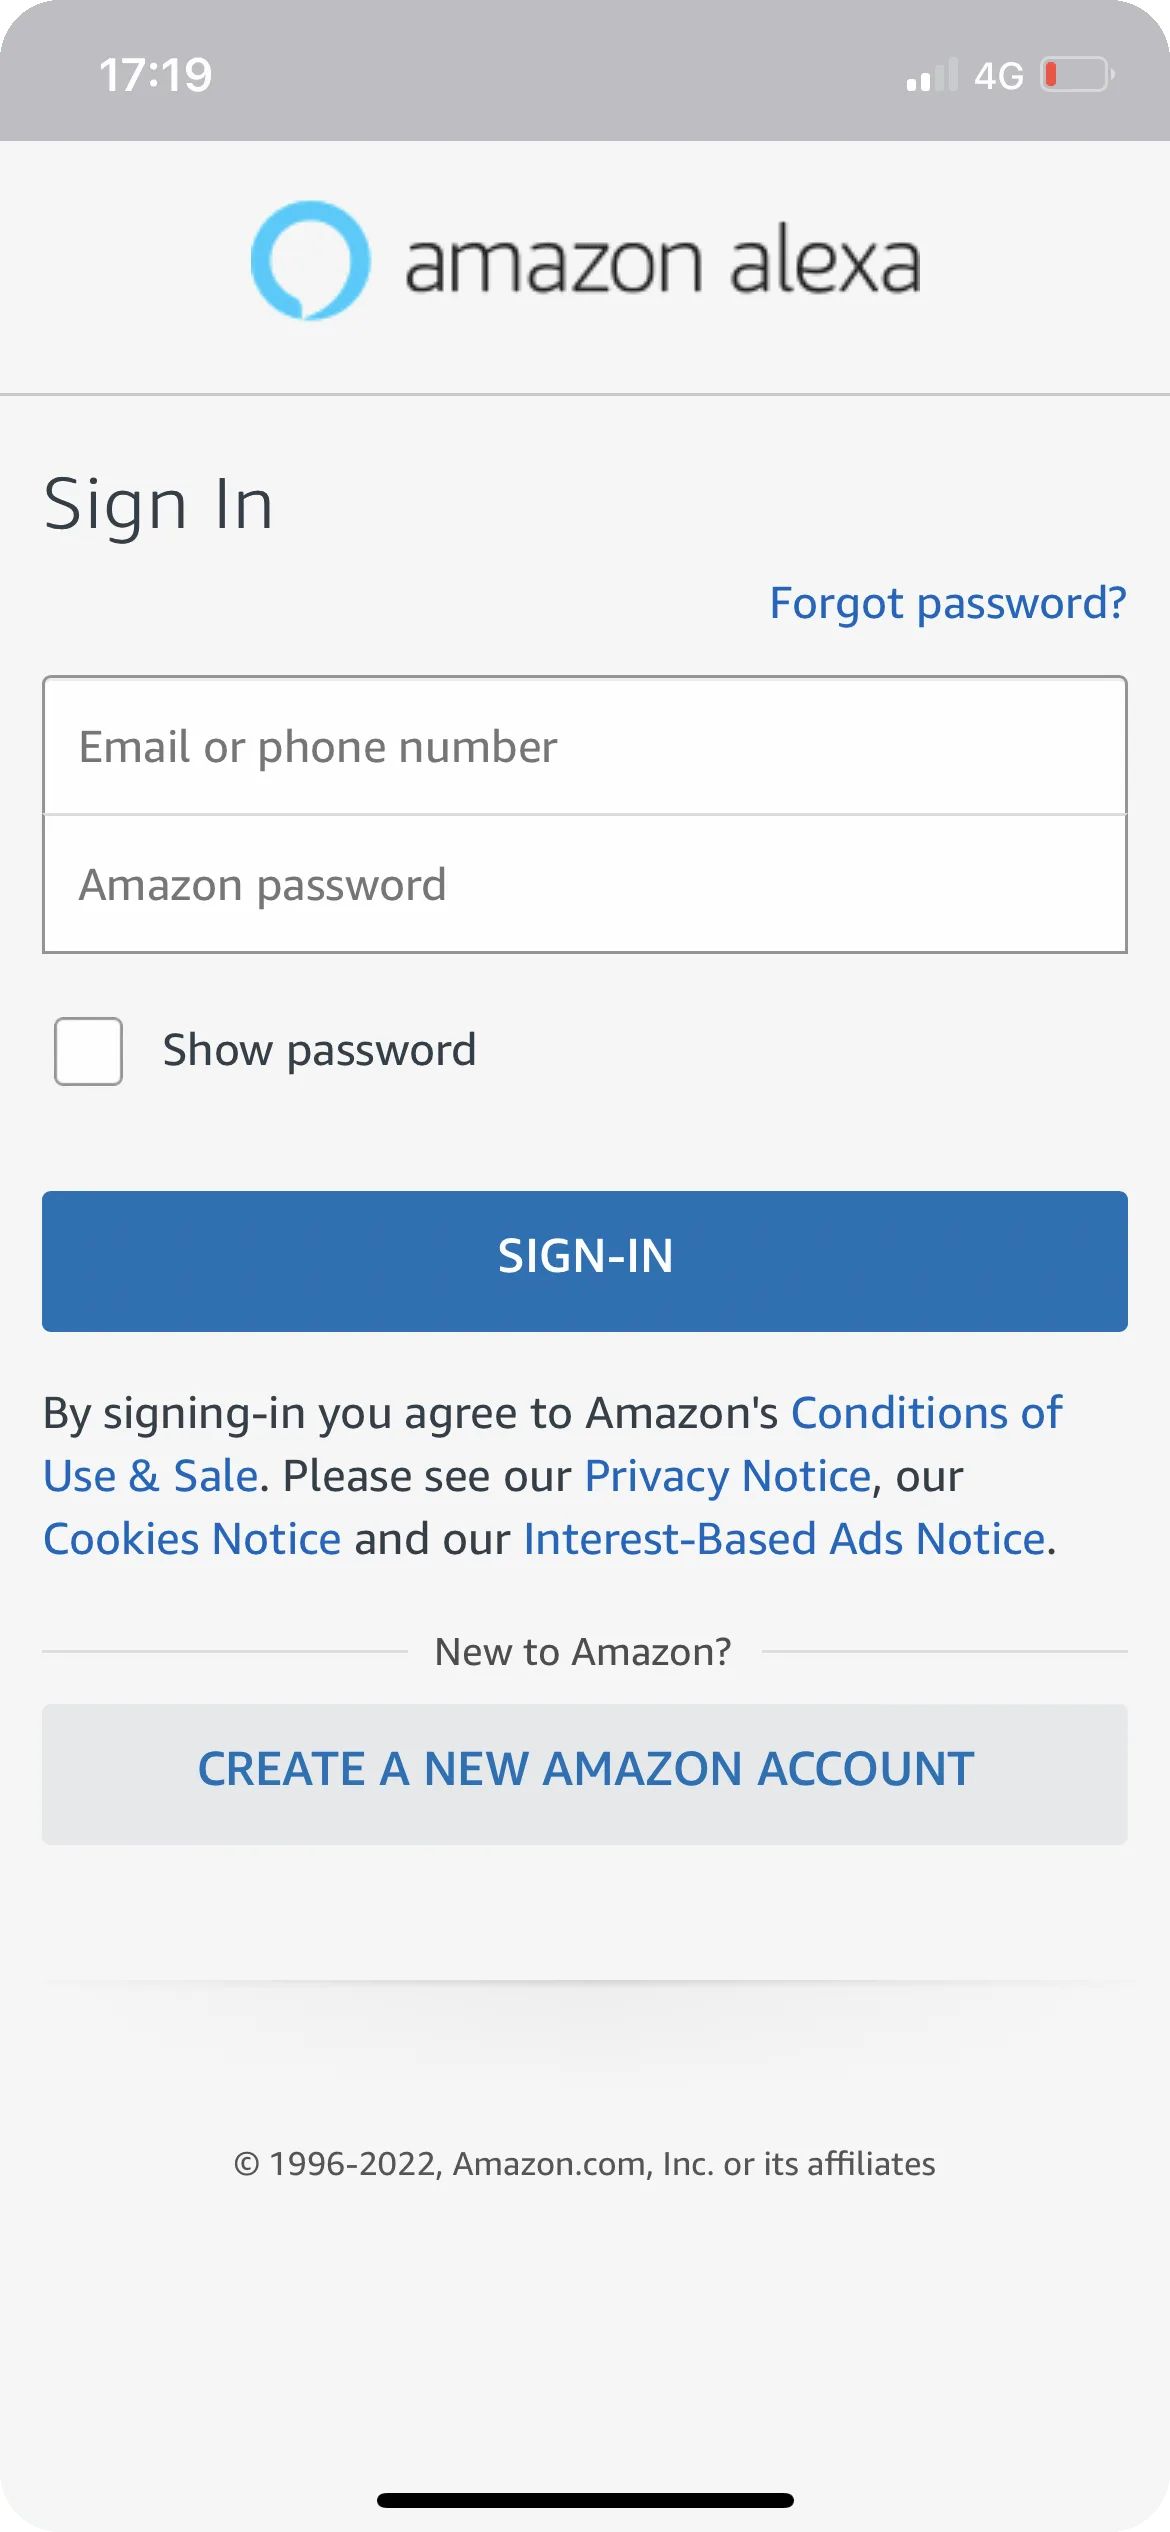
1. After installing the Amazon Alexa app, open it: this will be the first screen you see. Log in with your Amazon credentials.
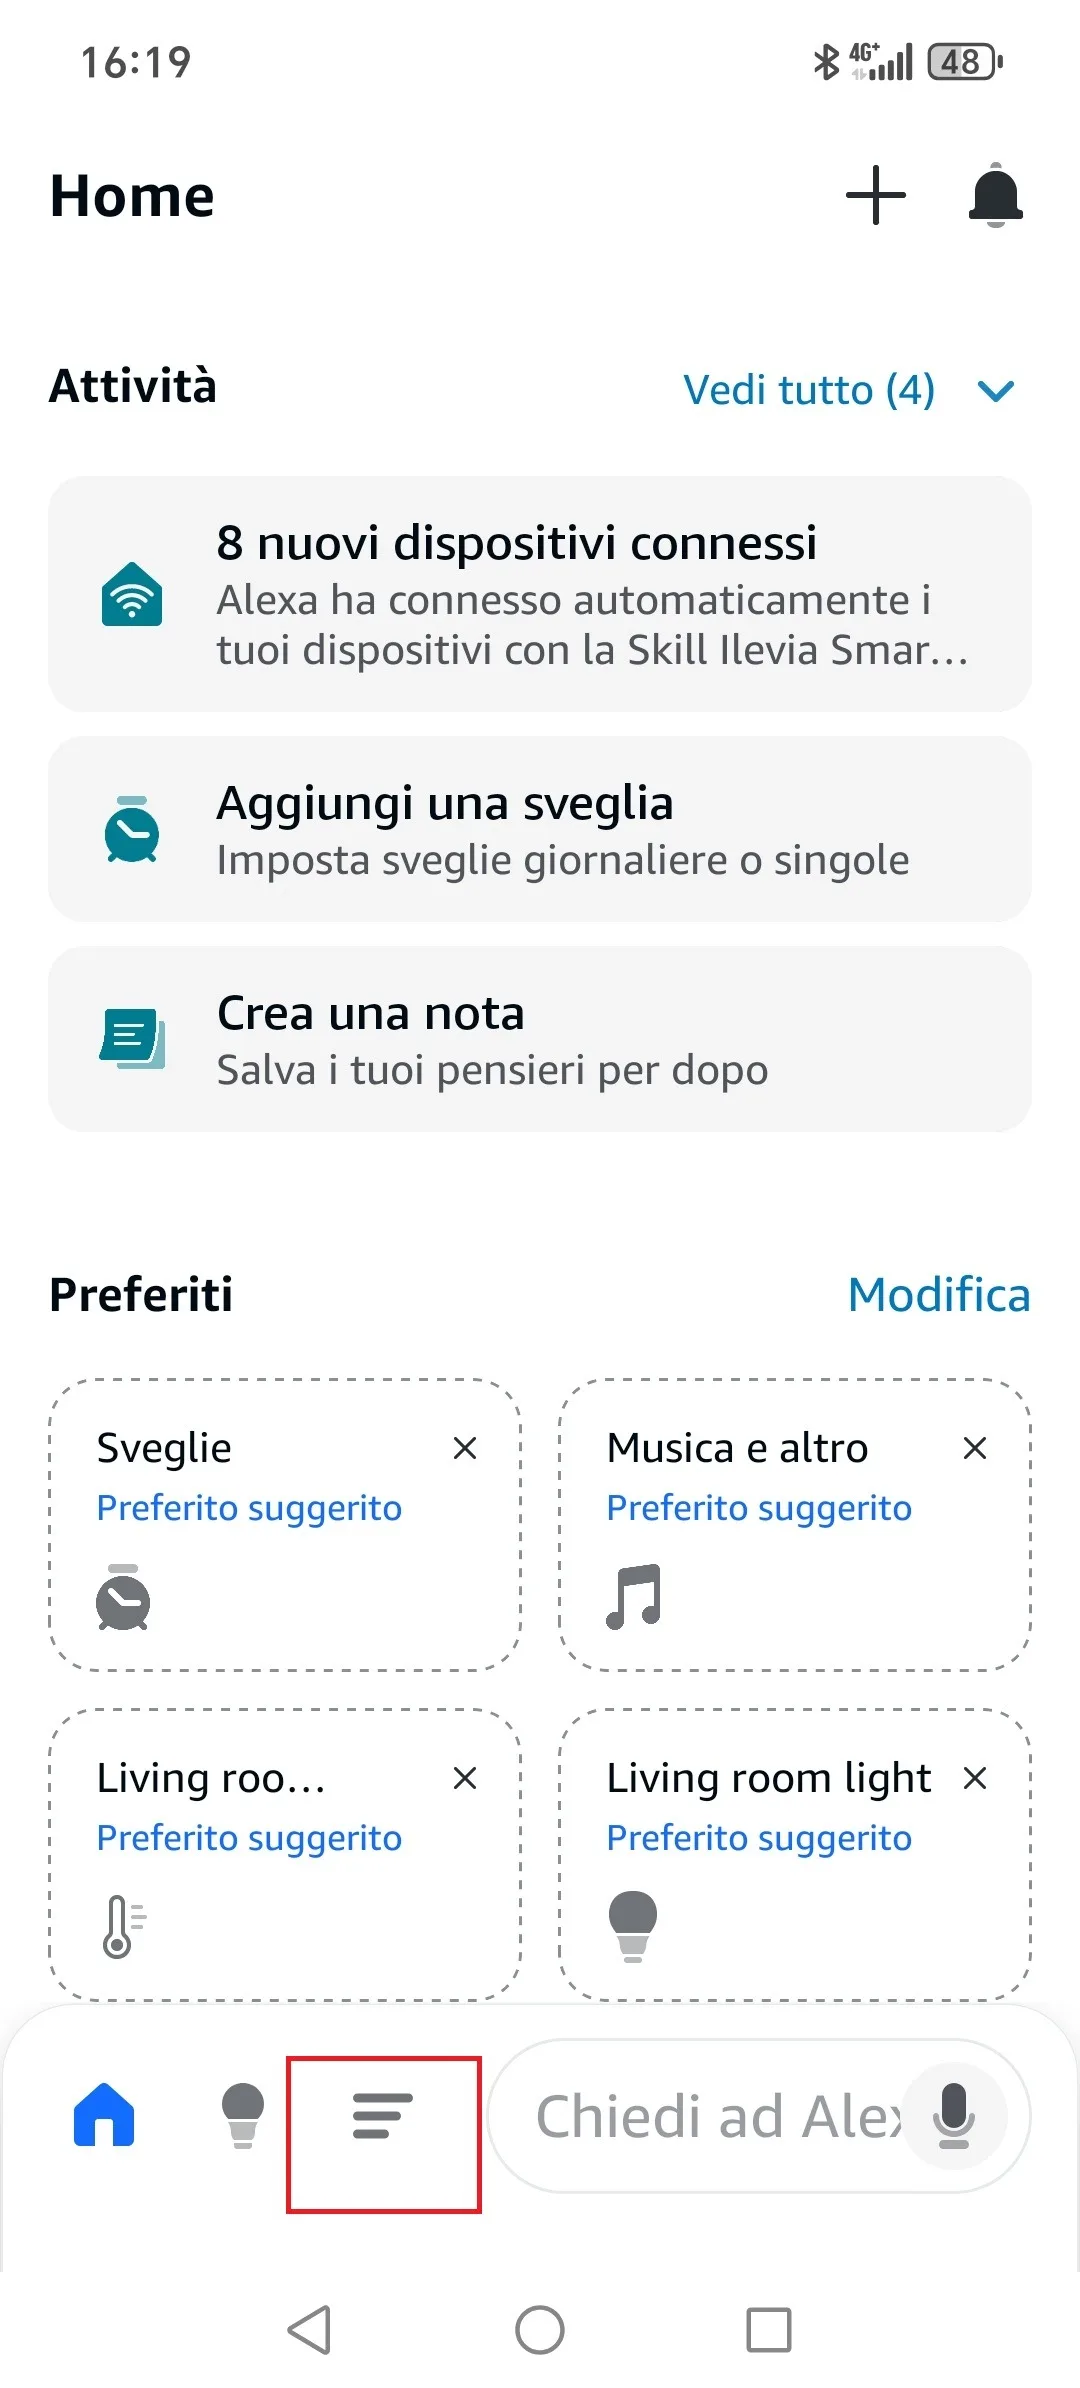
2. Once on the main screen, tap the last menu at the bottom left, “More”.
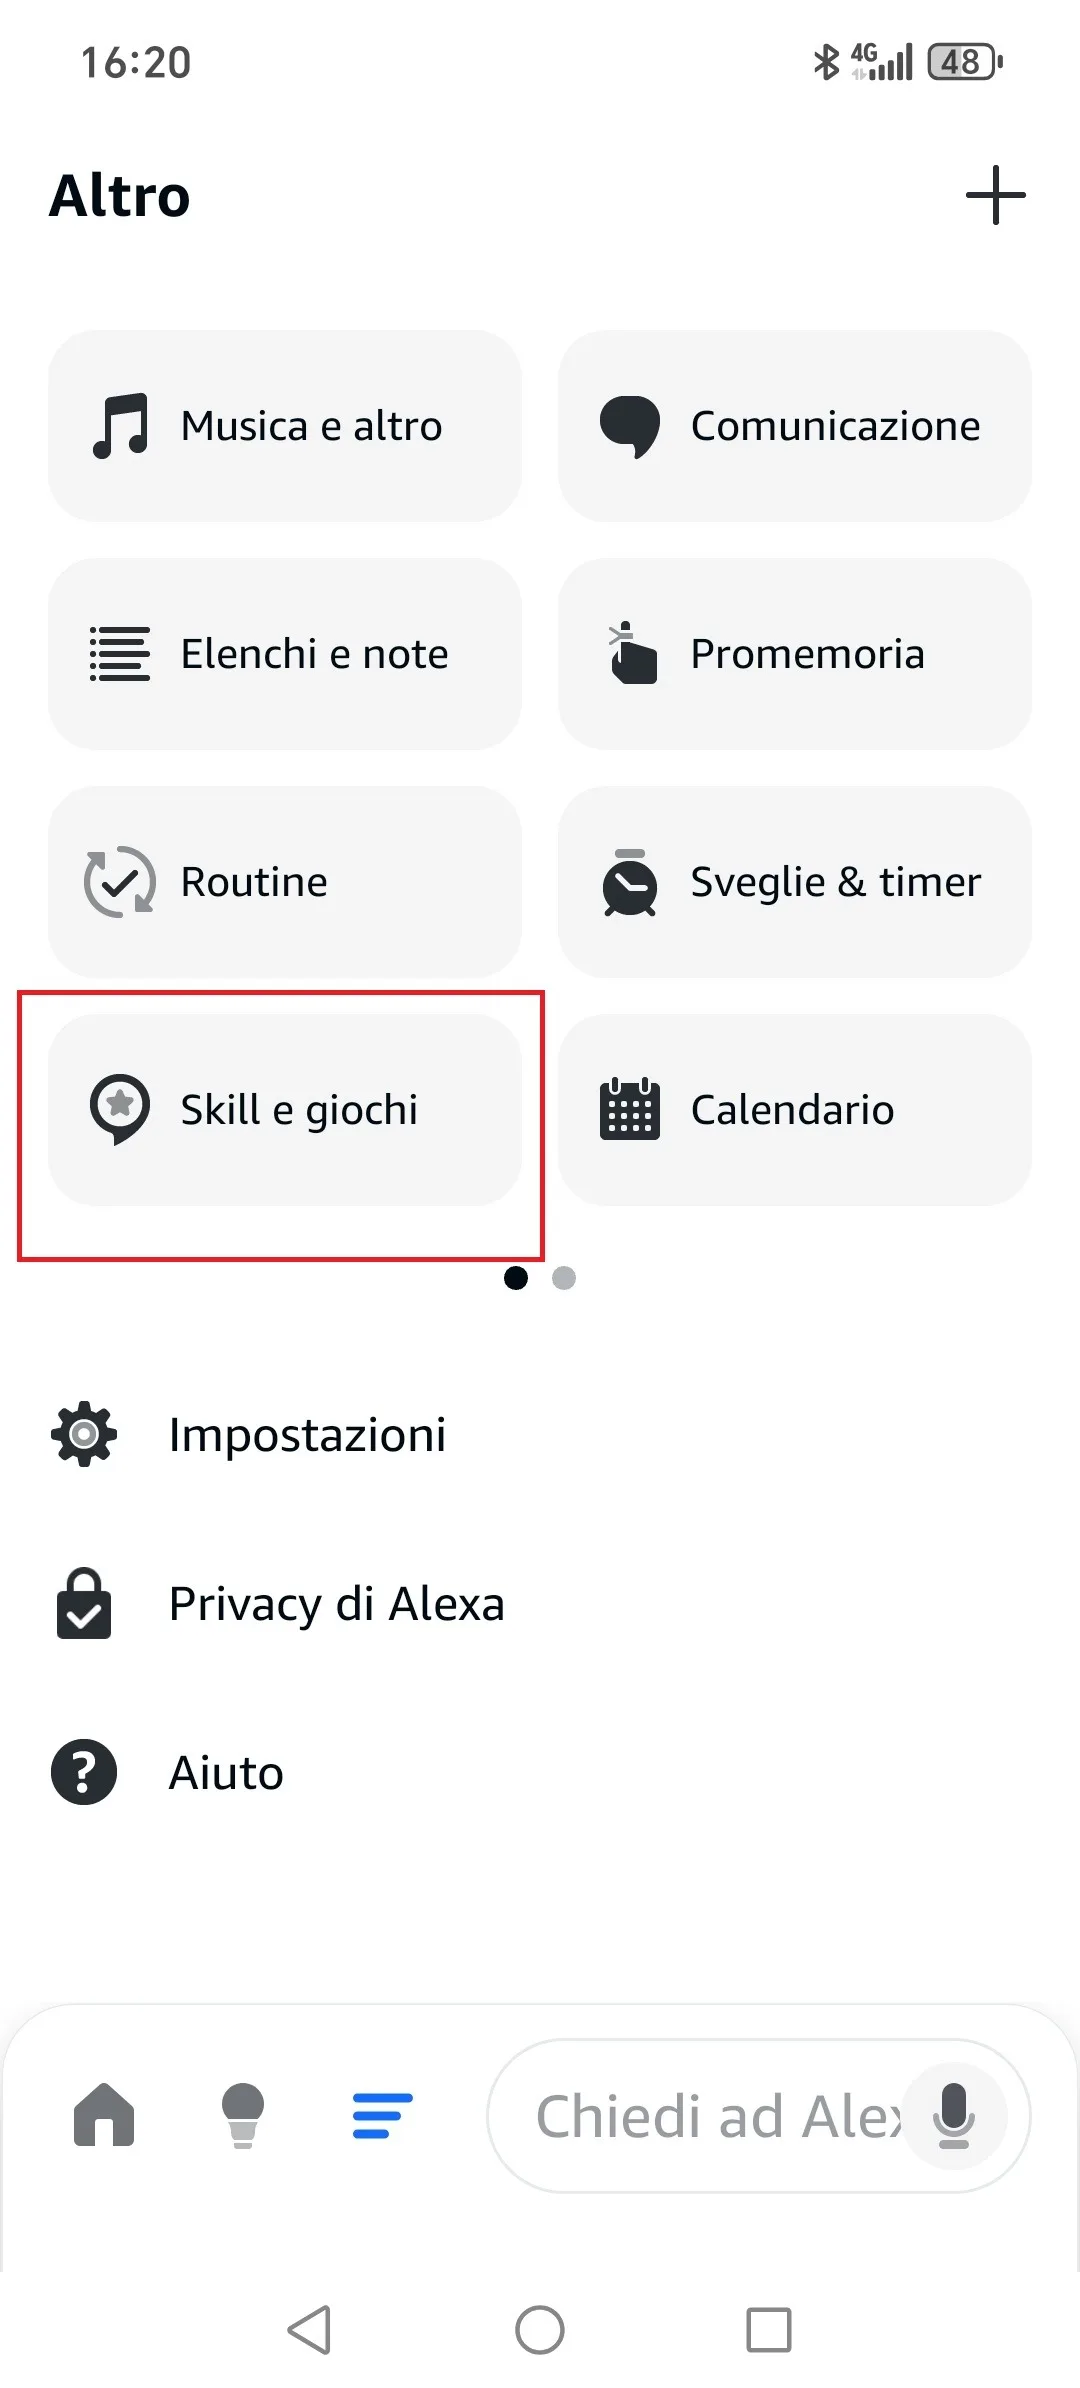
3. Select Skills & Games.
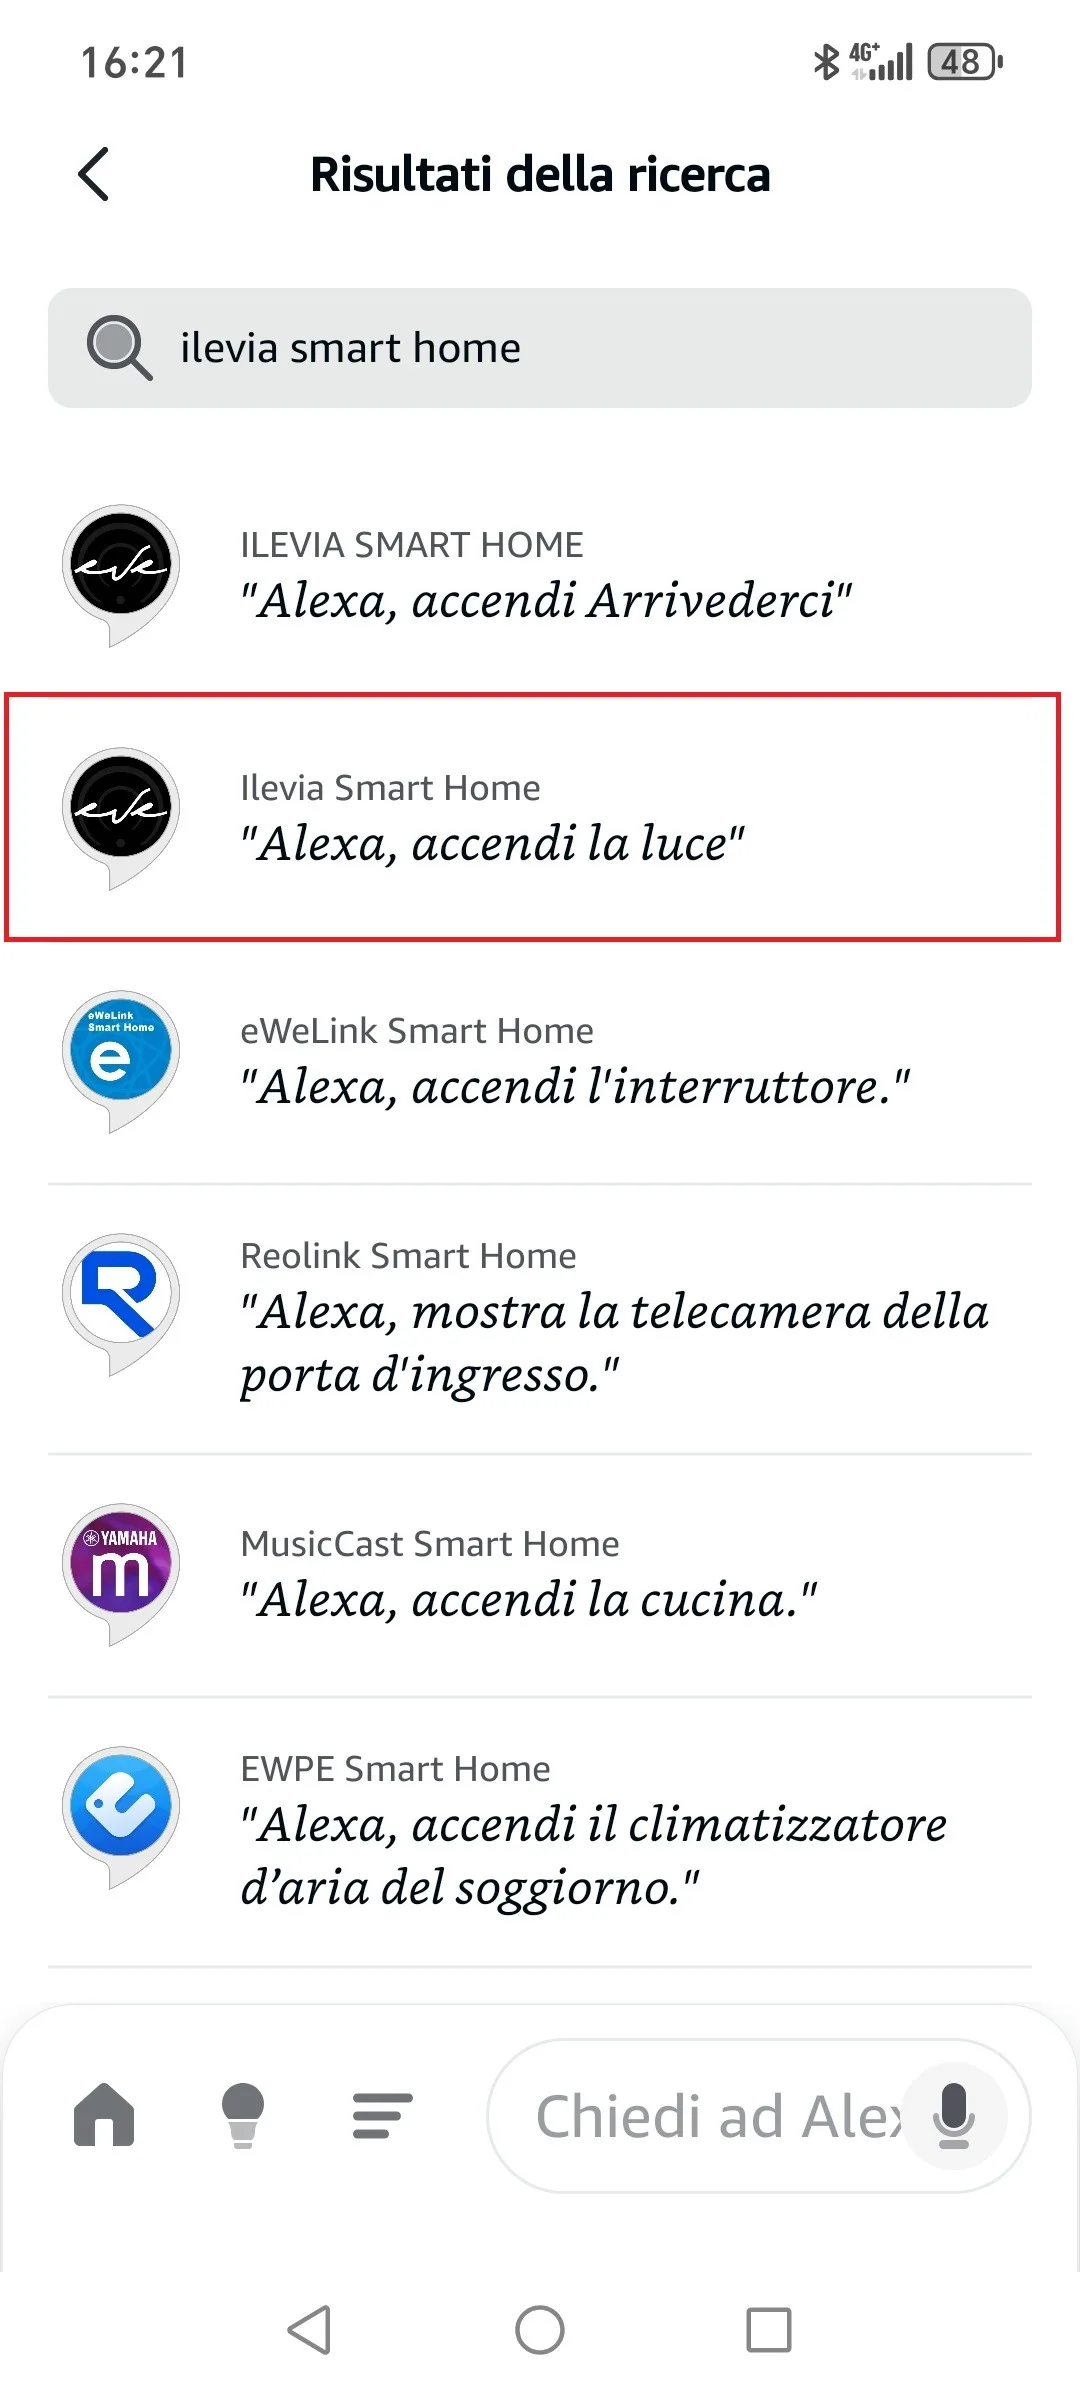
4. Tap Search at the top right and type Ilevia Smart Home.
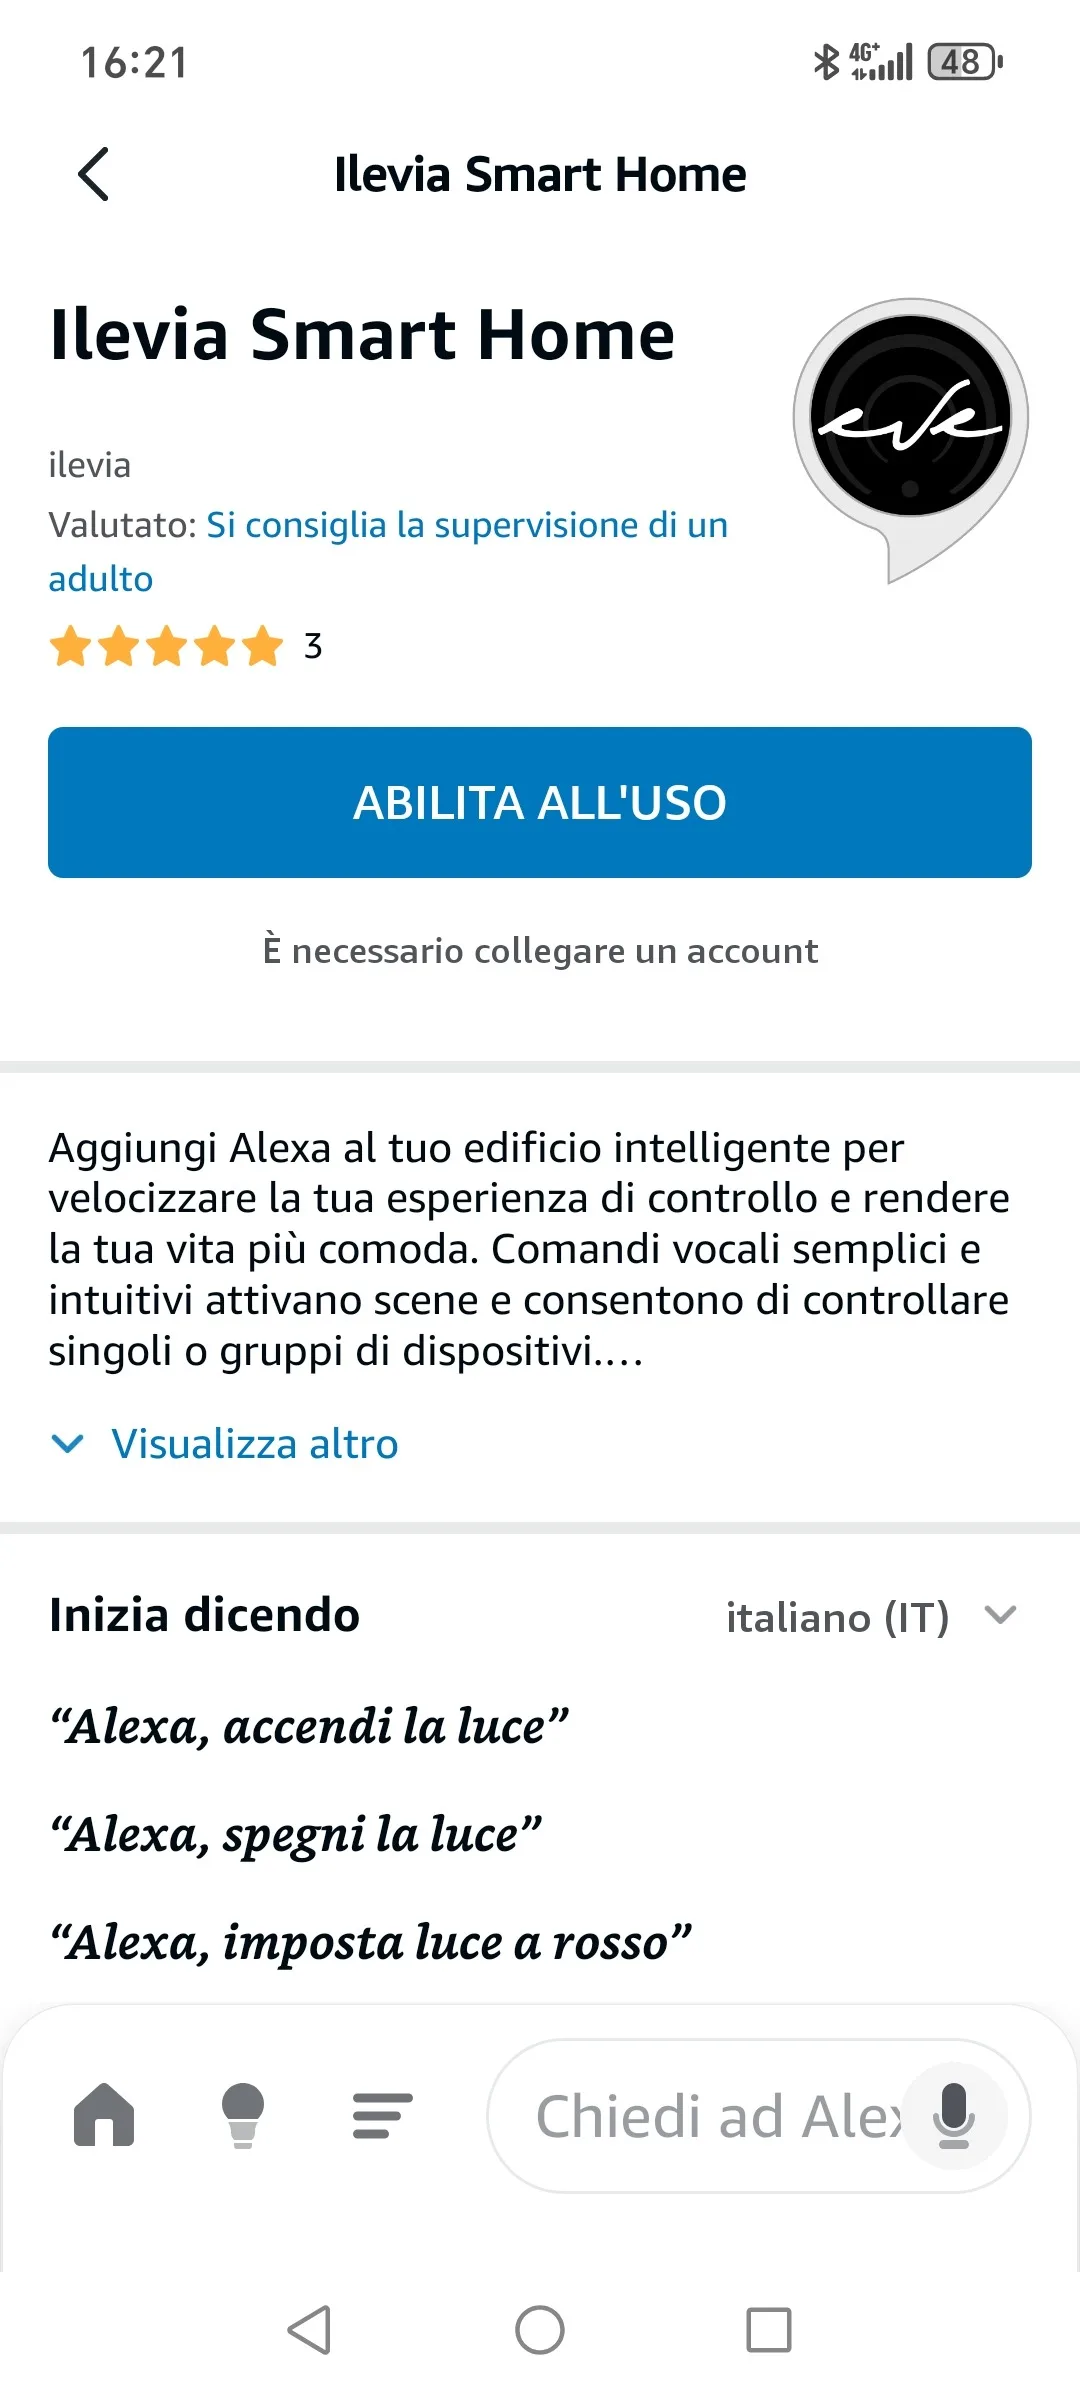
5. Click Enable to use.
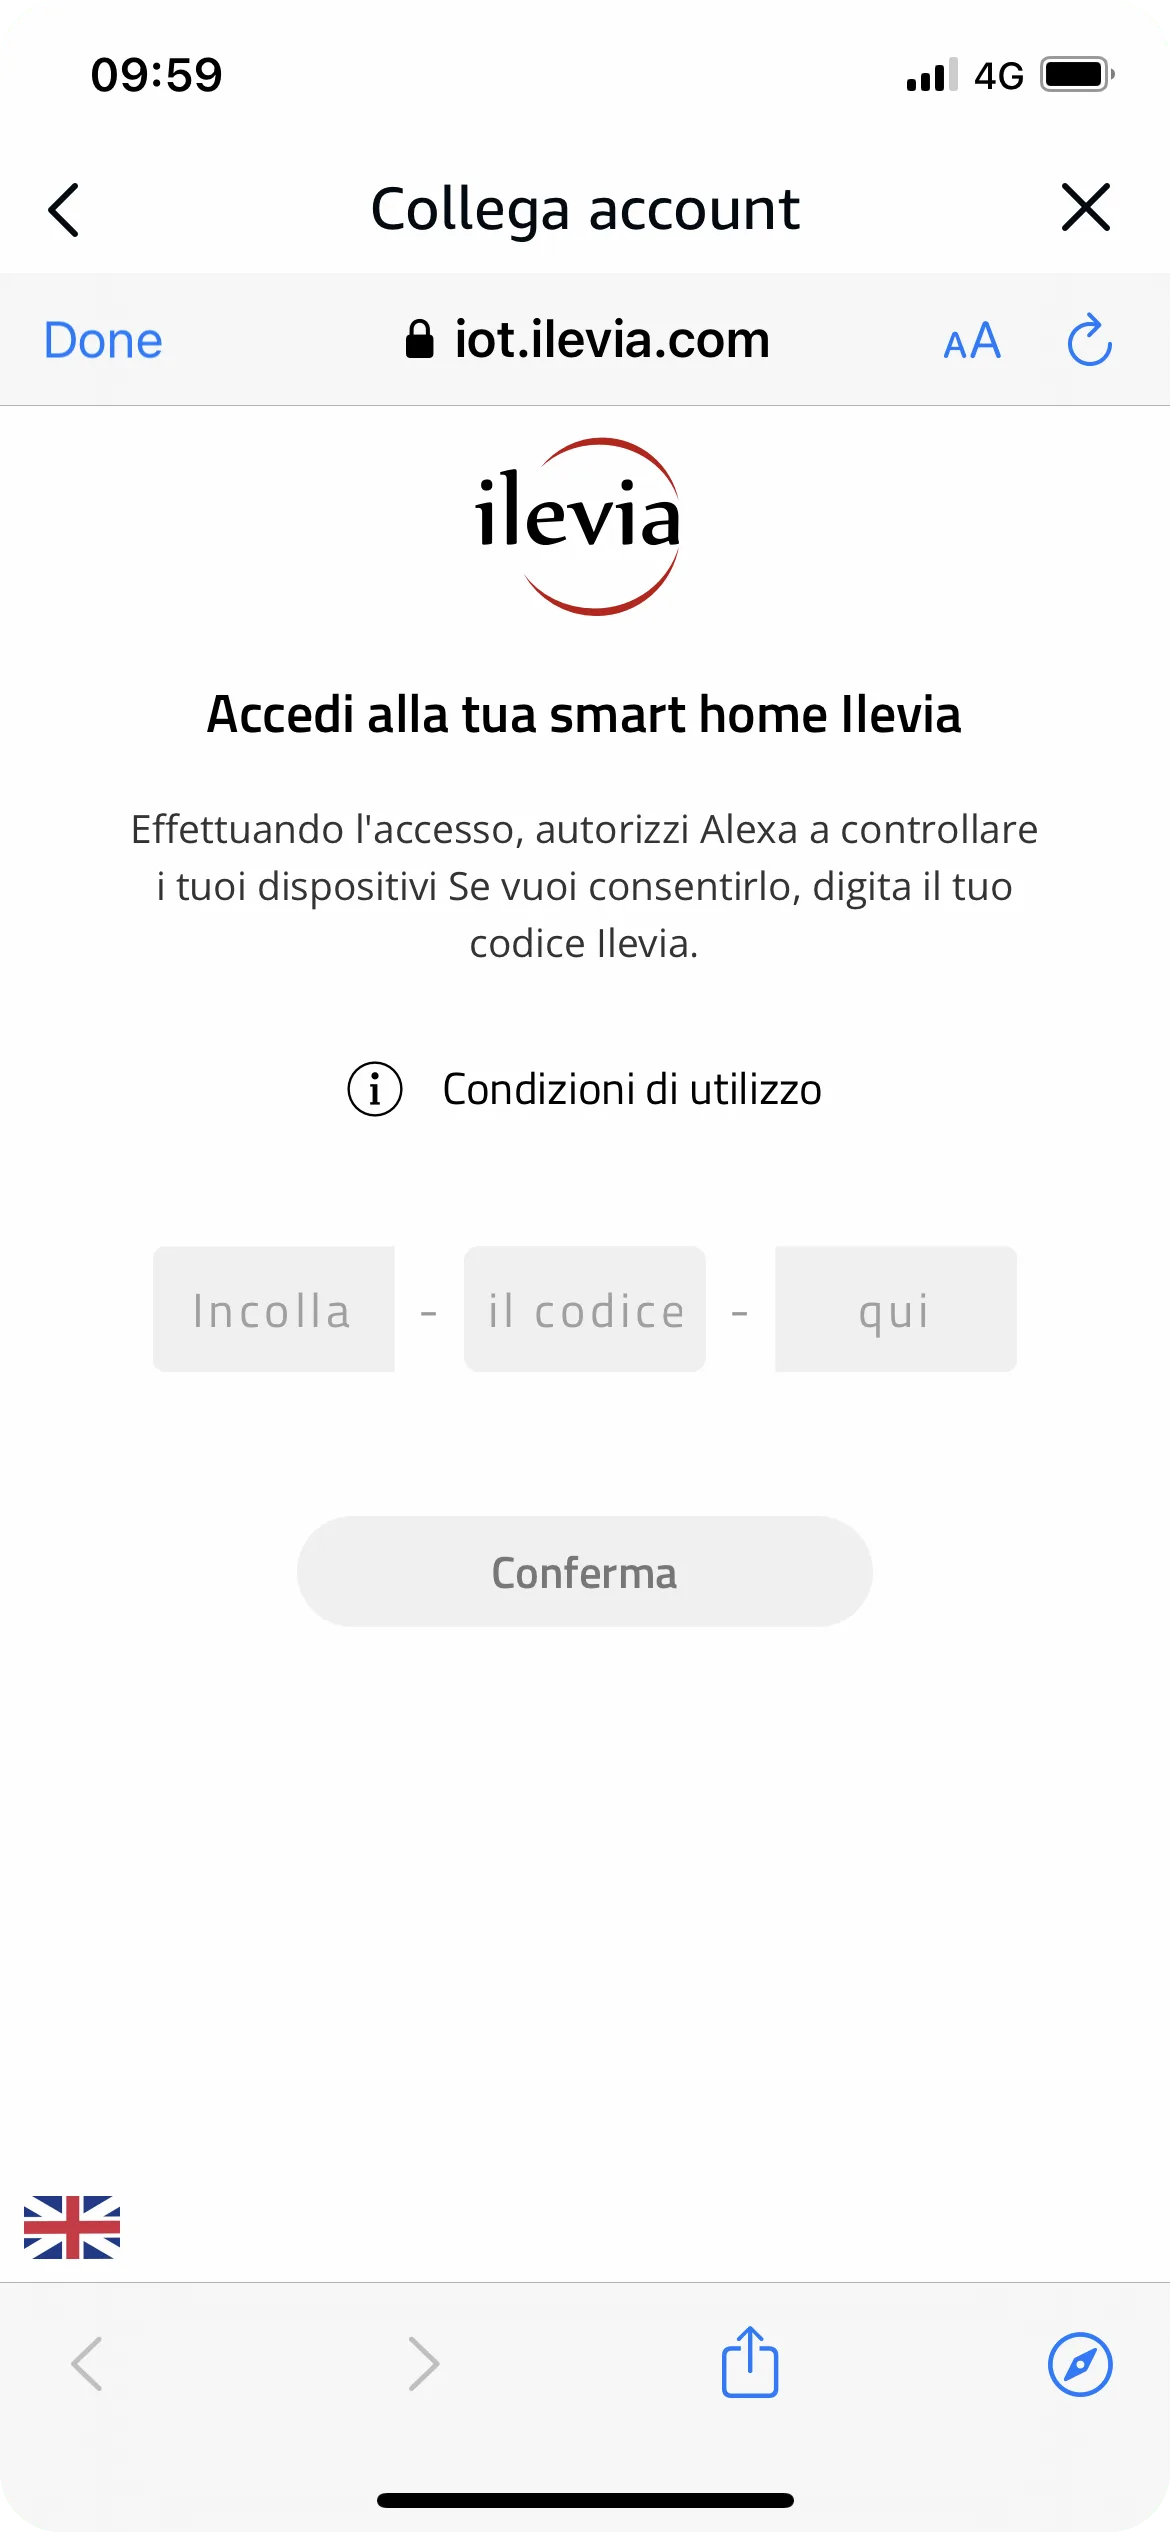
6. Use the Ilevia Code indicated in the properties of the Voice Control Manager component.
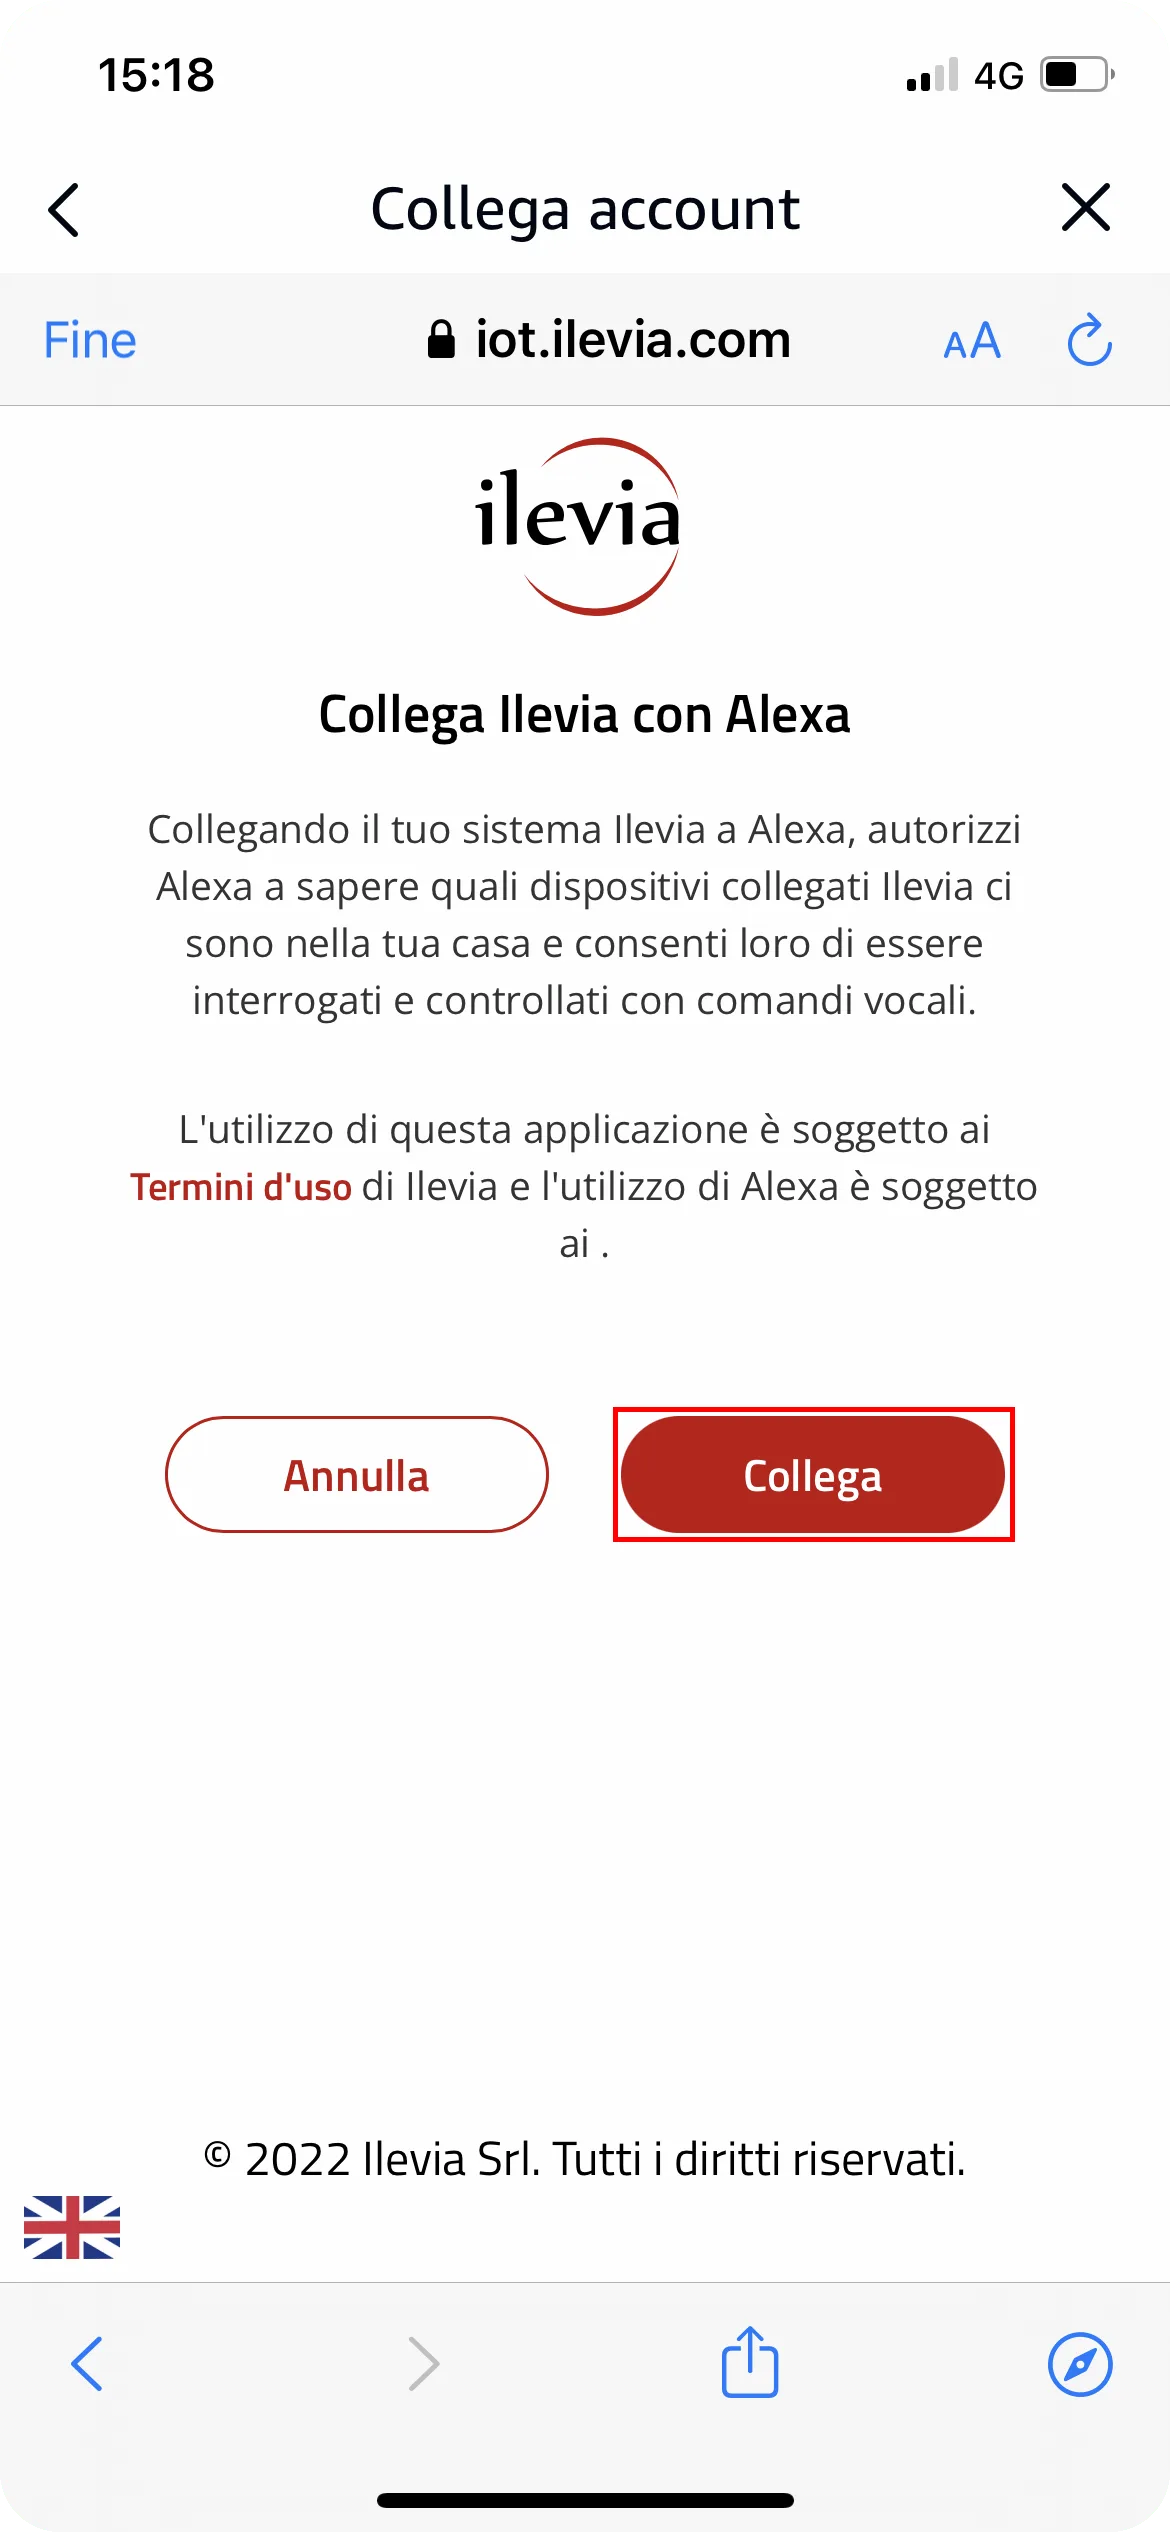
7. Click “Link” to allow the Amazon Alexa app to connect to the Ilevia server.
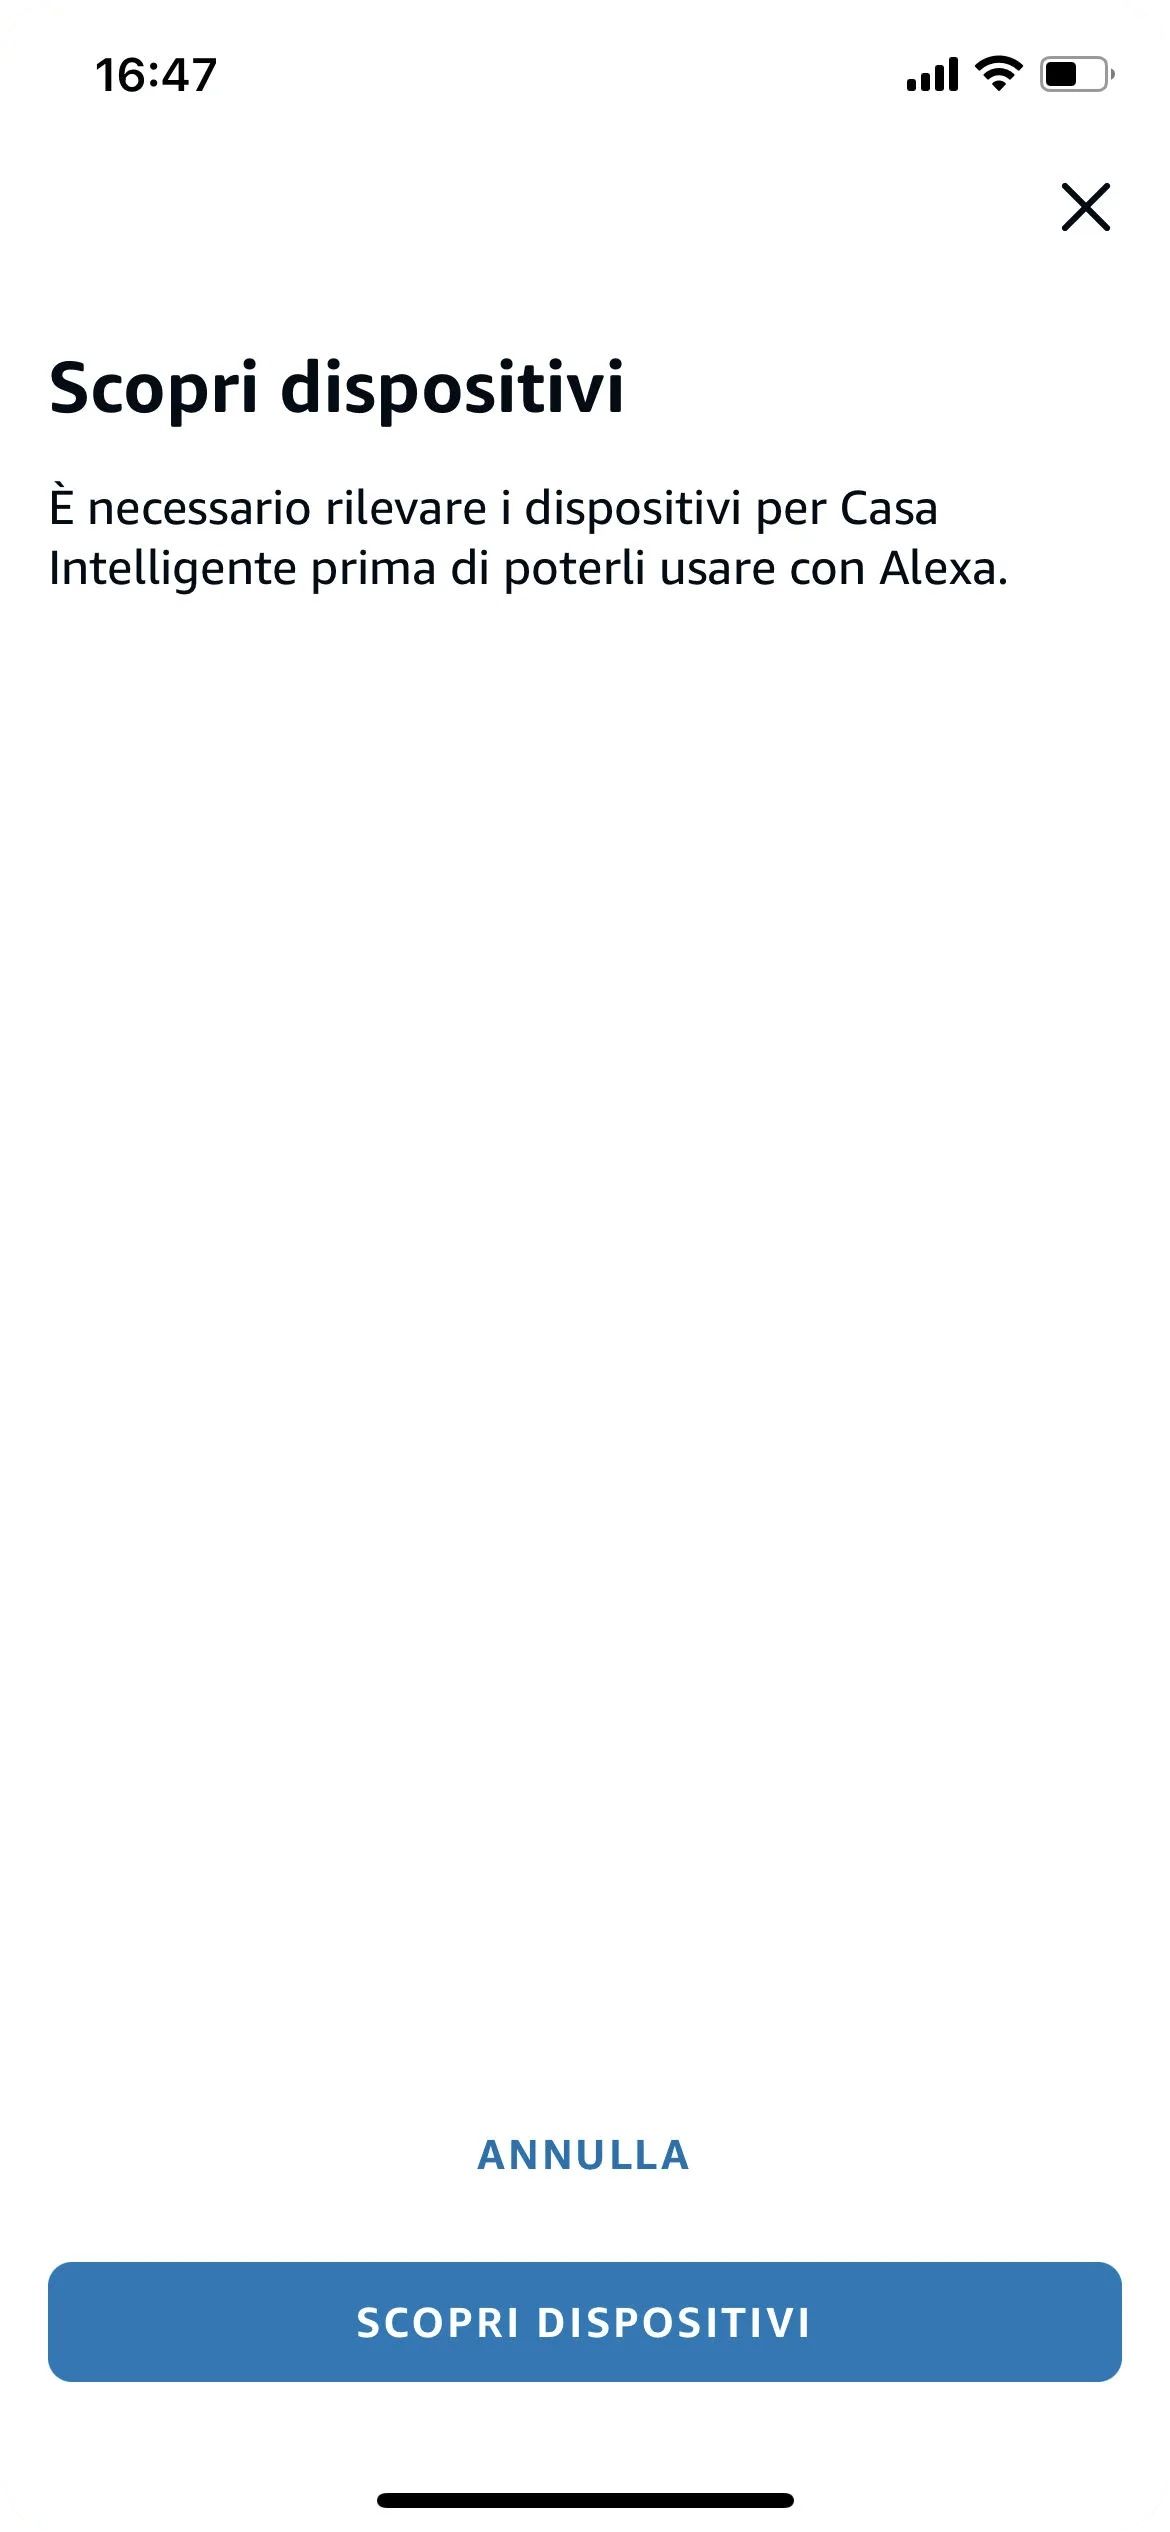
8. Click Search devices to start searching for devices configured with voice control in Ilevia Manager.
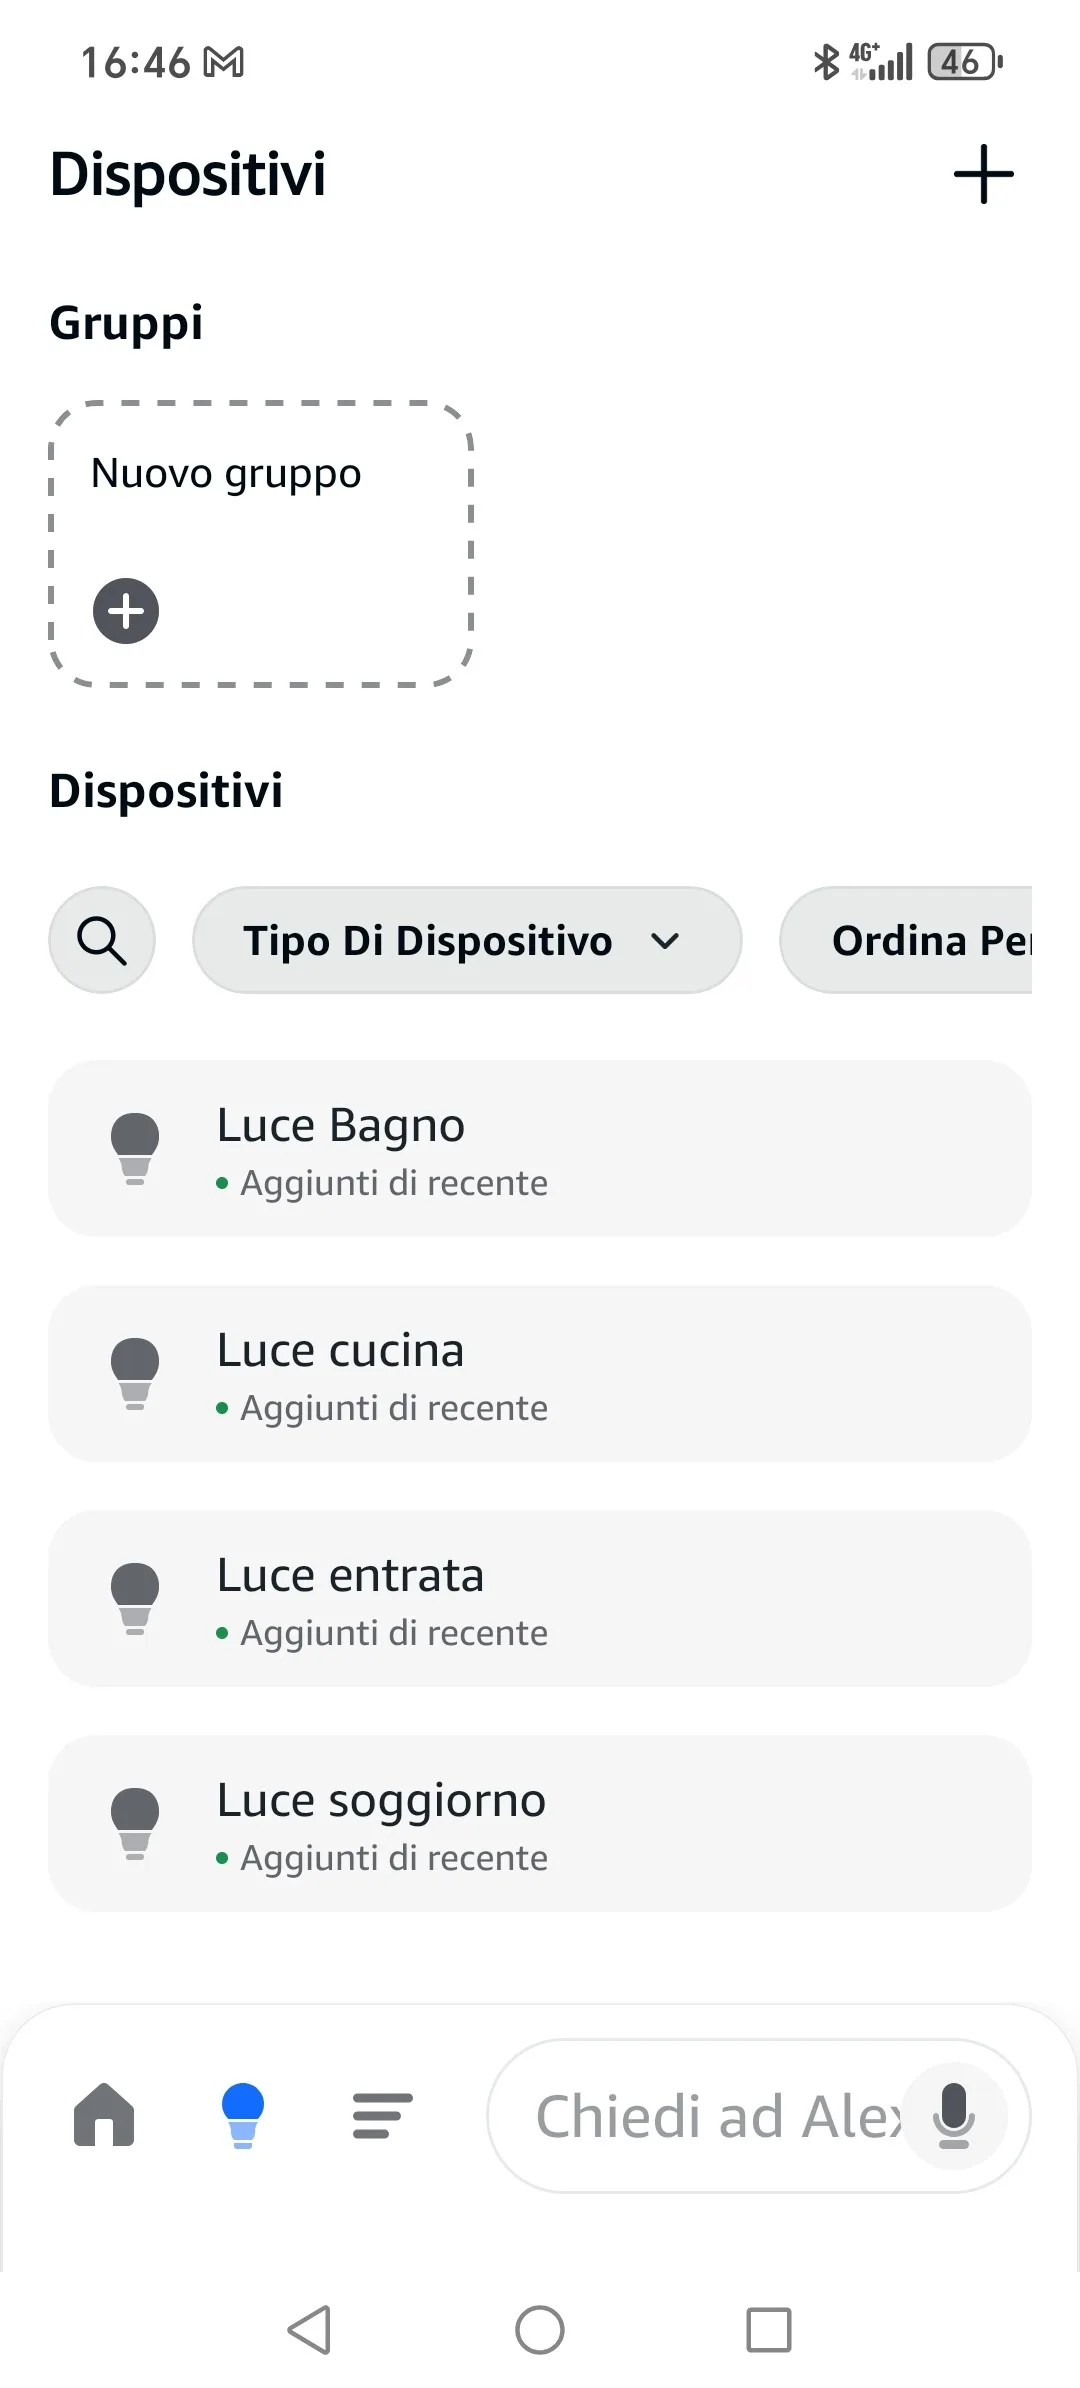
9. As soon as the Ilevia Smart Home skill is correctly linked, you can control and manage your smart home through Amazon Alexa.
How to add new devices
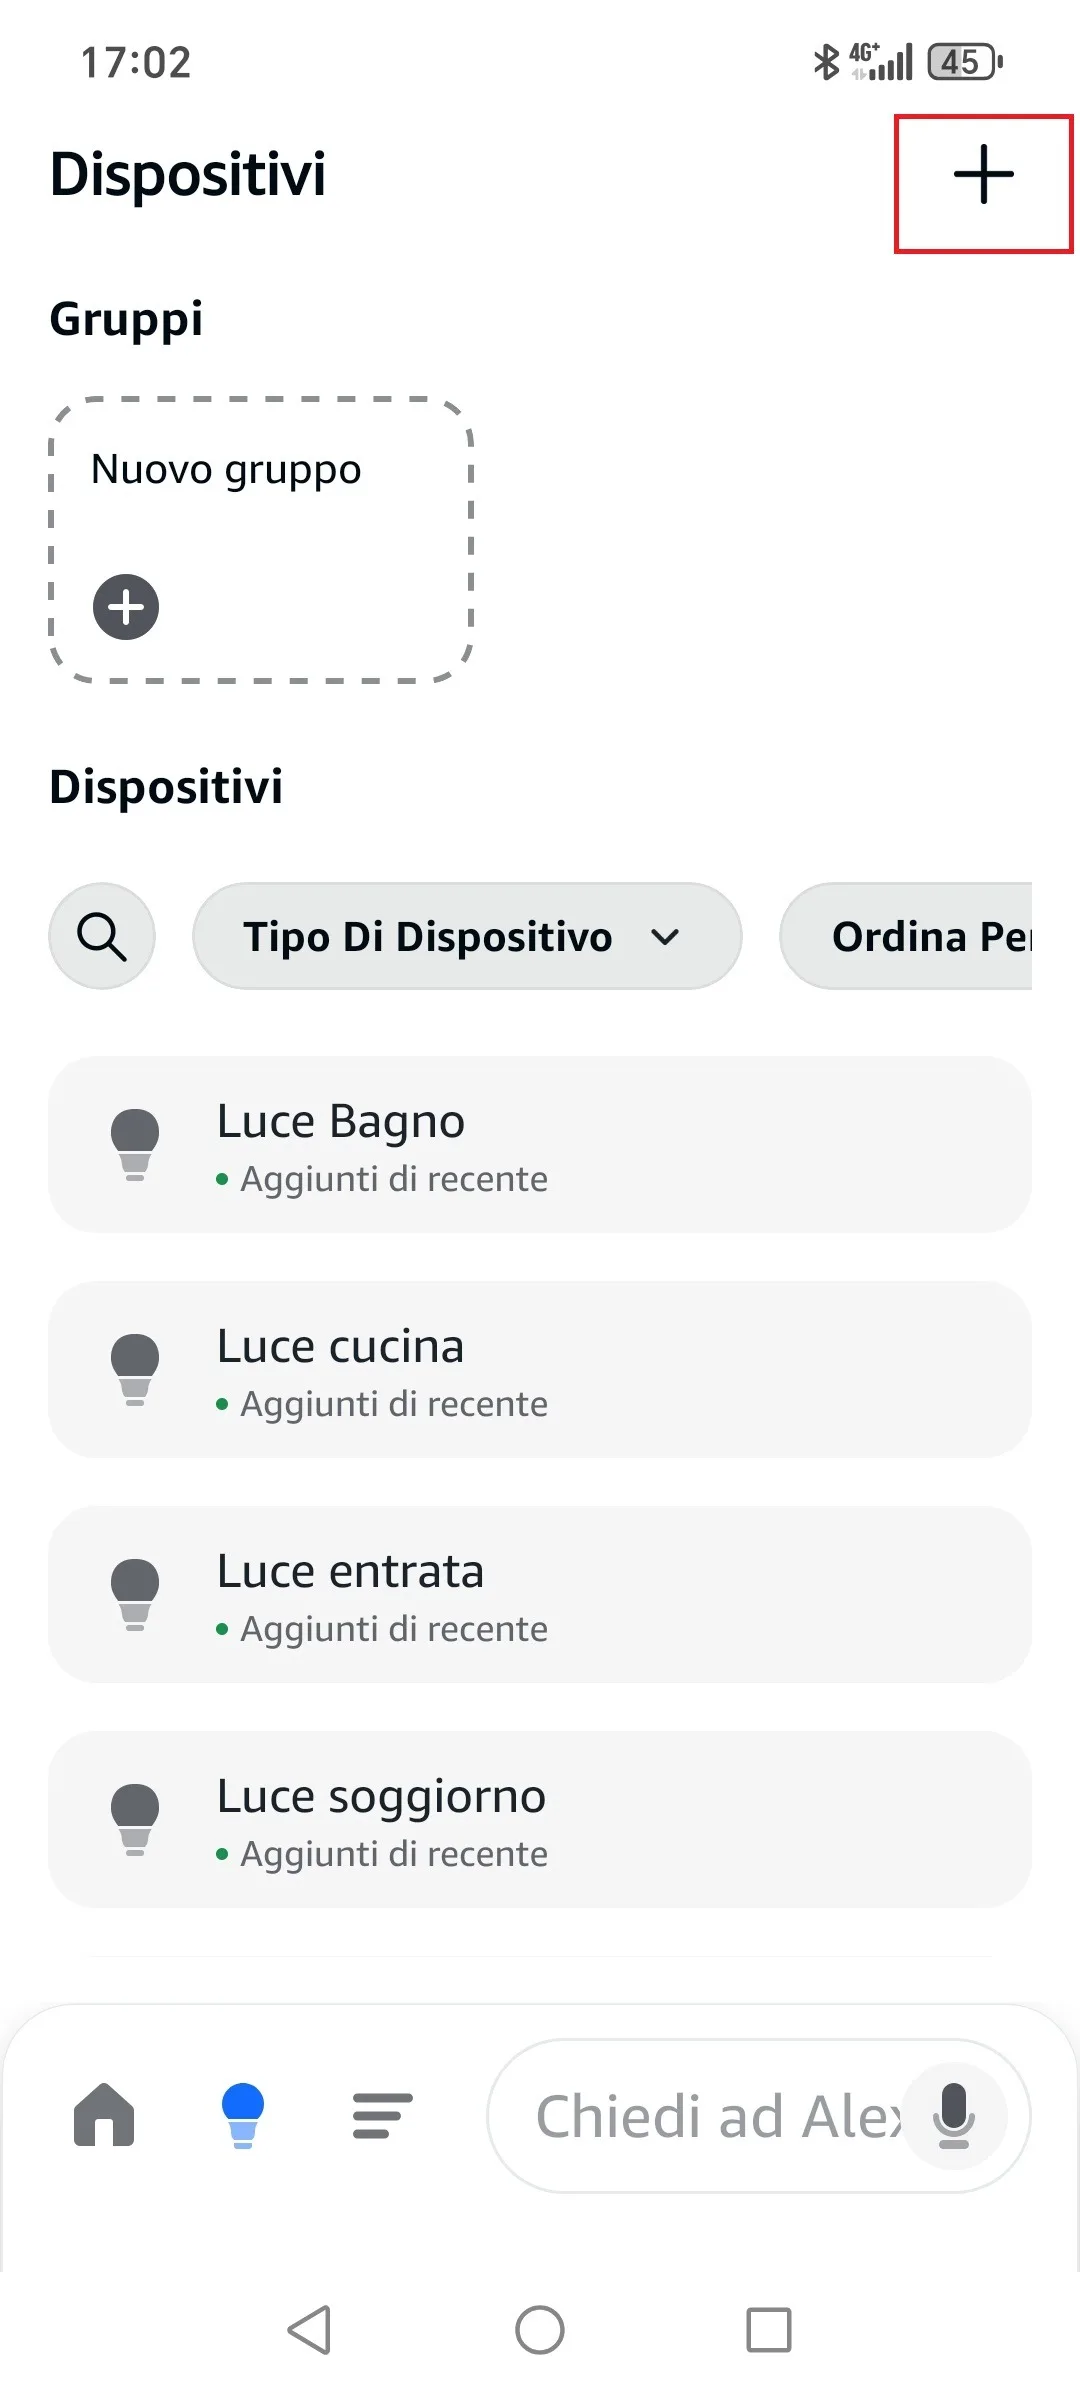
1. Press the + symbol at the top right.
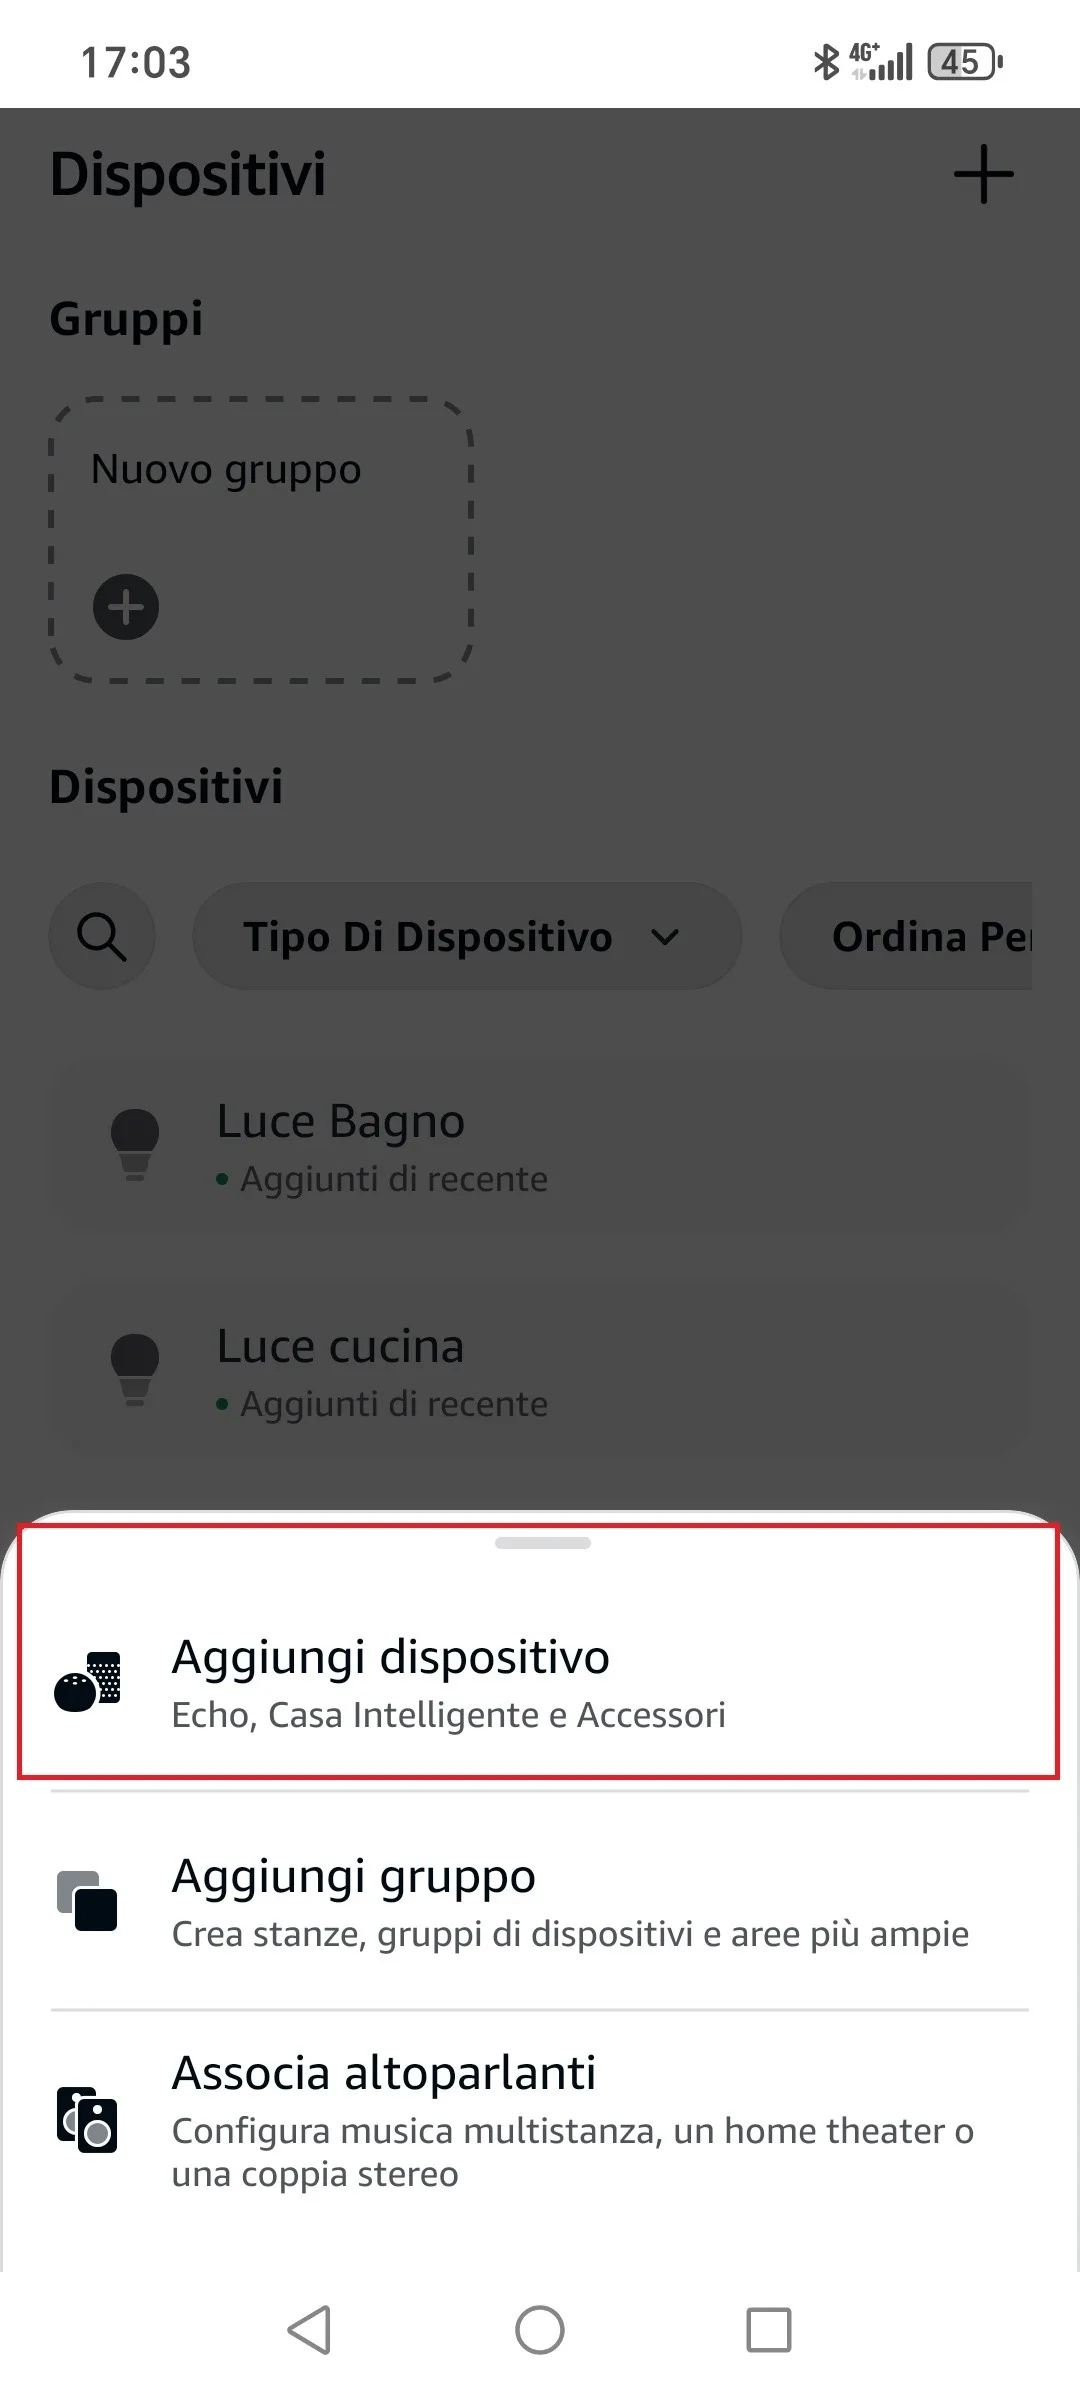
2. Now press Add device.
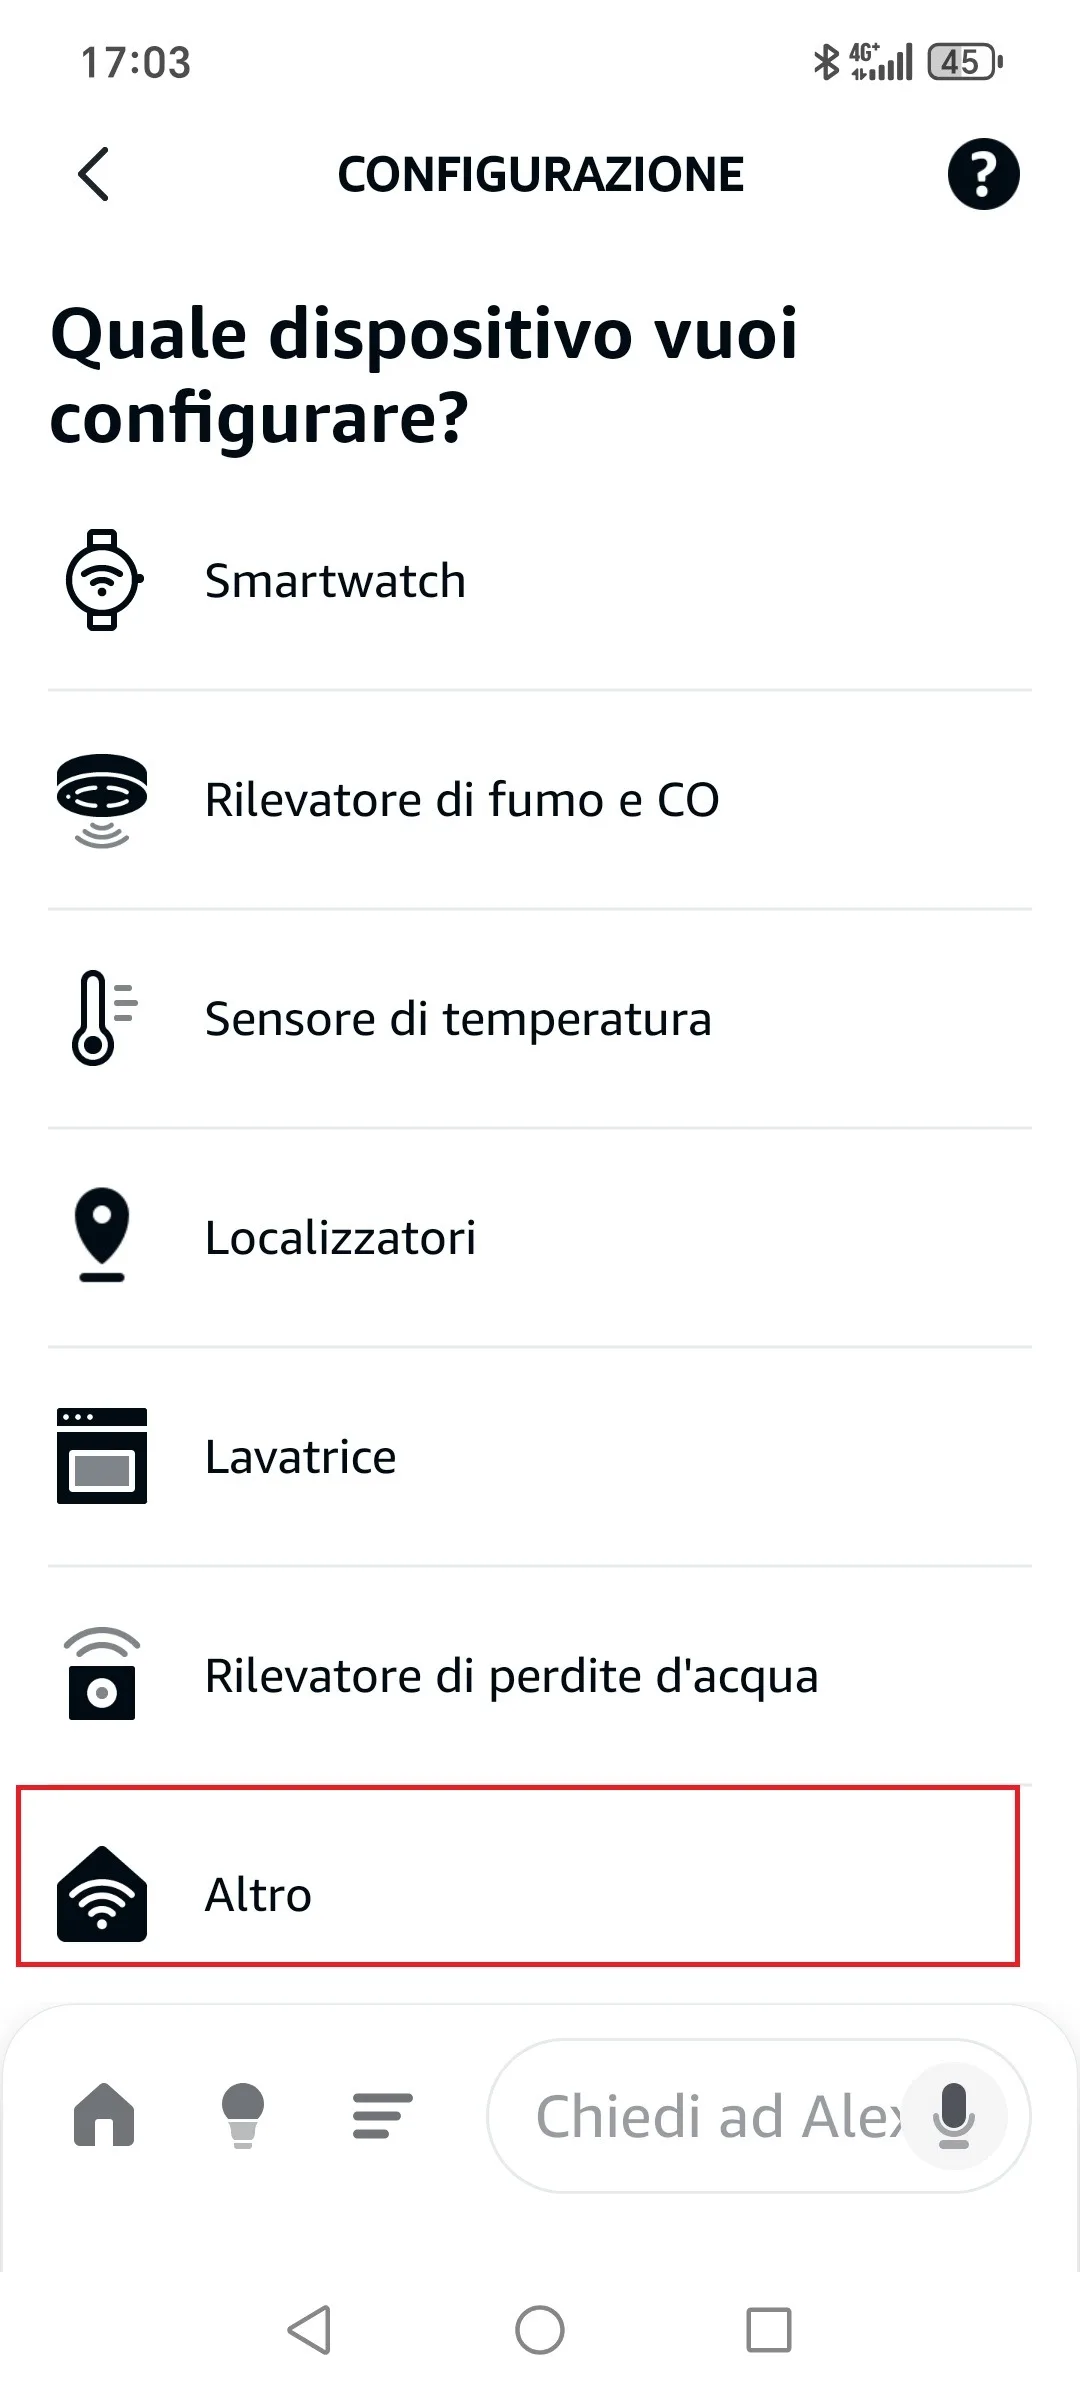
3. Press Other.
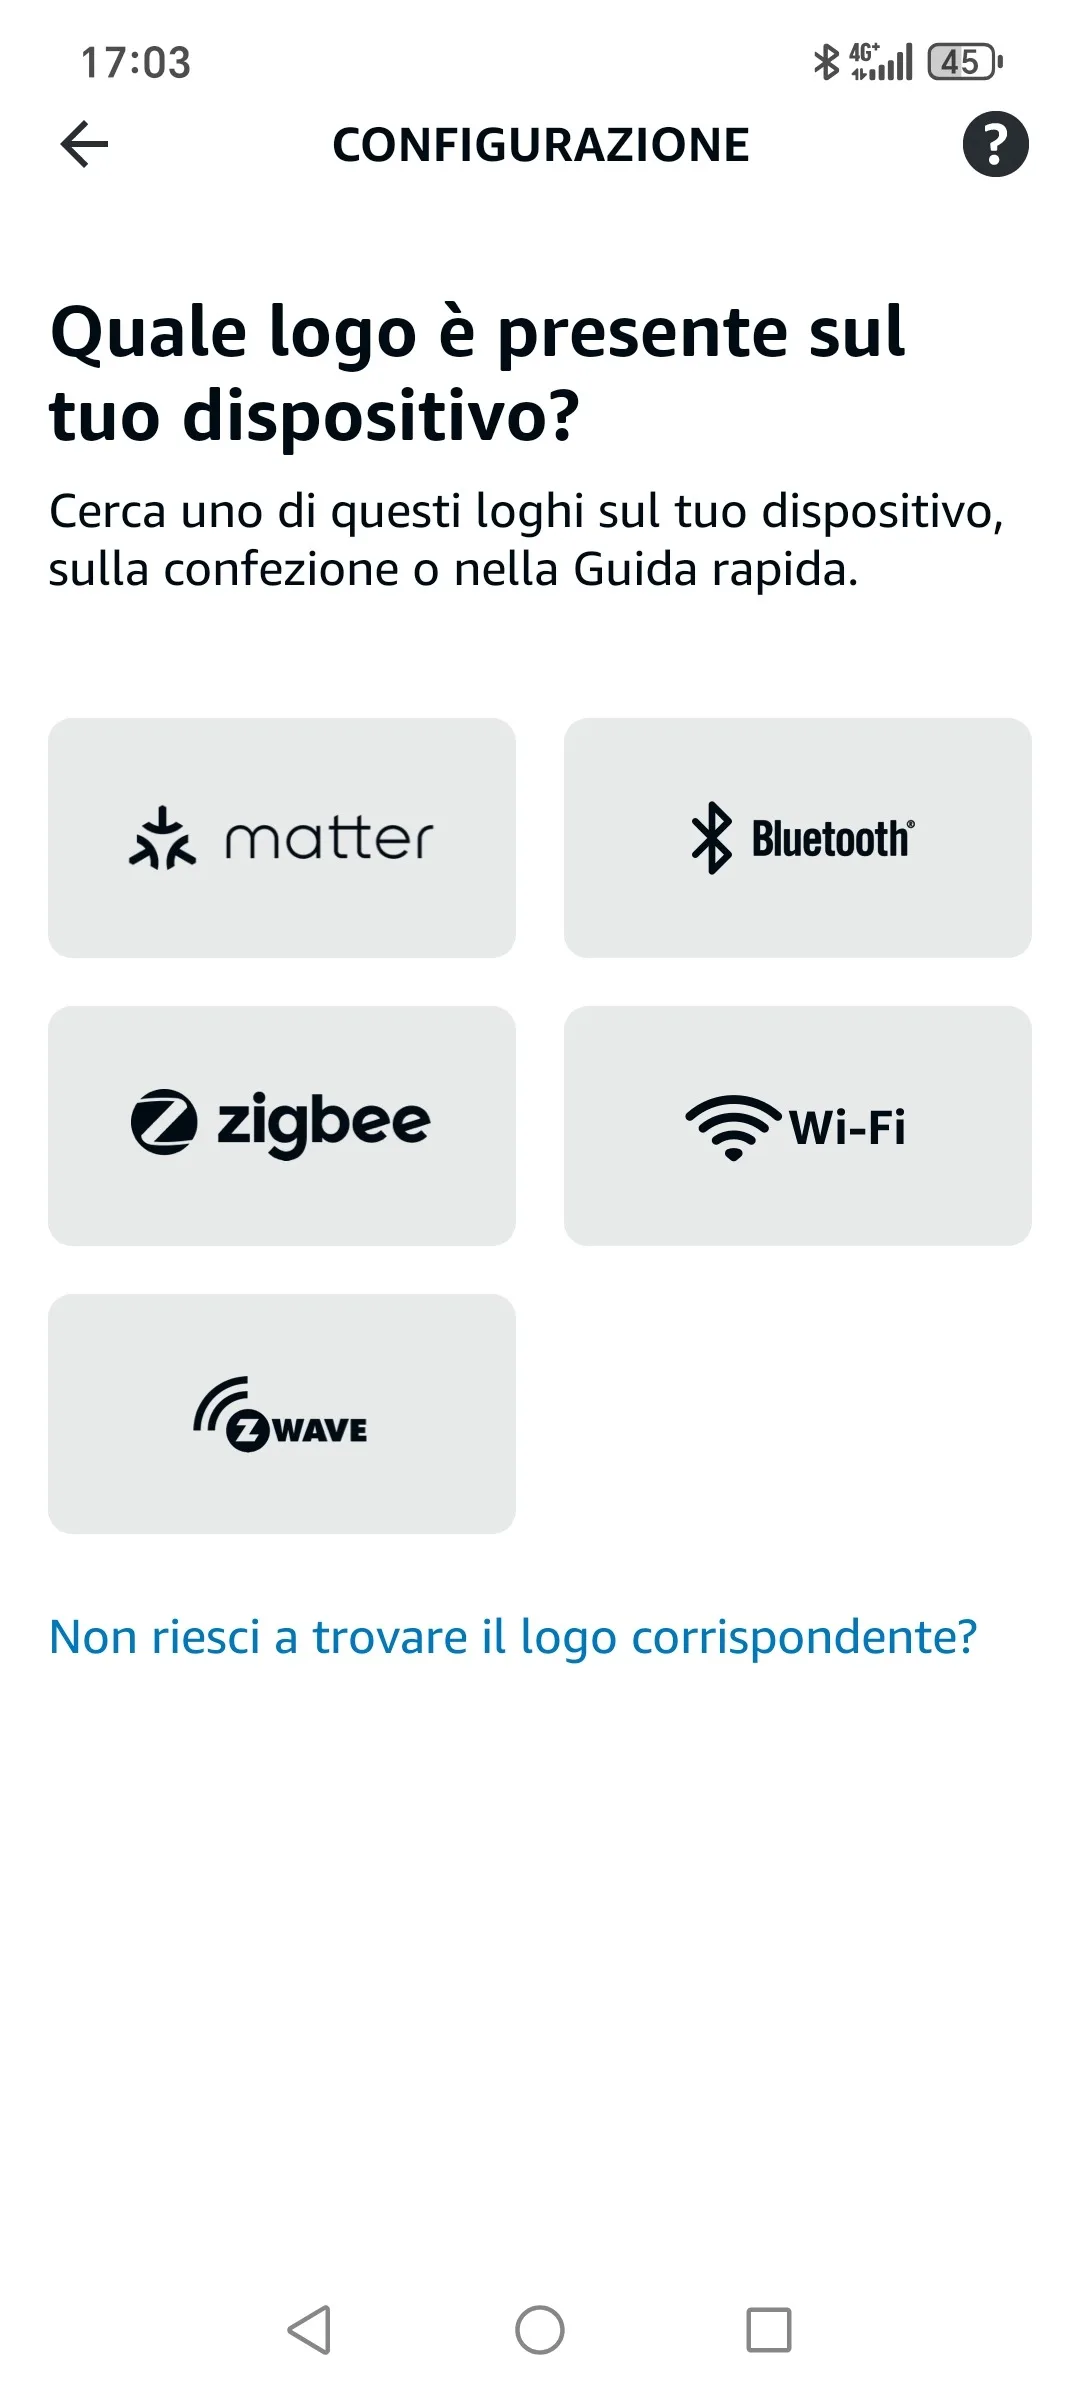
4. Now look on your device for one of the logos shown on screen and, once found, click the corresponding logo.
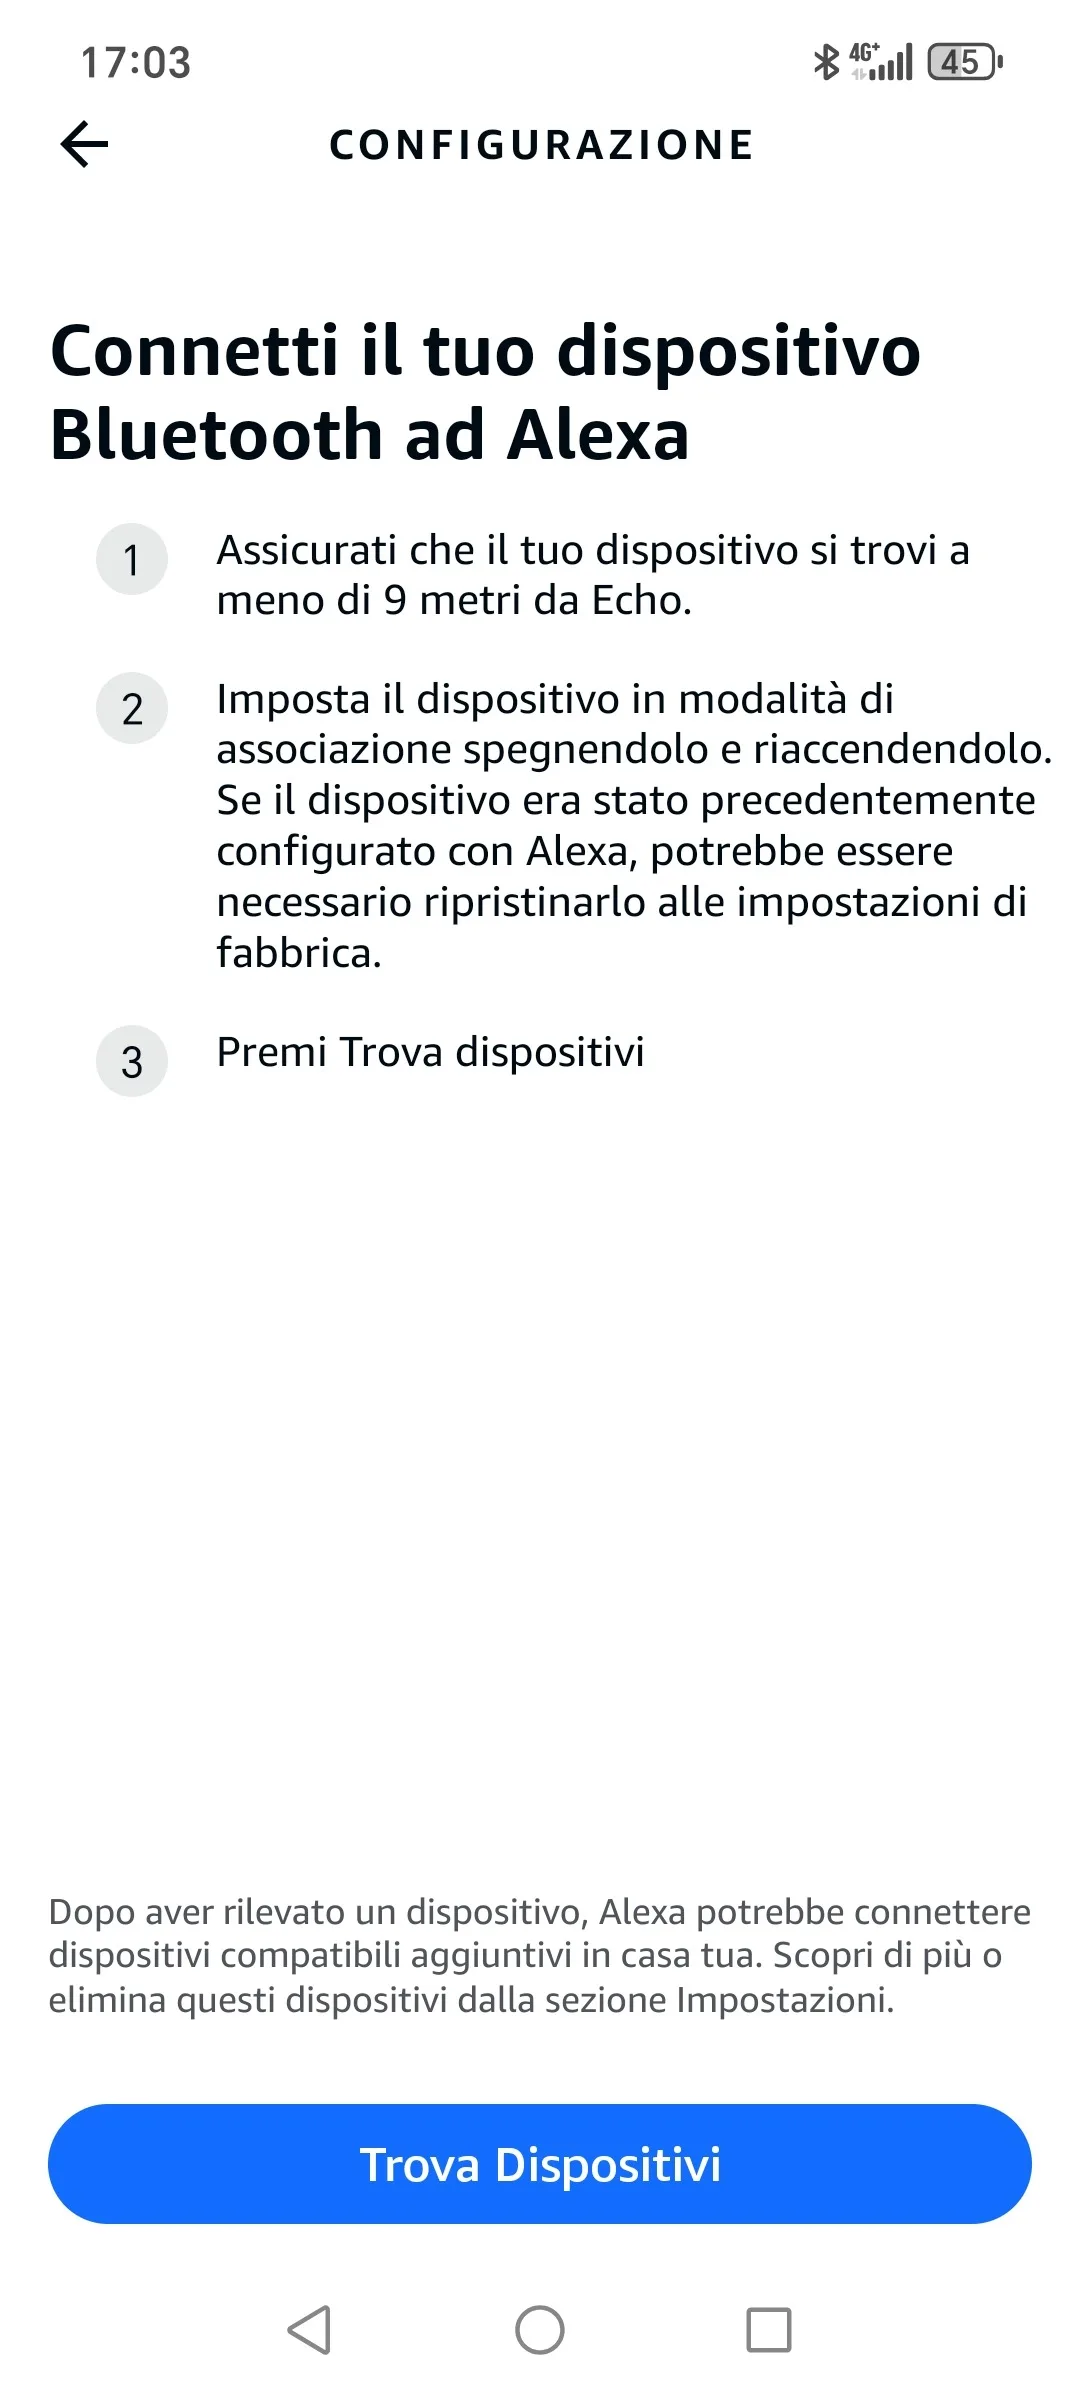
5. Now follow the instructions shown on this page and then press Find devices.

6. The app will now start searching for additional devices subsequently configured in Ilevia Manager.
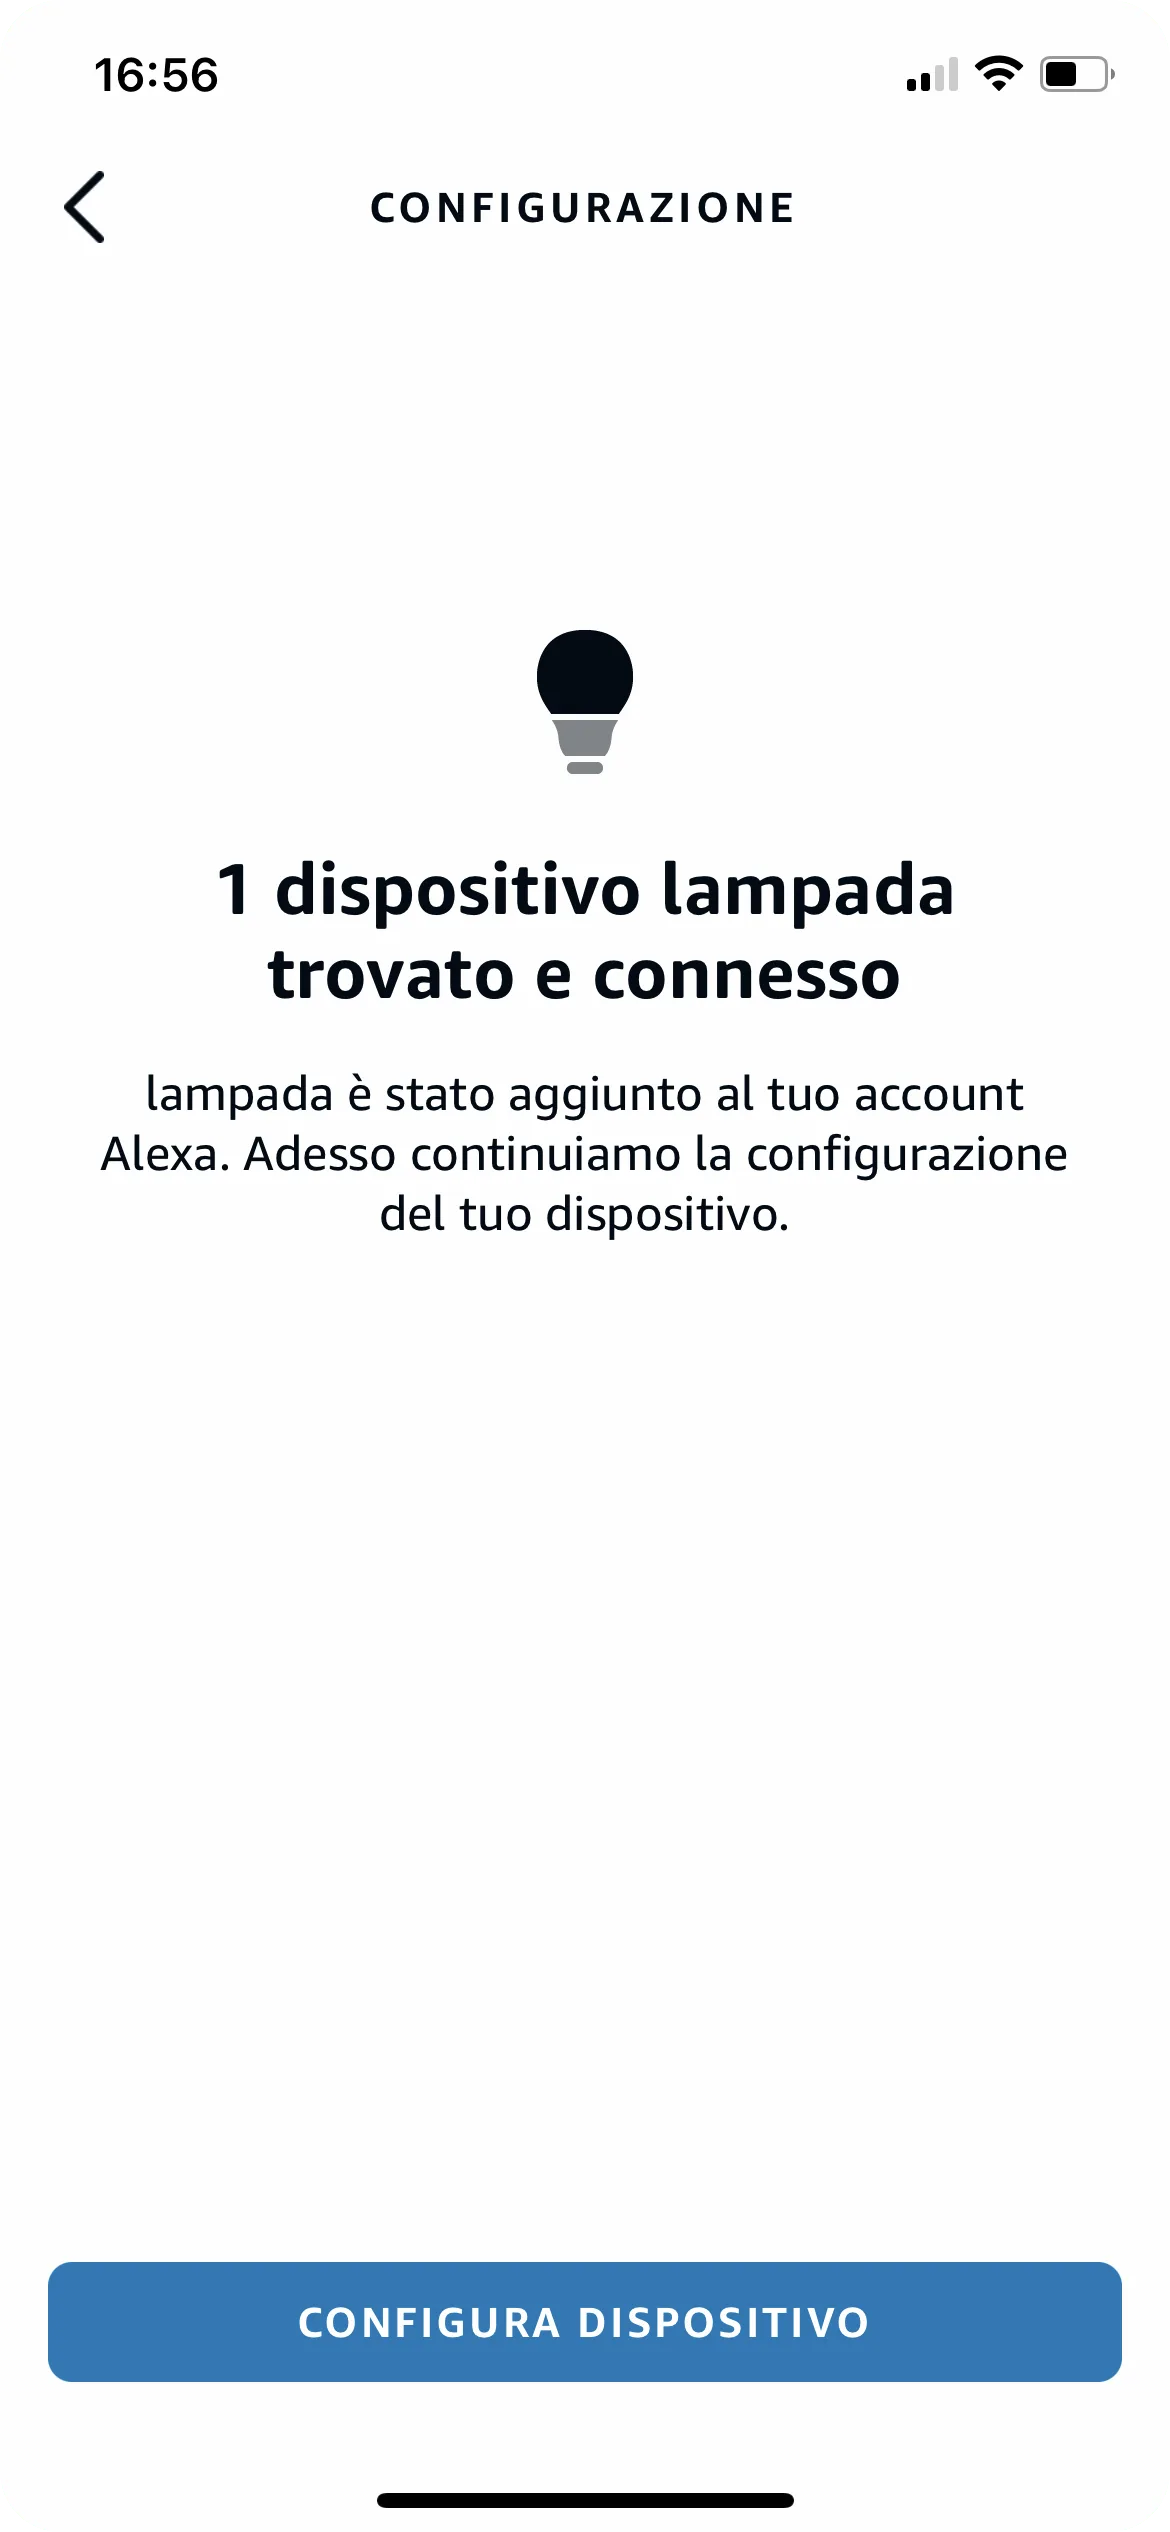
7. Under All devices, you can view all configured components.