
Timer Edit
How to configure the Timer Edit component in Ilevia Manager, which directly opens the weekly timer edit of another component in Ilevia Control.
Introduction
It allows direct access to the weekly mode of the selected component, without having to enable Timer configuration mode. In any case, for the component to work, a weekly timer must be present in the project.
Use cases
You can use this component as a shortcut to access timer editing more quickly. For small changes to a component, just press the Timer Edit component icon to modify the schedule.
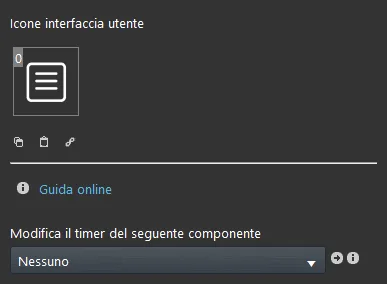
Component properties
GUI
This component was created using the Graphic UI gateway.
You can refer to the chapter “Gateway / Protocols” for further information.
Change the weekly calendar of the selected component: select the component whose weekly timer you want to edit.
The component title and icon are customizable. See the “Common properties” guide.
Reminder before continuing:
Download and install the Ilevia Logic plugin to enable plugins (link);
After loading the Ilevia project onto the server, wait a couple of minutes for the logic to start.
There are three possible display modes: “CLASSIC”, “MODAL” and “HIDDEN”. For more information, see the guide to Component display modes.
Classic view
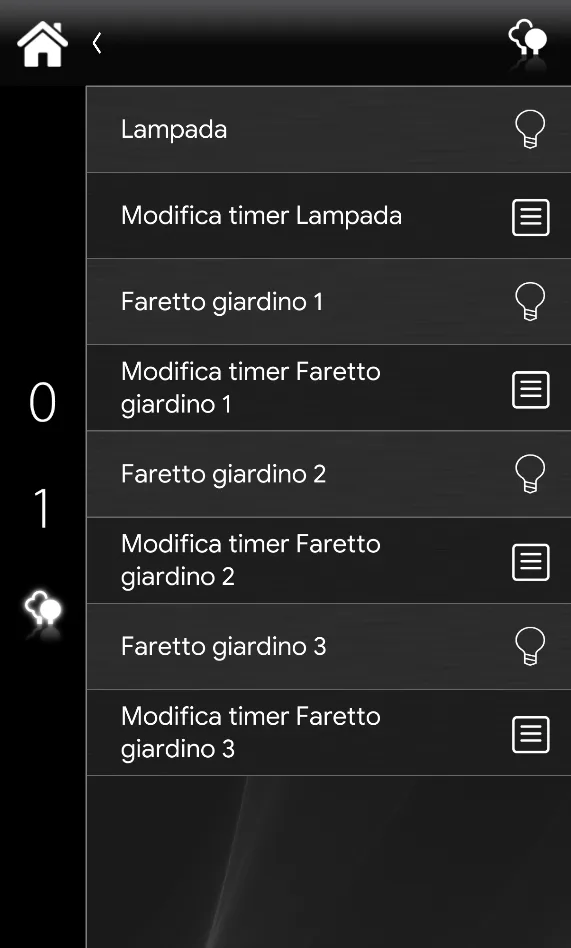
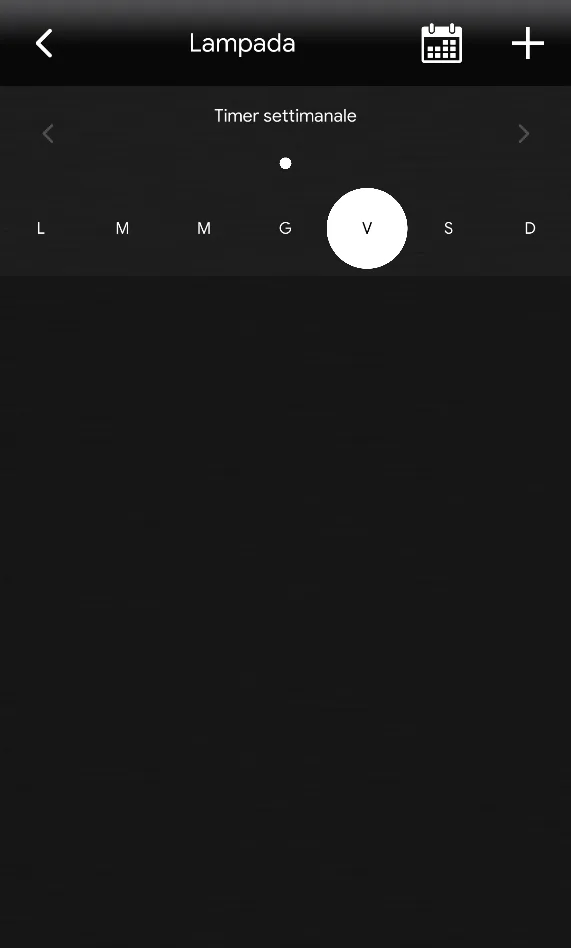
Here is the visual result of the component in Ilevia Control (Classic style).
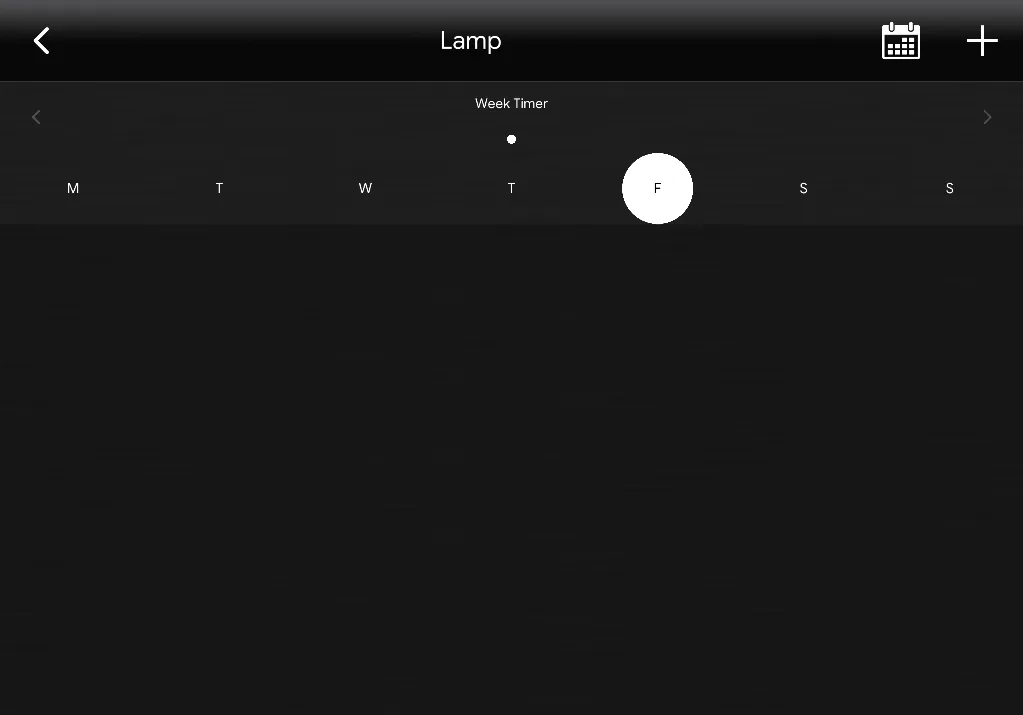
By clicking the icon, you go directly to the weekly timer editing screen of the selected component in the Timer Edit component settings in Ilevia Manager.
Timer Edit ⇒Timer Edit Icon

Timer Edit Icon
Map view
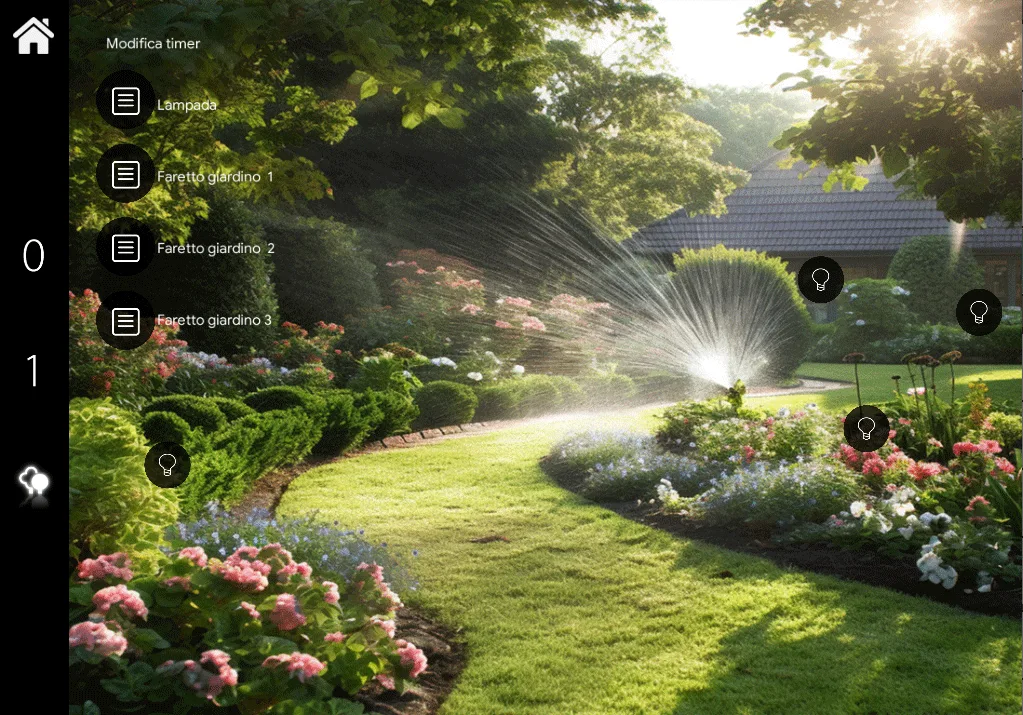
Here is the visual result of the component in Ilevia Control (Map style).
By clicking the icon, you go directly to the weekly timer editing screen of the selected component in the Timer Edit component settings in Ilevia Manager.
Timer Edit Icon
Example project
See this guide explaining how to configure the Timer Edit component in the Ilevia Manager configuration software.