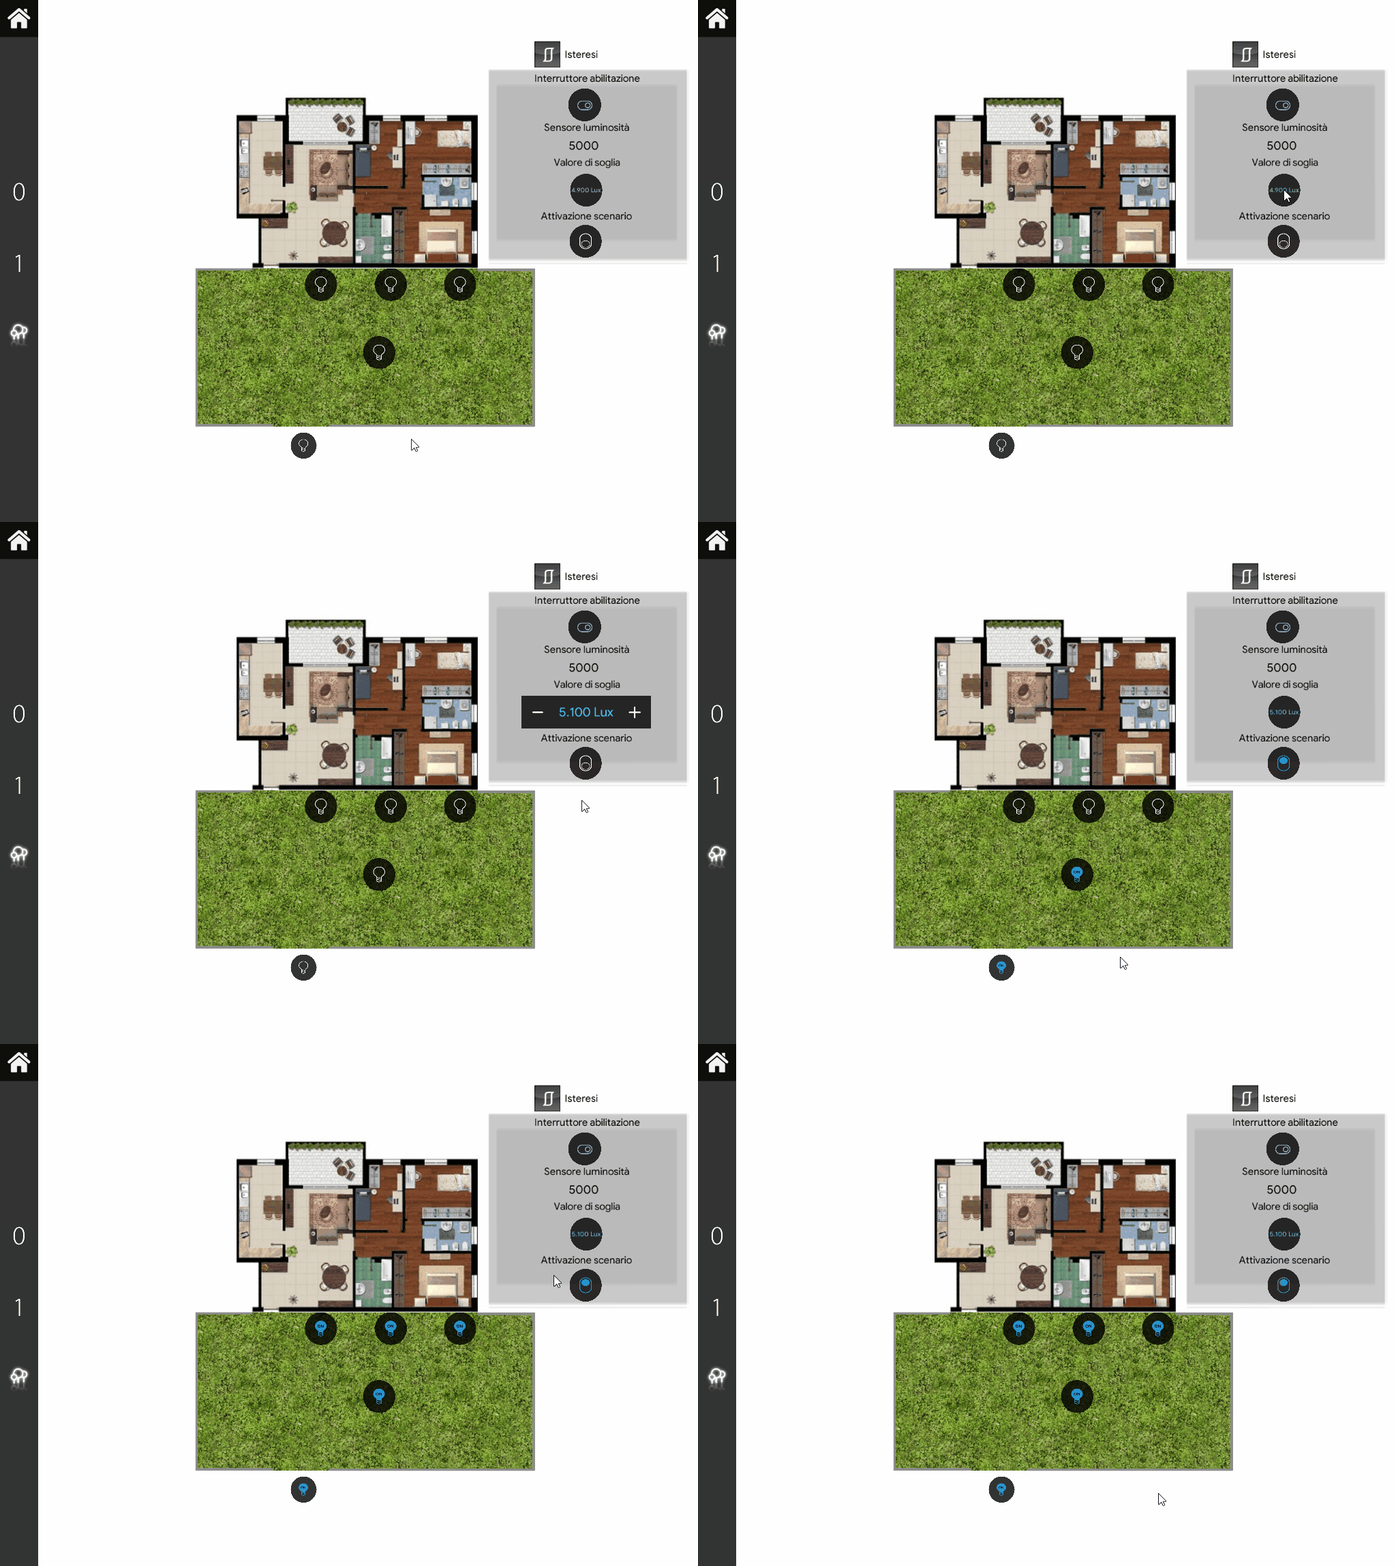
Hysteresis sample project
Step-by-step example of the Hysteresis component: turning on a group of outdoor lights based on the lux value from a light sensor.
Introduction
In this guide, you will learn how to configure the Hysteresis component step by step from scratch. The component is used to turn on a group of lights based on the lux value from an external light sensor.
Preparation and project loading in Ilevia Manager:
Extract the file;
Open Ilevia Manager, go to the top left corner, click File – Open, click “Ok” in the message that appears and select the file you just extracted;
Start the virtual machine or the raspberry;
Download and install the latest logic components following this guide.
Component configuration
Step 1:
Add a Hysteresis component by dragging it from the Logical operations group in the Component library into the My components section.
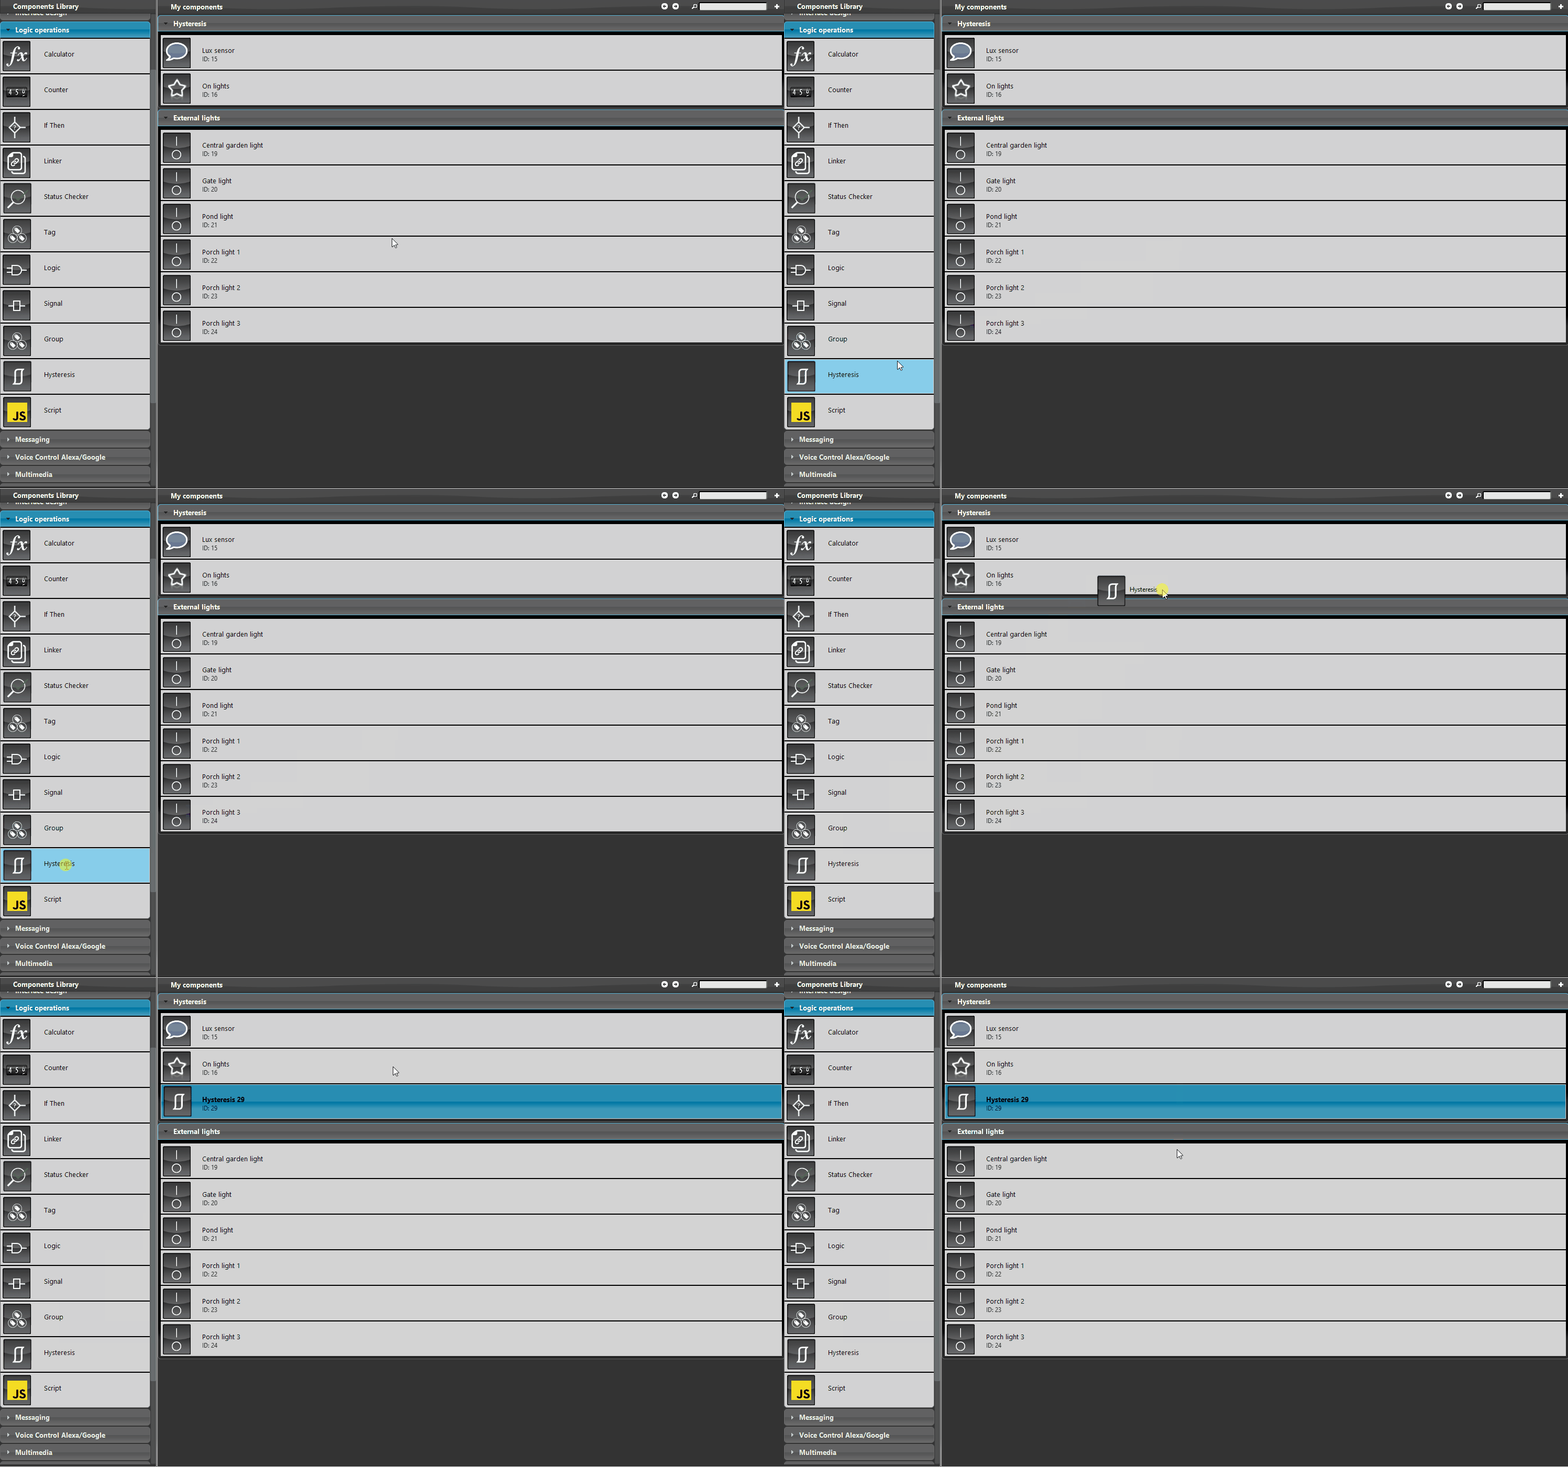
Step 2:
Add a new Adjustable value component, which in this example is used as the lux adjustable value.
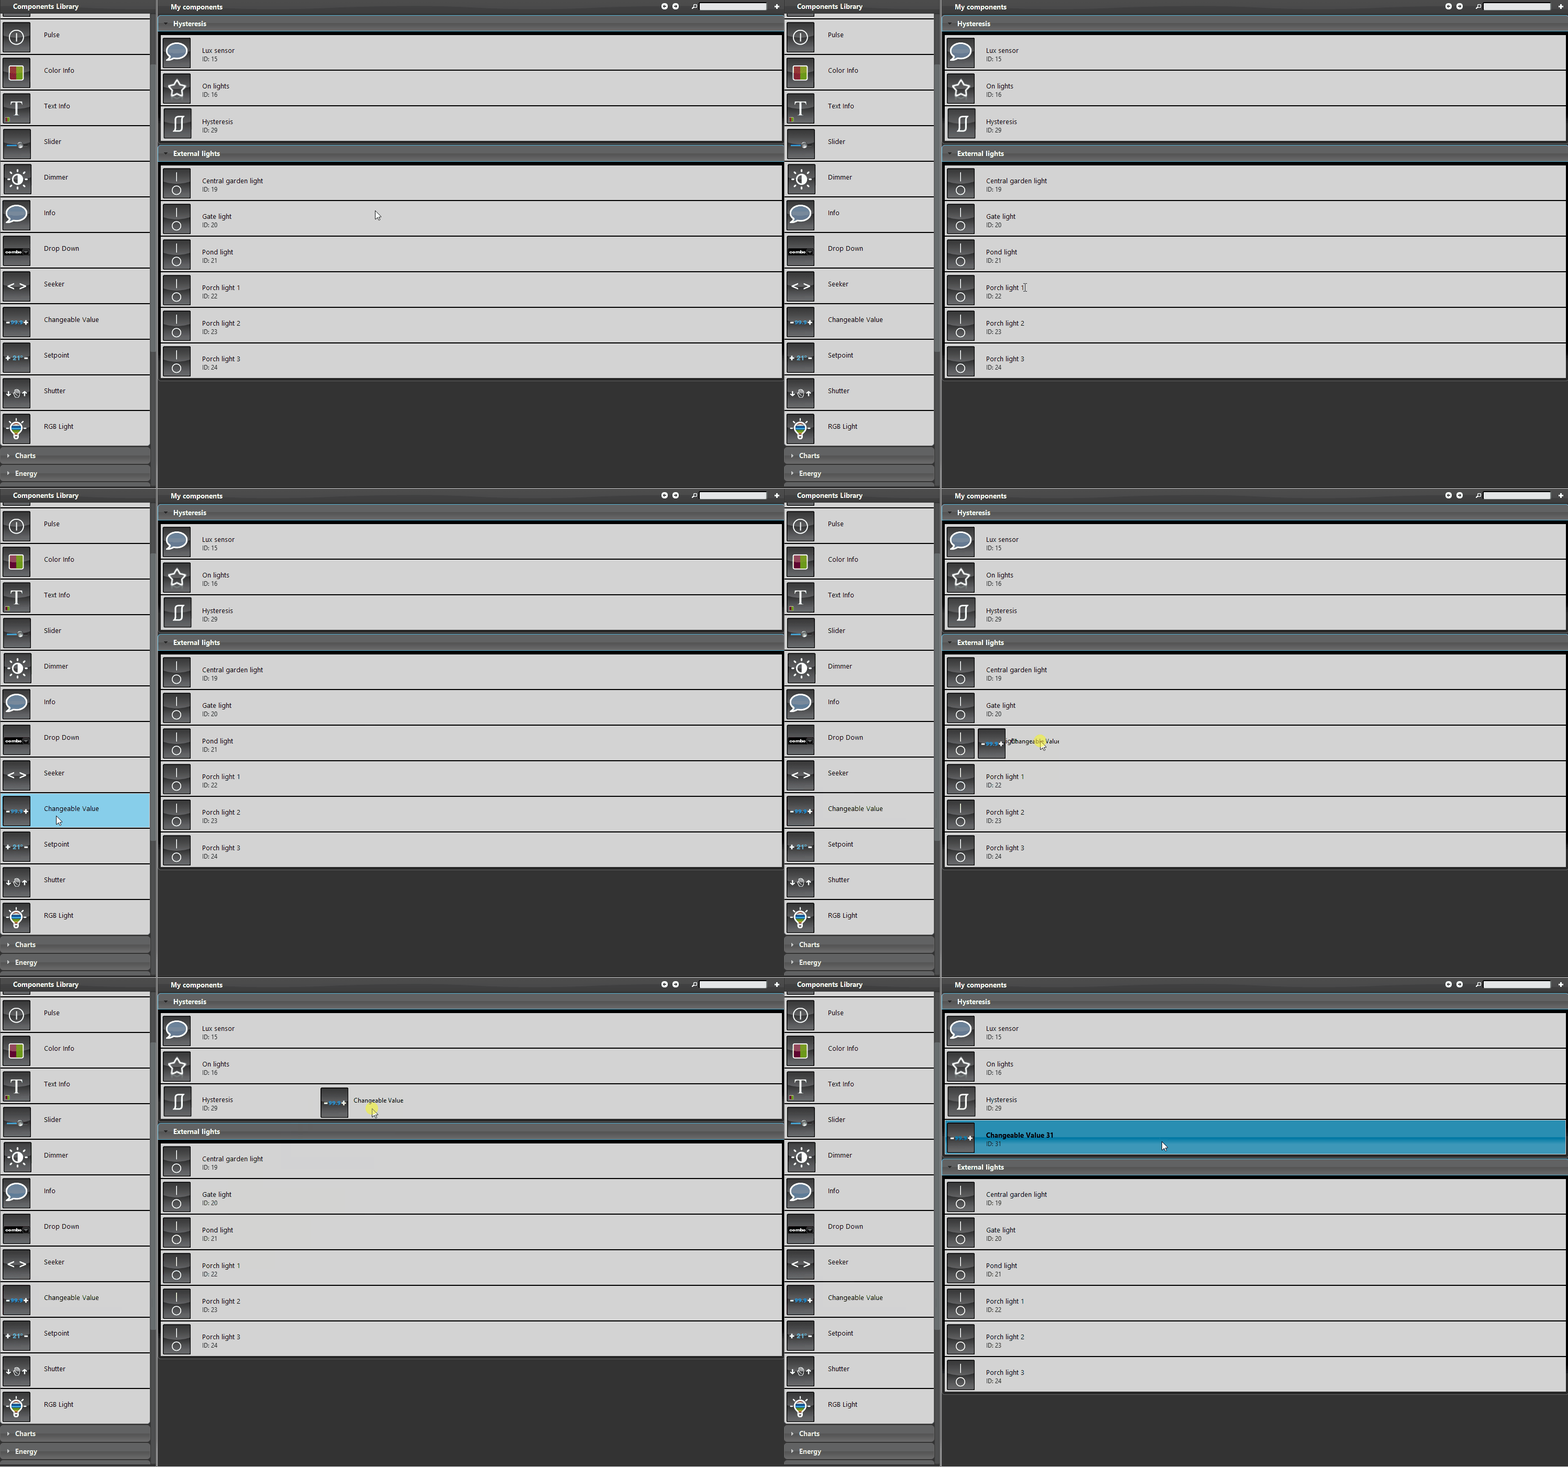
Step 3:
Add a new Switch component. This component will run the scenario that turns on a group of outdoor lights.
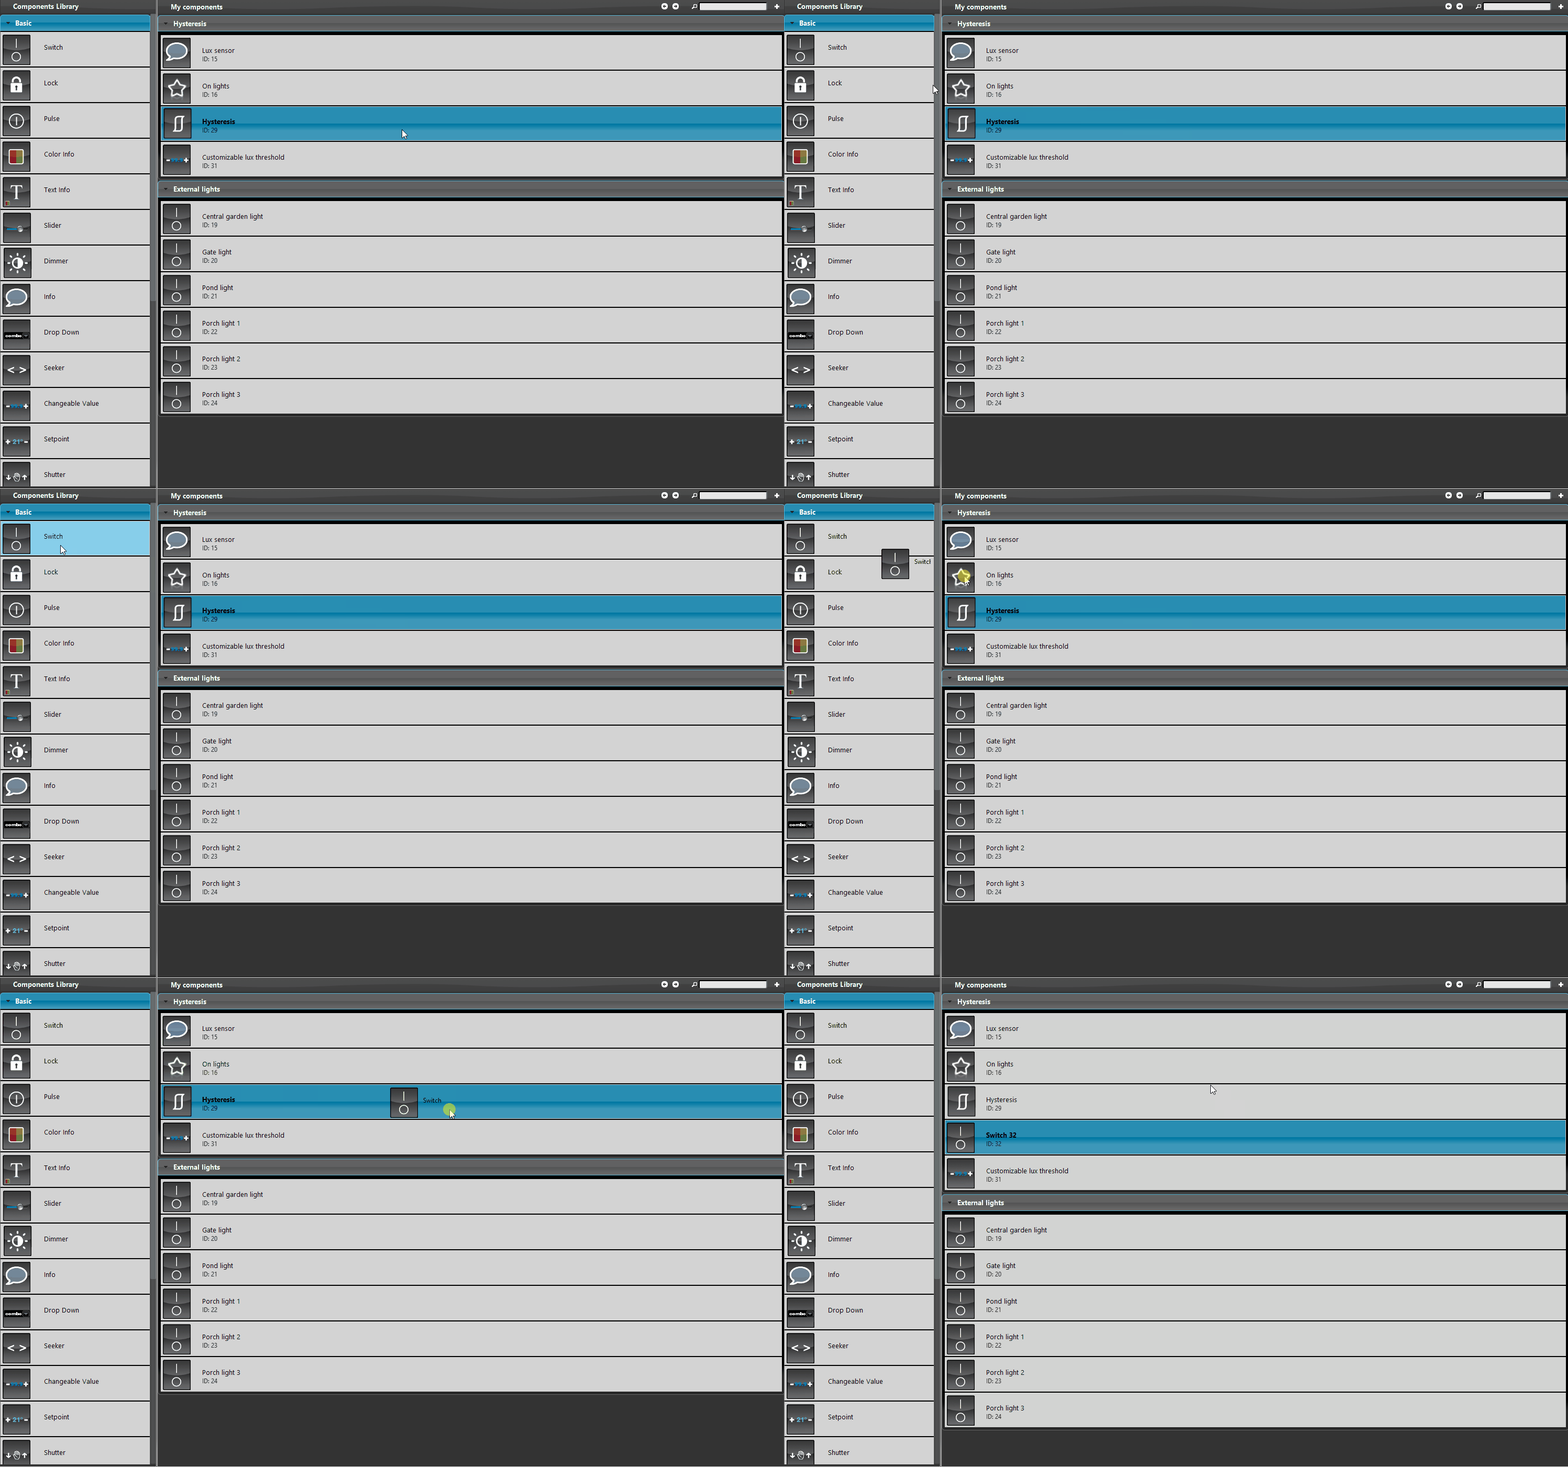
Step 4:
Add a new Switch component that enables or disables the entire Hysteresis component.
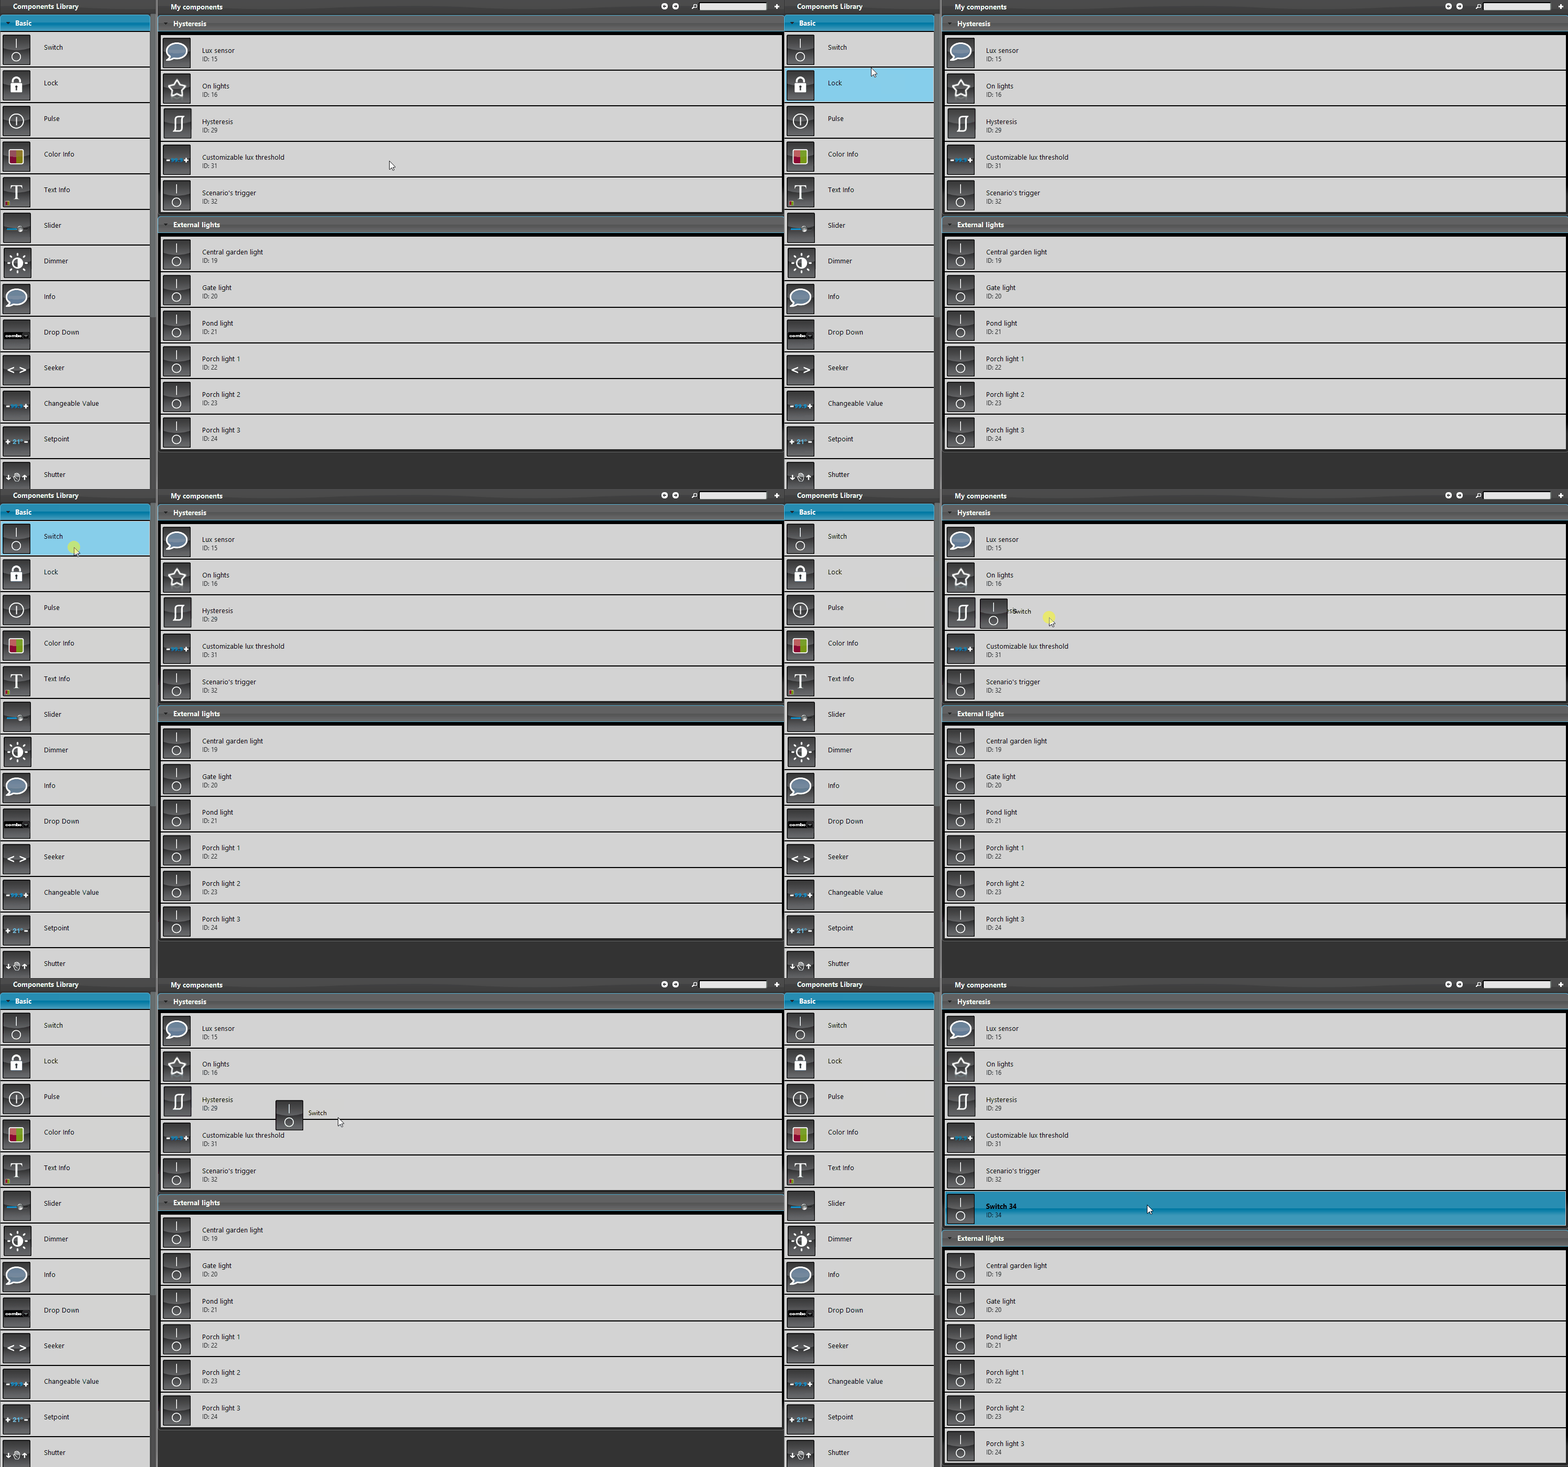
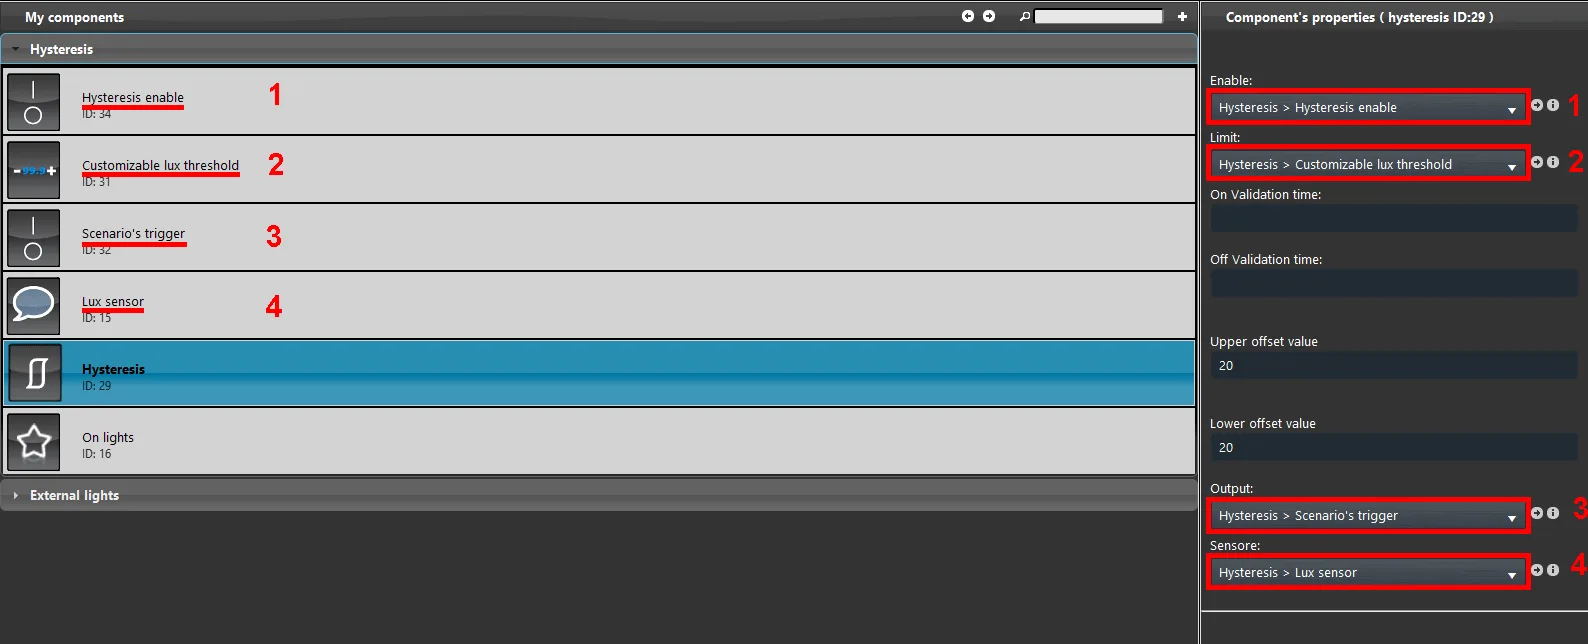
Step 5:
Now connect all the components to the parameters of the Hysteresis component.
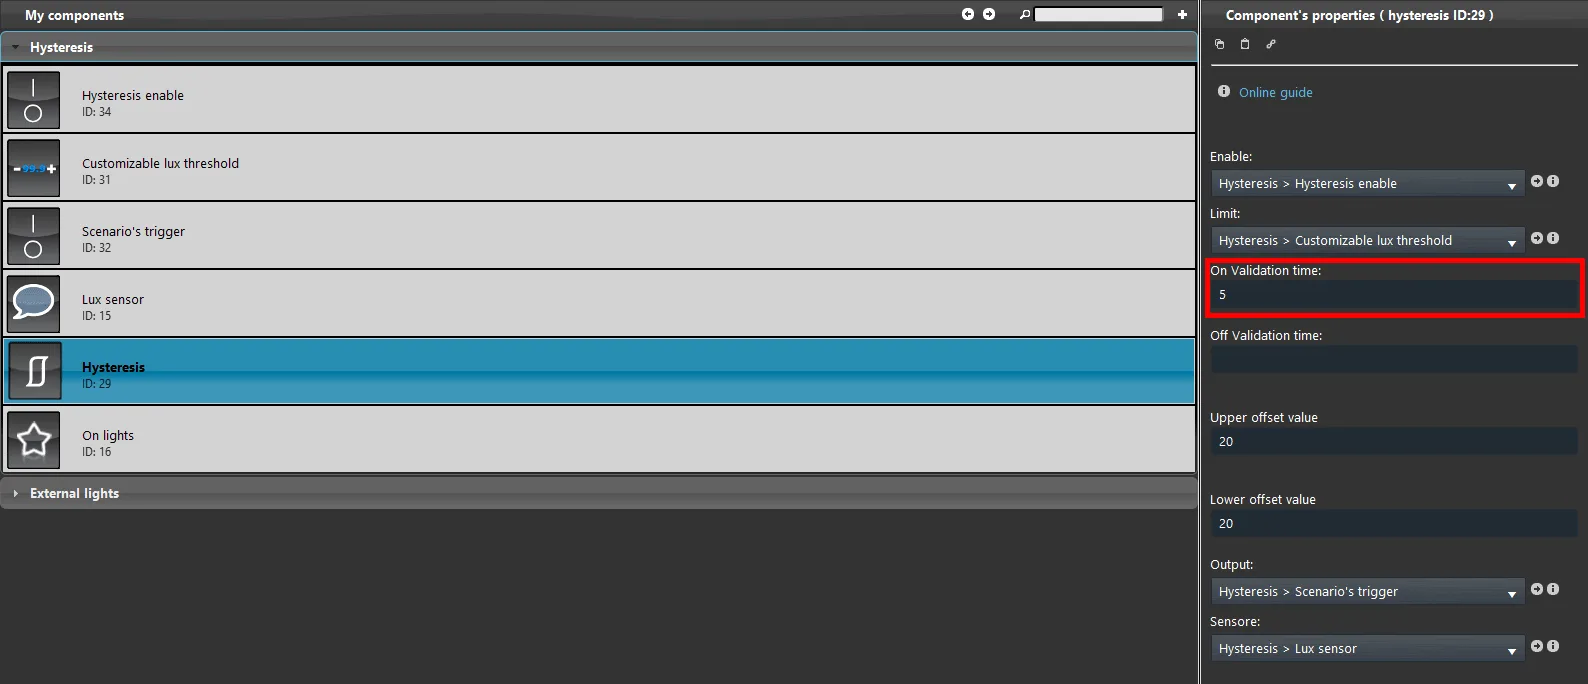
Step 6:
In this case, we add a validation time, set to prevent the lights from repeatedly turning on and off when clouds pass by and lower the Lux value measured by the sensor. For the test, the value is set to 5 seconds.
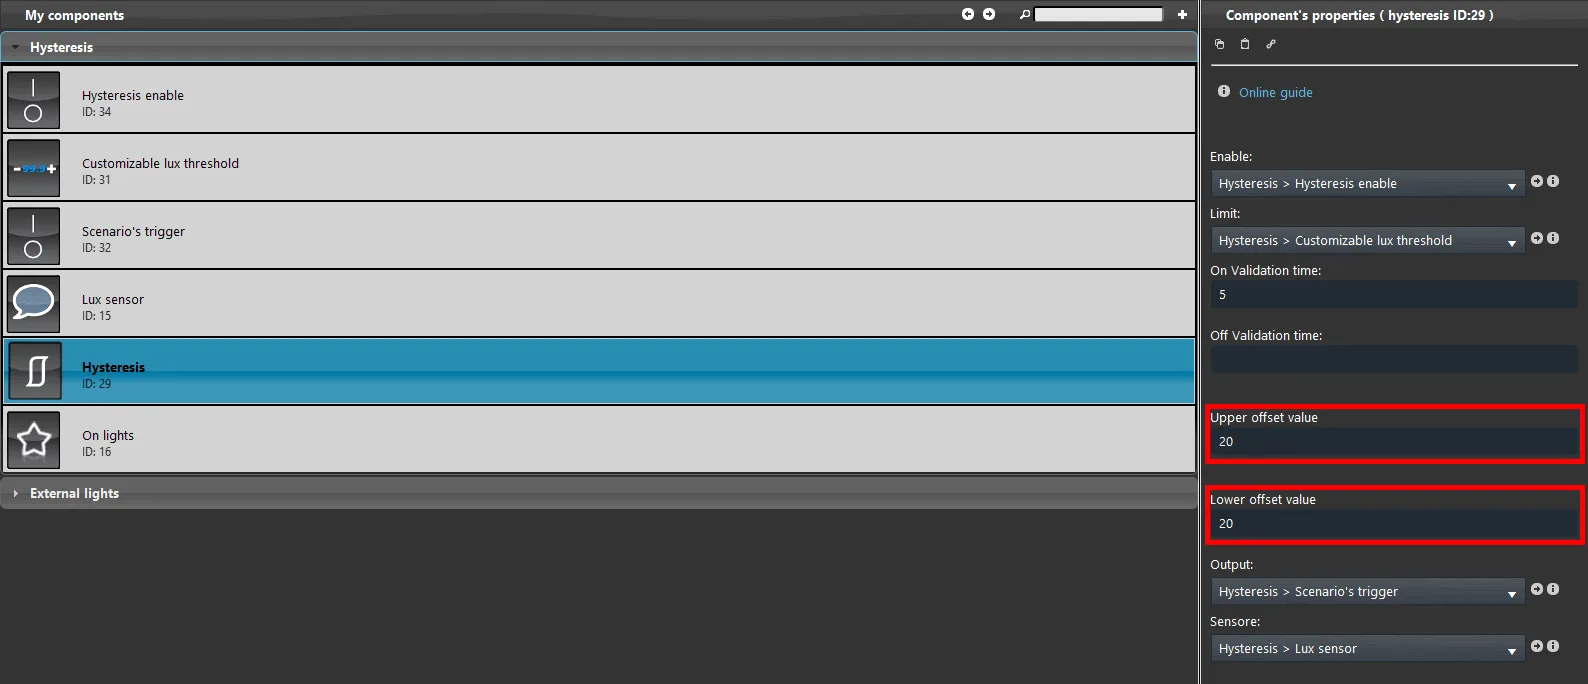
Step 7:
Change the upper and lower offset value as needed. For the test, we will set a value of 20.
Step 8:
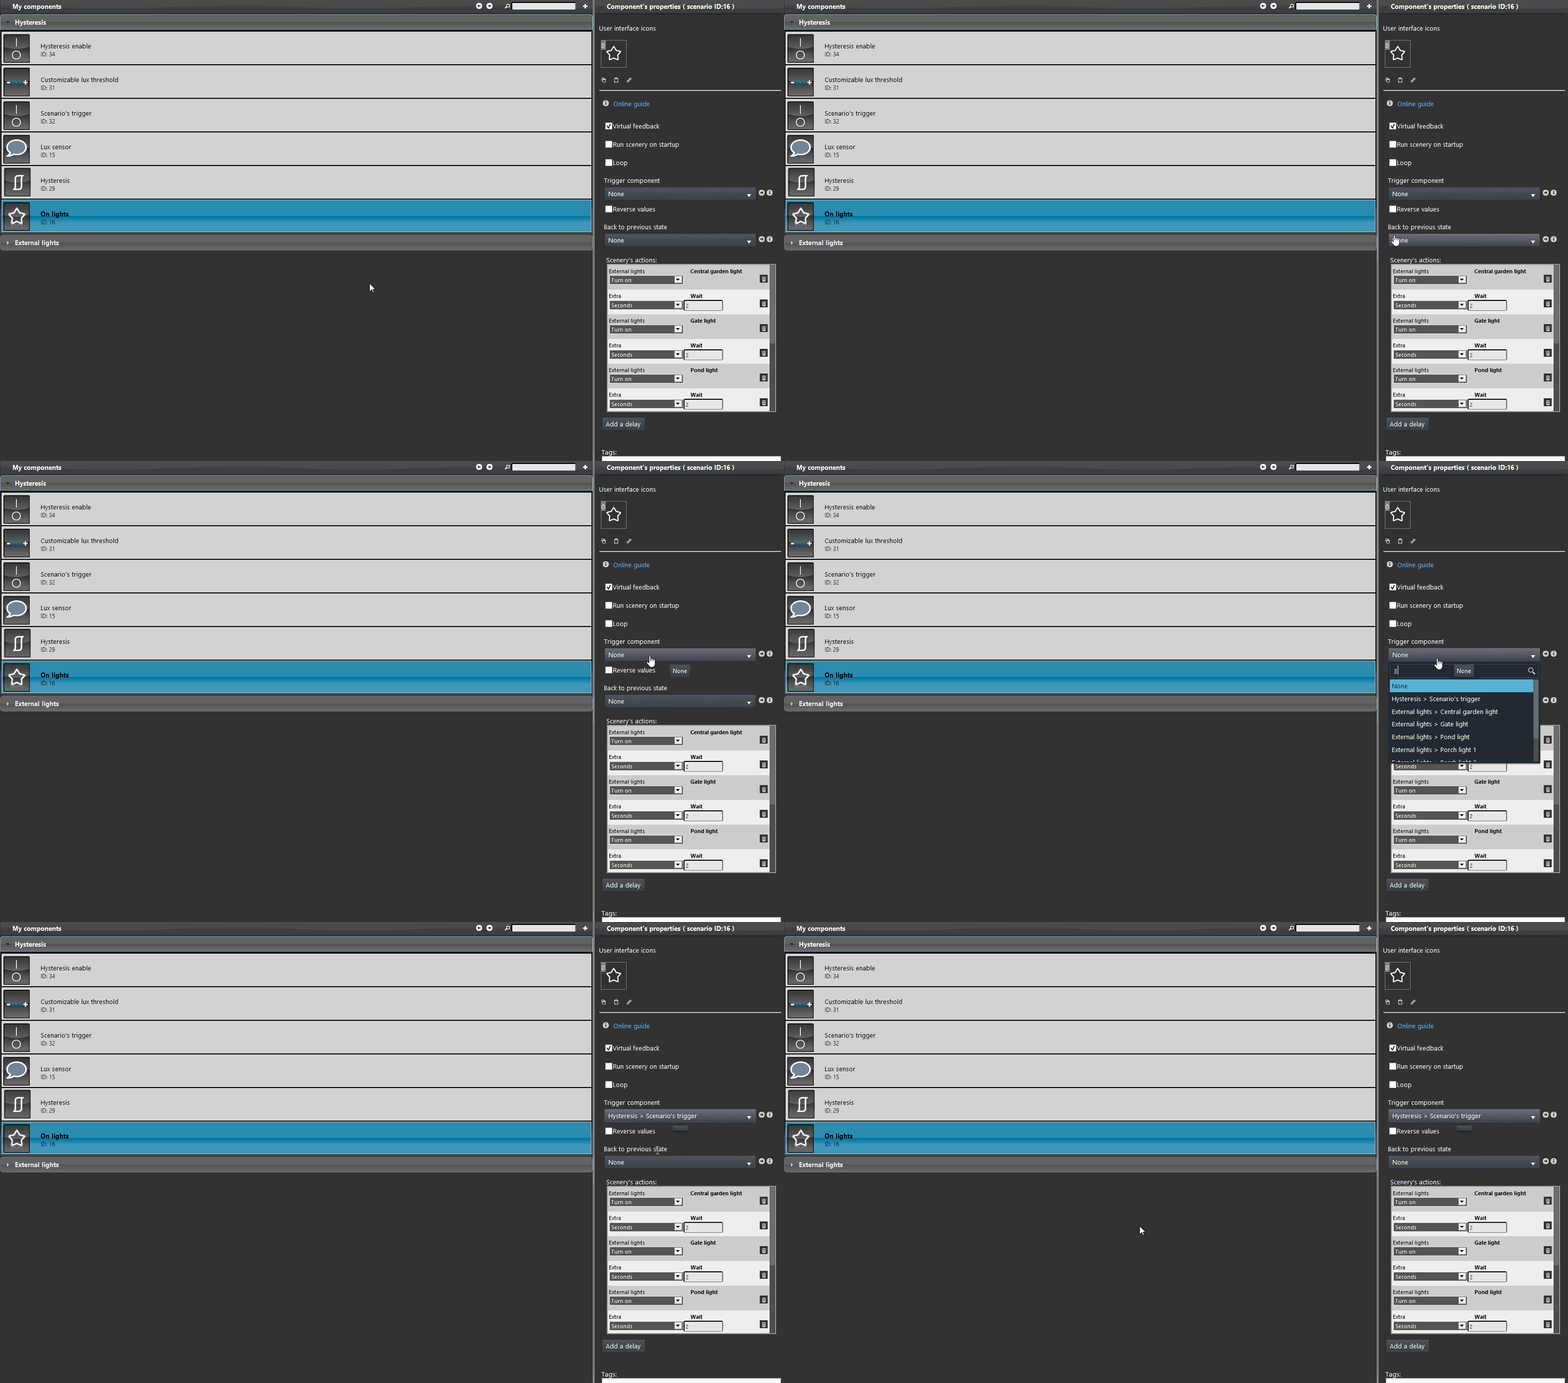
Connect the execution component of the Scenario: it runs the scenario when its status changes.
Step 9:
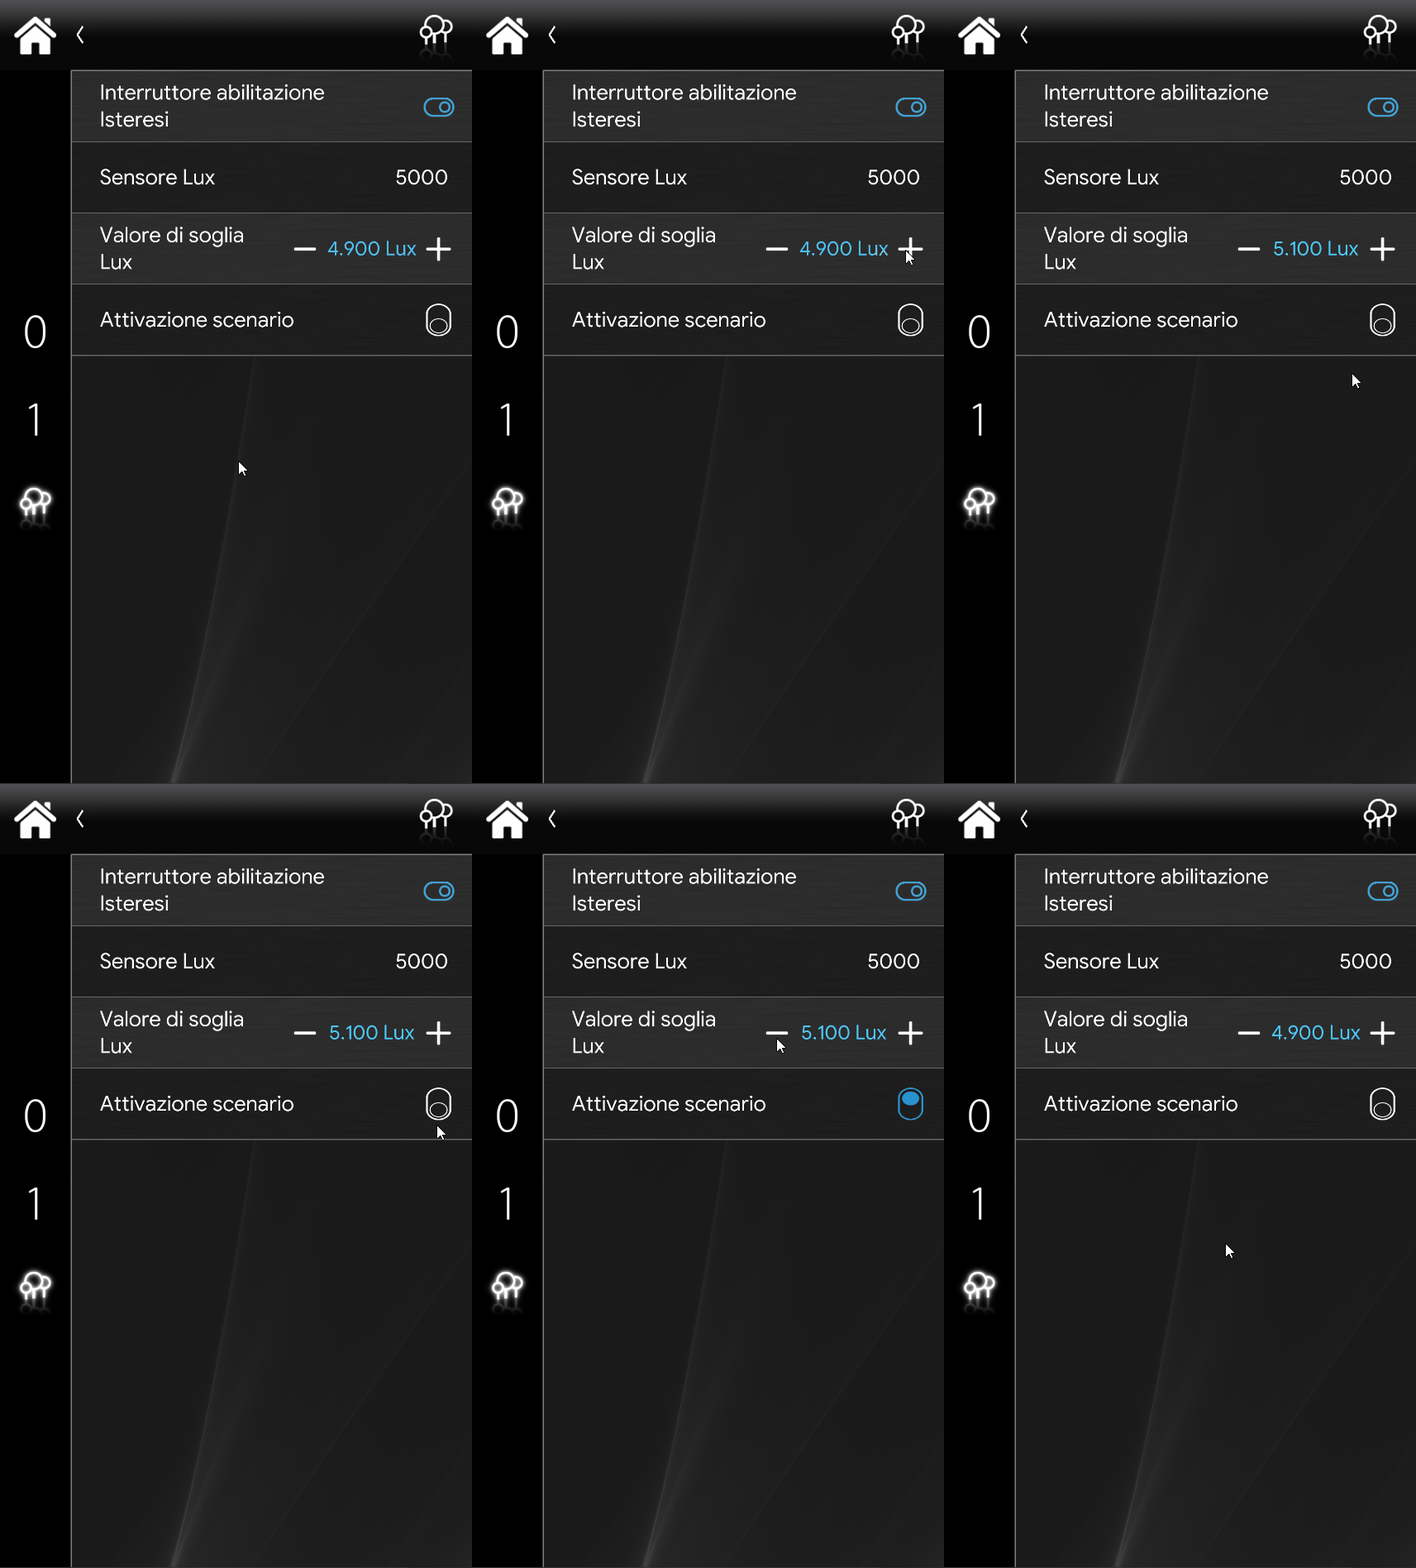
Finally, add the components to the user interface and upload the project to the server.
Classic user interface
Maps user interface