INIM
The following guide explains how to import INIM control panel parameters into the Ilevia system.
Introduction
Inim develops intrusion detection, fire detection, emergency lighting, and home automation systems: state-of-the-art integrated systems that automatically protect and control the home. This guide explains how to integrate an INIM Prime alarm control panel with the Ilevia system.
Component properties
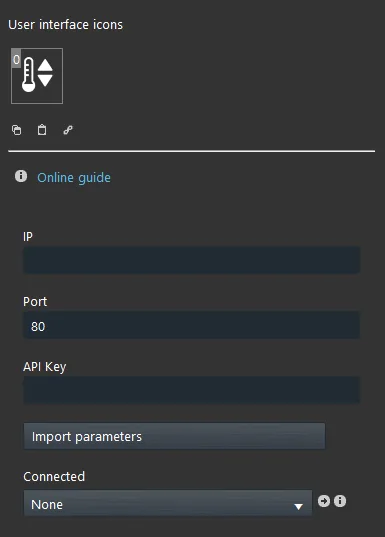
IP: Enter the IP address of the INIM Prime control panel.
Port: Enter the INIM Prime control panel connection port (default: 80).
API Key: Enter the API key generated by the INIM Prime control panel.
Import parameters: When clicked, this button starts the parameter import procedure for the INIM Prime control panel.
Connected: Connects a Switch component that shows the control panel connection status in real time.
Component configuration
Step 1:
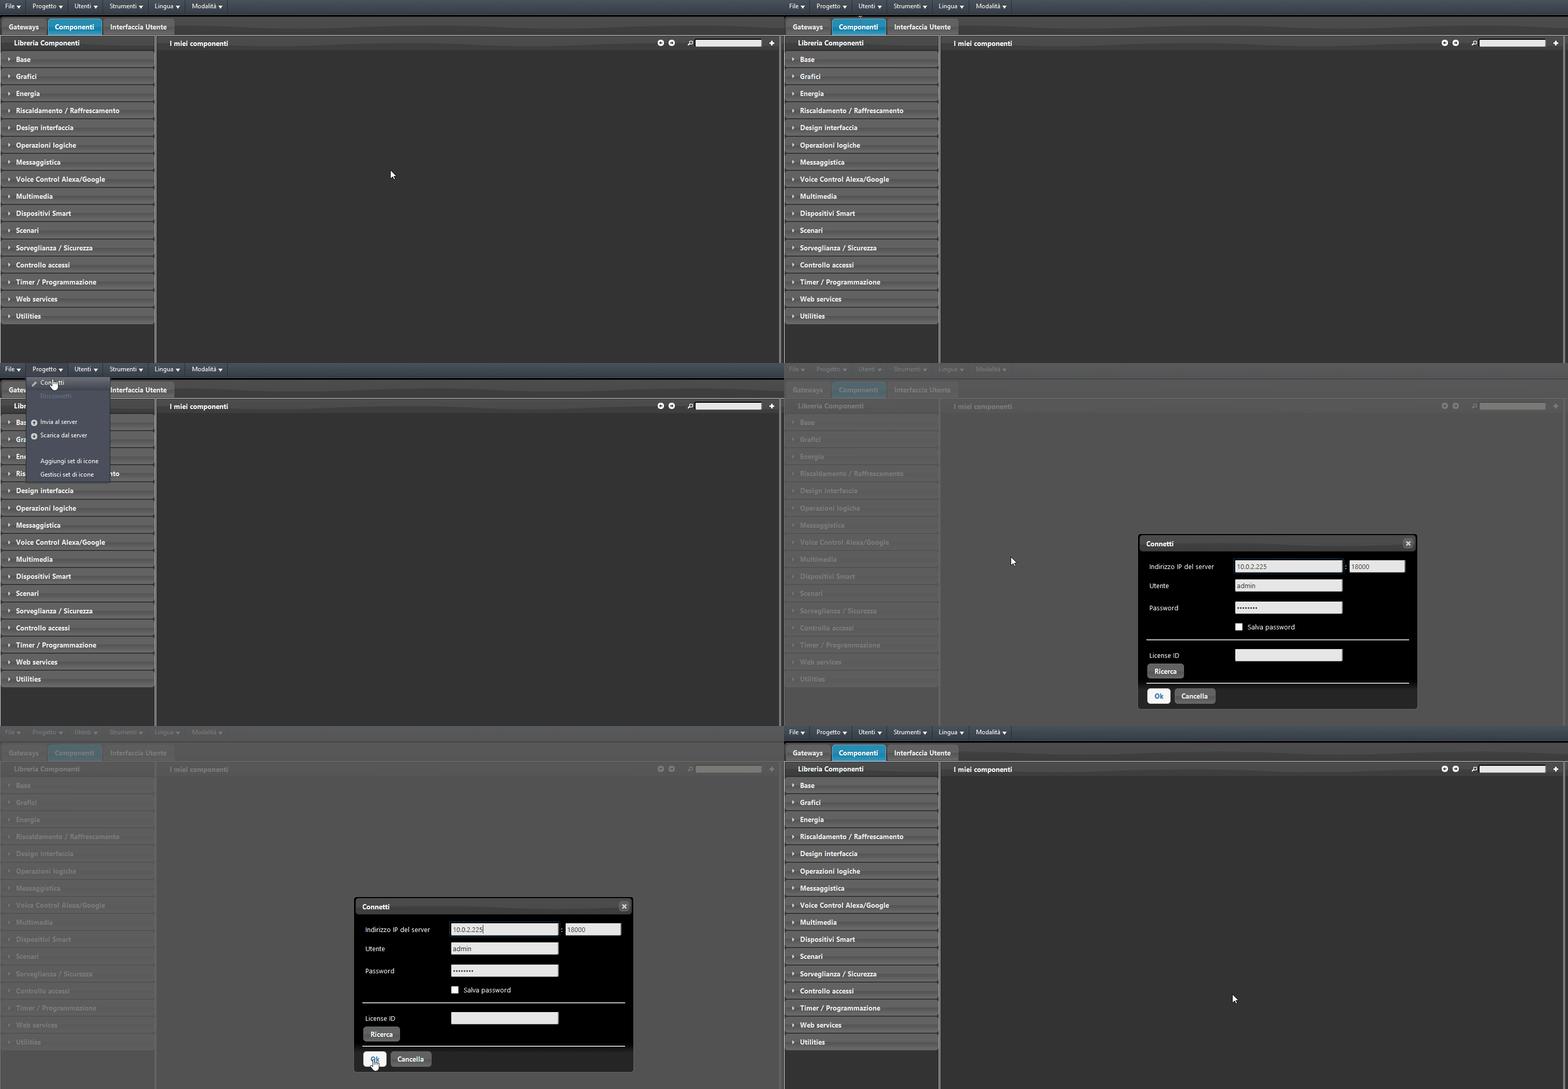
Start Ilevia Manager, go to the Components section, and connect to the server.
Step 2:
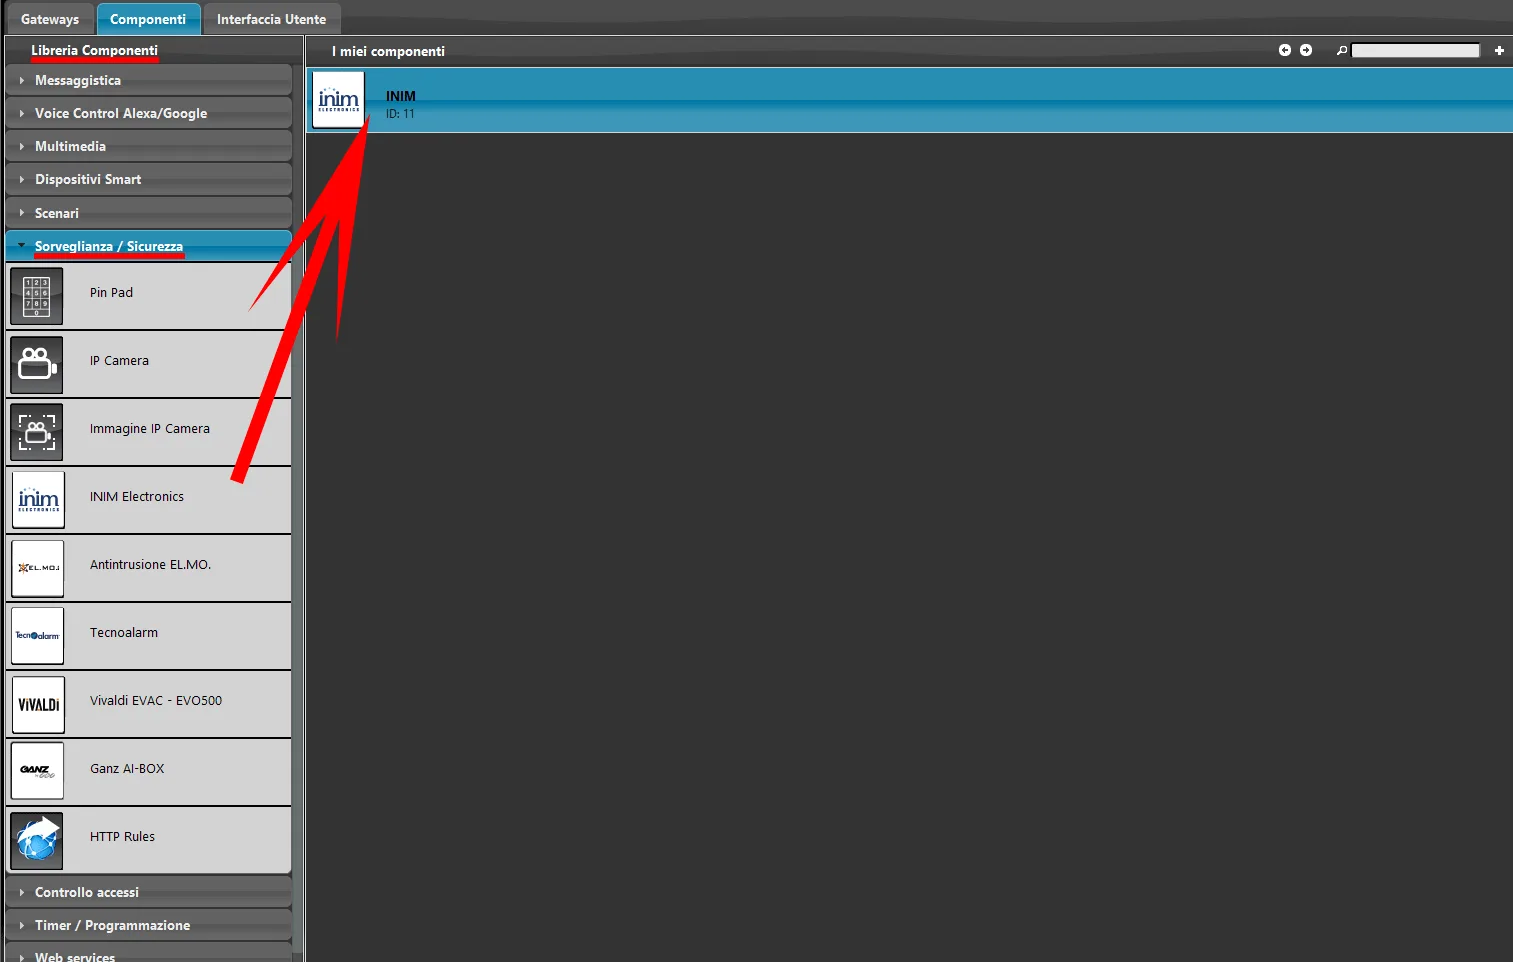
Open the Monitoring / Security section in the Component library and drag the INIM component into the My components area, in the center of the screen.
Step 3:
Add a new Switch component to the My components area, from the Basic section of the Component library.
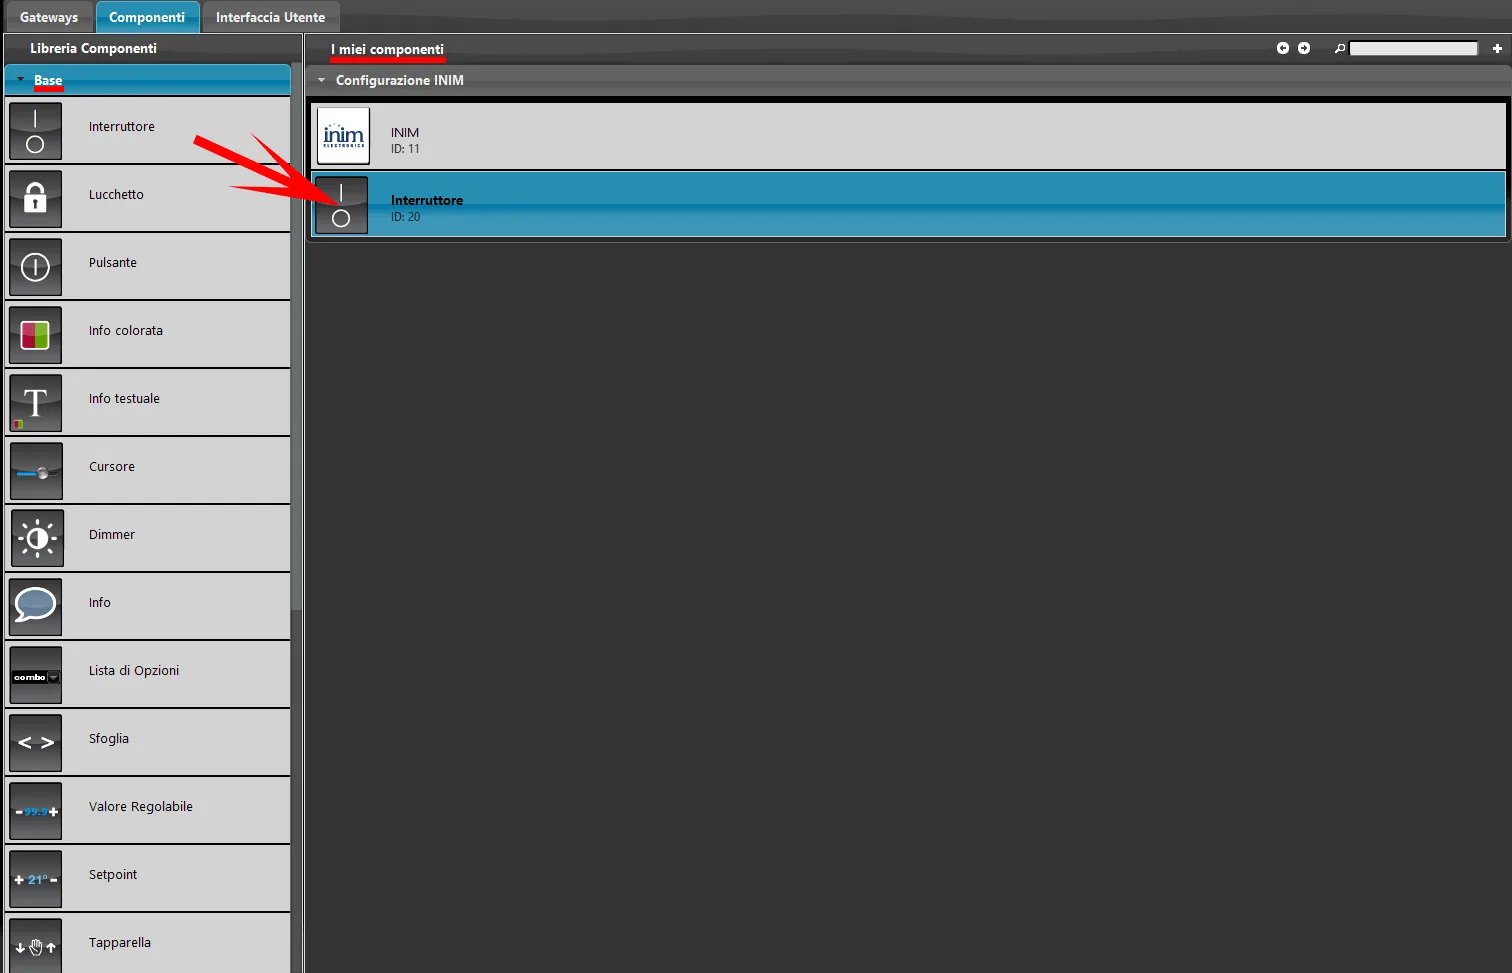
Step 4:
Select the INIM component and open its parameters. Finally, connect the Switch component in the properties of the INIM component.
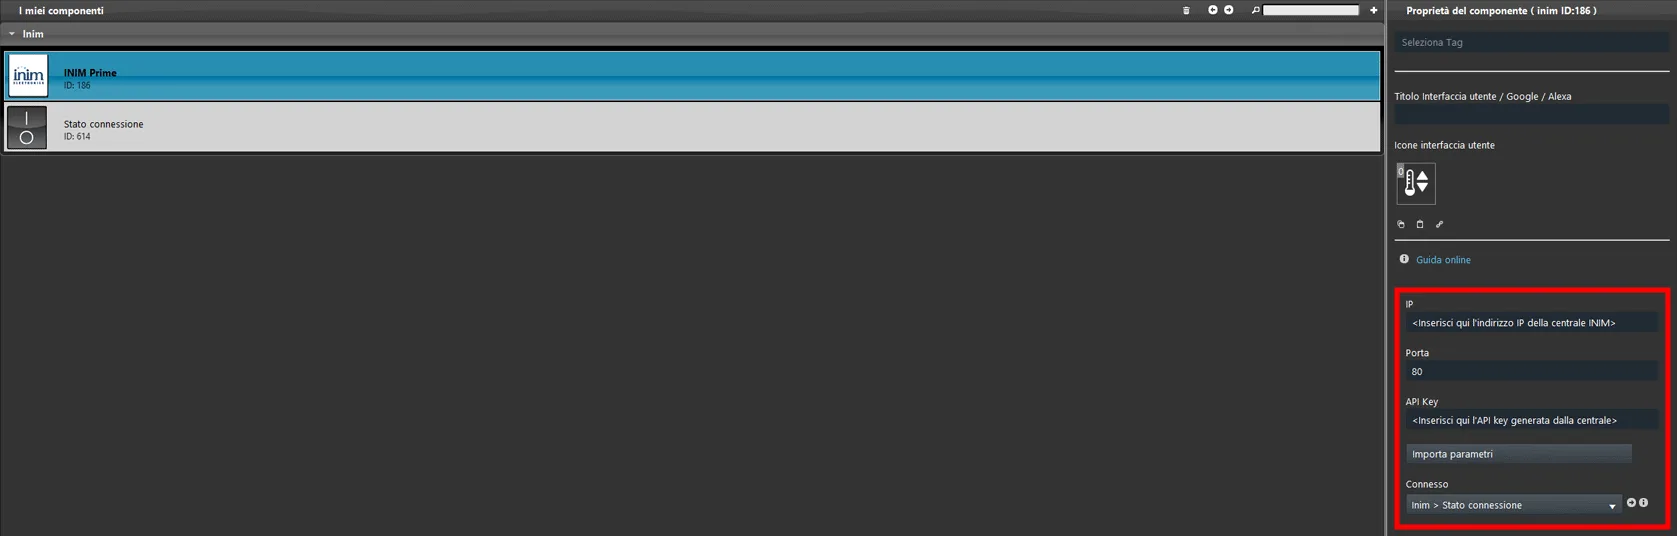
Step 5:
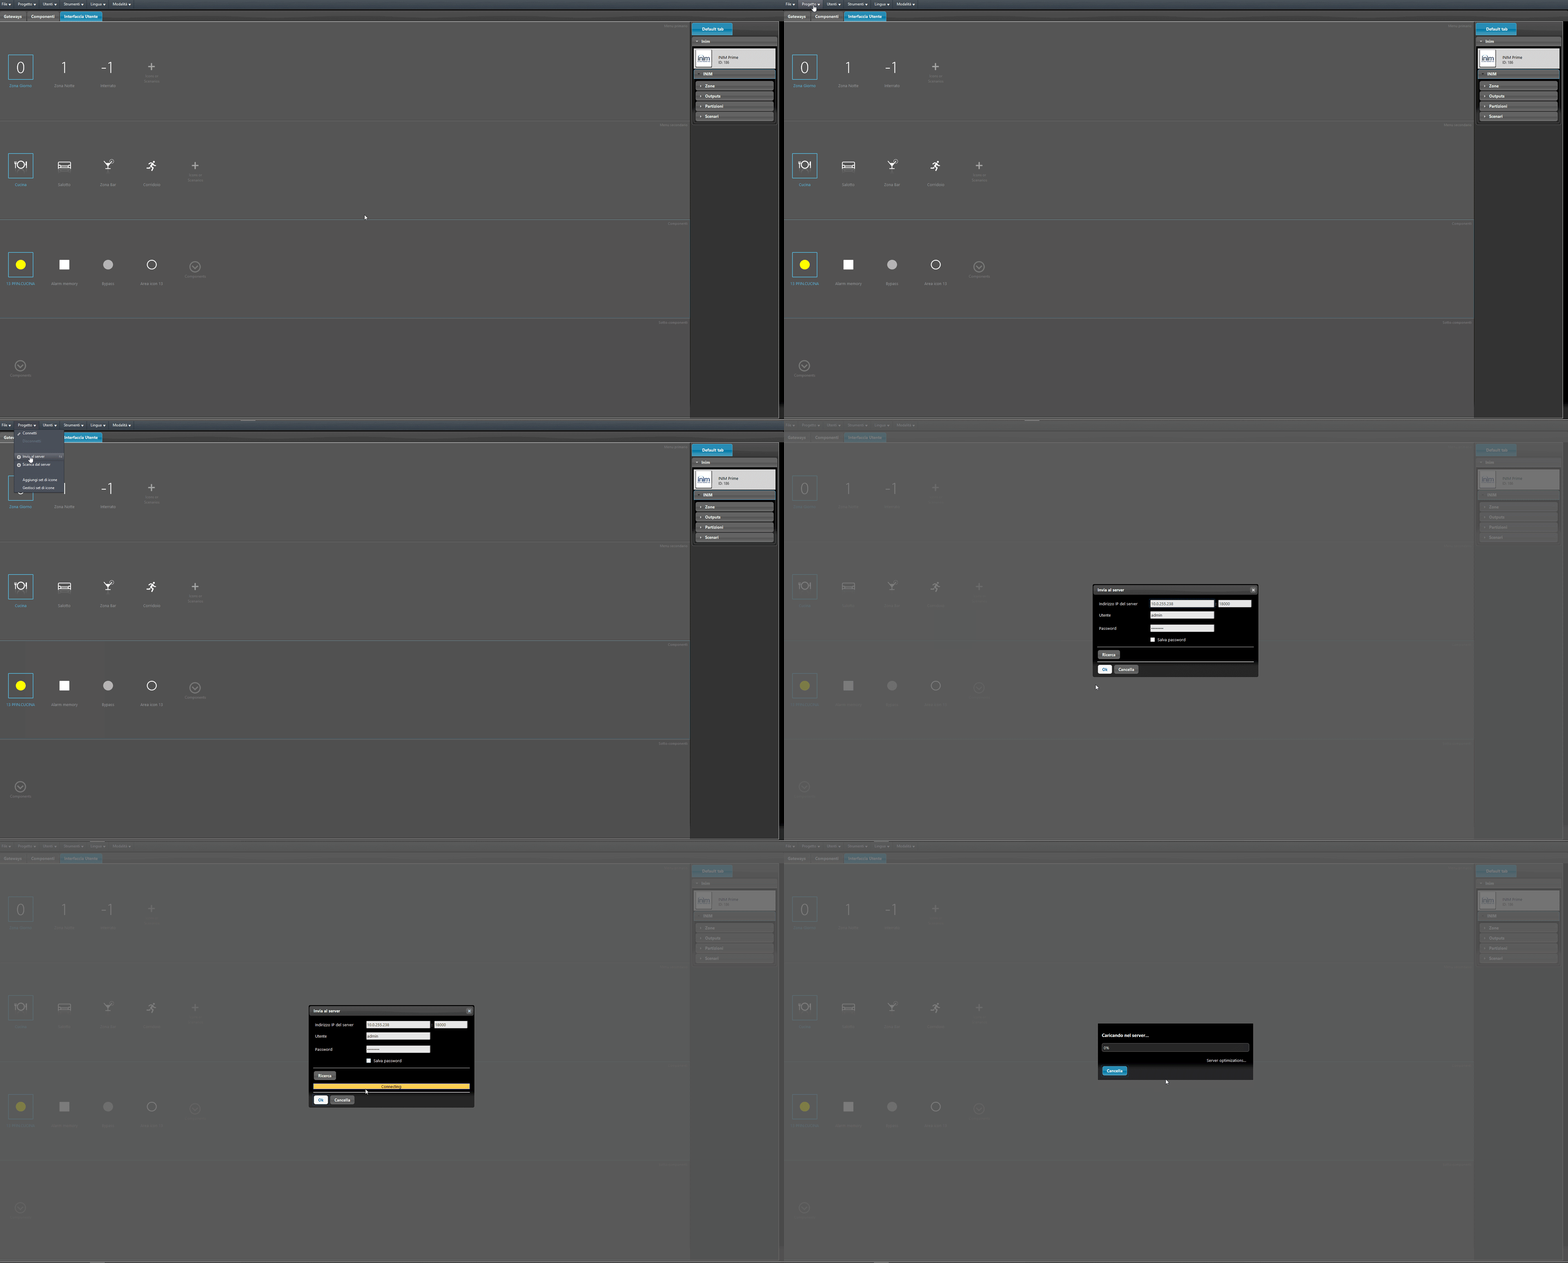
Upload the project to the server.
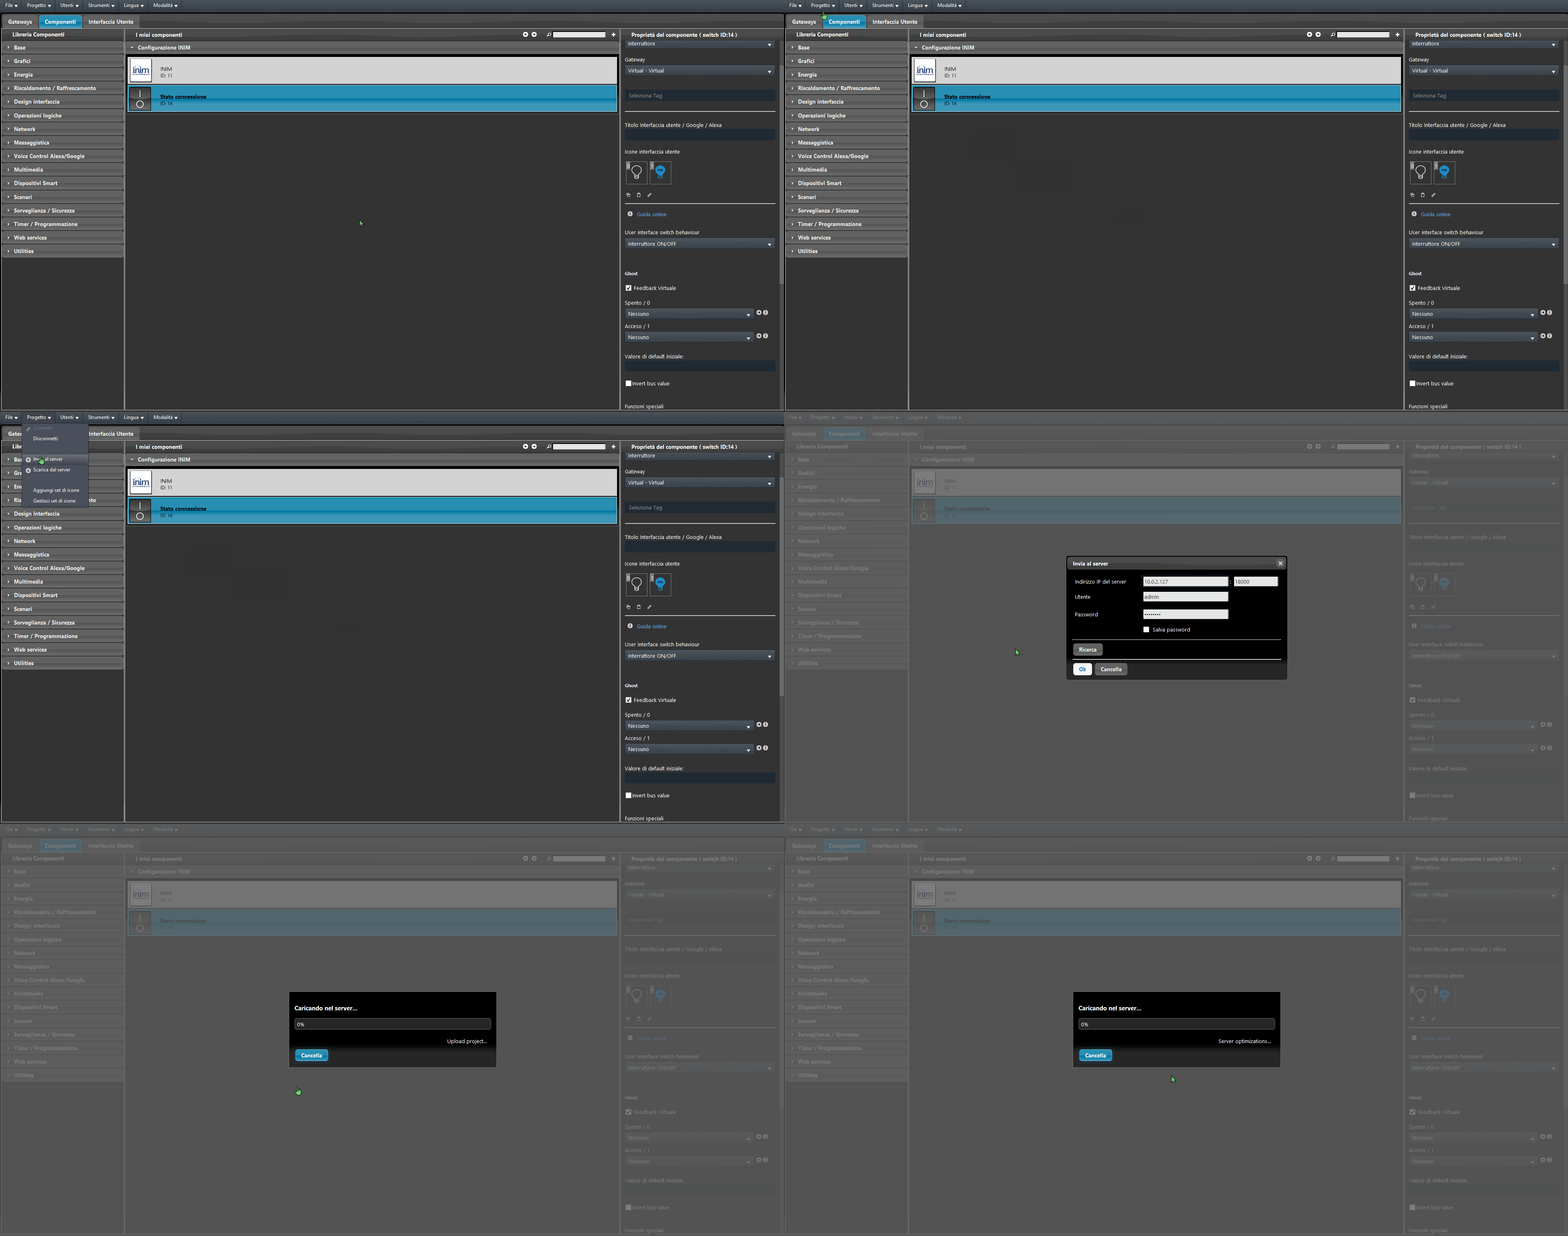
Step 6:
Make sure that Ilevia Manager is connected to the server, then click “Import parameters” in the INIM component. This will create the components that represent the configuration contained in the INIM Prime control panel.
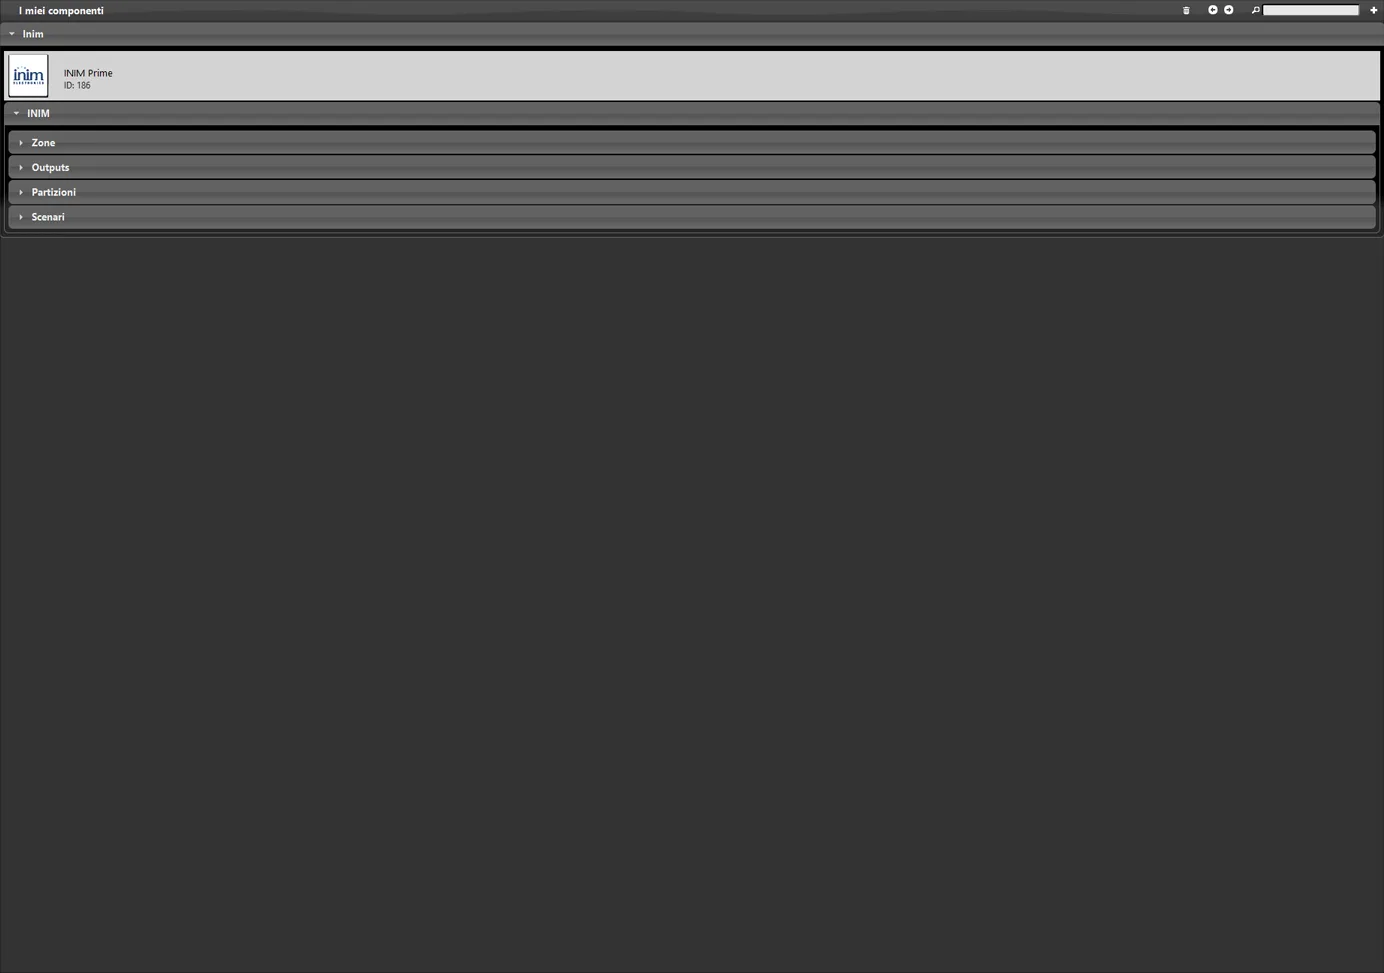
Step 7:
Now add the components inside the user interface and upload the project to the server.
Final result
This is one of the many possible examples of user interface configuration with INIM components. In these examples, both user interface styles were used (Classic and Maps).
Classic user interface
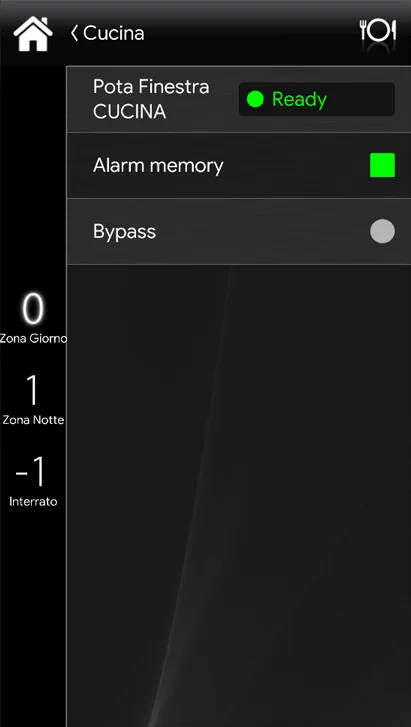
Maps user interface