
IFTTT Component
How to configure the IFTTT component in Ilevia Manager to connect a switch to the IFTTT service through links generated by the wizard.
Introduction
This guide explains how to set up the components of your Ilevia Manager project with the IFTTT service, using the new IFTTT component found in the Component Library, in the Voice control Alexa/Google section. This component replaces the classic IFTTT configuration.
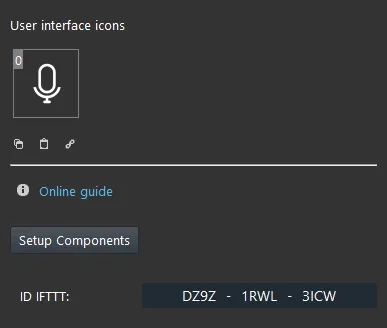
Component properties
Configure components: this button opens the IFTTT component configurator, where you can configure the components that will be used with the IFTTT service.
IFTTT ID: required by the IFTTT component to create the IFTTT links for the components.
Component configuration
Step 1:
Open Ilevia Manager. Add a new IFTTT component to the project by dragging it from the Voice control Alexa/Google section.
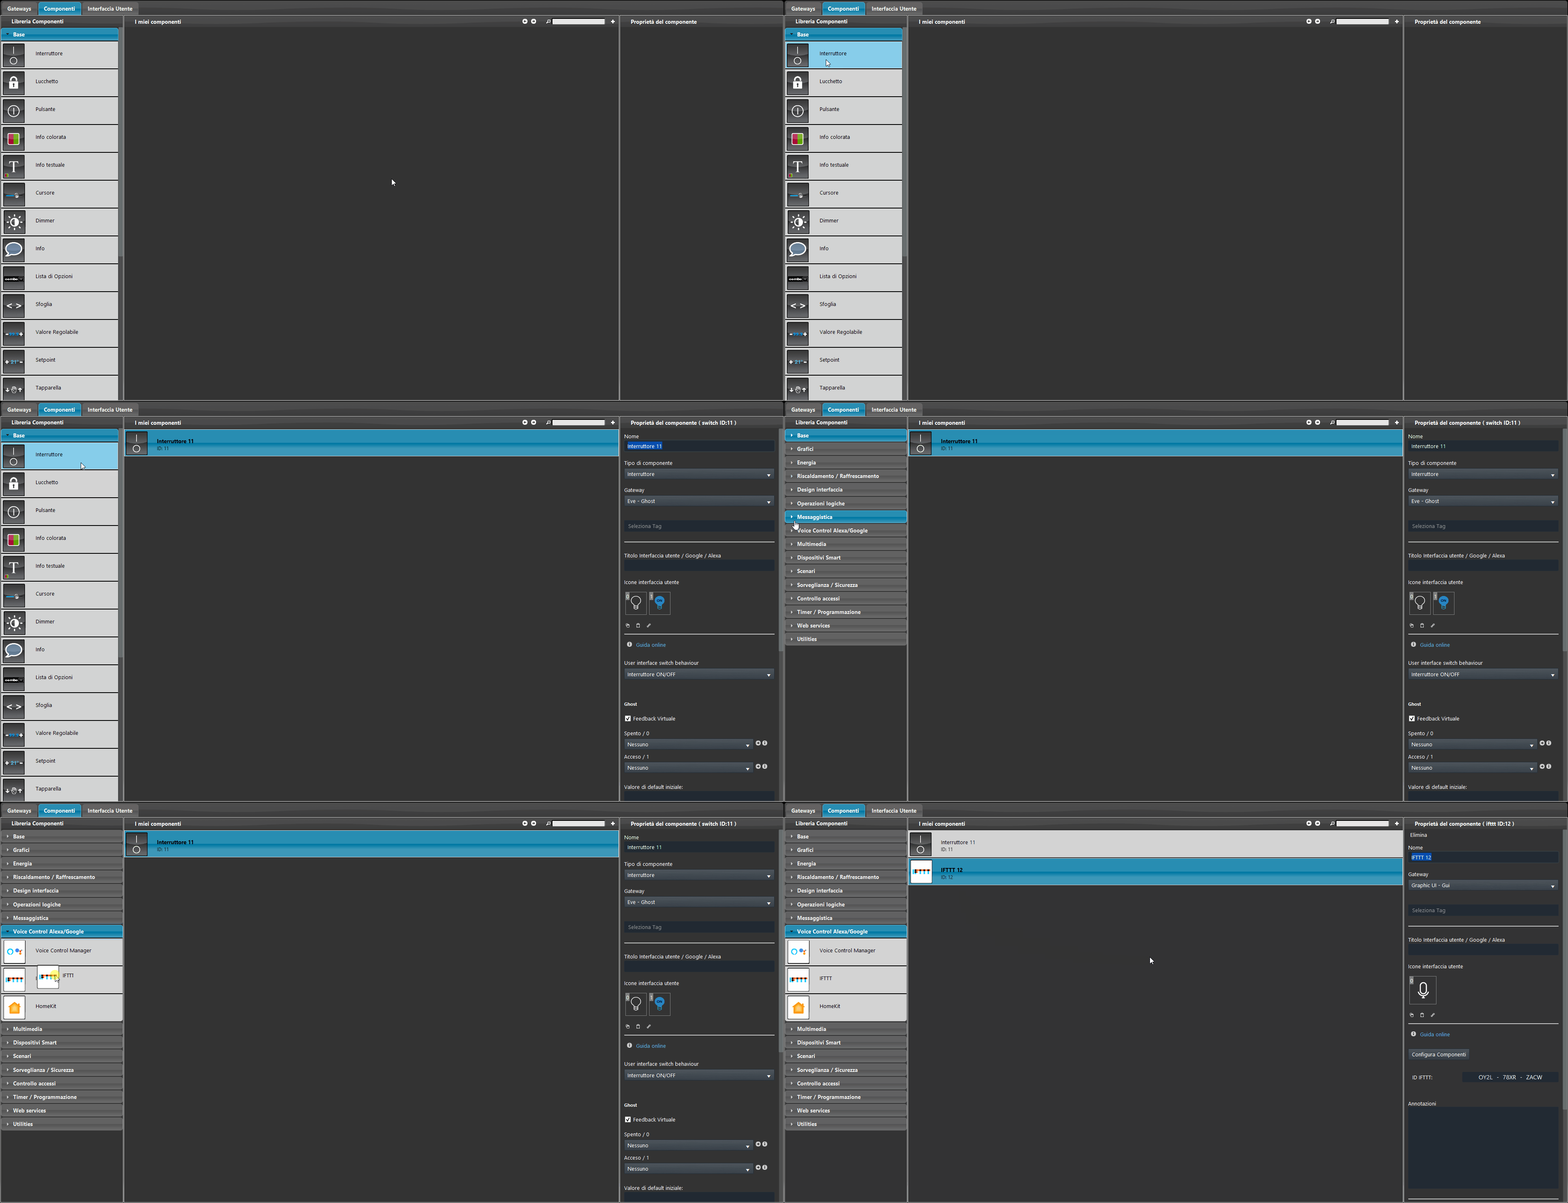
Step 2:
Open the IFTTT component configurator by clicking the Configure components button in the IFTTT component properties.
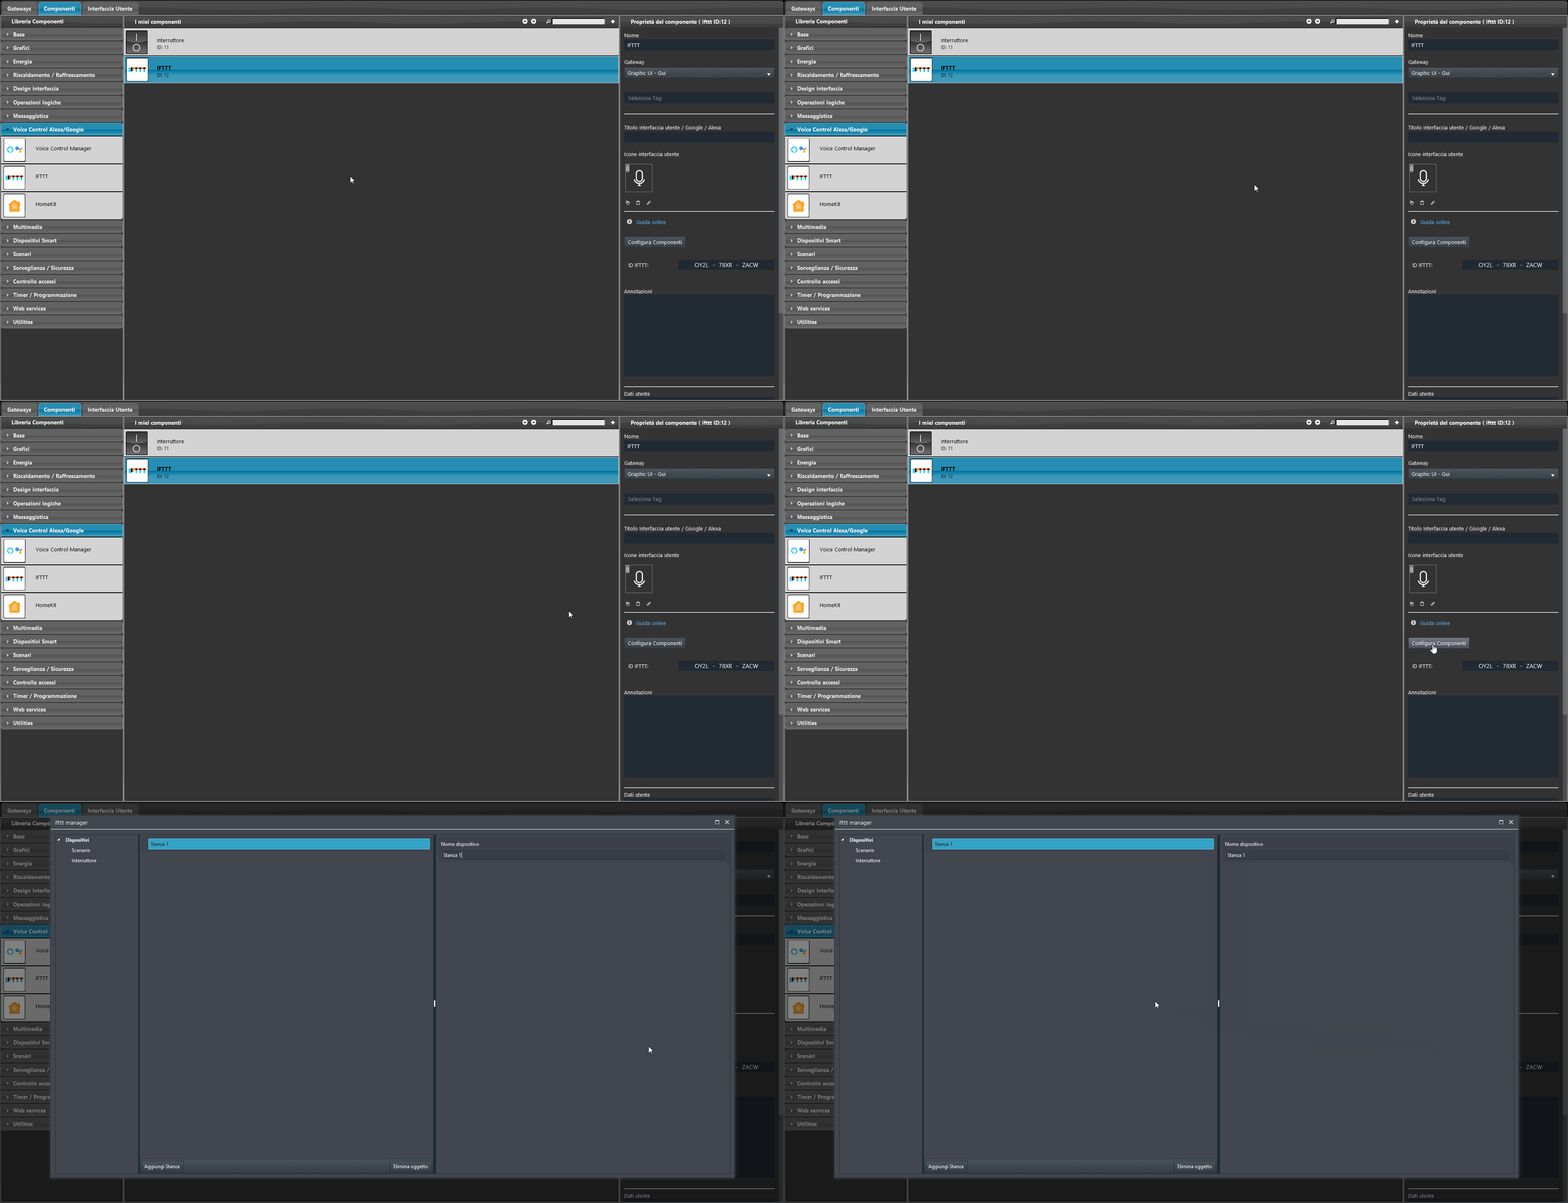
Step 3:
1. In the left section of the IFTTT component configurator (wizard), drag in a new Switch device. 2. Then connect the newly added device to the corresponding component in the Ilevia Manager project.
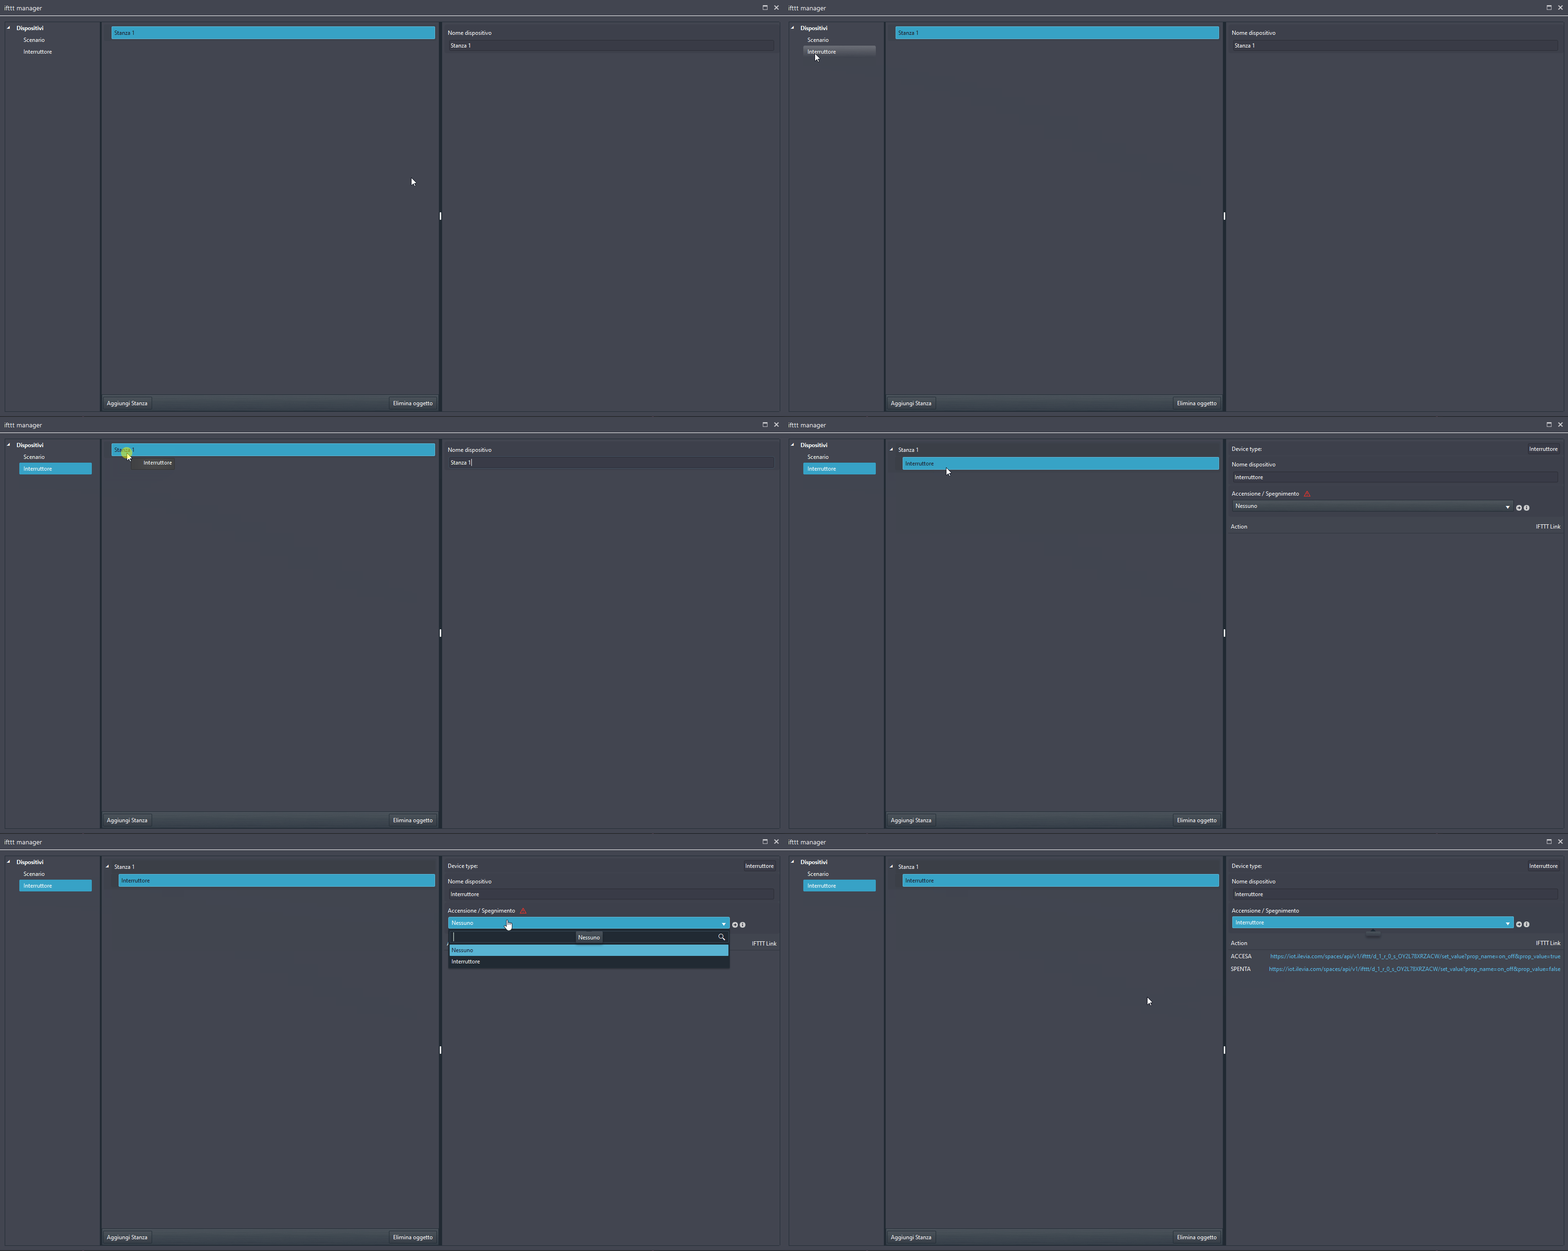
Step 4:
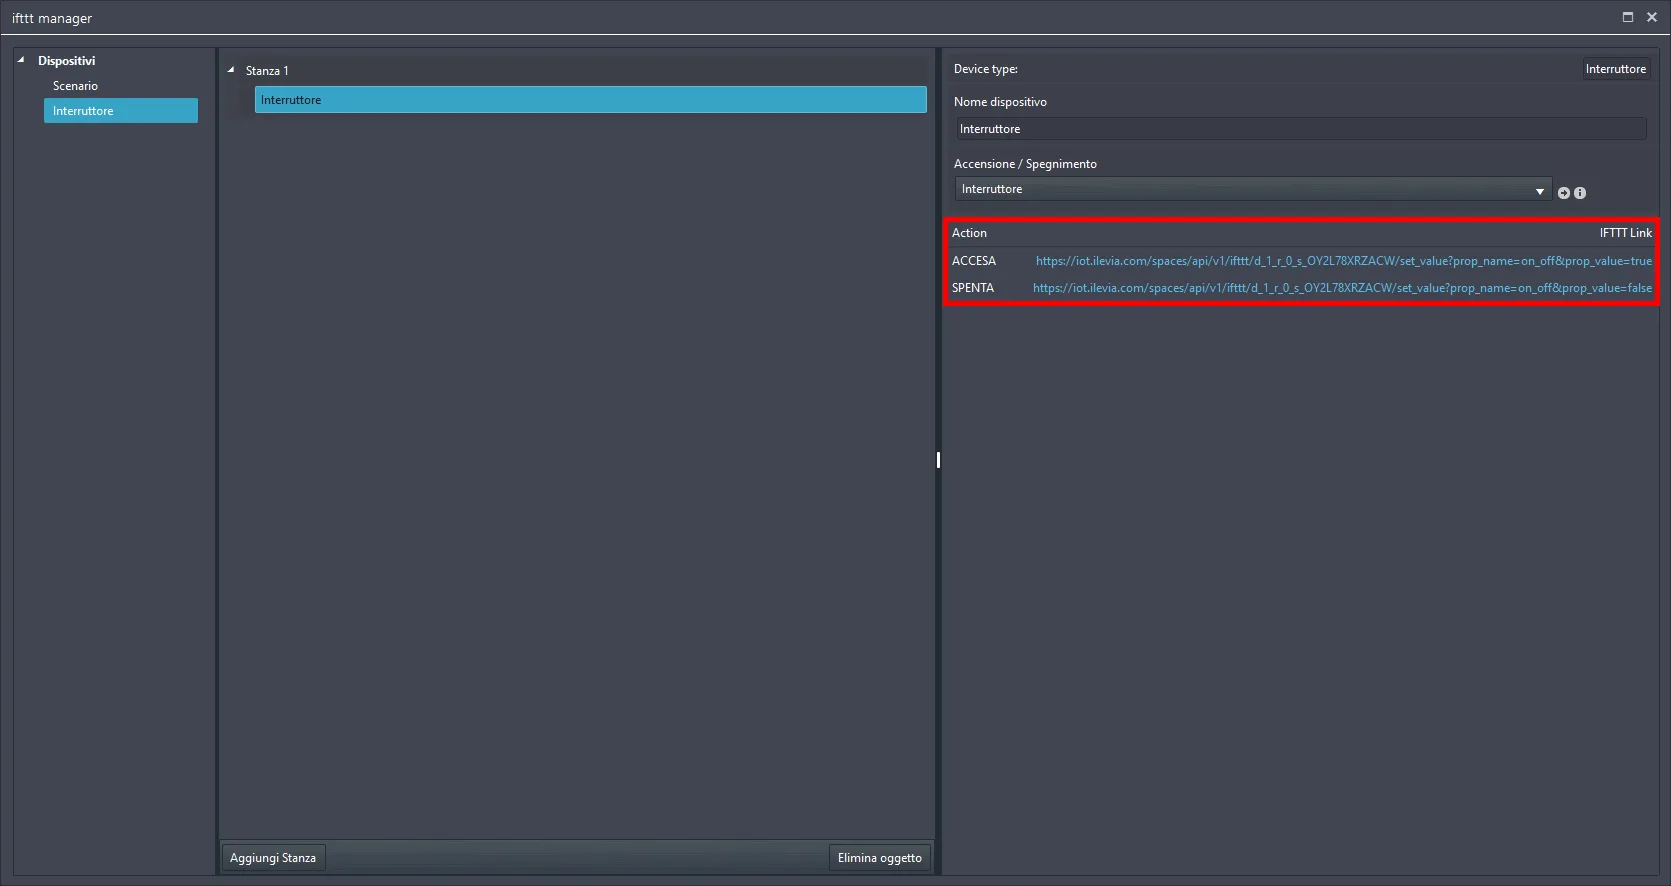
Once the connection has been made, the software generates 2 new links, which you will find at the bottom of the device properties in the IFTTT component wizard. These links will be used to turn the switch on or off.
Step 5:
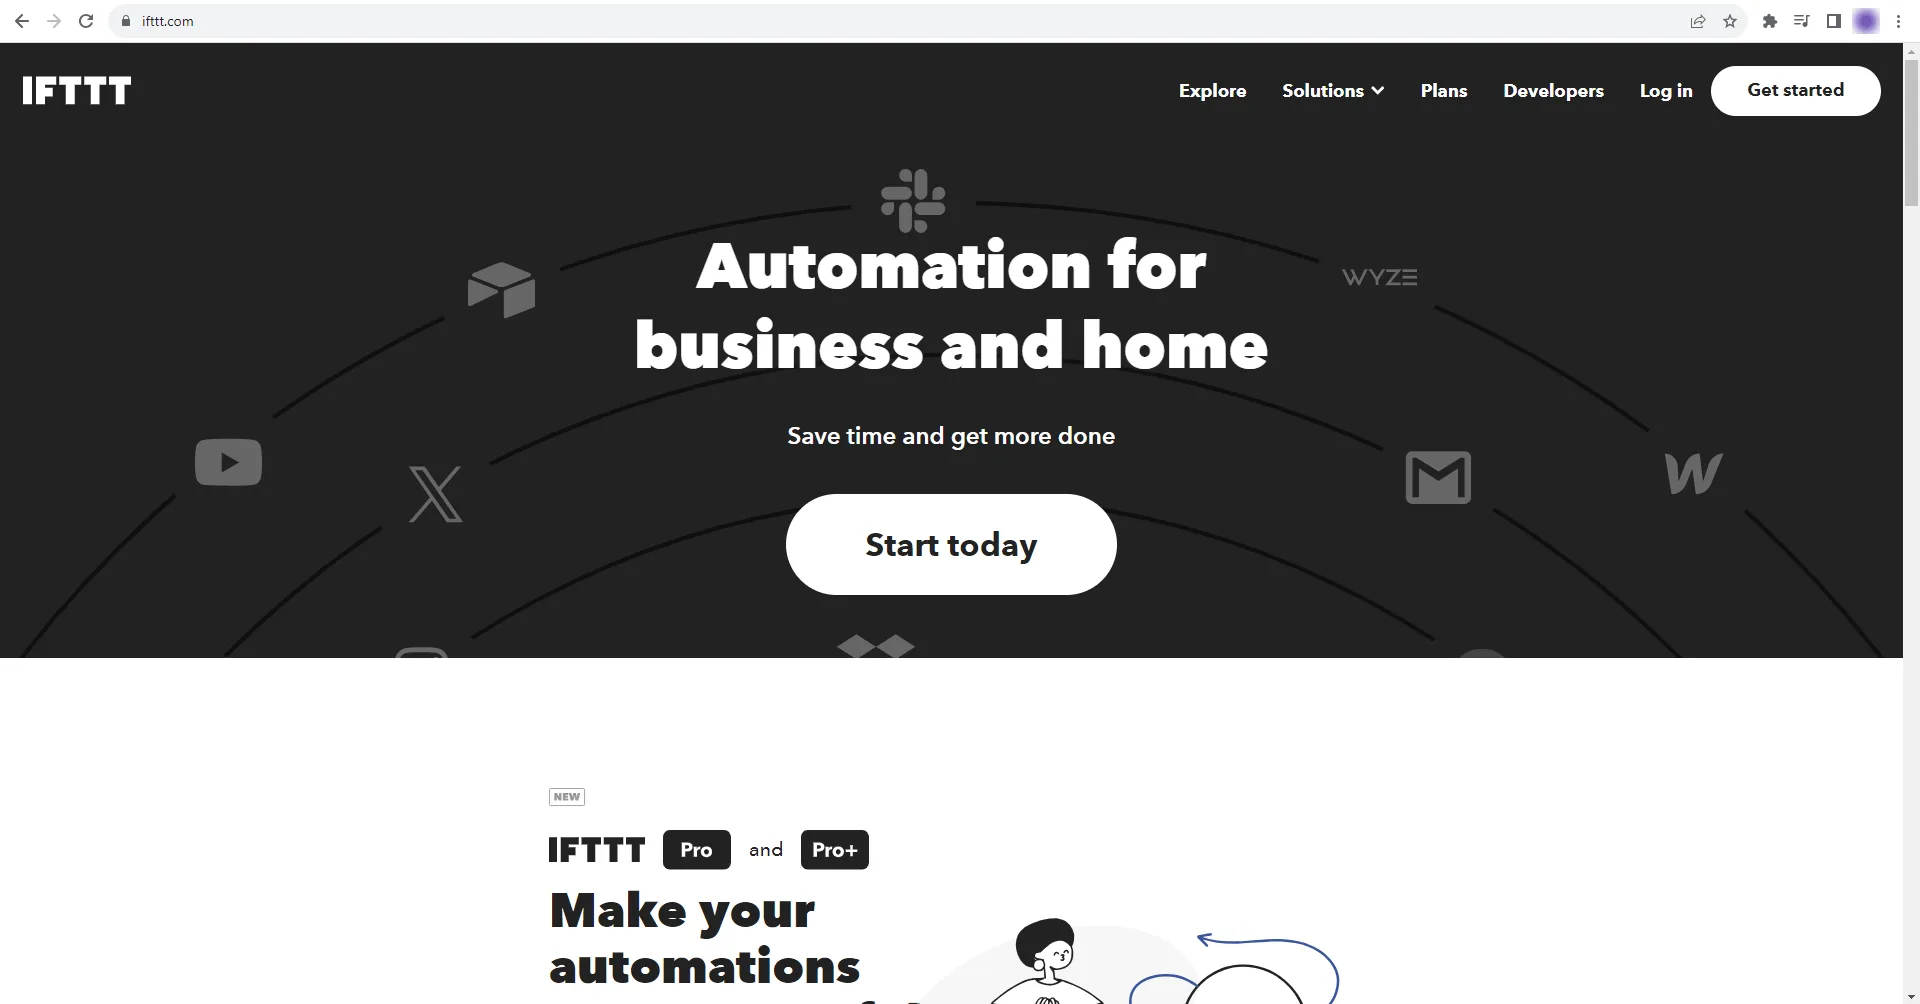
Connect to the IFTTT site, then sign in or register.
Step 6:
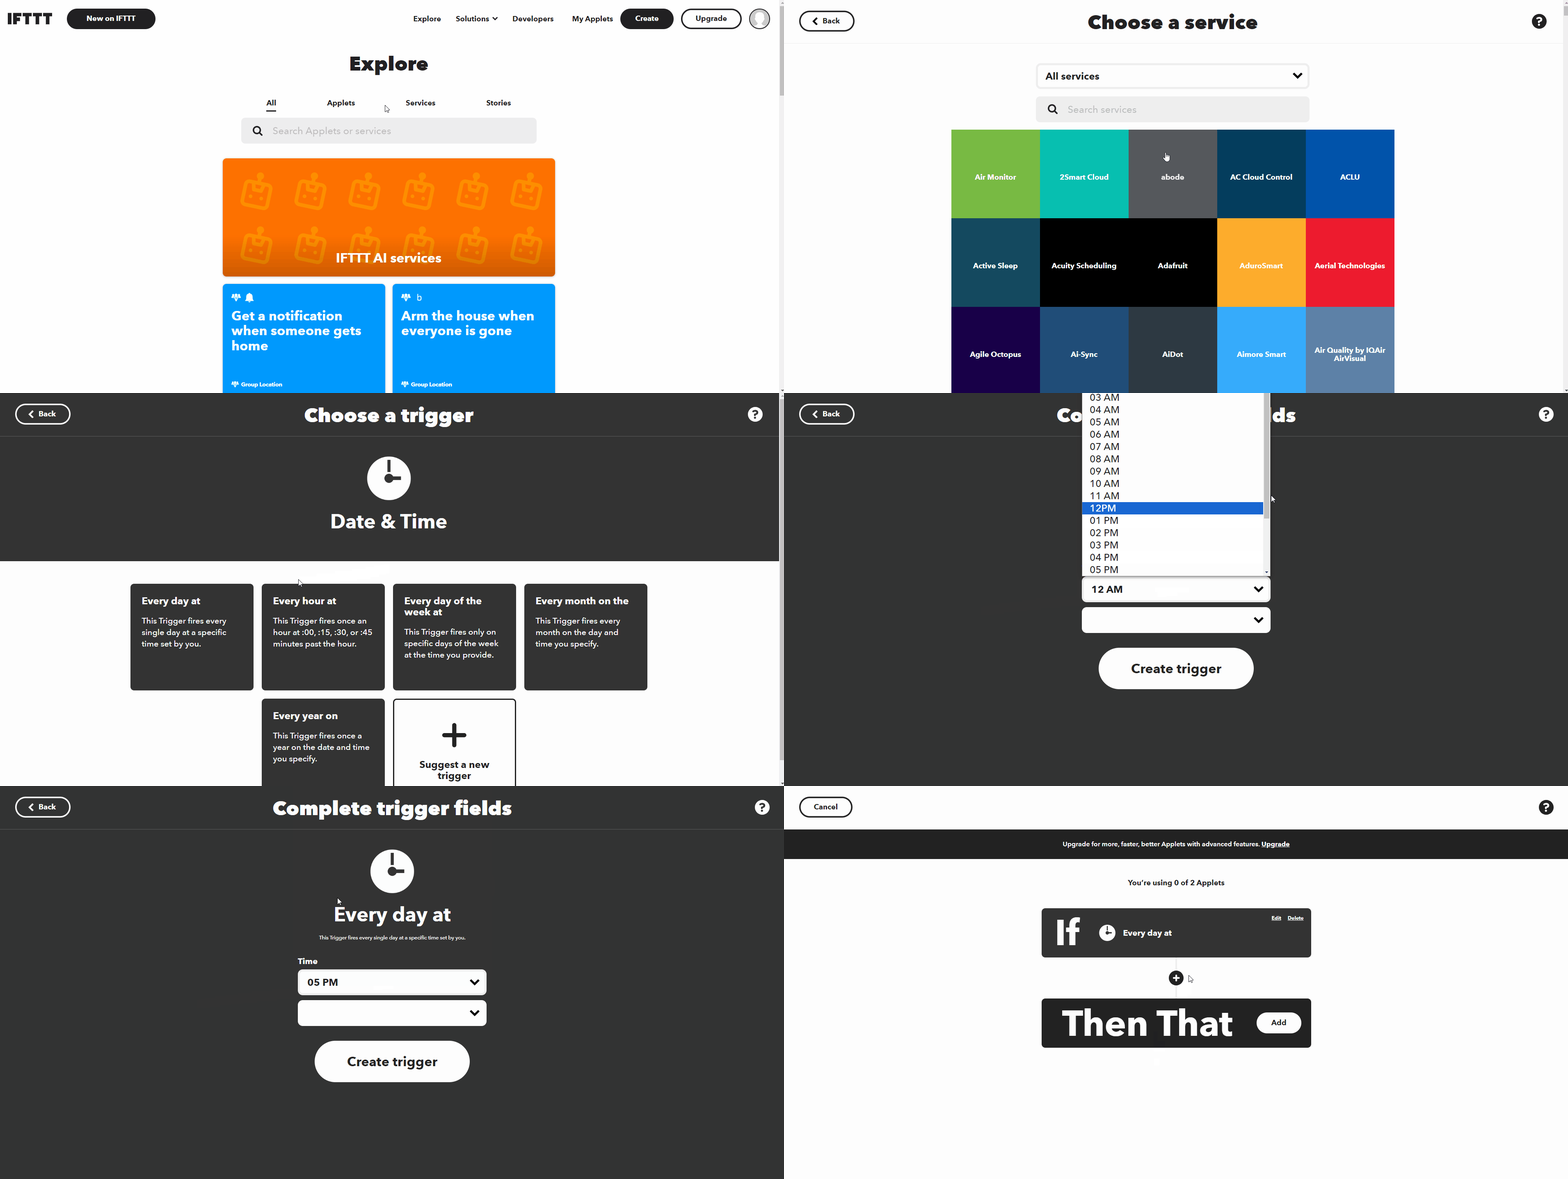
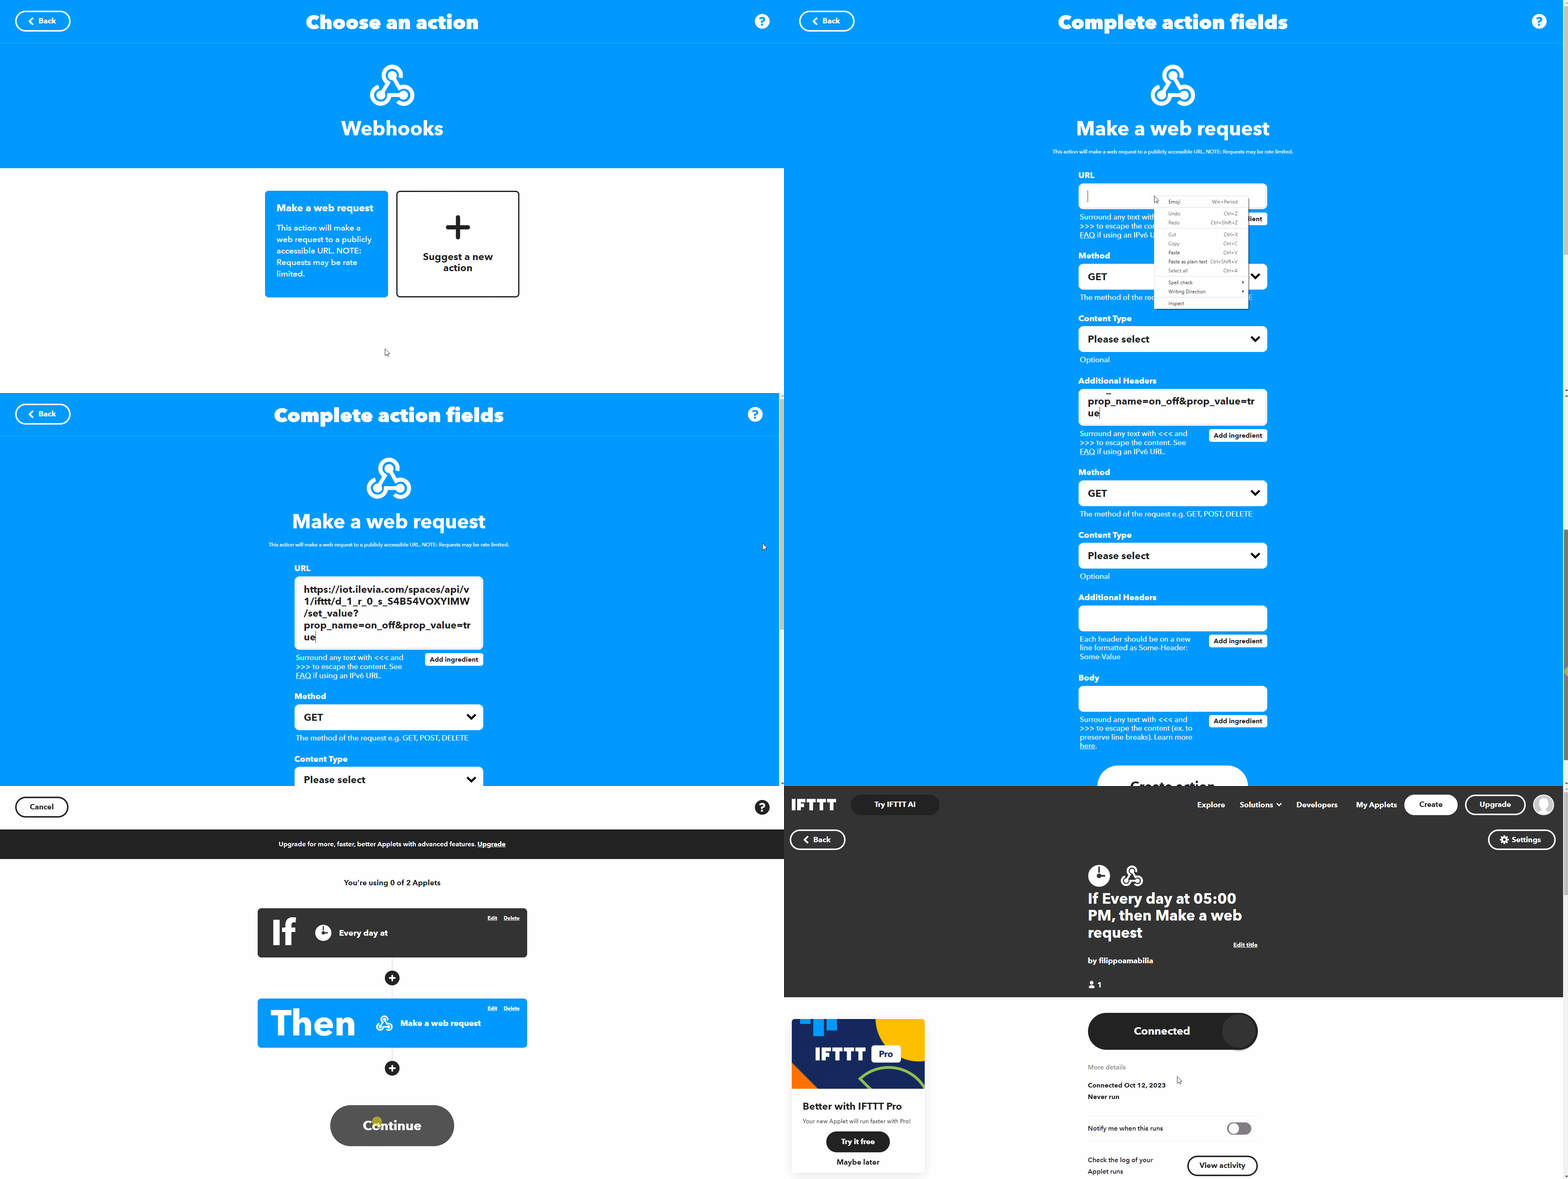
Click Create at the top right. Click IF-THIS and search for Date and time in the search bar; then select every day at and choose the time you want.
Step 7:
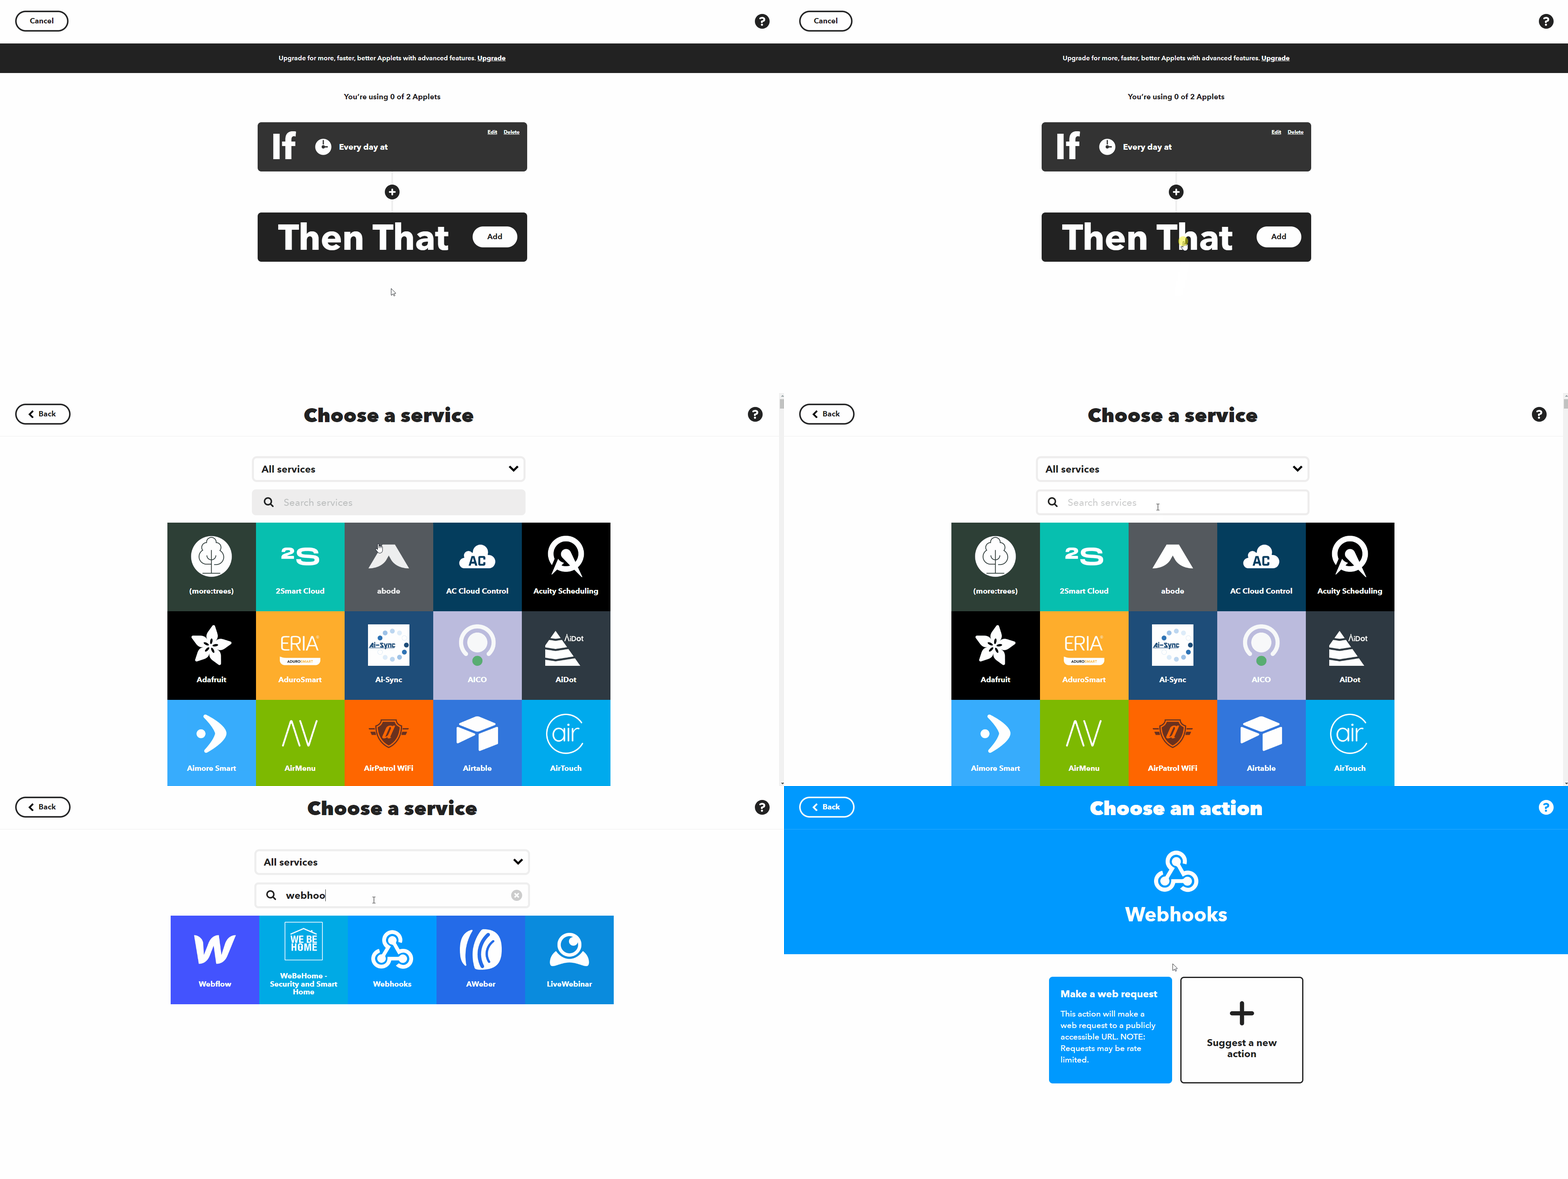
Click on IF-THAT. Search for Webhook and click the suggested applet.
Step 8:
Select Make a web request, then enter the link generated by the IFTTT component wizard in Ilevia Manager. Finally, scroll down the page, click Create action, then Continue to confirm the configuration and finally Finish.
Step 9:
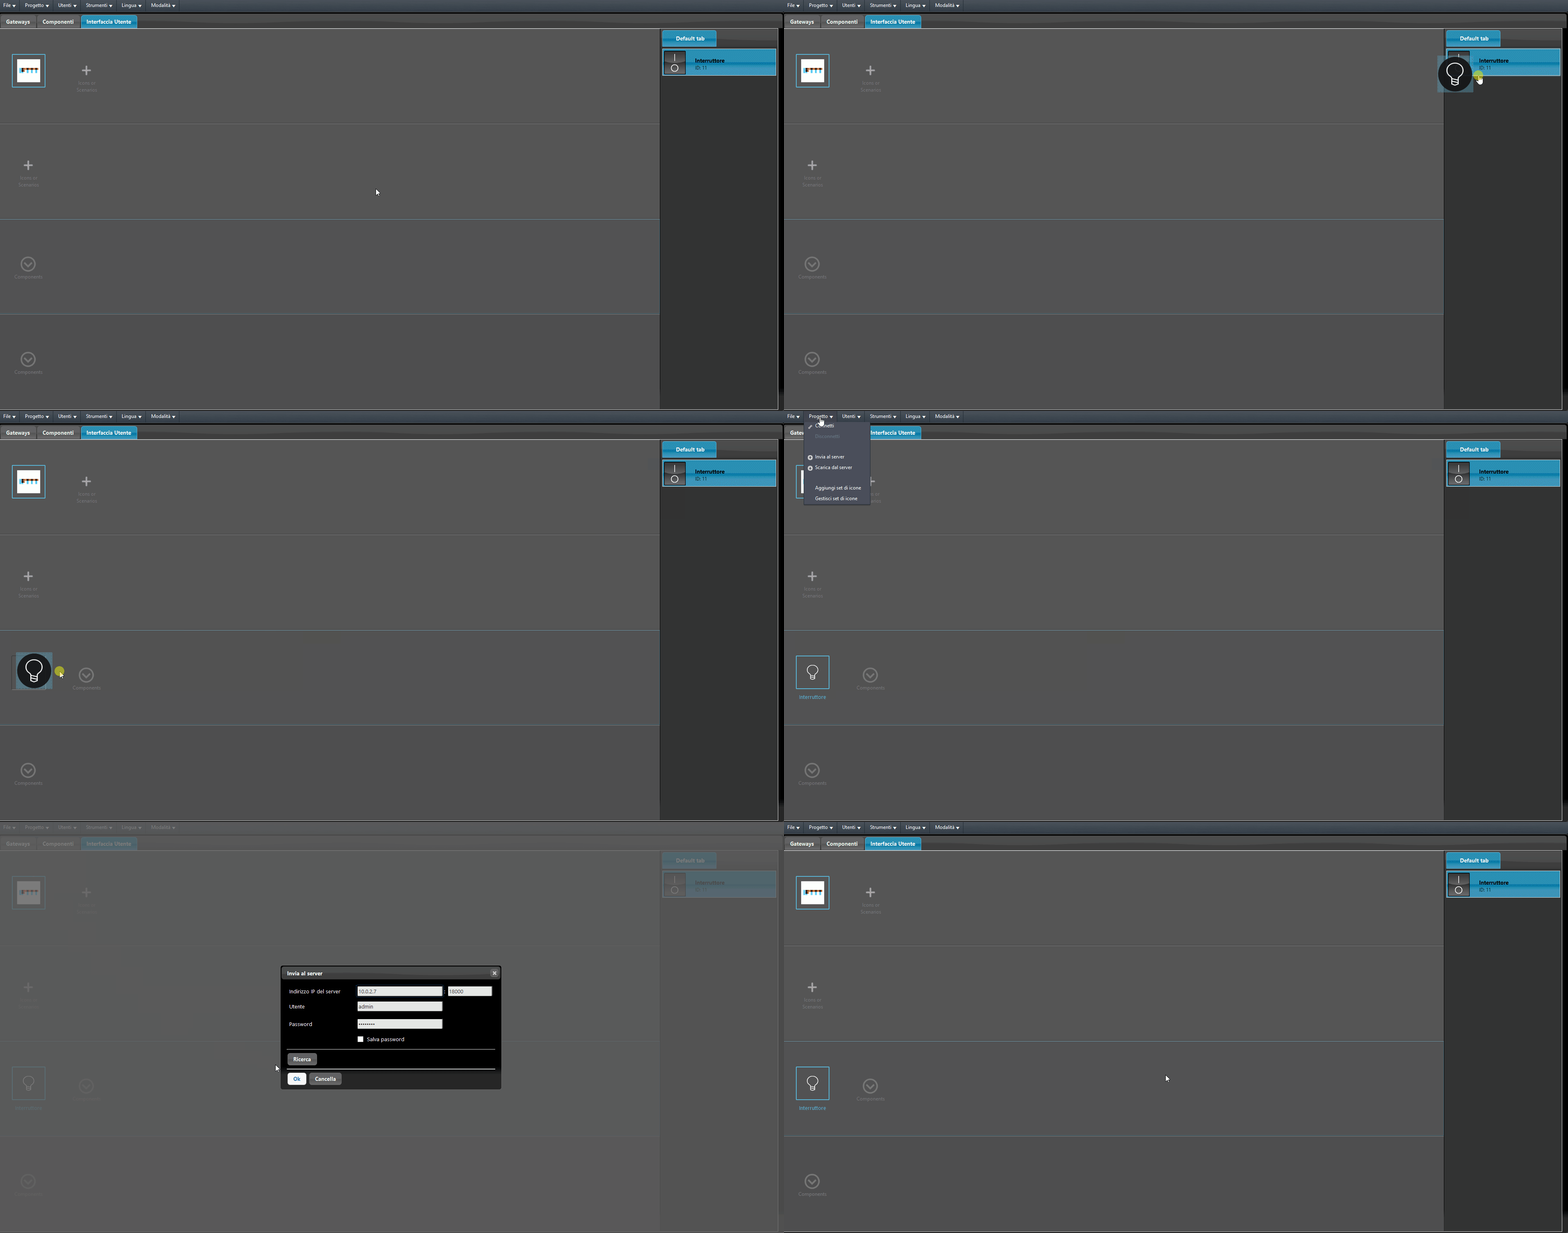
Go back to Ilevia Manager, add the Switch component to the user interface and upload the project to the server.
Click the link to download the sample project and try it.