Control Sonos with Ilevia
How to integrate Sonos wireless speakers in Ilevia Manager via UPnP to control them from the Ilevia Remote Plus app.
How to control Sonos wireless speakers with the Ilevia system
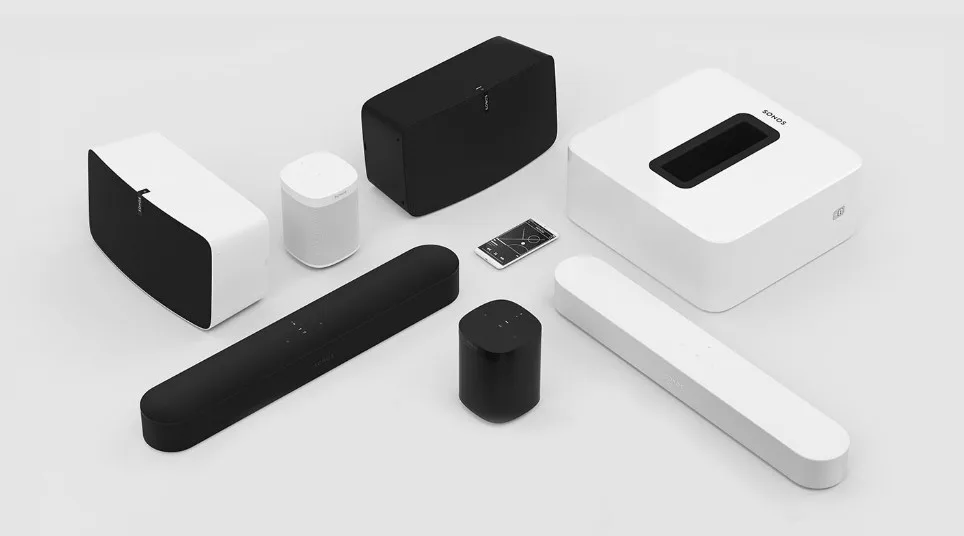
The Sonos Wireless HiFi system plays all the music you want in every room of your home, from the bedroom to the garden, and lets you control it in the palm of your hand. Sonos gives you instant access to millions of tracks and radio stations, including thousands of free stations, as well as music libraries stored on a computer or in the cloud.
Introduction
This guide shows how simple and quick it is to integrate Sonos devices with the Ilevia system. To complete the integration, the Sonos device must already have been configured with its app and therefore be available for UPnP pairing. Once integrated in Ilevia Manager, you will be able to control it remotely through the Ilevia Remote Plus app.
Step 1:
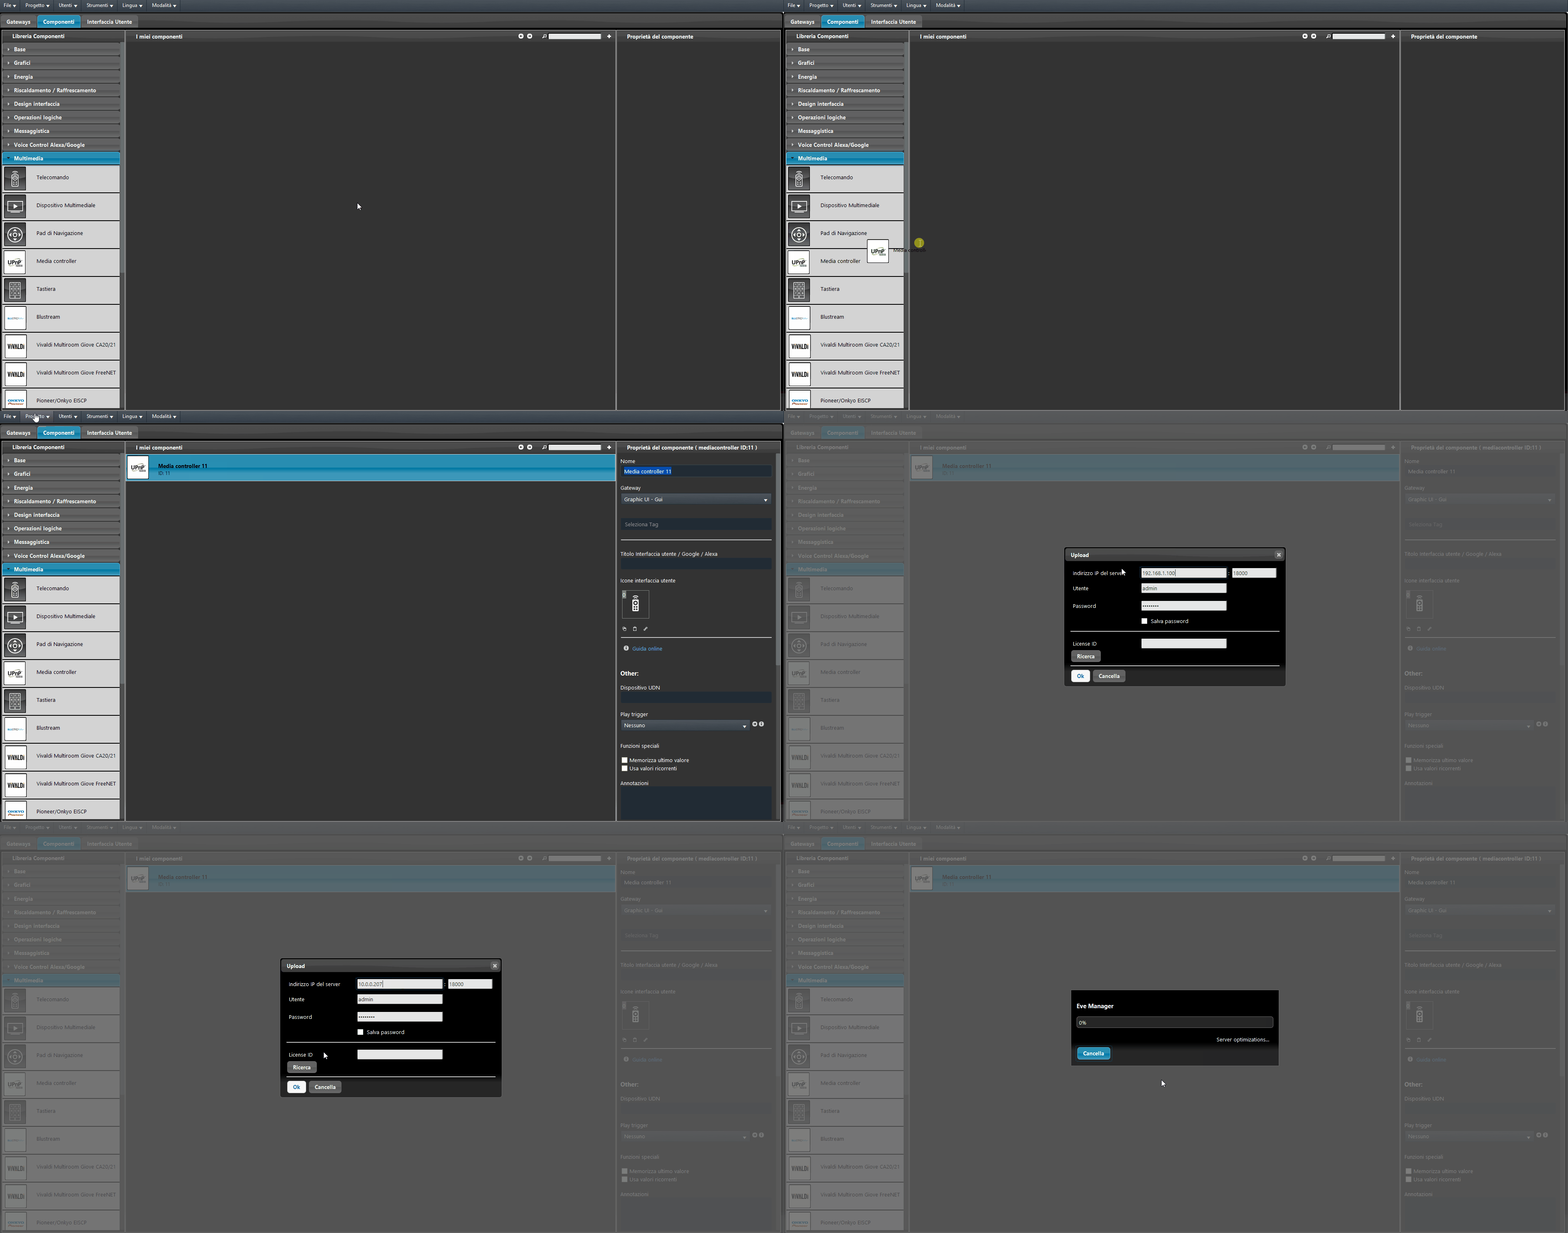
First add the Media controller component in the My components area, then upload the project to the server.
Step 2:
Connect to the Ilevia server: click Project, then Connect, then enter the Ilevia server IP address and click OK.
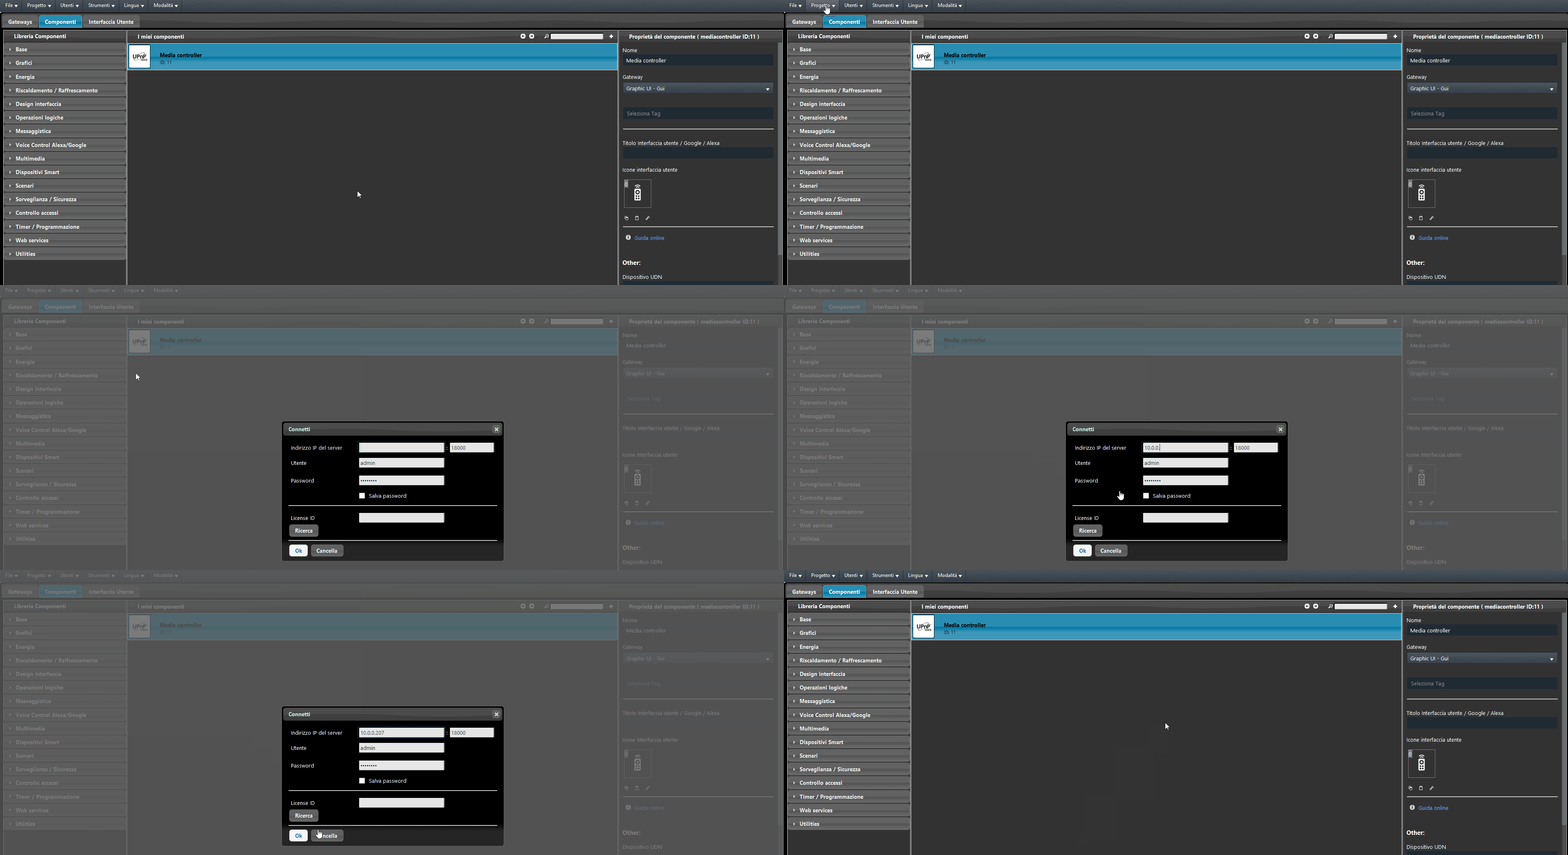
Step 3:
Click Tools from the main menu at the top of the screen, then Scripts and finally UPnP Setup.
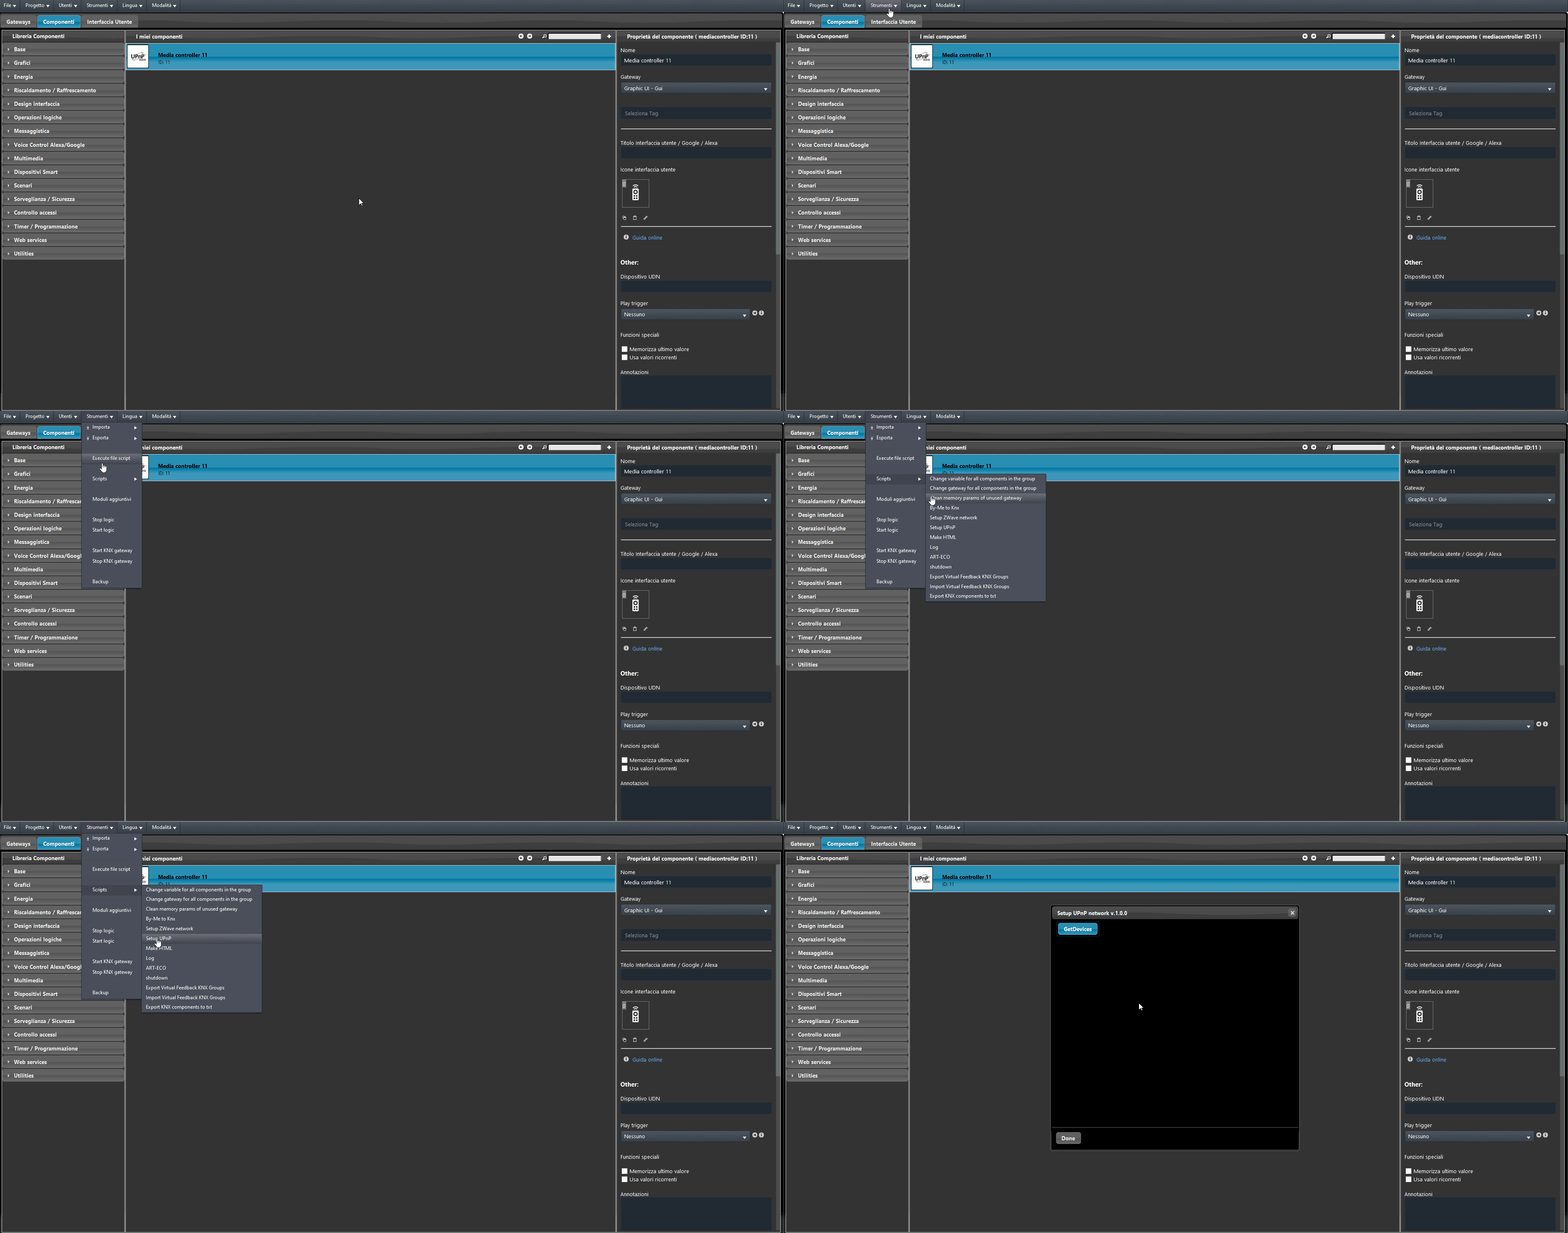
Step 4:
Click “Get Devices”: a search starts on the local network for all Sonos devices with UPnP enabled. Select the device from the drop-down menu, press Create components and finally click Done to close the window.
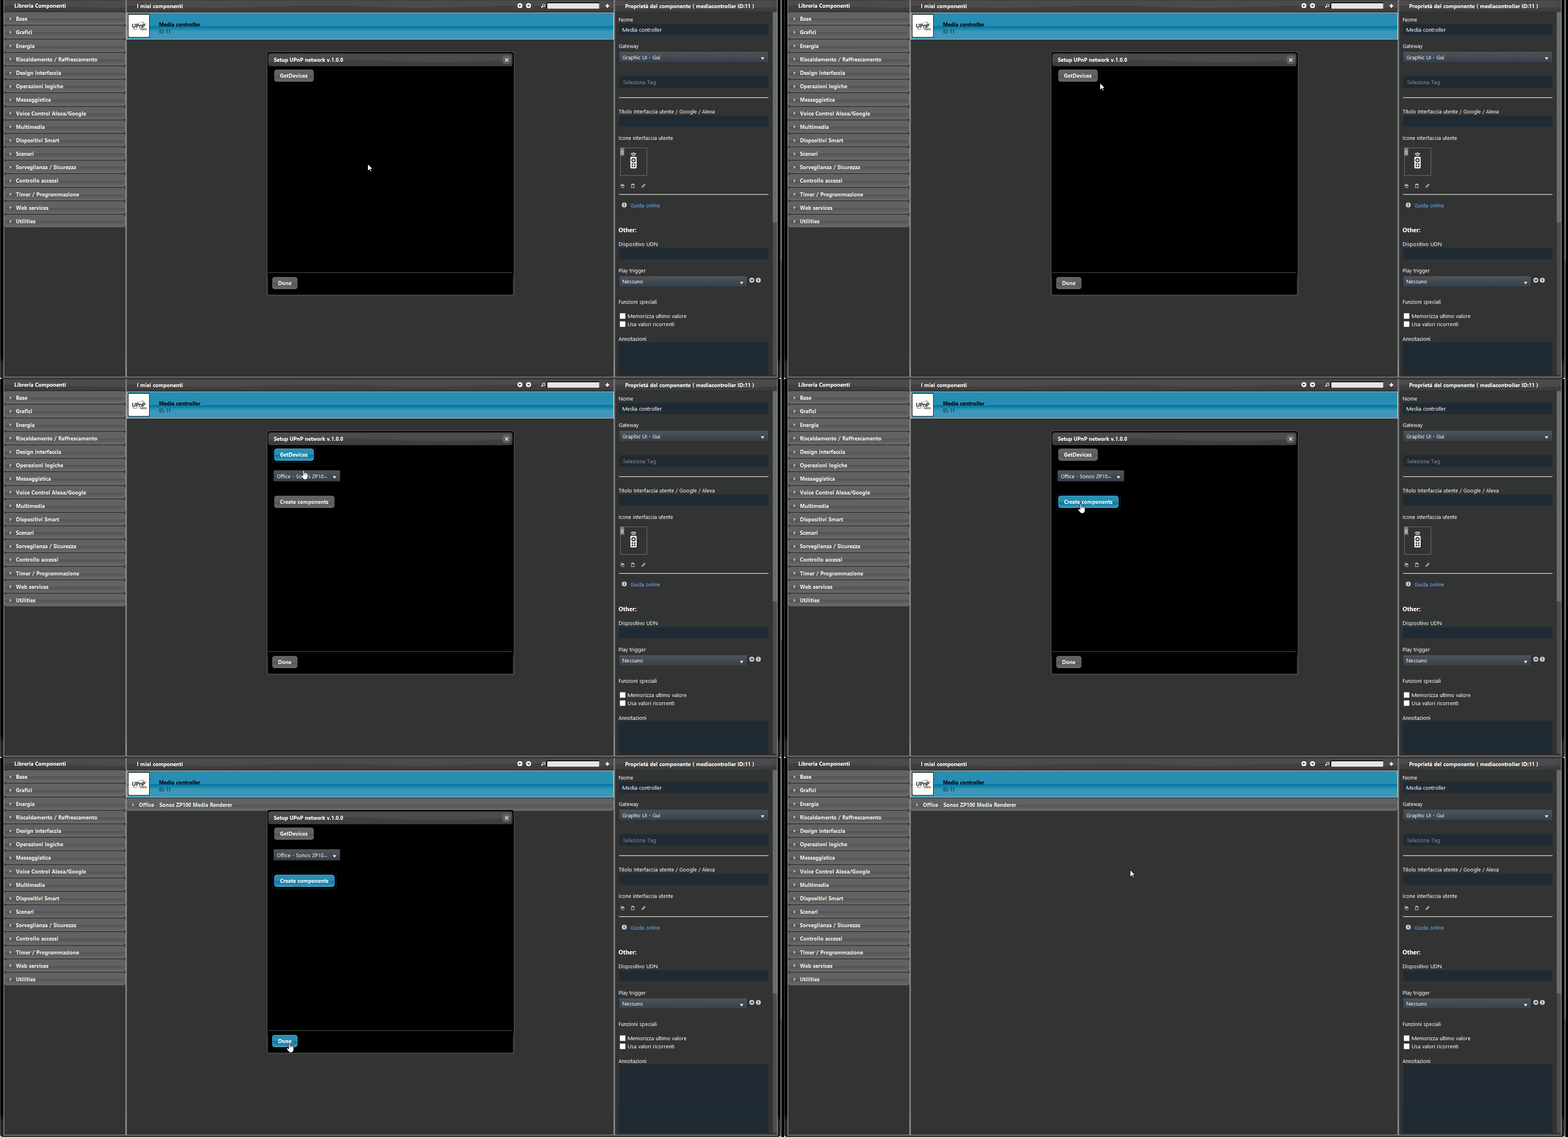
Step 5:
Add the created component to the User Interface, then upload the project to the server.
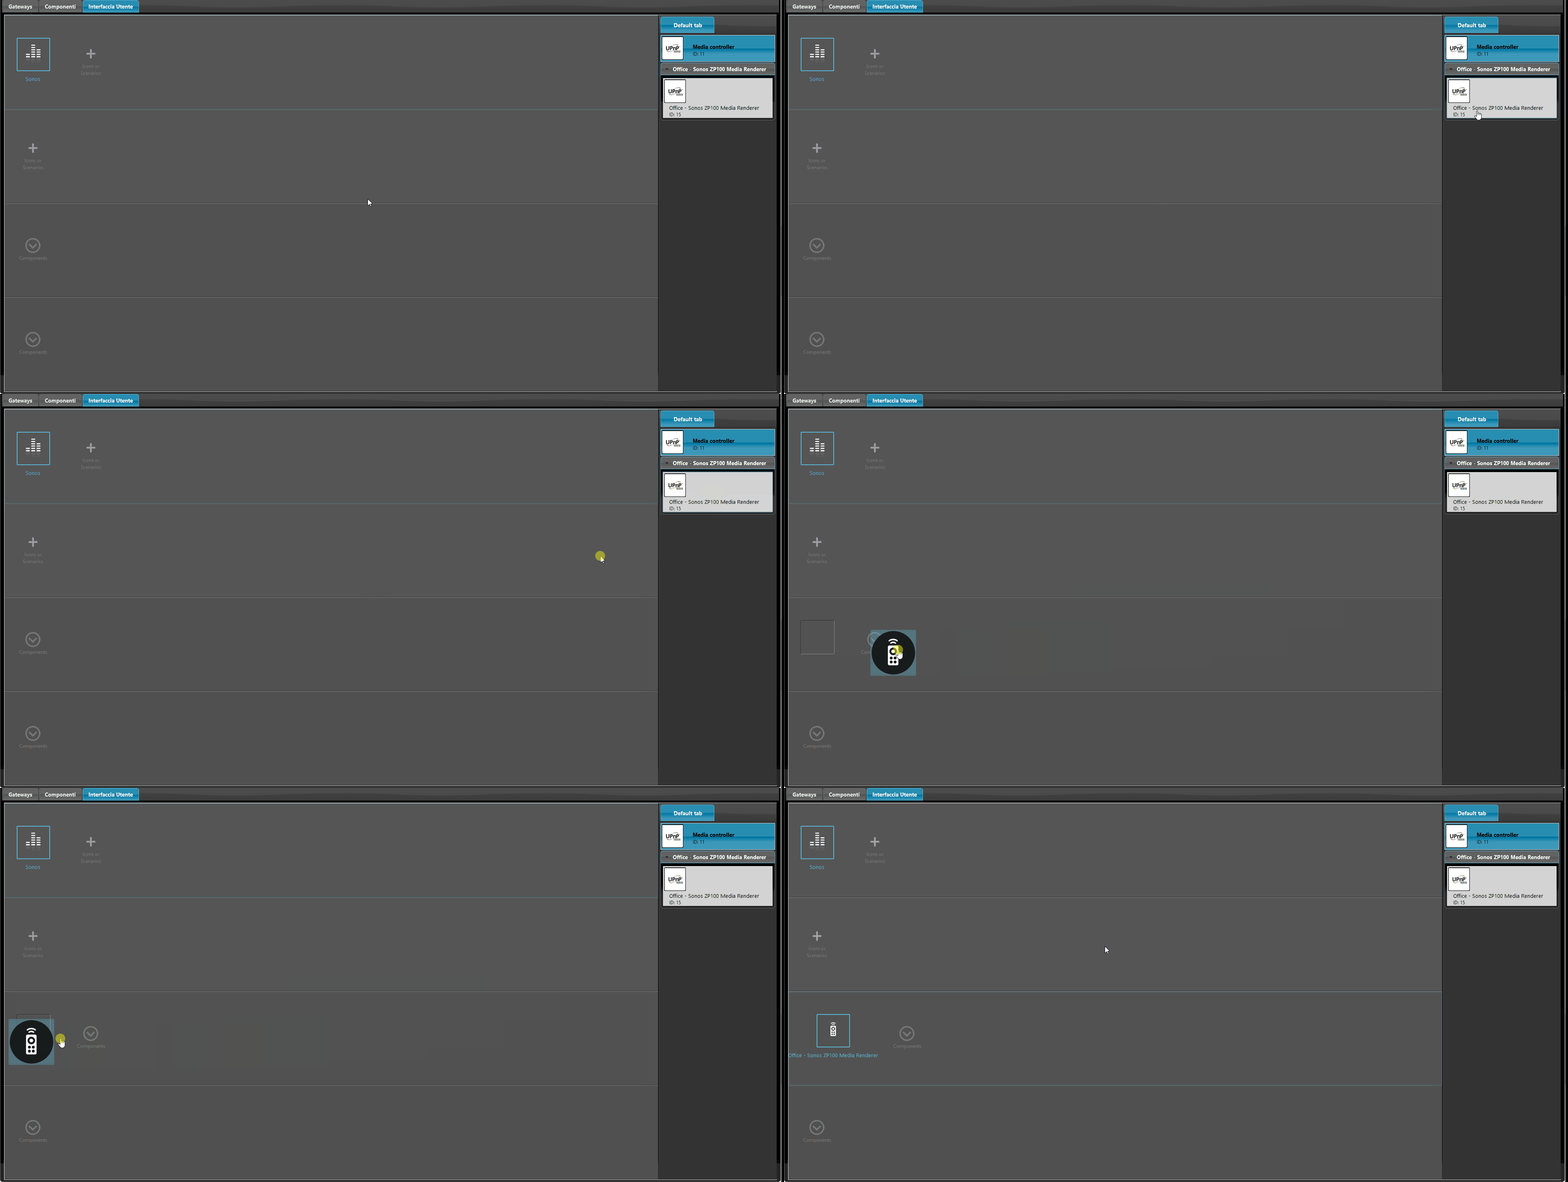
Step 6:
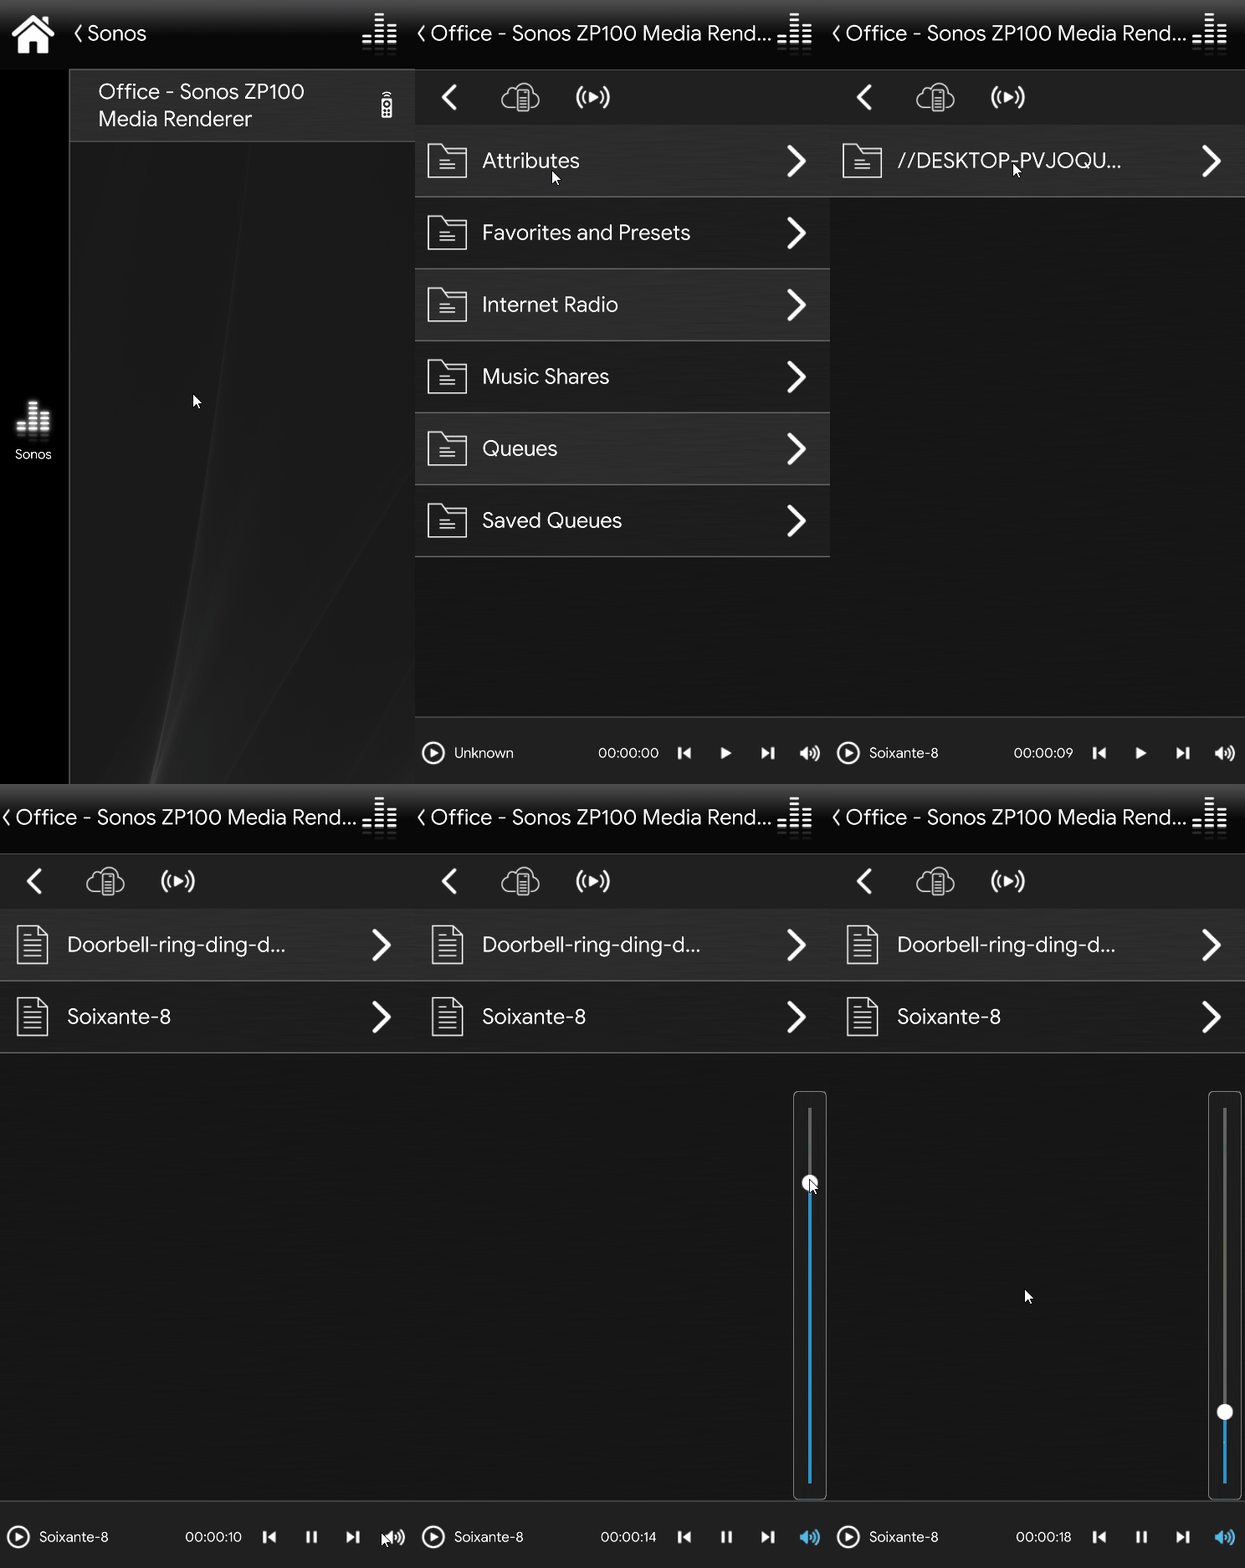
Once connected to the user interface, you will be able to interact with the Sonos device through the Ilevia Remote Plus application. In this example, a folder has been shared with the device to provide a usable playlist.