
Shelly RGBW2 integration with Ilevia via MQTT
How to configure the Shelly RGBW2 device via MQTT in Ilevia Manager to control RGB lights (colour changer) and white light.
Introduction
This Shelly device can control RGB lights.
In this guide you will learn how to set it up in our automation system.
Web interface configuration
Step 1:
Connect to its hotspot and enter its default IP address (192.168.33.1) in the browser address bar.

Step 2:
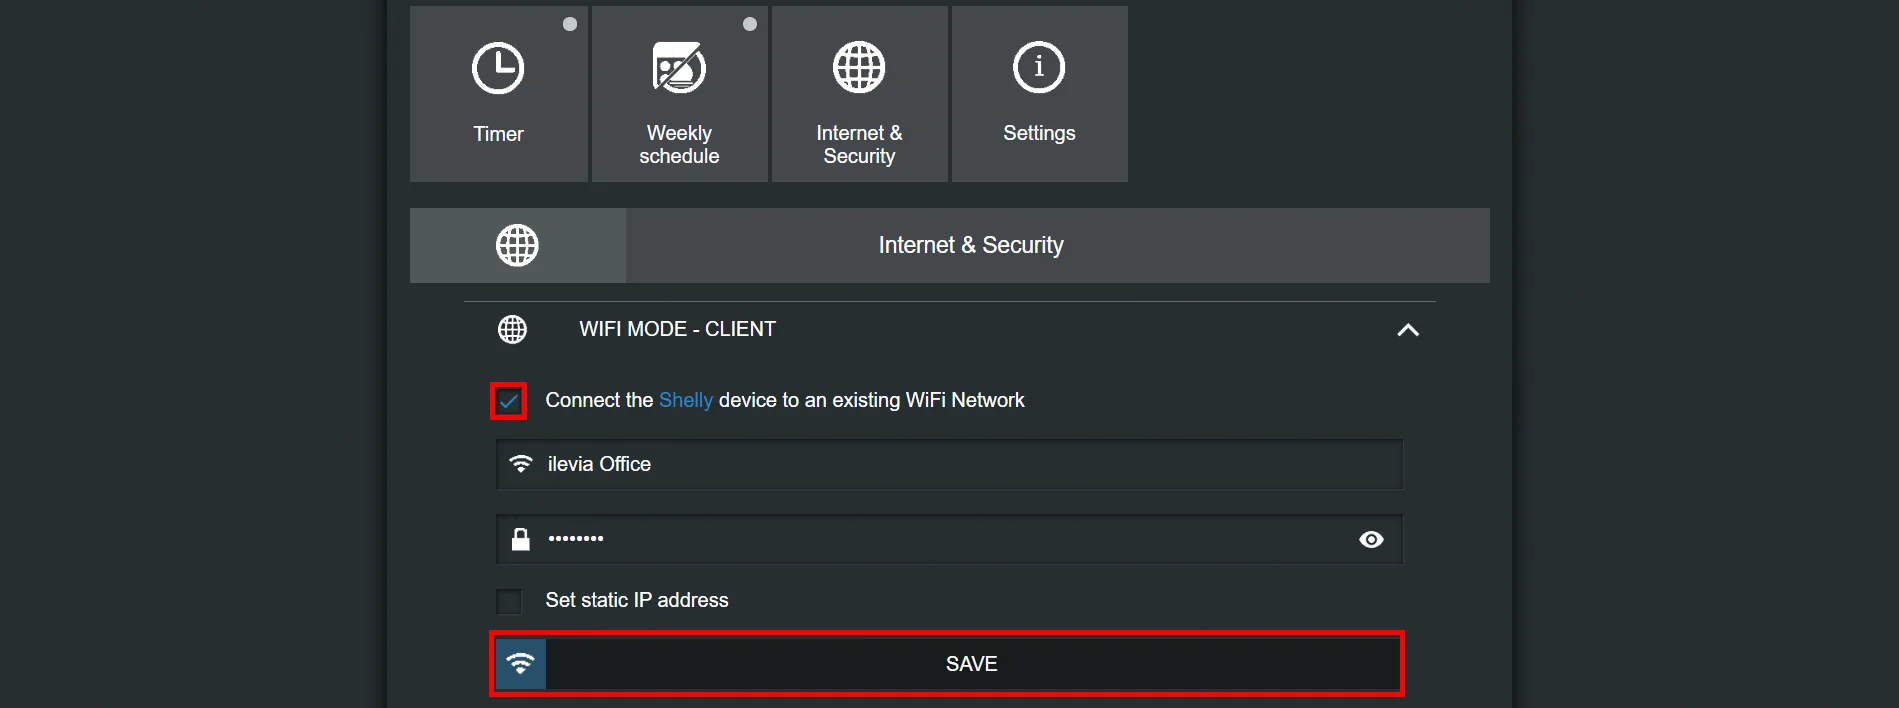
Go to the “Internet security settings” section, select the Wi-Fi client section and the “connect the shelly device to an existing wifi network” checkbox.
Enter your Wi-Fi network credentials.
Step 3:
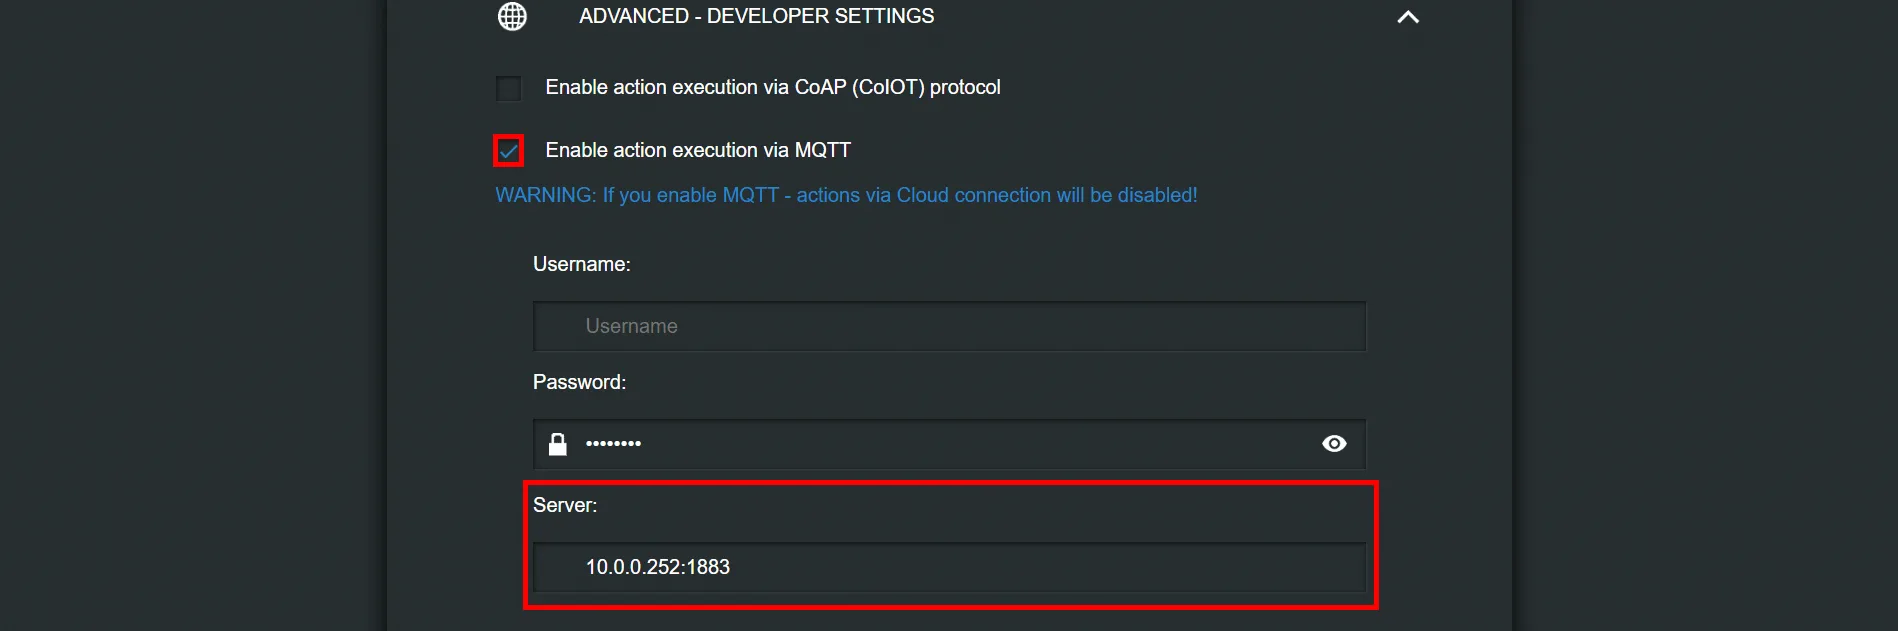
To enable the MQTT protocol, go to the “Advanced developer settings” section, select the “enable action execution via MQTT” checkbox, and enter the X1 server IP in the appropriate field.
Step 4:
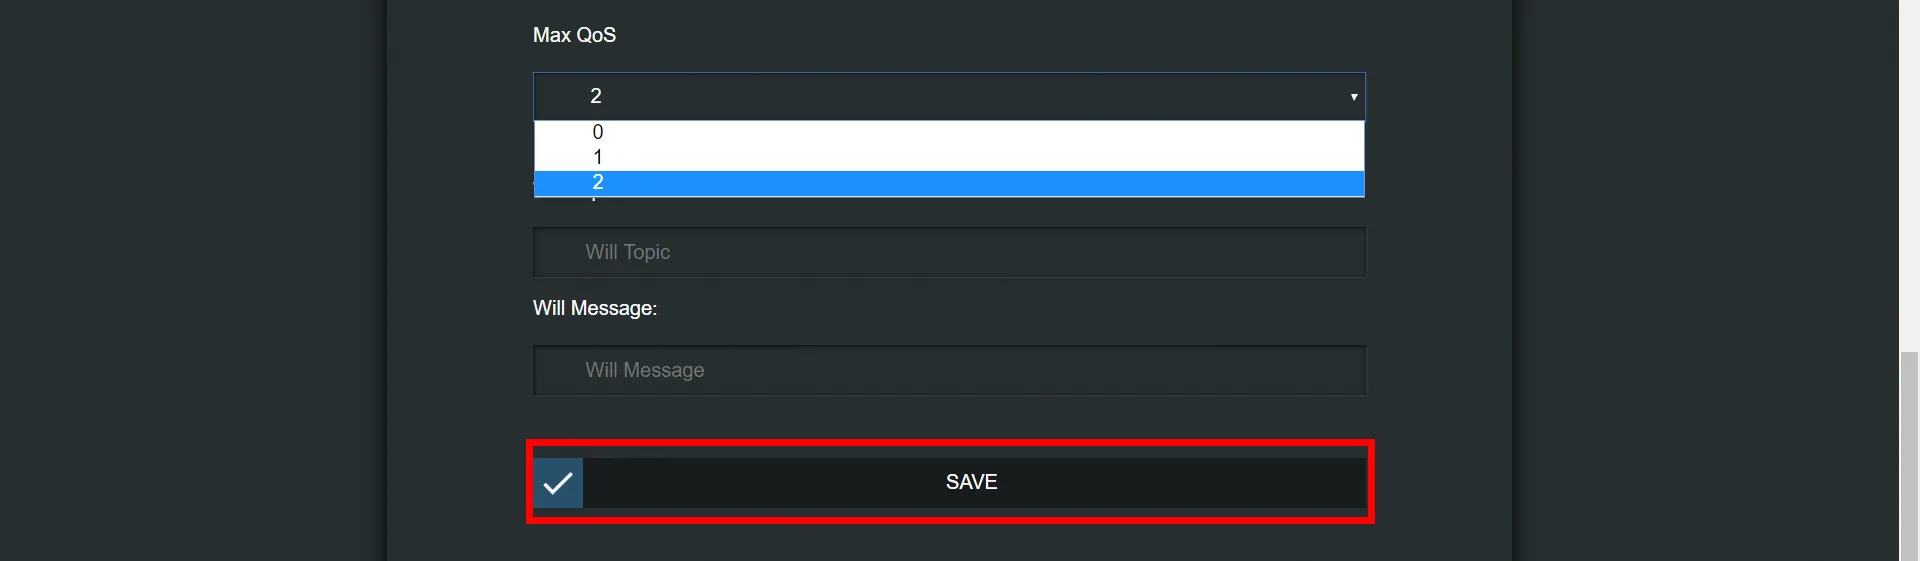
Set the Quality of Service (QoS) to 2, then click Save.
Step 5:
Refer to the Shelly website for more information on the topics we will use.
This explains how the topics have been set up.
Click this link to open the configuration of the topics shown.
Step 6:
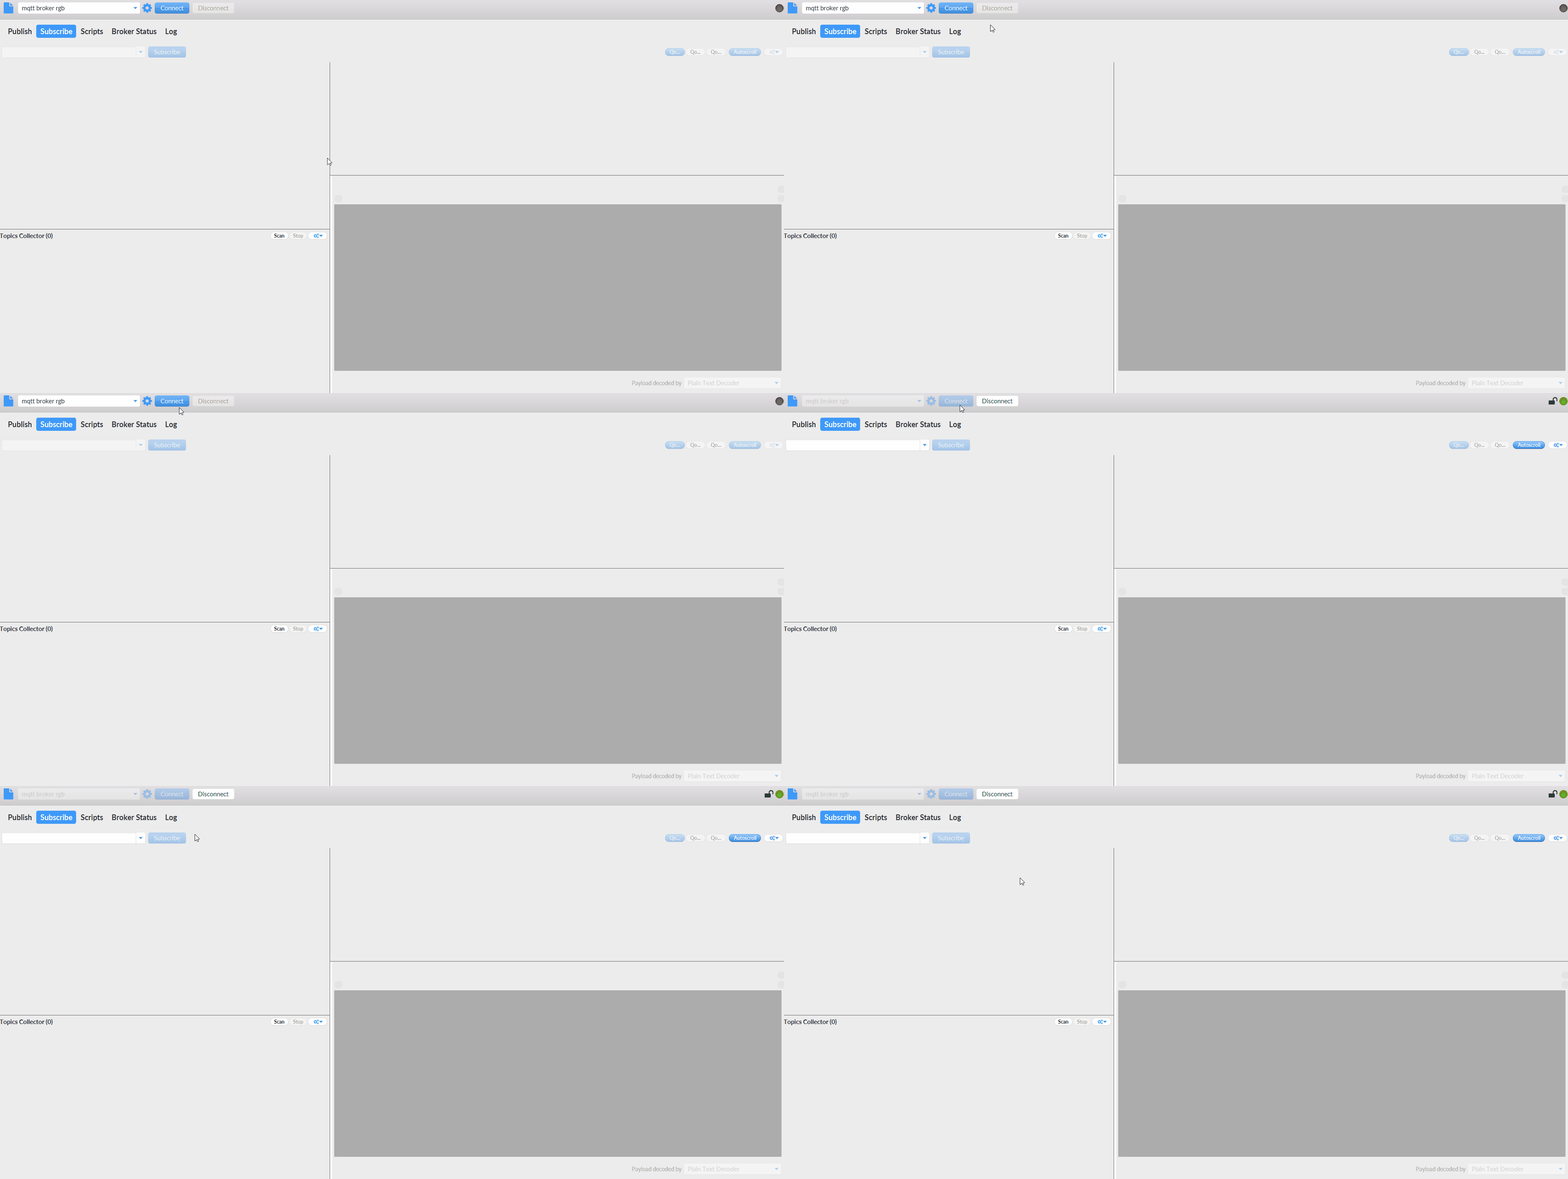
Download the MQTT fx configuration software: click this link to download it.
Refer to this guide for the settings required for the software. Then subscribe
to the general topic as shown below.
Step 7:
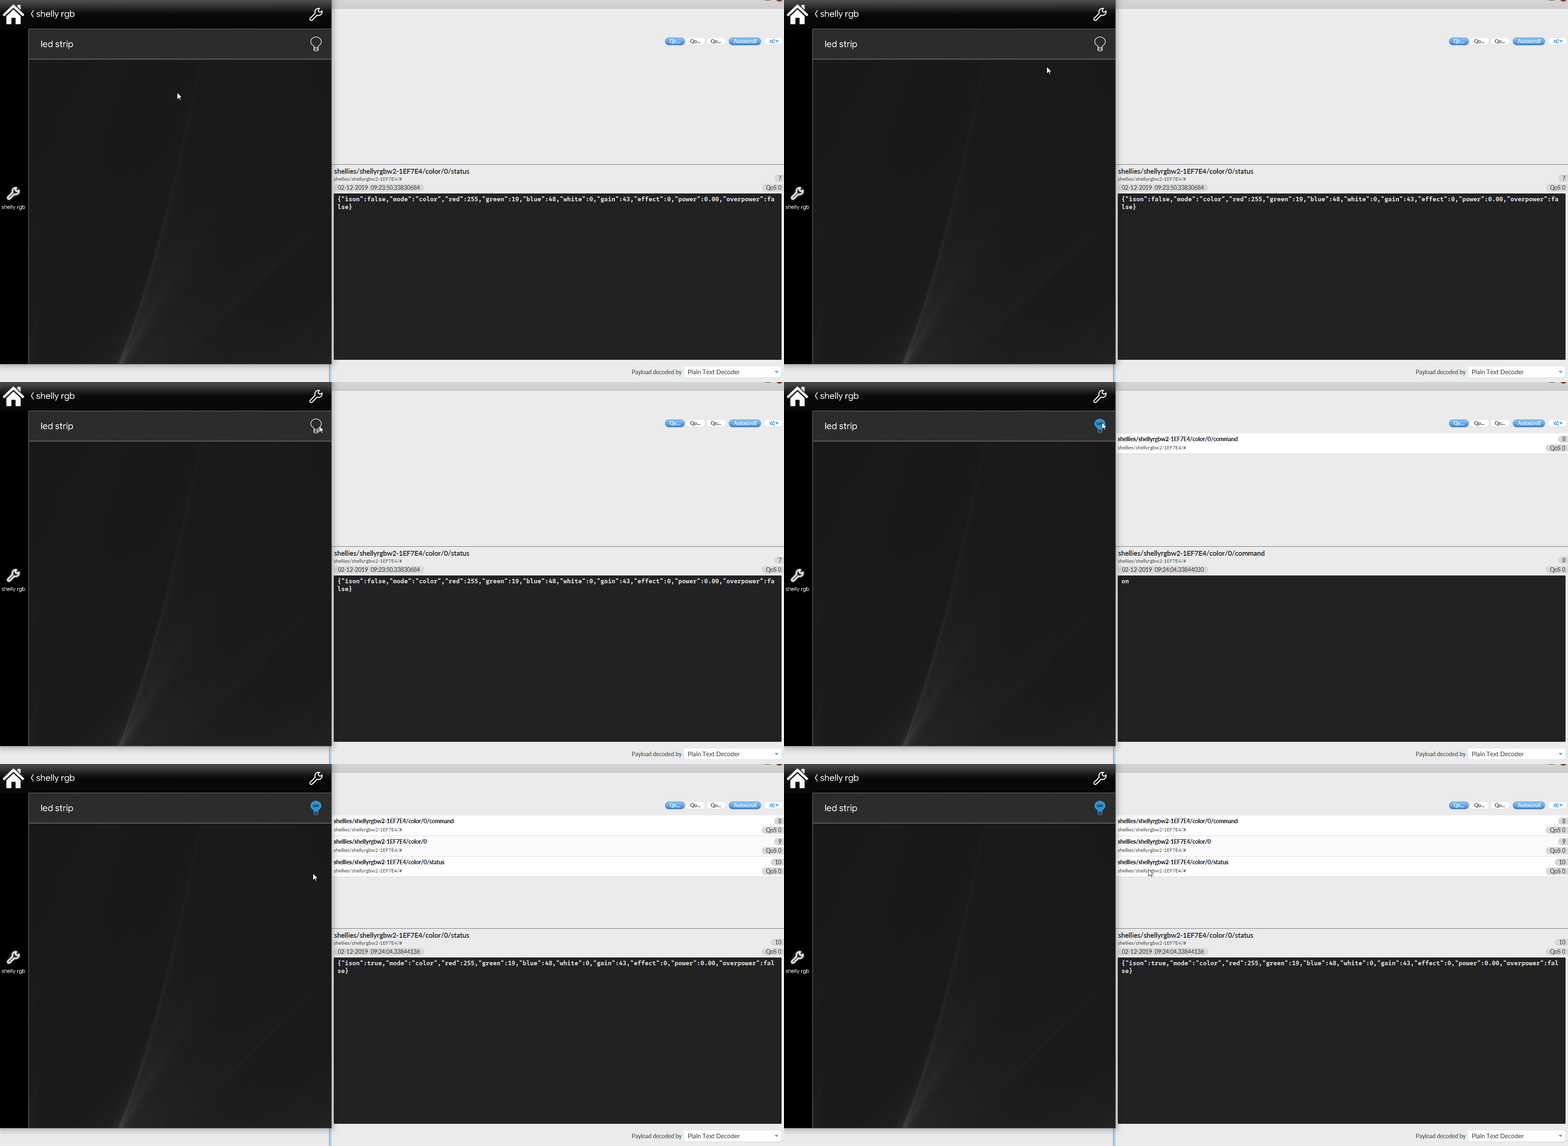
When you try to switch on the light through the application, you will see the topics pass through the software.
Colour changer
This part of the guide explains how to set up a colour changer on the Shelly RGBW2 device.
Step 1.1:
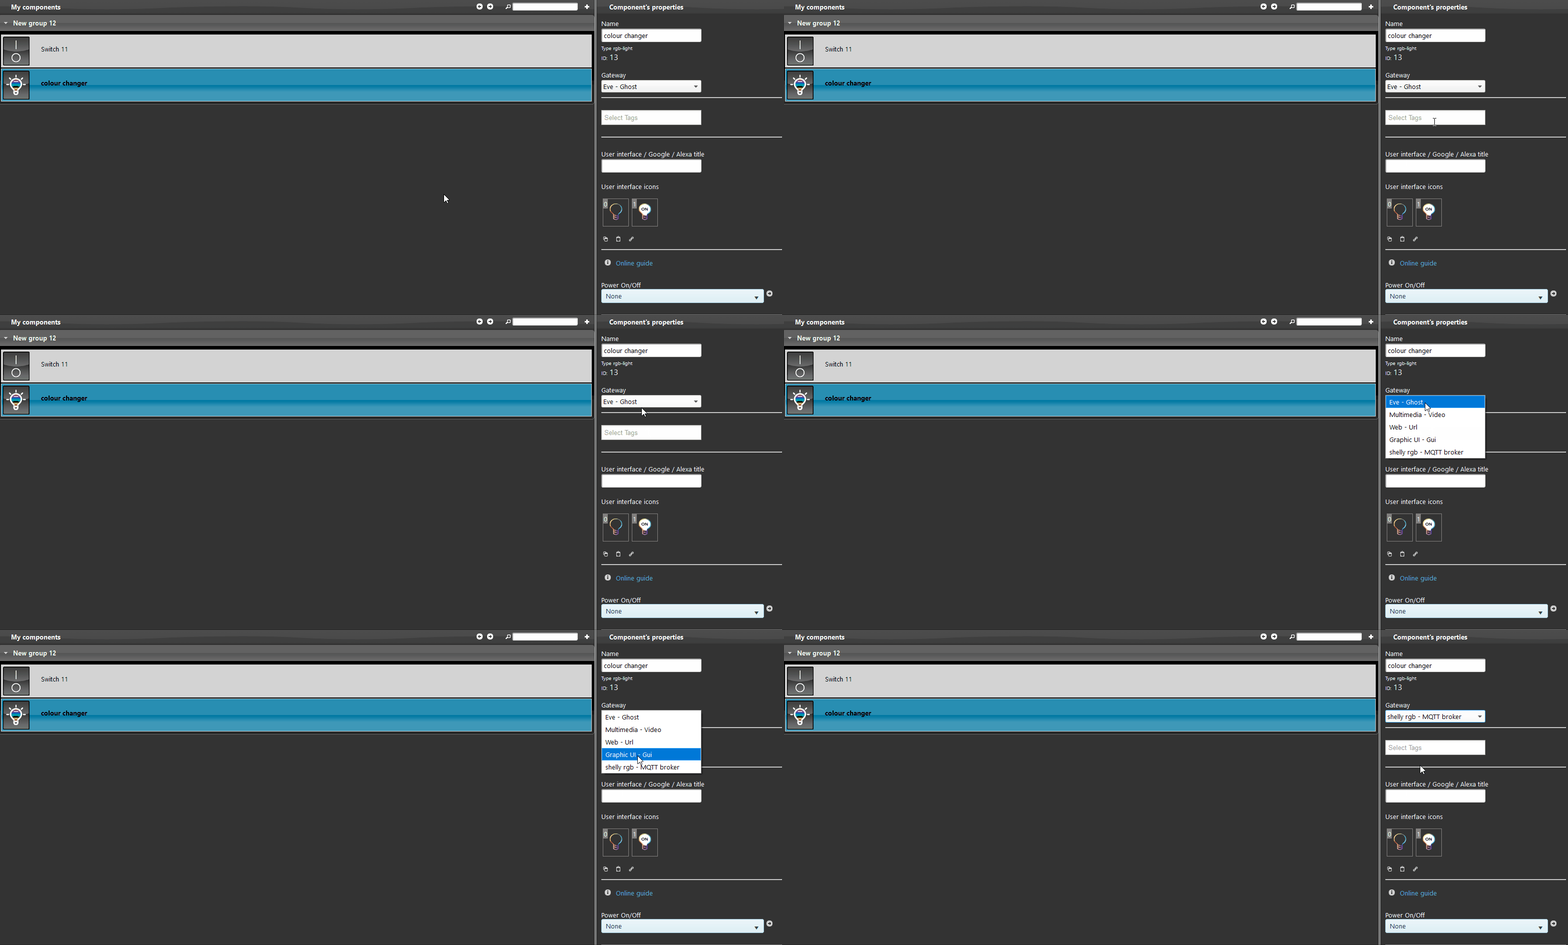
Add an RGB lighting component to the project.
Select the MQTT gateway from the component drop-down menu.
Step 1.2:
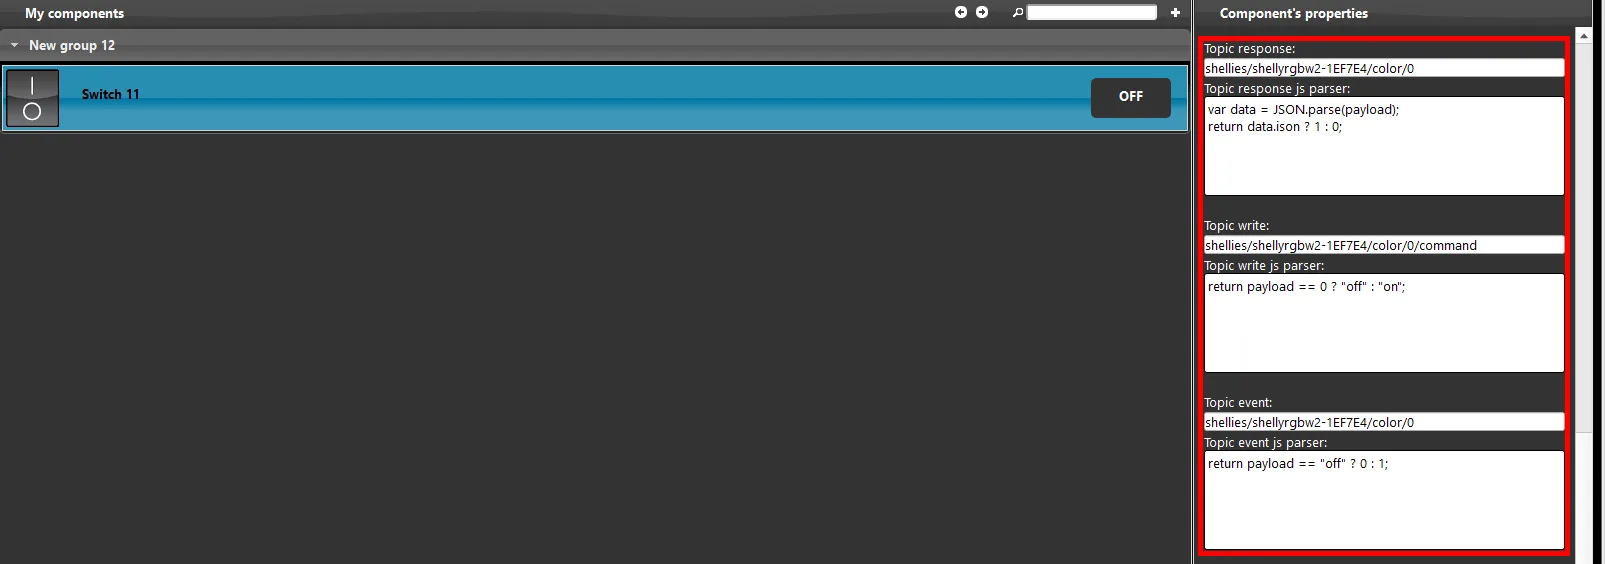
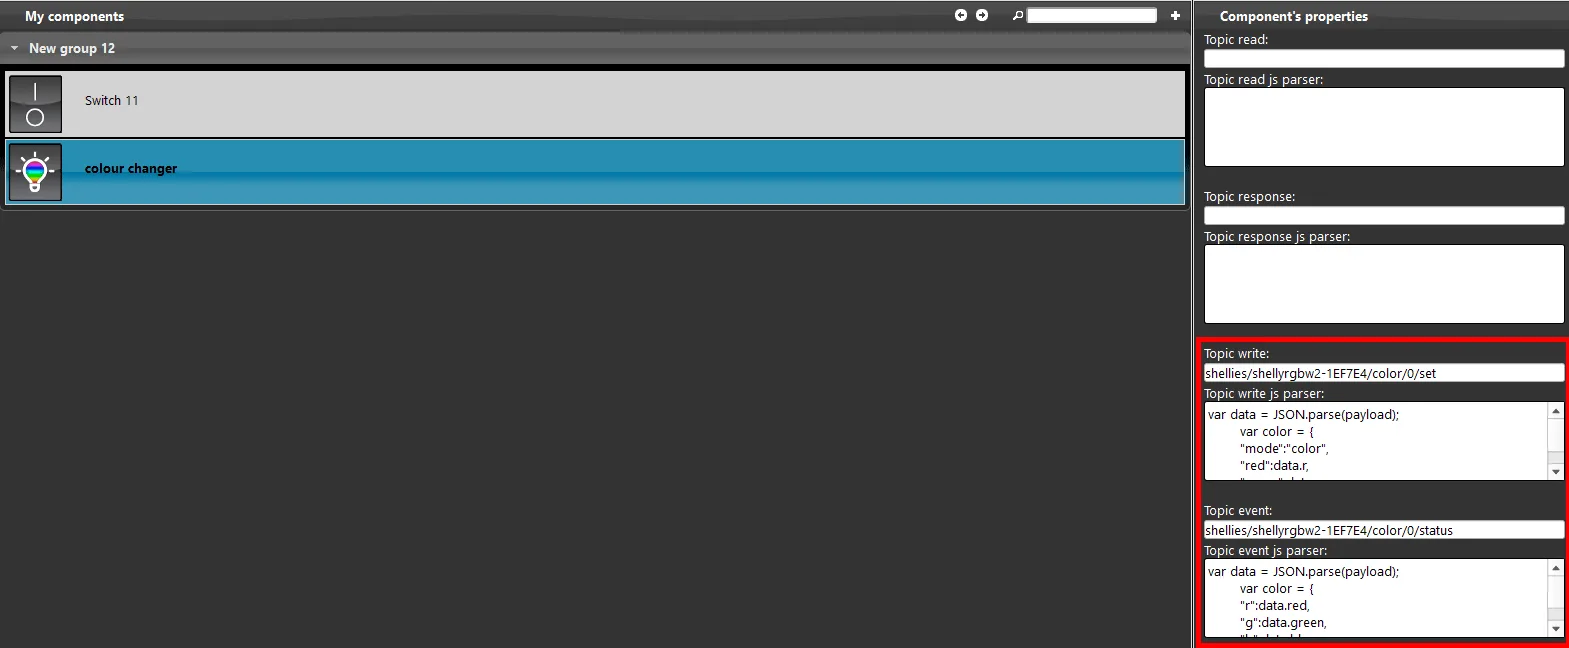
Set the topics: the ones to set are “write” and “event”. As shown in the image below, these are the two topics we will subscribe to.
You will need to enter the strings shown in the following file: they are used to create the colour changer.
Click this link to view the configuration of the topics shown.
Step 1.3:
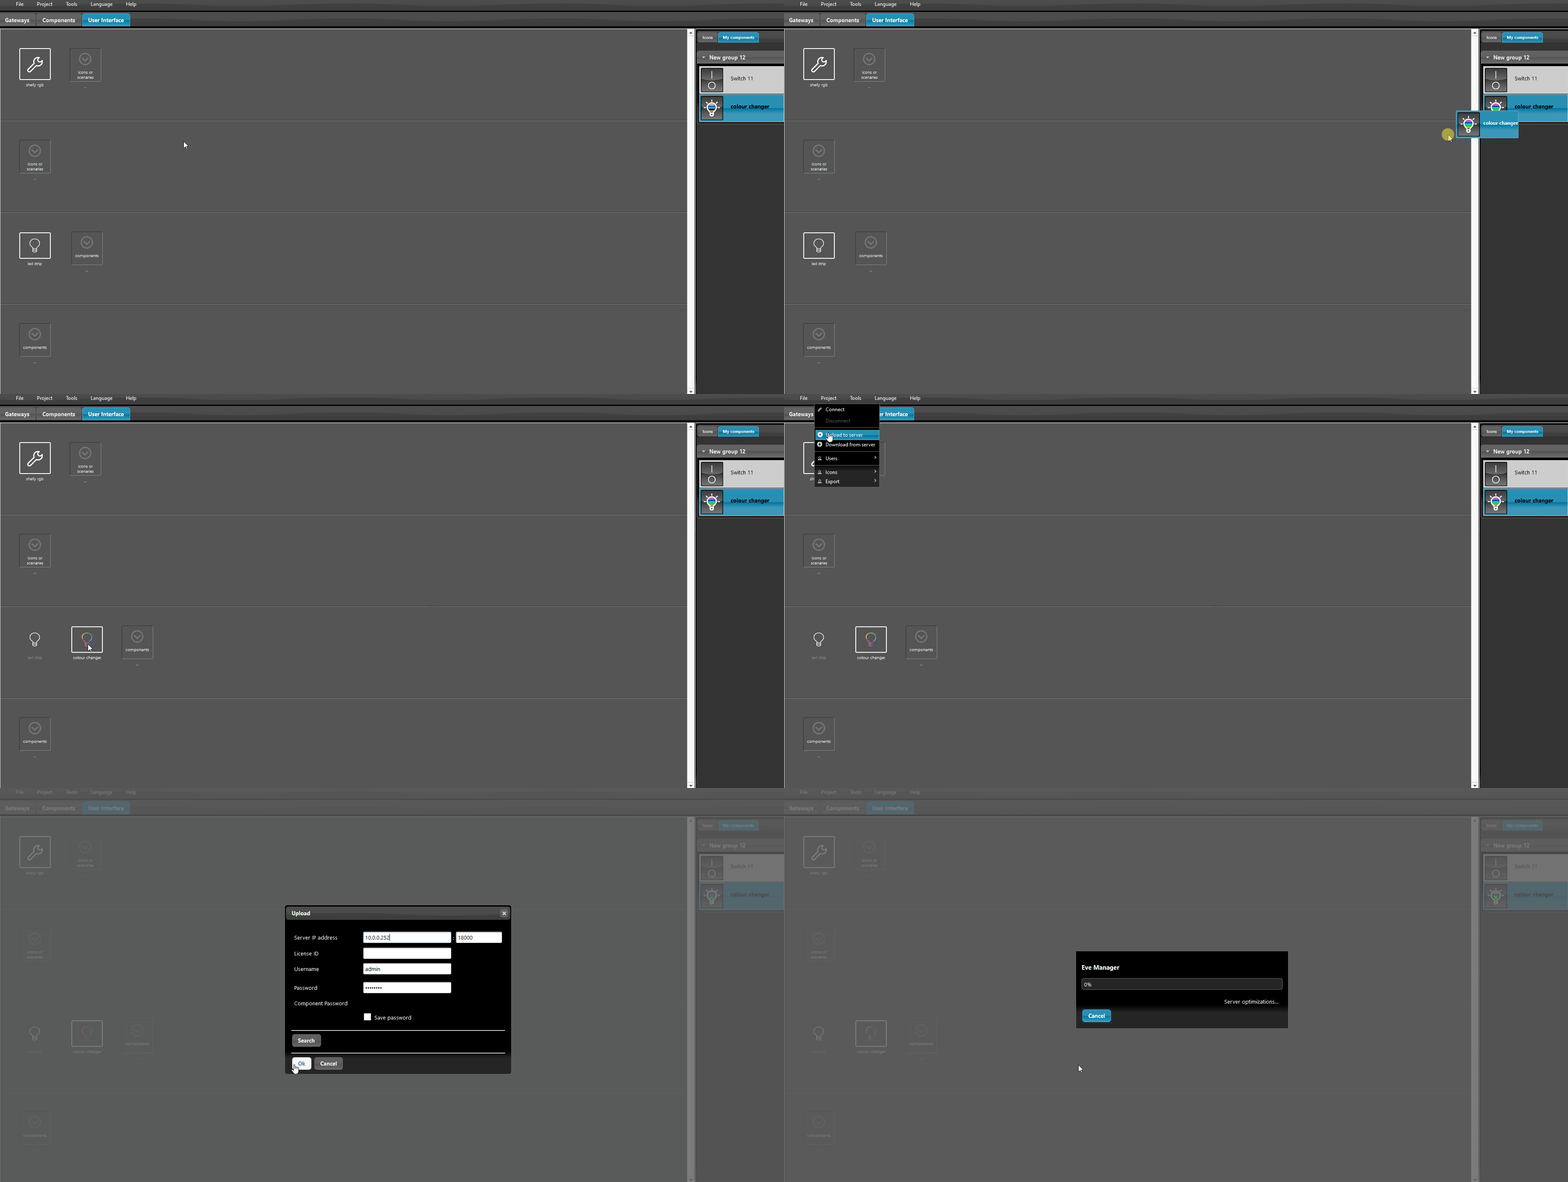
Add the newly created component to the user interface and upload it to the server.
Then open the Ilevia Control supervision app and test it!
White switching function
This part of the guide explains how to set up white LED switching on the Shelly RGBW2 device via MQTT protocol in Ilevia Manager.
Step 2.1:
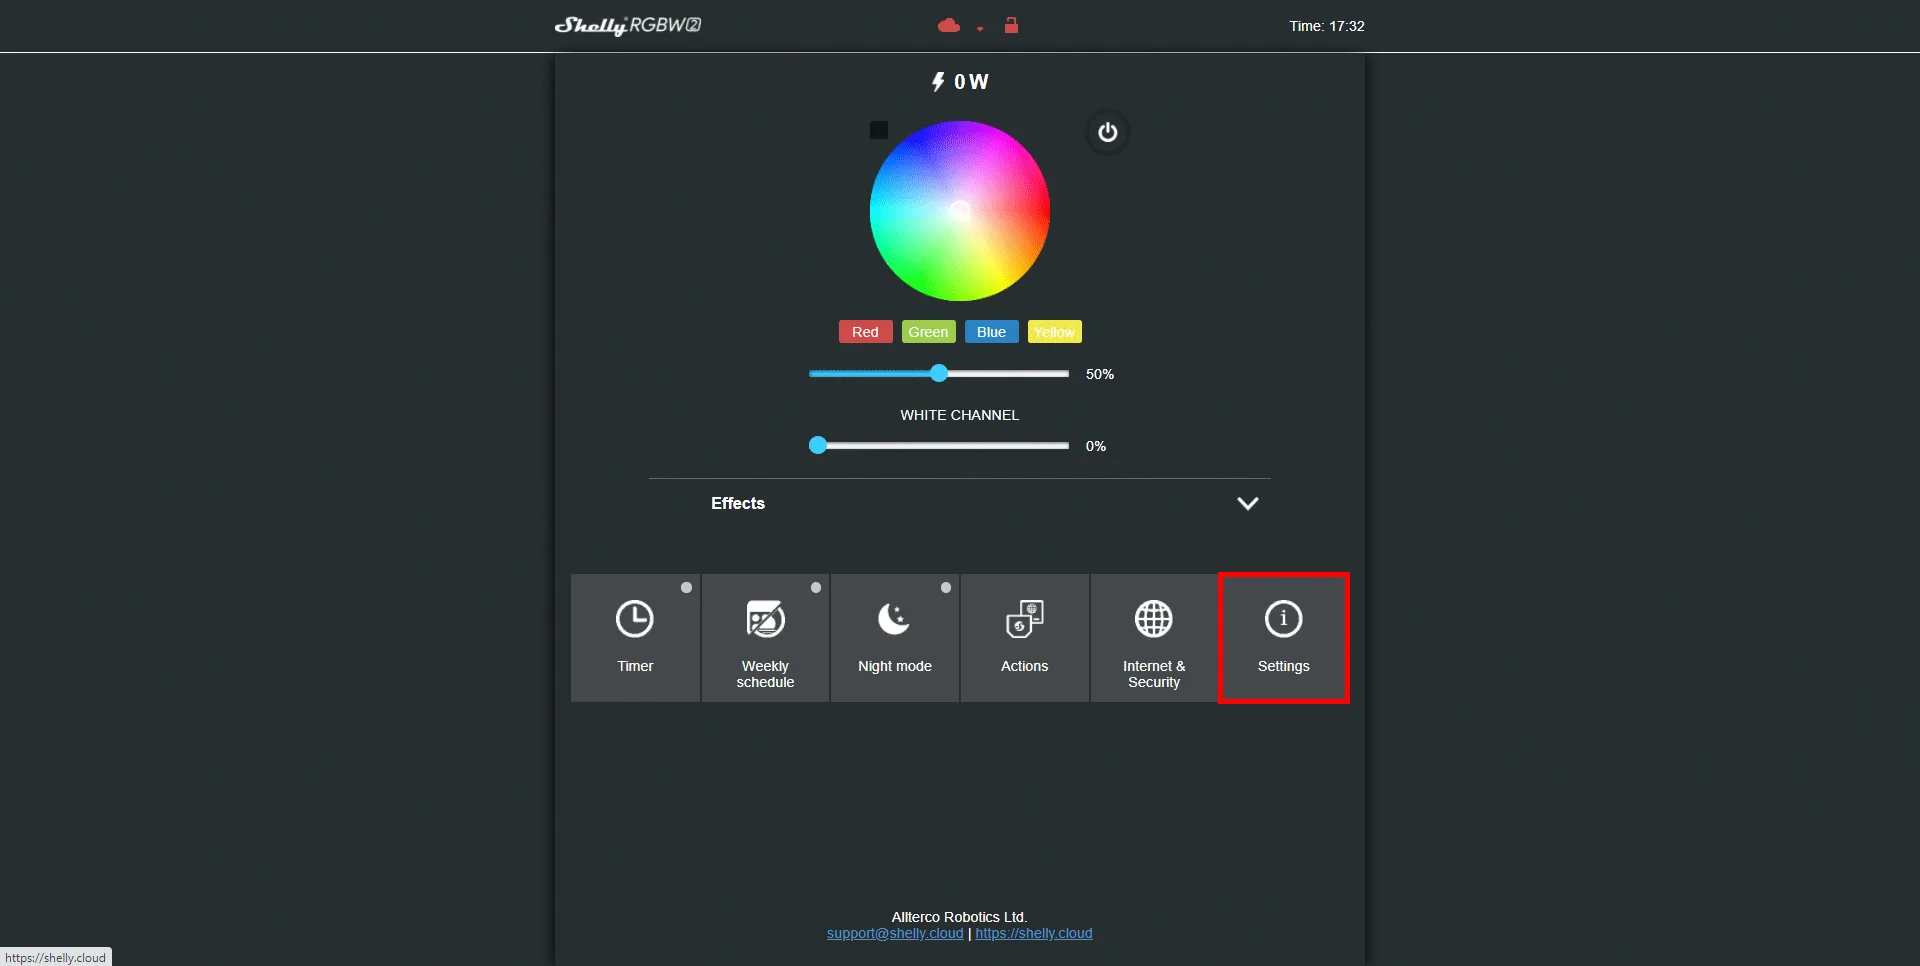
First, you need to configure the Shelly device so that it uses only white mode:
Go to the interface of your Shelly RGBW2 device and click the “settings” menu.
Step 2.2:
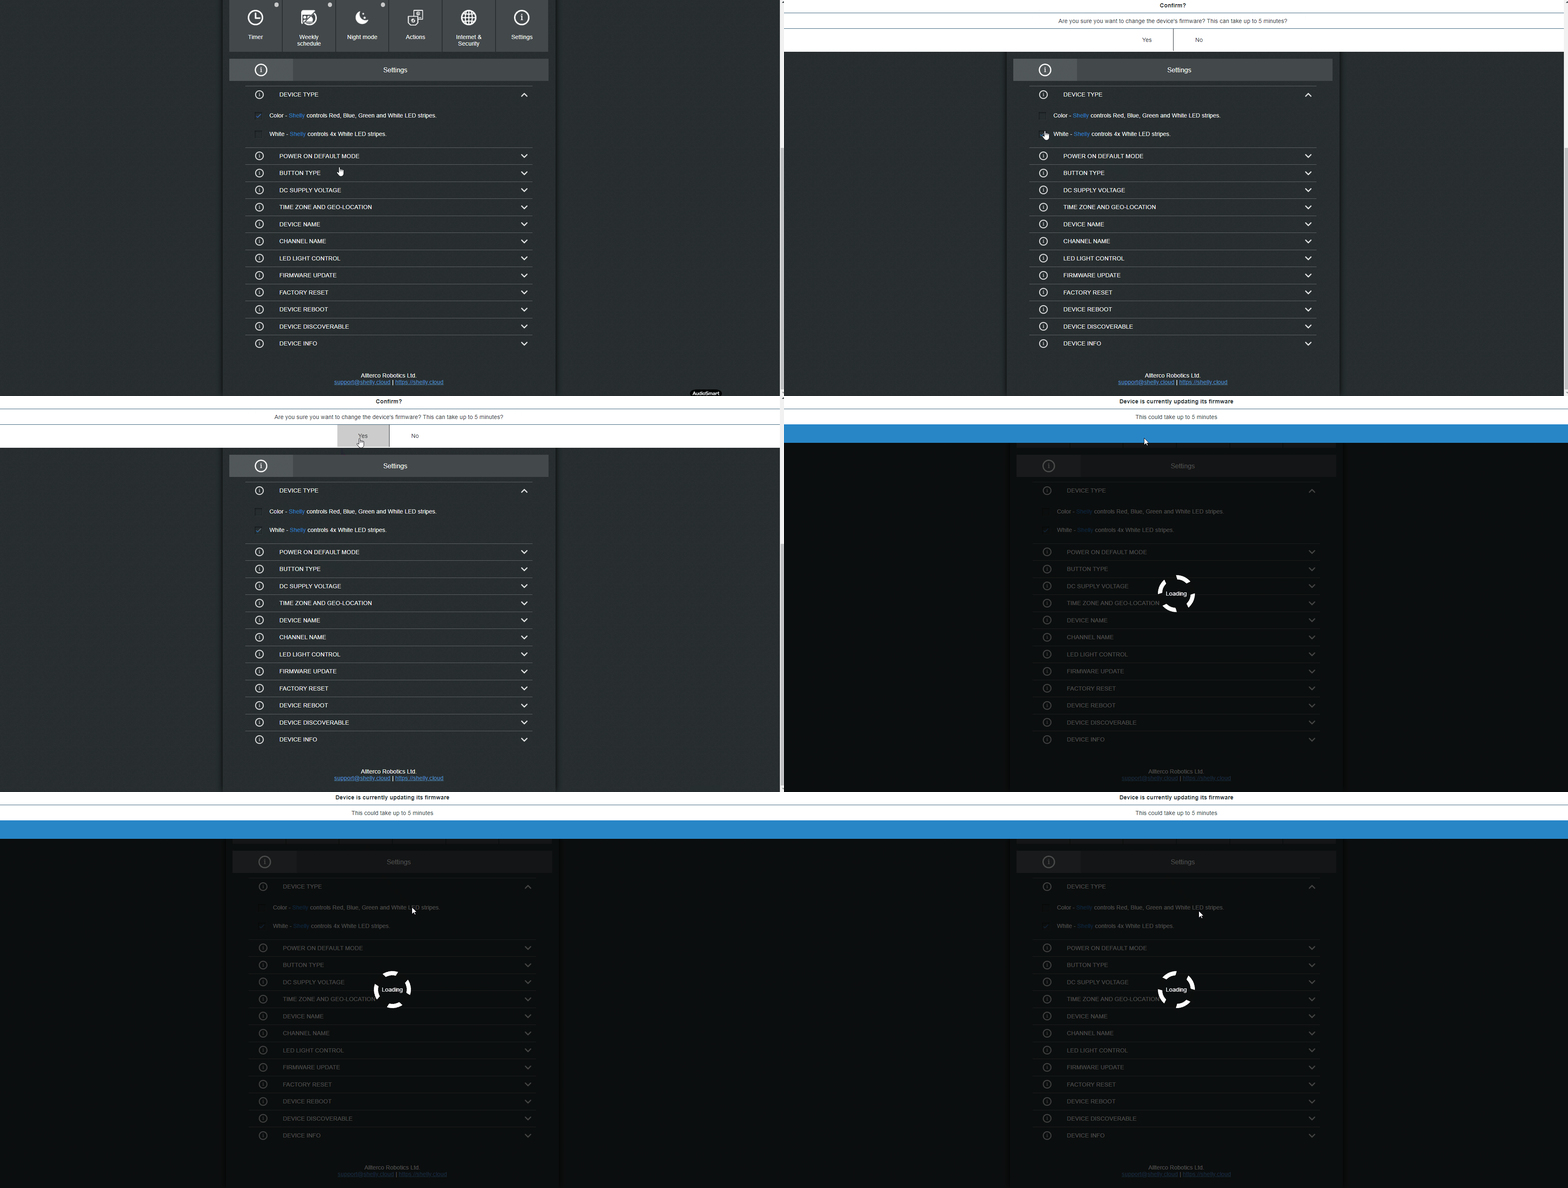
Now click on “device type” and select “White – Shelly controls 4x White LED stripes”: the device will configure itself and restart automatically.
Step 2.3:
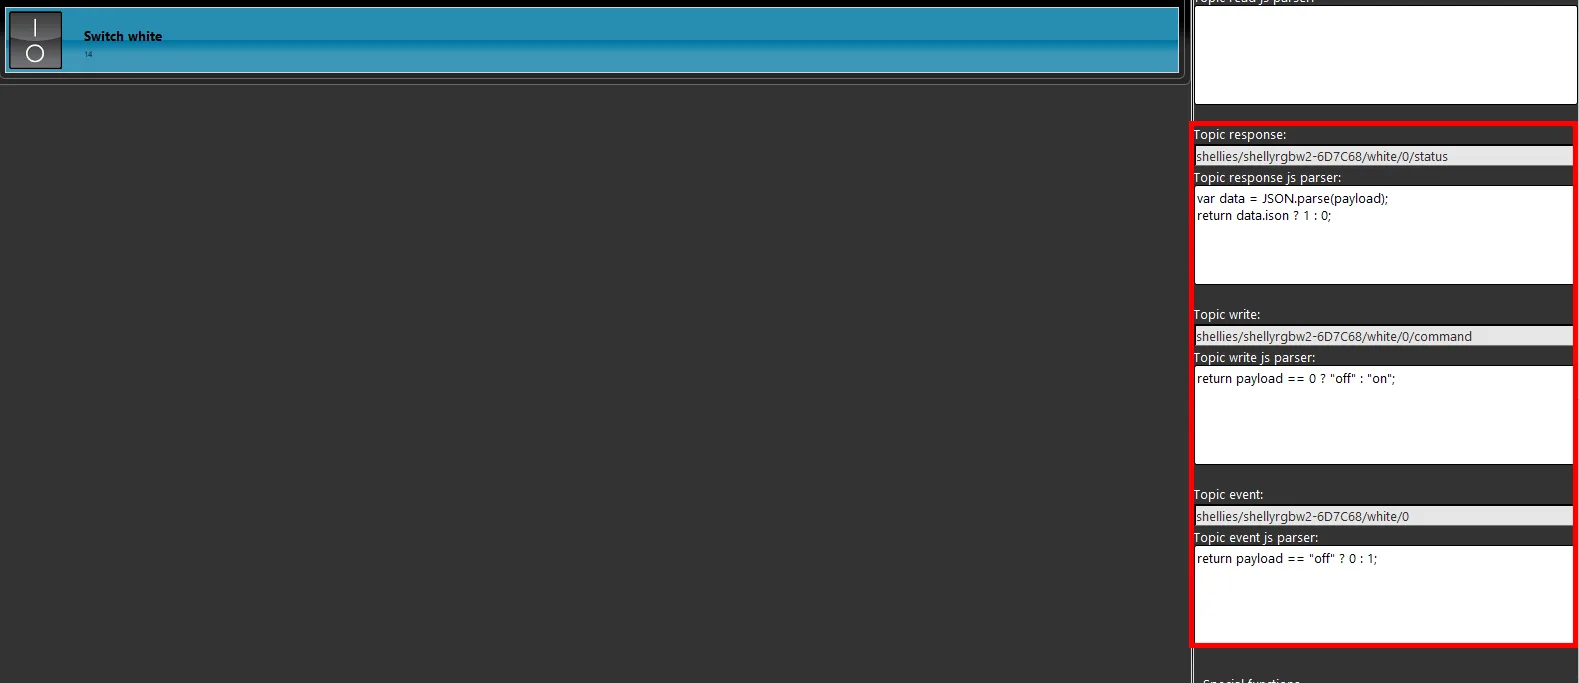
The white LED switching configuration is not very different from the standard one explained earlier, but the topics change as shown below.
Click this link to view the configuration of the topics shown.
Step 2.4:
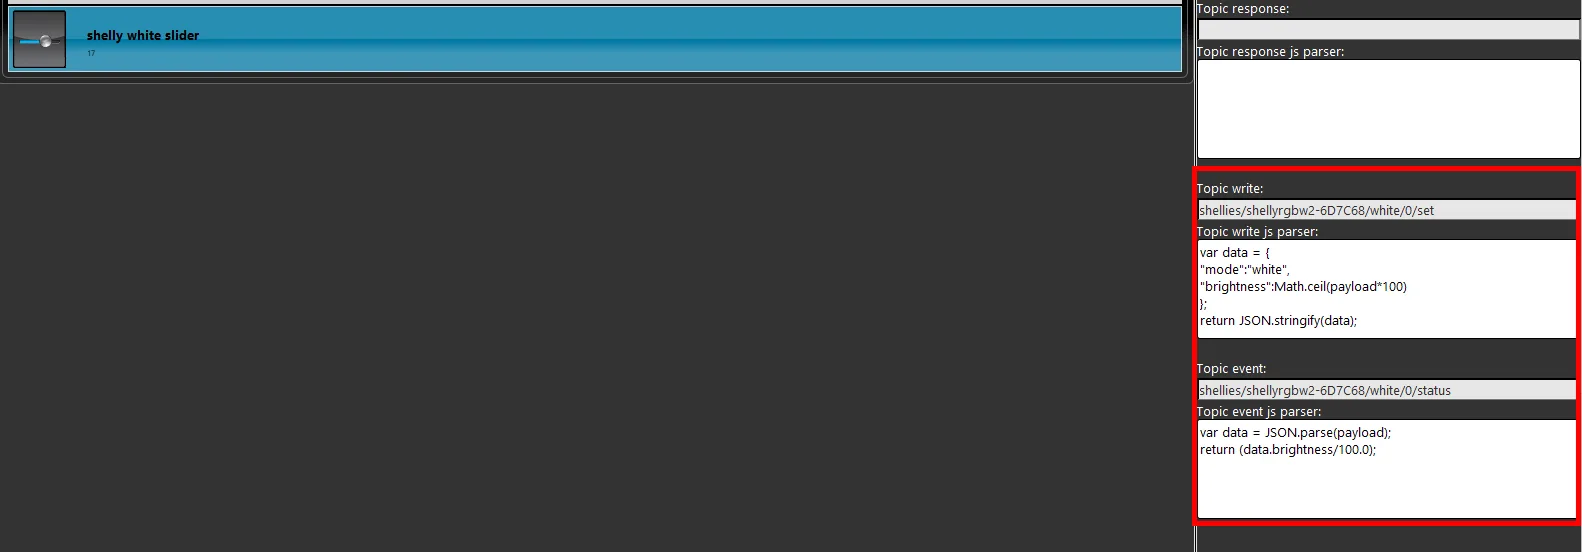
Now we configure the slider component, which allows you to adjust the brightness of the white light emitted by the LED strip.
Click this link to view the configuration of the topics shown.
Step 2.5:
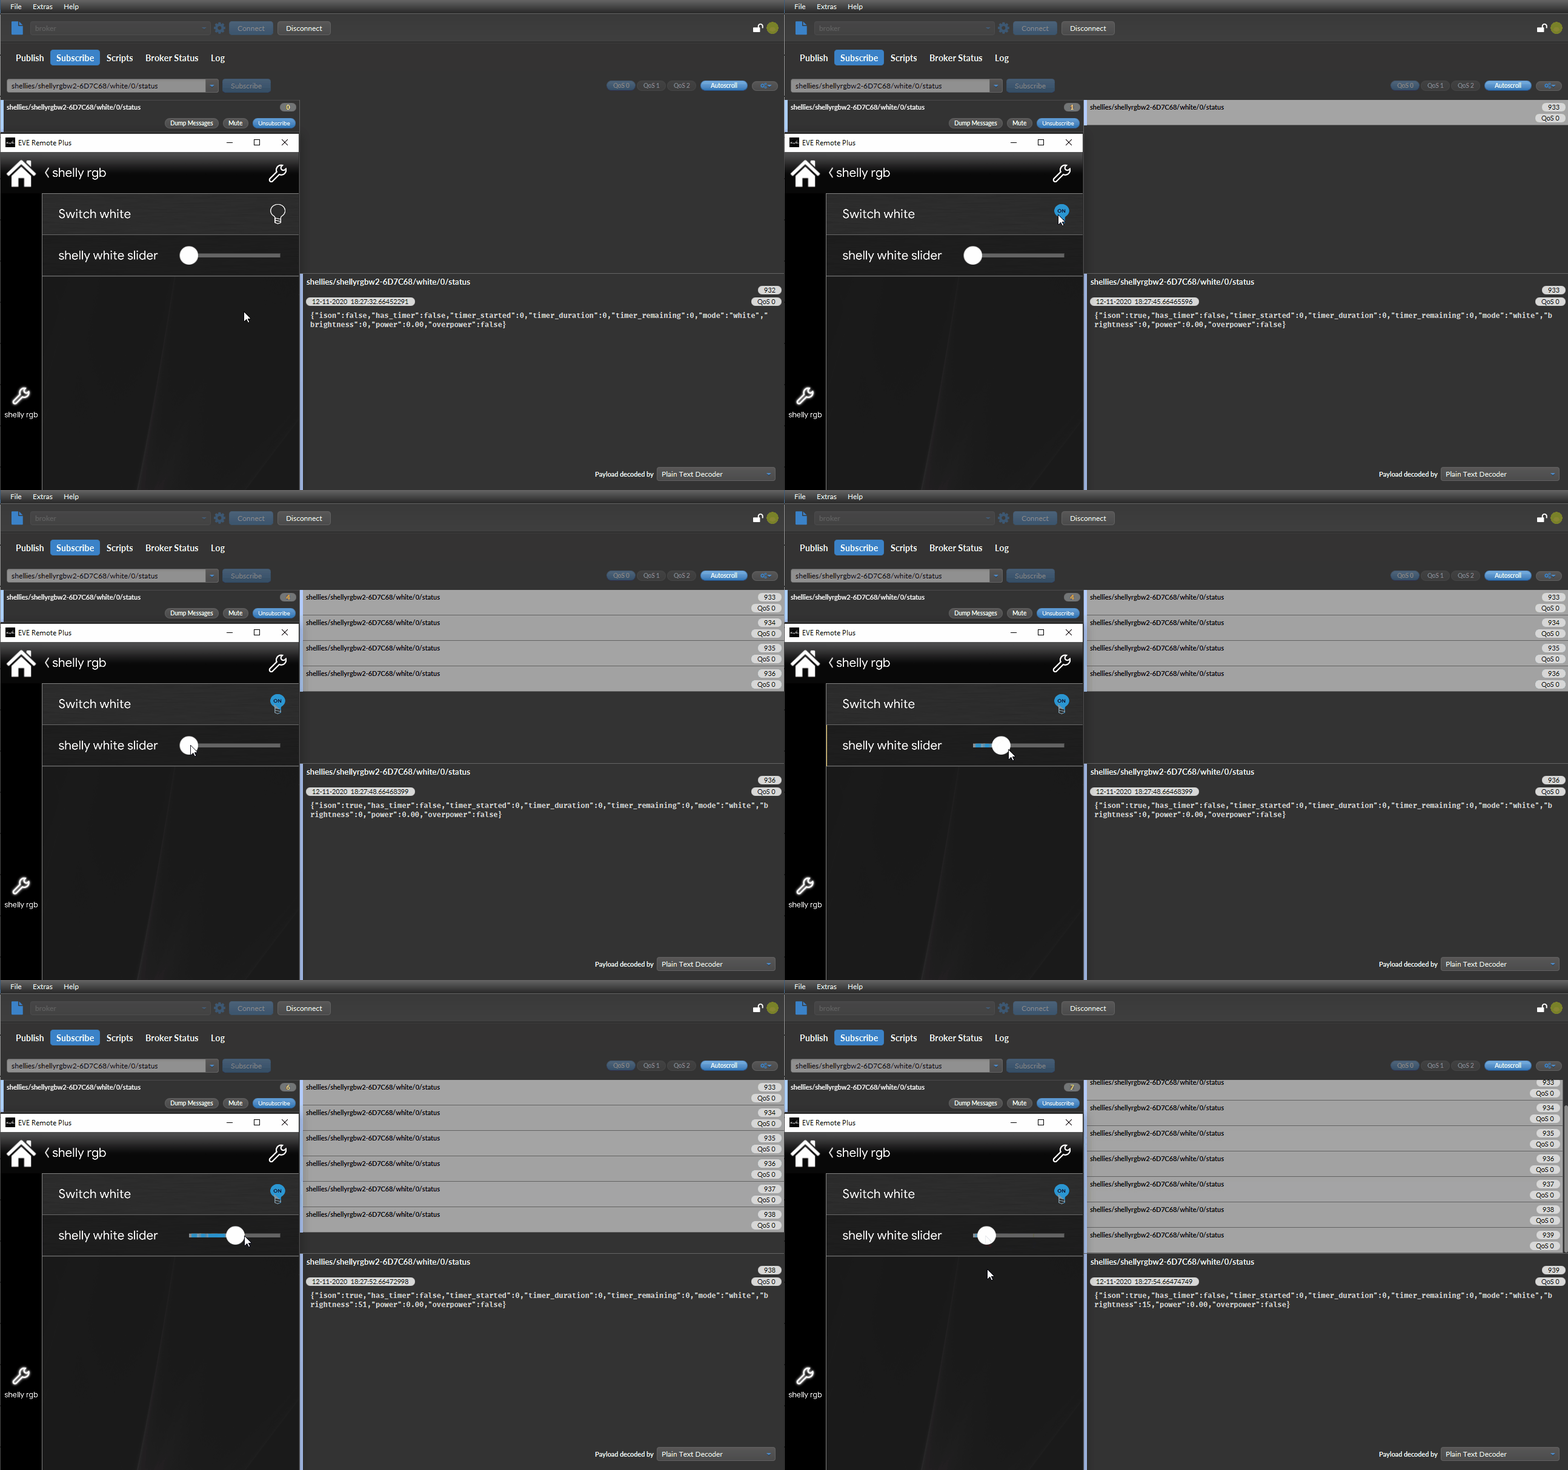
As you can see in the figure below, by clicking the component in the Ilevia Control app interface, the LED strip connected to the Shelly device will switch on with white LEDs.
Troubleshooting
1- Make sure you have the latest available version of Ilevia Manager and the X1 server firmware.
2- Make sure the Shelly device is correctly connected to your network.
3- If you cannot connect the broker, check that the X1 has been configured correctly.
Frequently asked questions
I do not see the topics passing through the MQTT fx software broker
Make sure you have configured the software settings correctly as described in this guide.