HomeKit Integration with Ilevia
How to configure the HomeKit component in Ilevia Manager to control your Ilevia system devices with Siri and the Home app.
Introduction
The HomeKit component integrates the Ilevia automation system with Apple HomeKit: it lets you manage Ilevia home automation devices such as lights, temperature and security with Siri, and create custom scenes. This guide explains how to configure a Light device in the component configurator.
Component properties
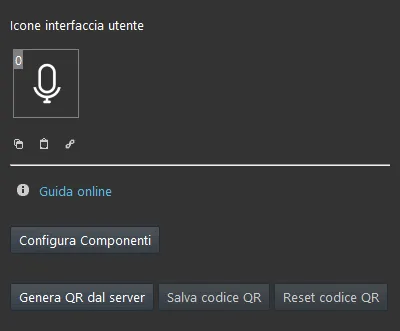
Configure components: this button opens the configuration screen for the HomeKit components, which will be added to the HomeKit app;
Get QR code from server: this button requests the QR code to be created by the Ilevia server;
Save QR code: this button lets you save the QR code in local files;
Reset QR code: this button resets the QR code saved on the Ilevia server.
HomeKit component configurator
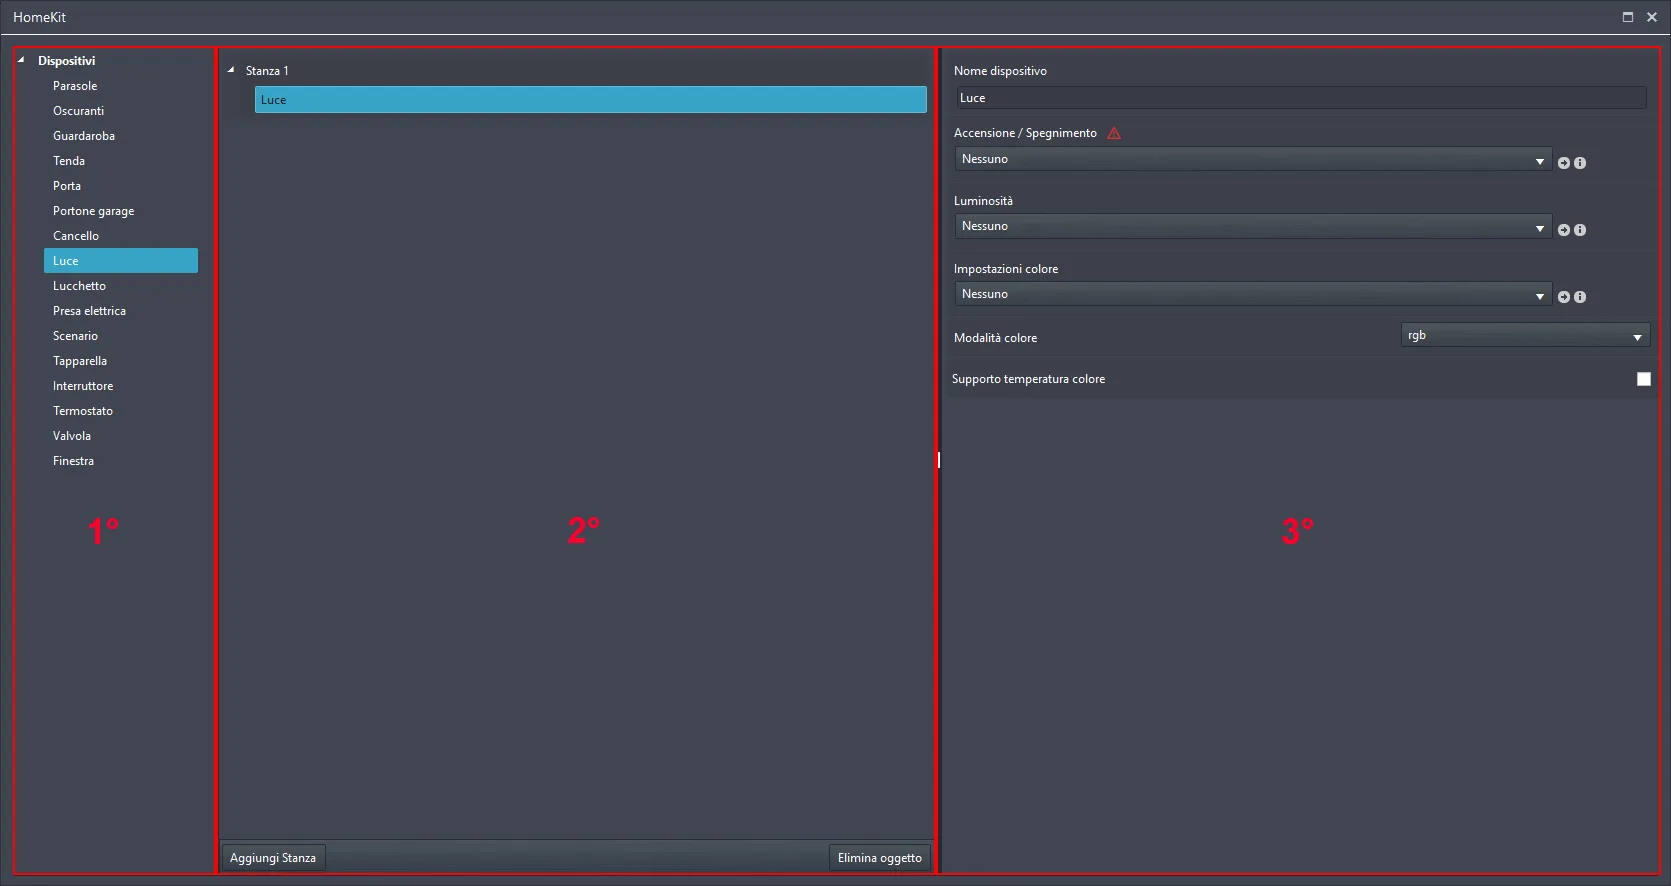
The HomeKit component configurator is made up of three sections. The first section, starting from the left, contains all the devices that can be added to the structure. The second section lets you add devices and create organized rooms. The third section is used to configure the devices added to the HomeKit component.
At the bottom of the second section there are two buttons, which let you add and delete objects in the HomeKit component configurator.
Add room: this option lets you add rooms to the HomeKit component configuration.
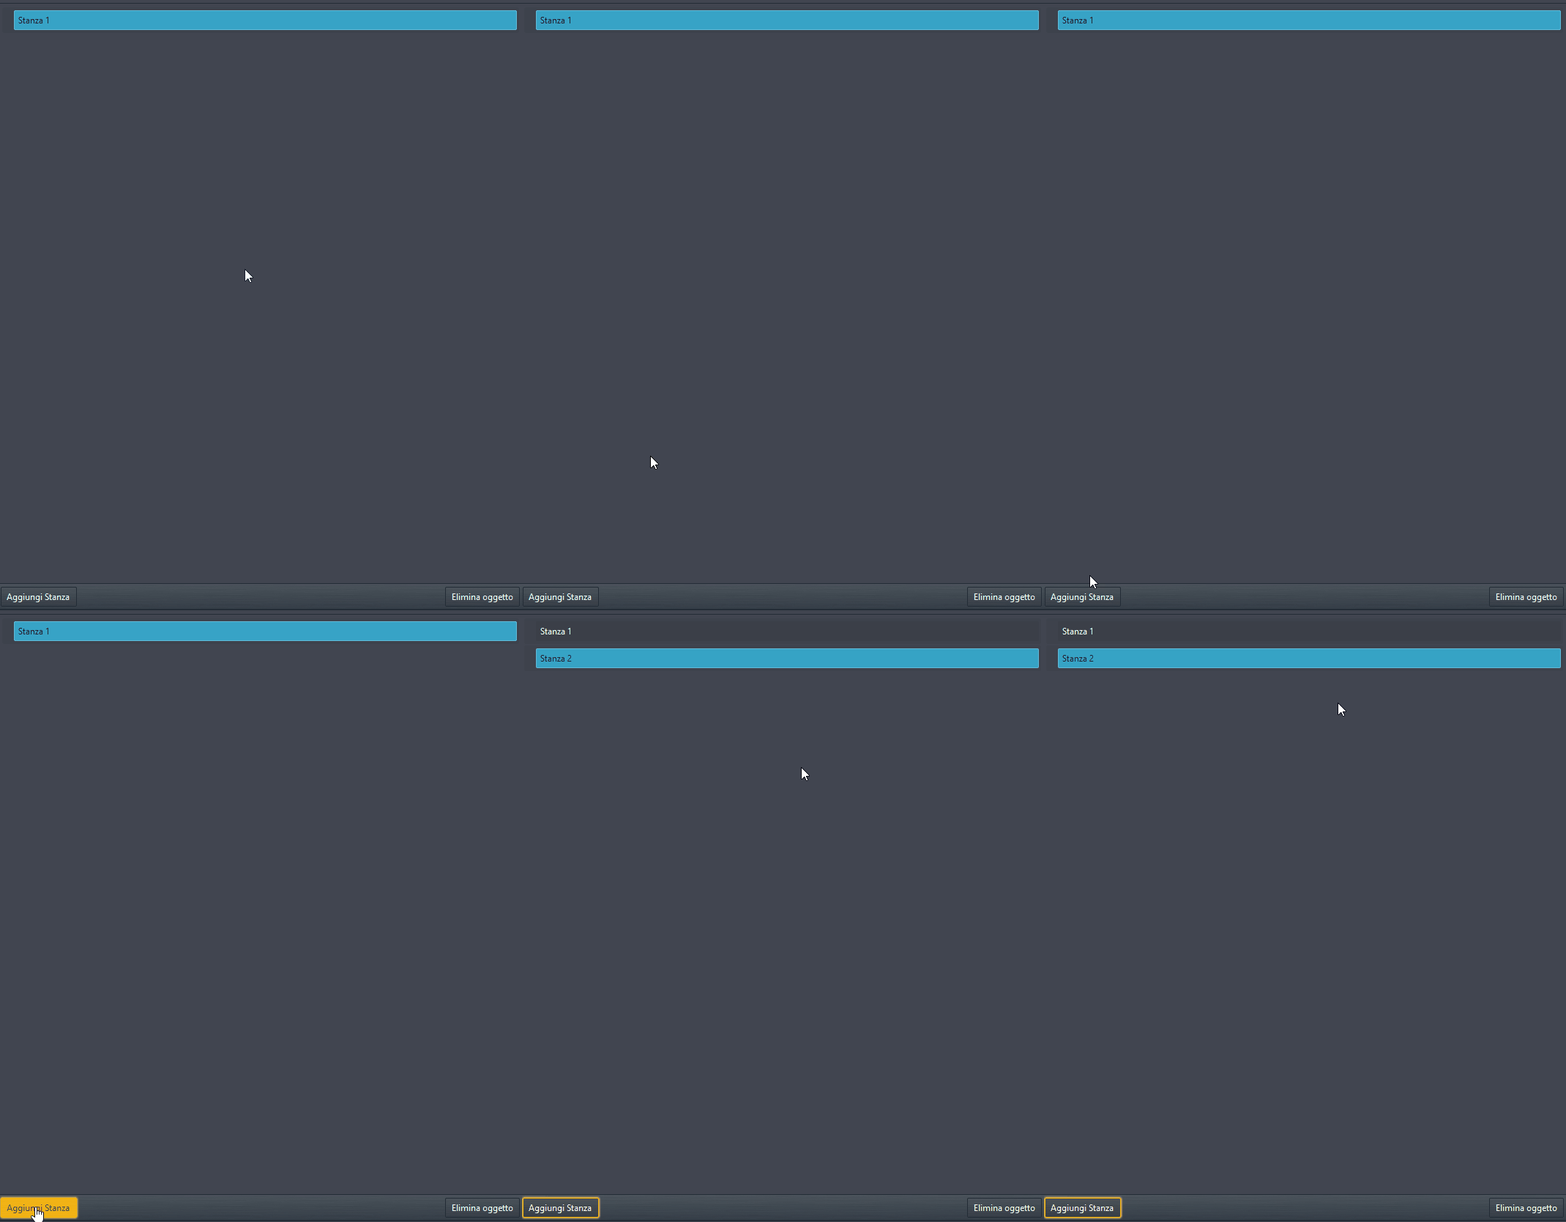
Delete object: this button deletes the selected object from the current HomeKit component configuration.
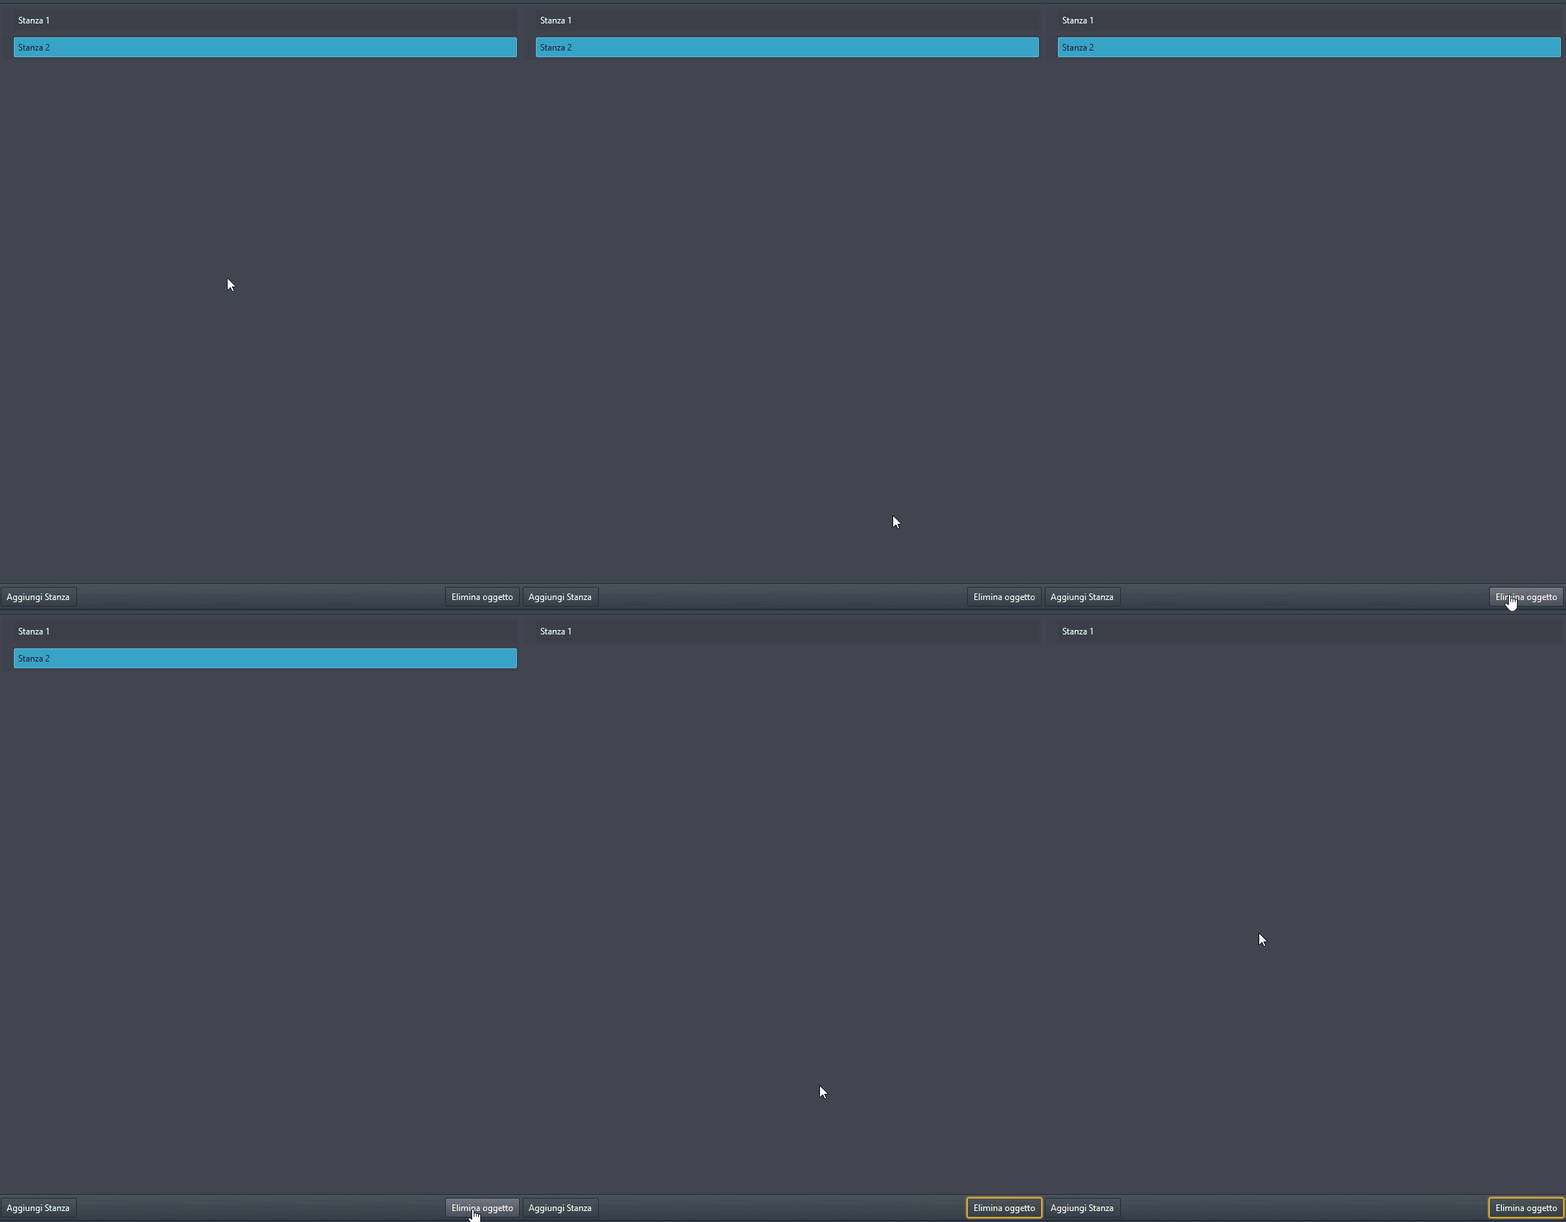
Component configuration
Step 1:
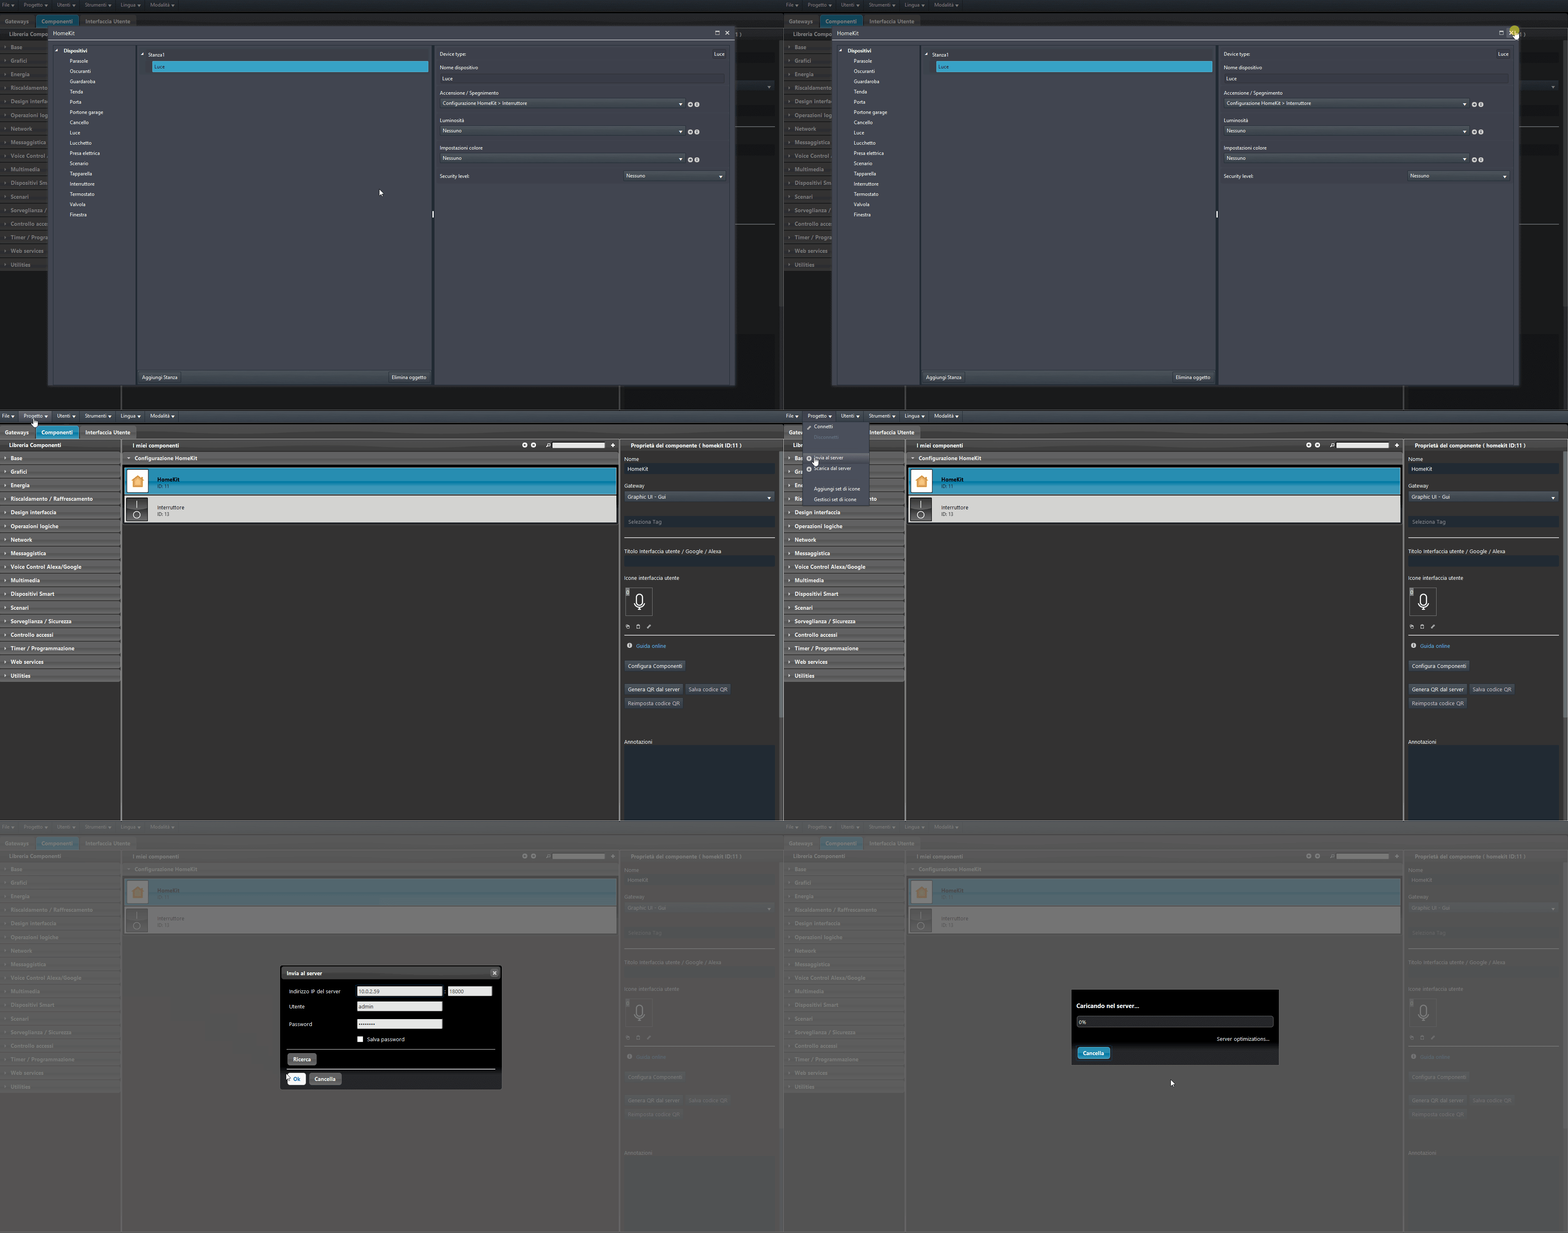
Open Ilevia Manager. Add a new Switch component from the Basic section of the Component library, then add the HomeKit component from the Voice control Alexa/Google menu.
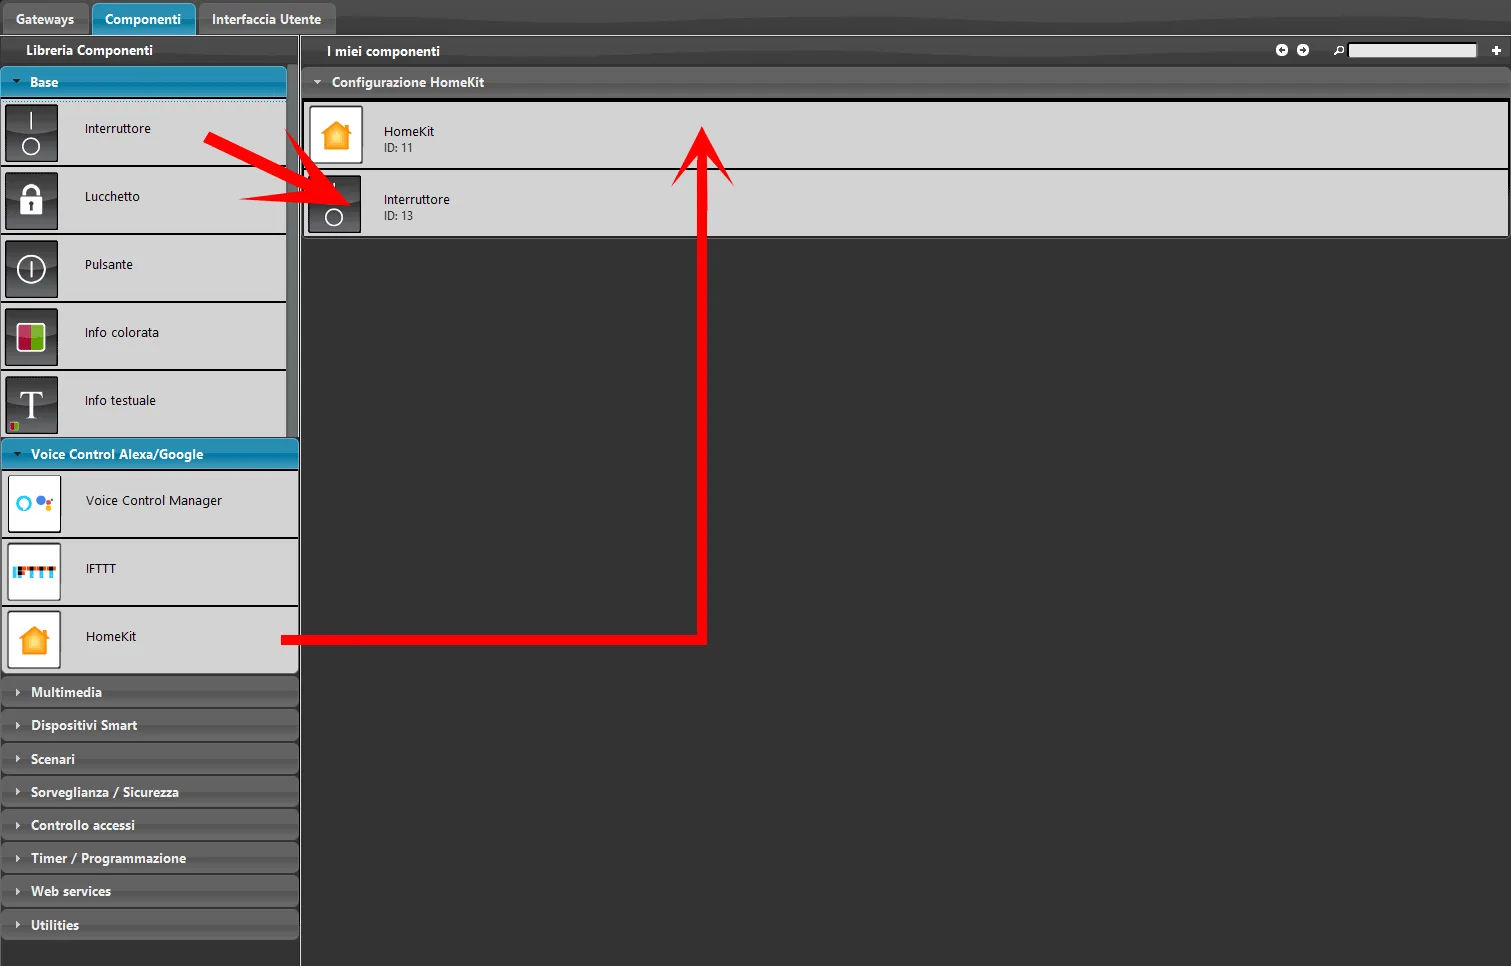
Step 2:
Select the HomeKit component and click the “Configure components” button.
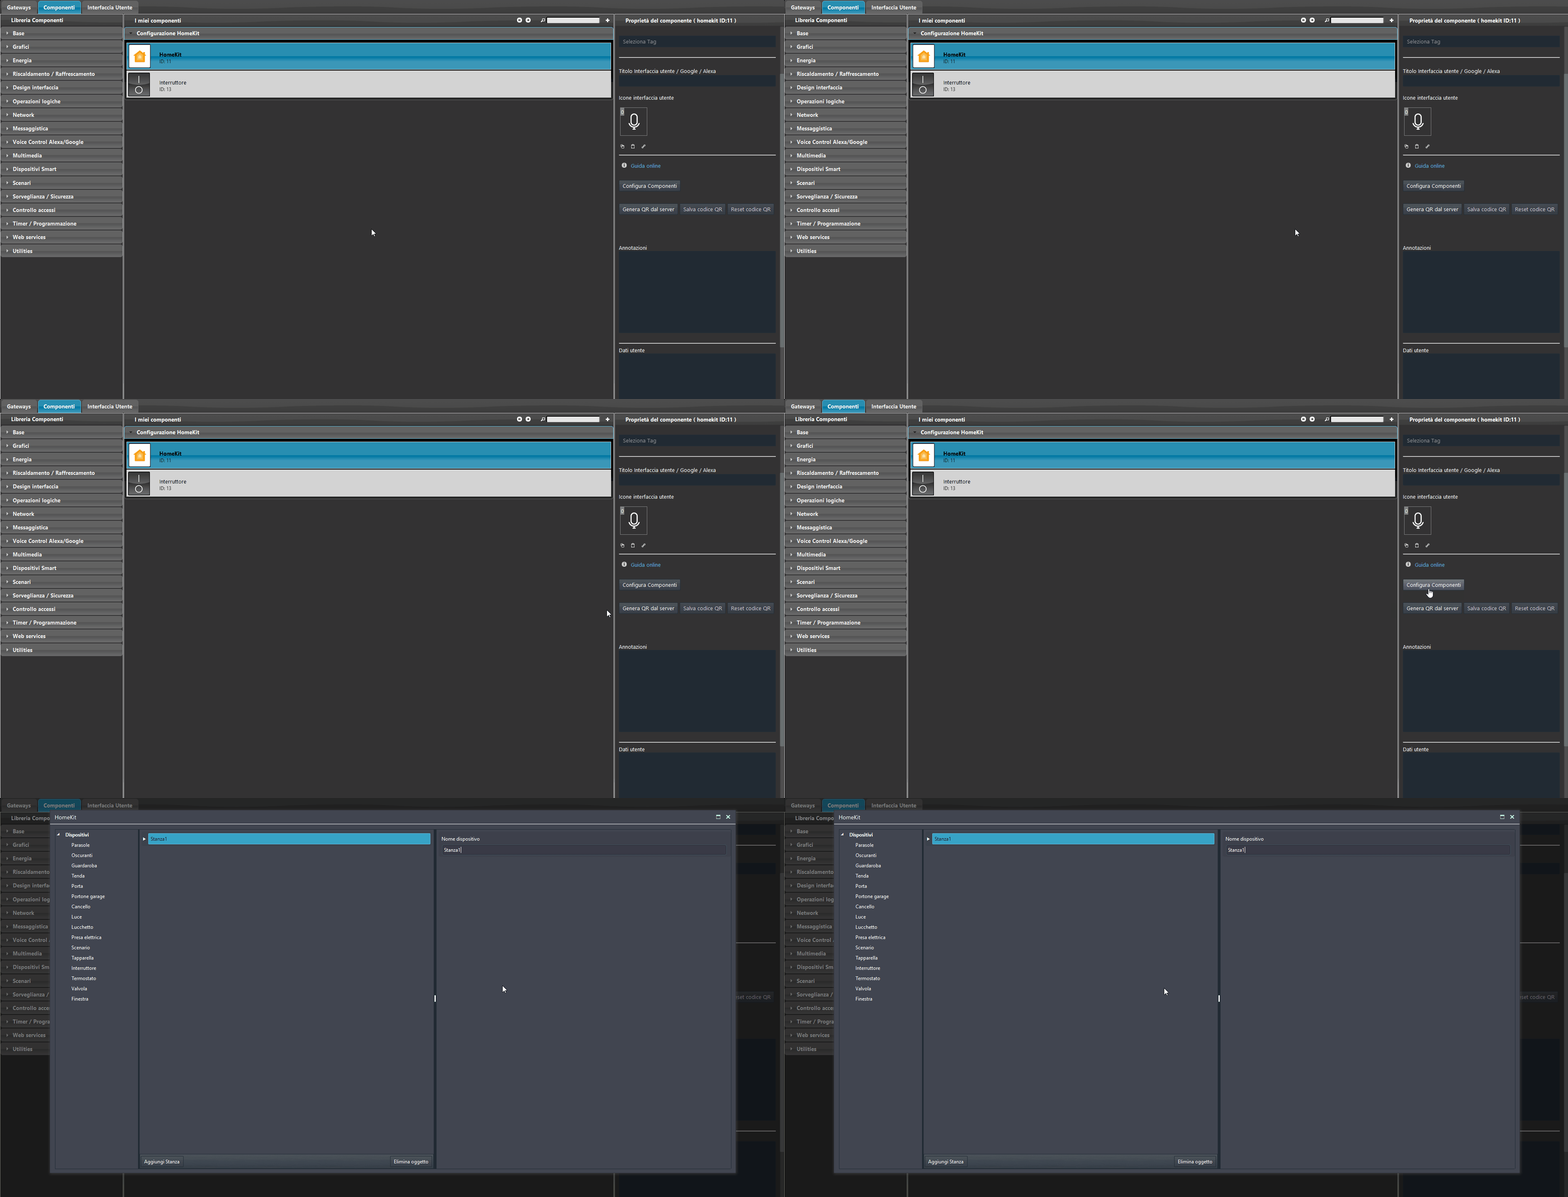
Step 3:
Add a new Light device in Room1 by dragging it from the left panel called “Devices”.
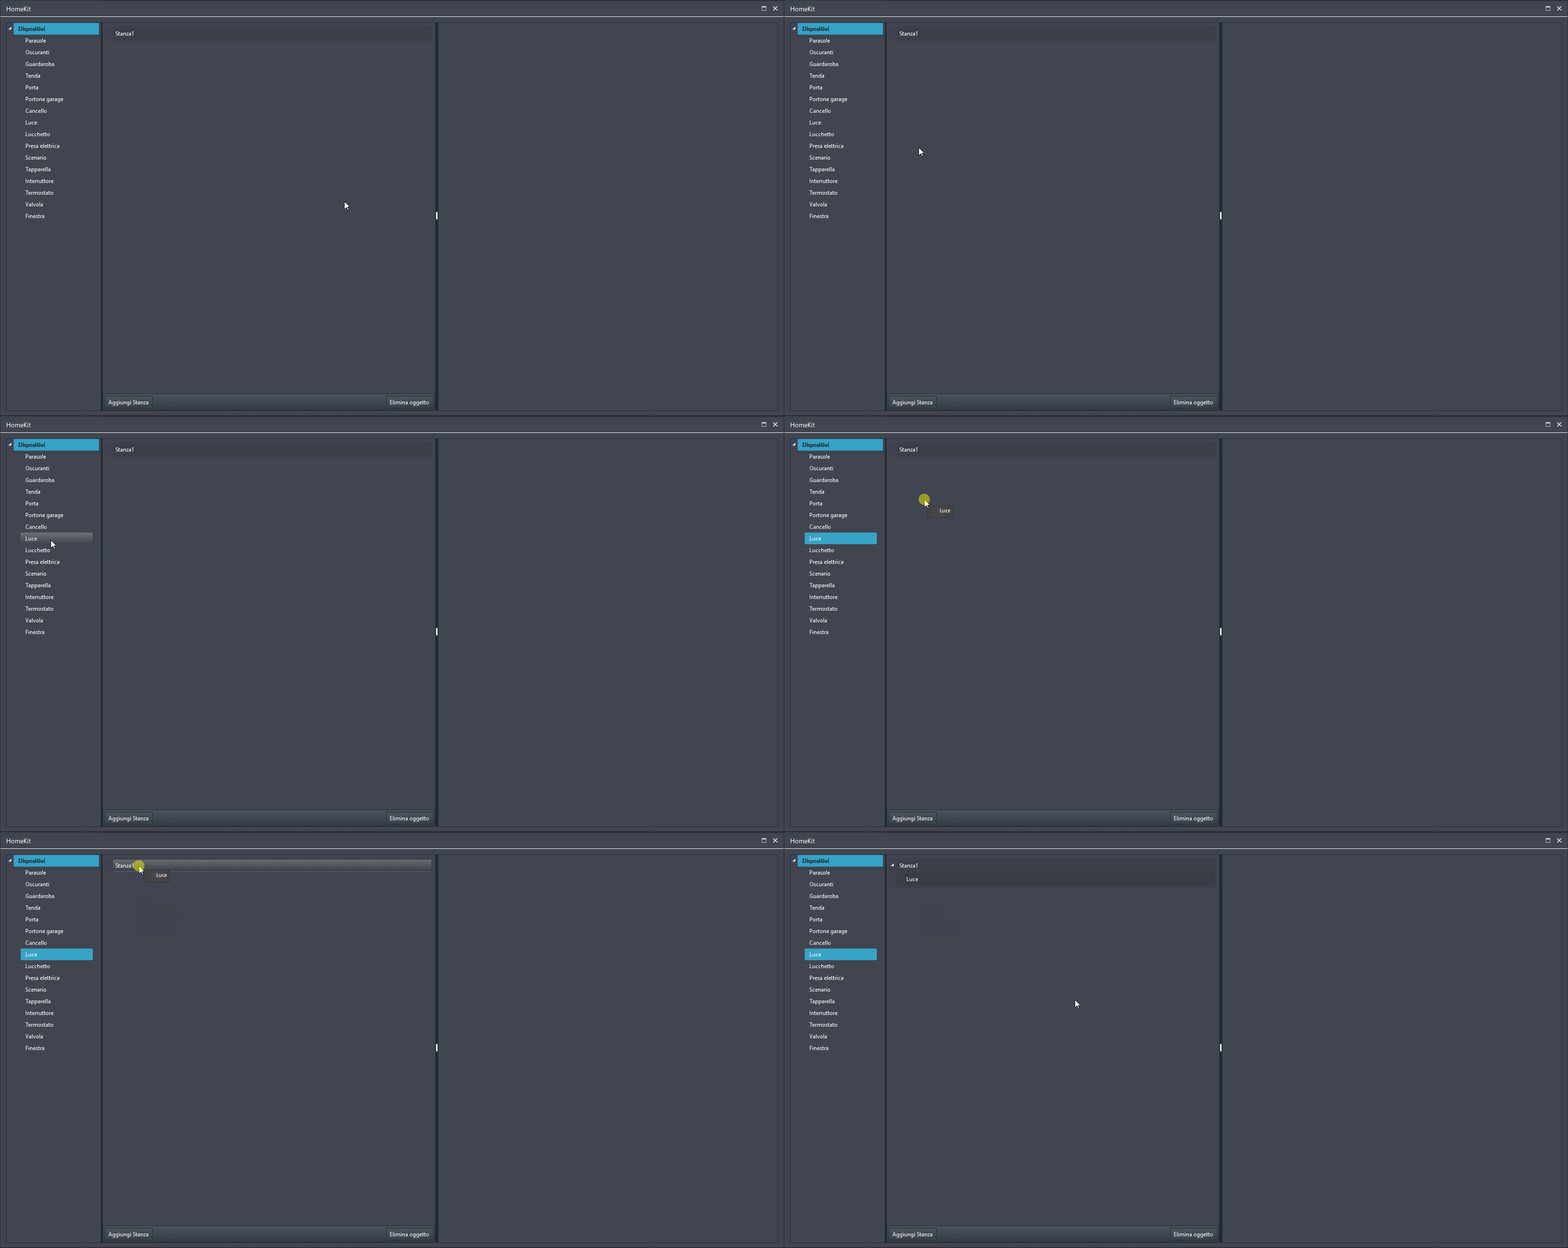
Step 4:
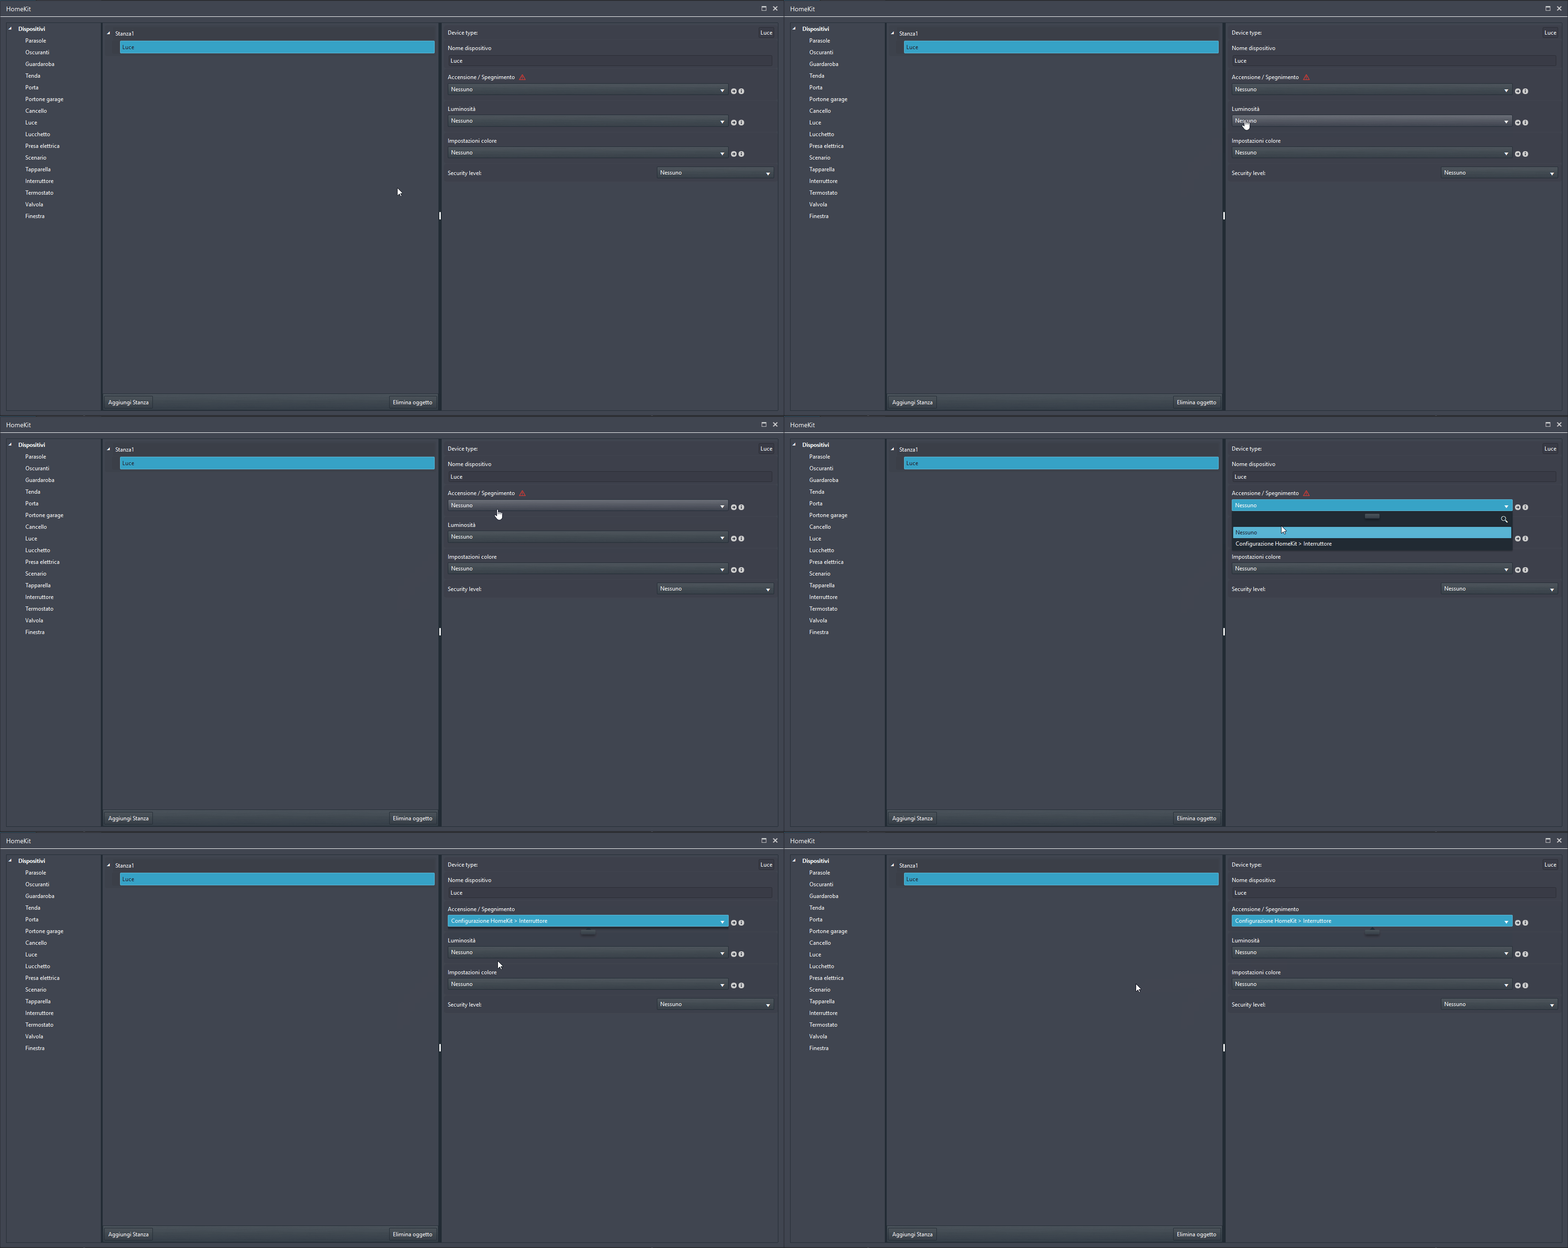
Connect the Light device to a project component: click the On Off drop-down menu in the Light device parameters and select the component to be linked.
Step 5:
Close the Configure components window by clicking the cross at the top of the window. Finally, upload the project to the server.