Ilevia Control App Configuration
How to set up the project in Ilevia Manager and connect the Ilevia Control app (mobile or browser) using the user QR code.
Introduction
Ilevia Control is Ilevia’s new app, with a refreshed user interface design, component display and event scheduling. This guide explains how to configure the project and connect the app using a QR code.
Project setup in Ilevia Manager
Reminder before you continue:
Download and install the Ilevia Logic plugin to enable plugins (link);
Wait for the installation to complete, indicated by the message “Installation complete”.
Step 1:
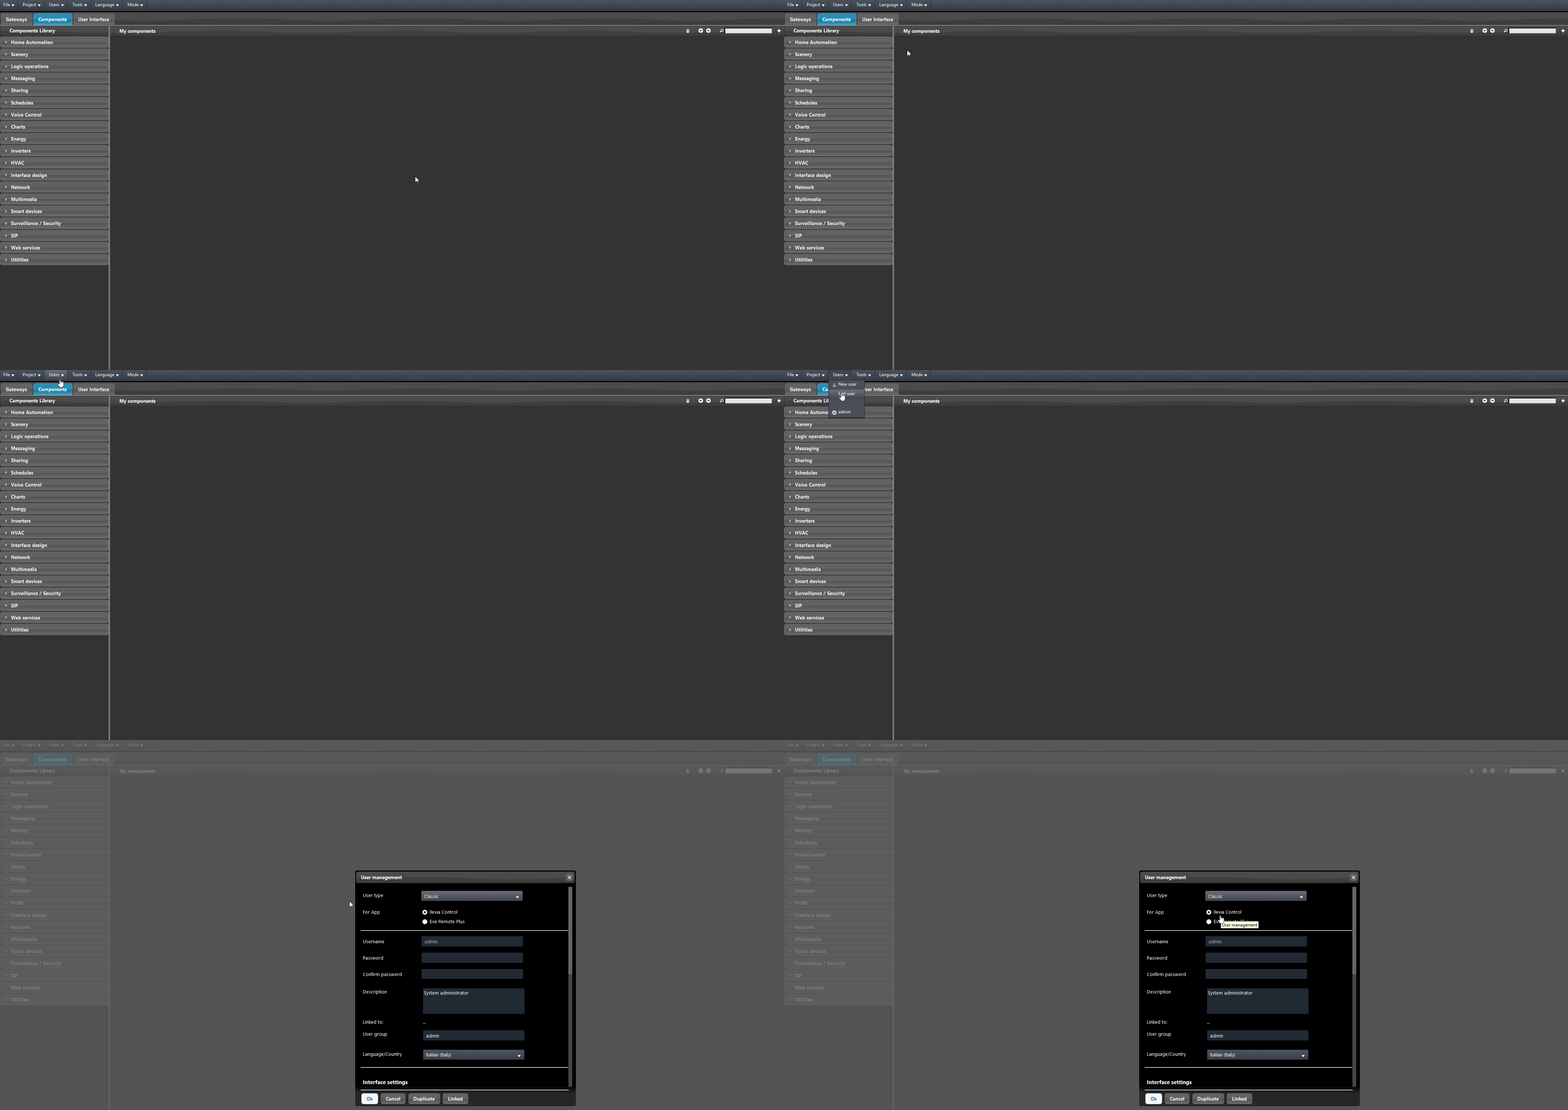
Download the latest version of the software from the Ilevia site and open Ilevia Manager. Go to the User settings menu, select Edit user and make sure the Ogan check box is enabled.
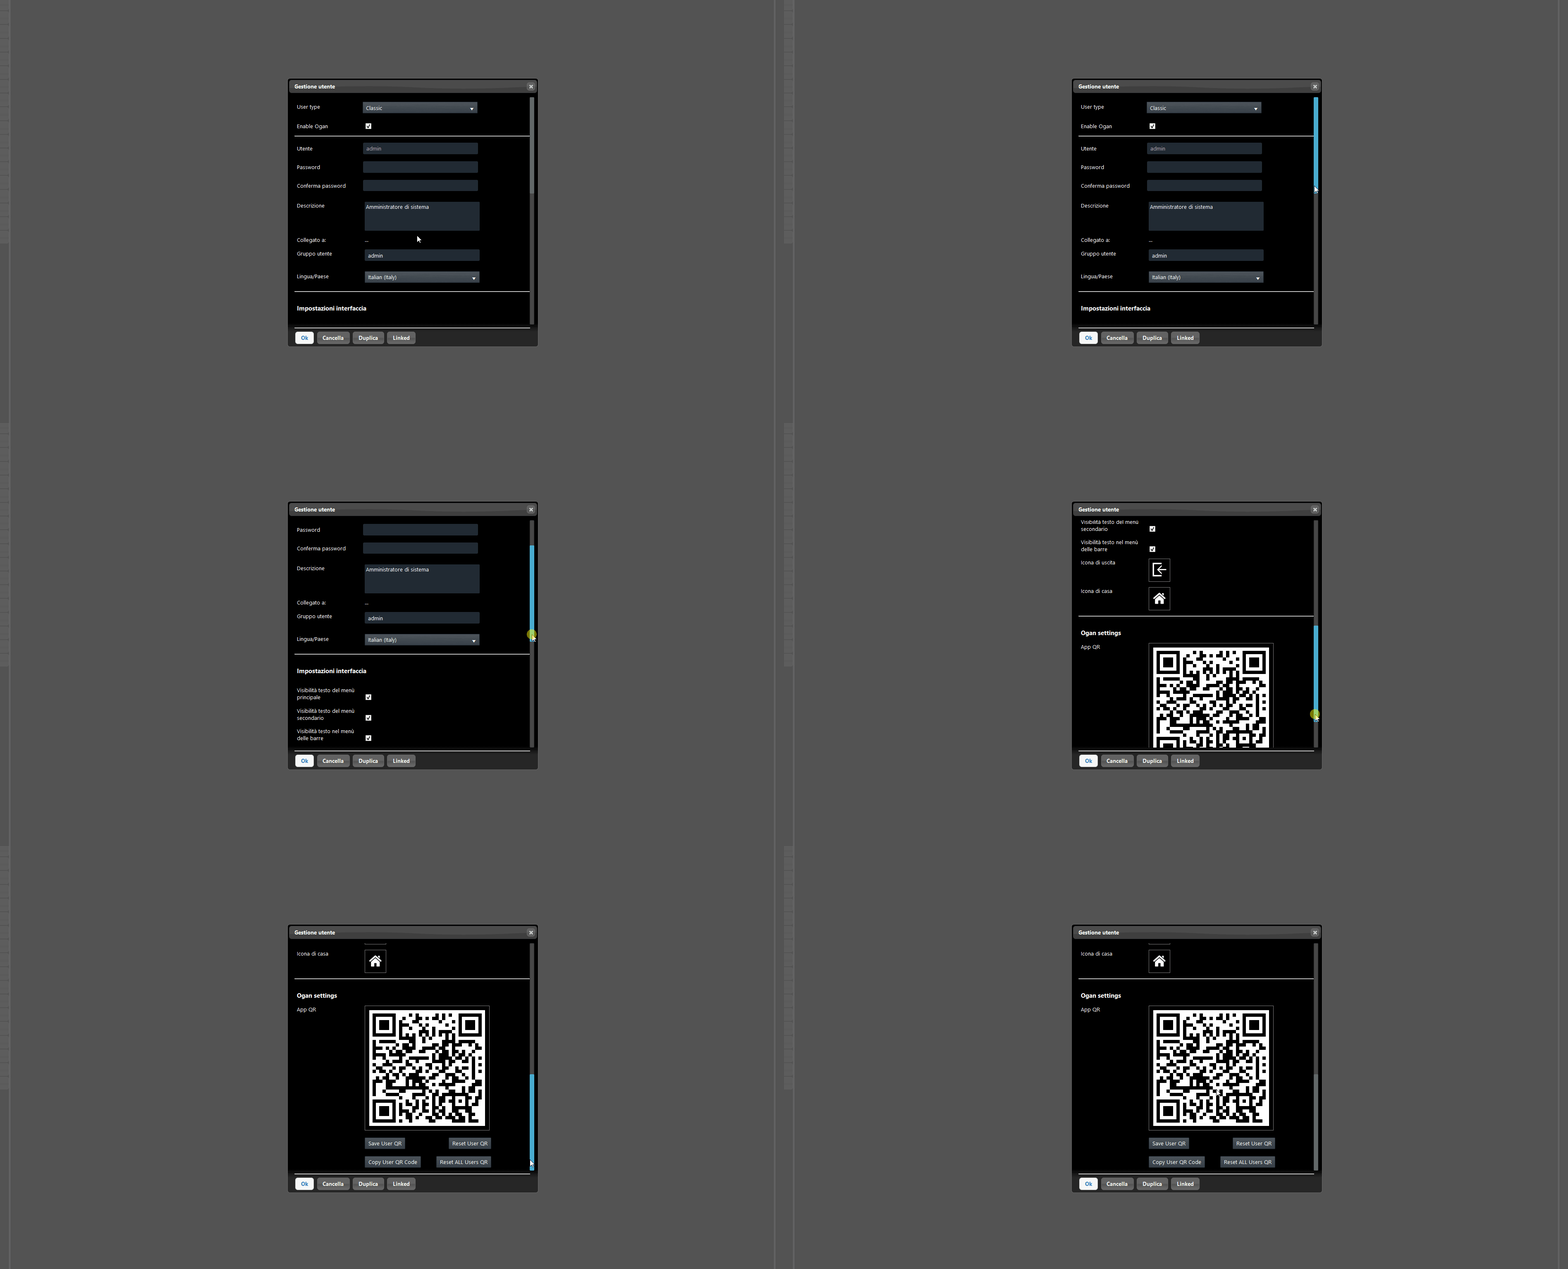
Step 2: scroll down the Edit user menu window: at the bottom you will find a QR code. Unlike the Ilevia Remote Plus app, account access is performed by scanning the QR code.
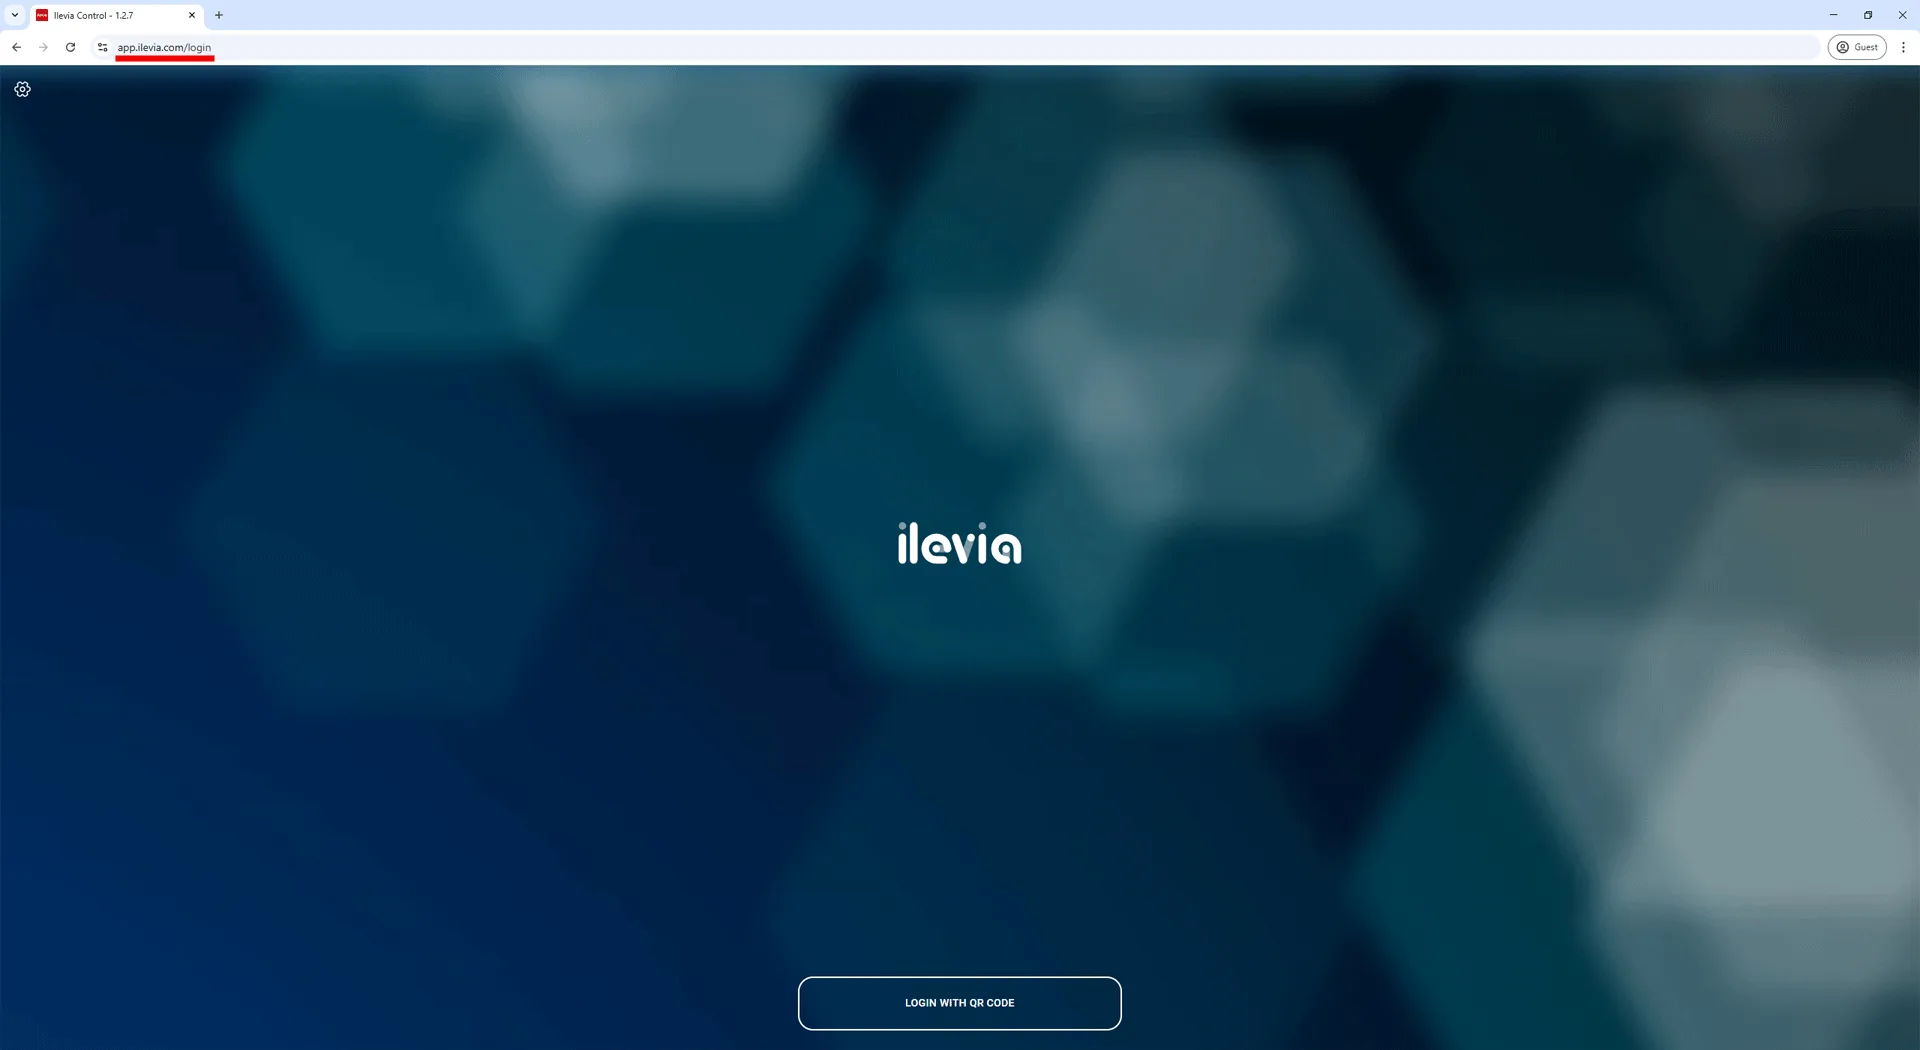
Step 3: download the app on your mobile device by searching for Ilevia Control in the app store, or open https://app.ilevia.com/ in your web browser.
App on mobile devices
Scan the QR code in the user parameters of the Ilevia Manager software.
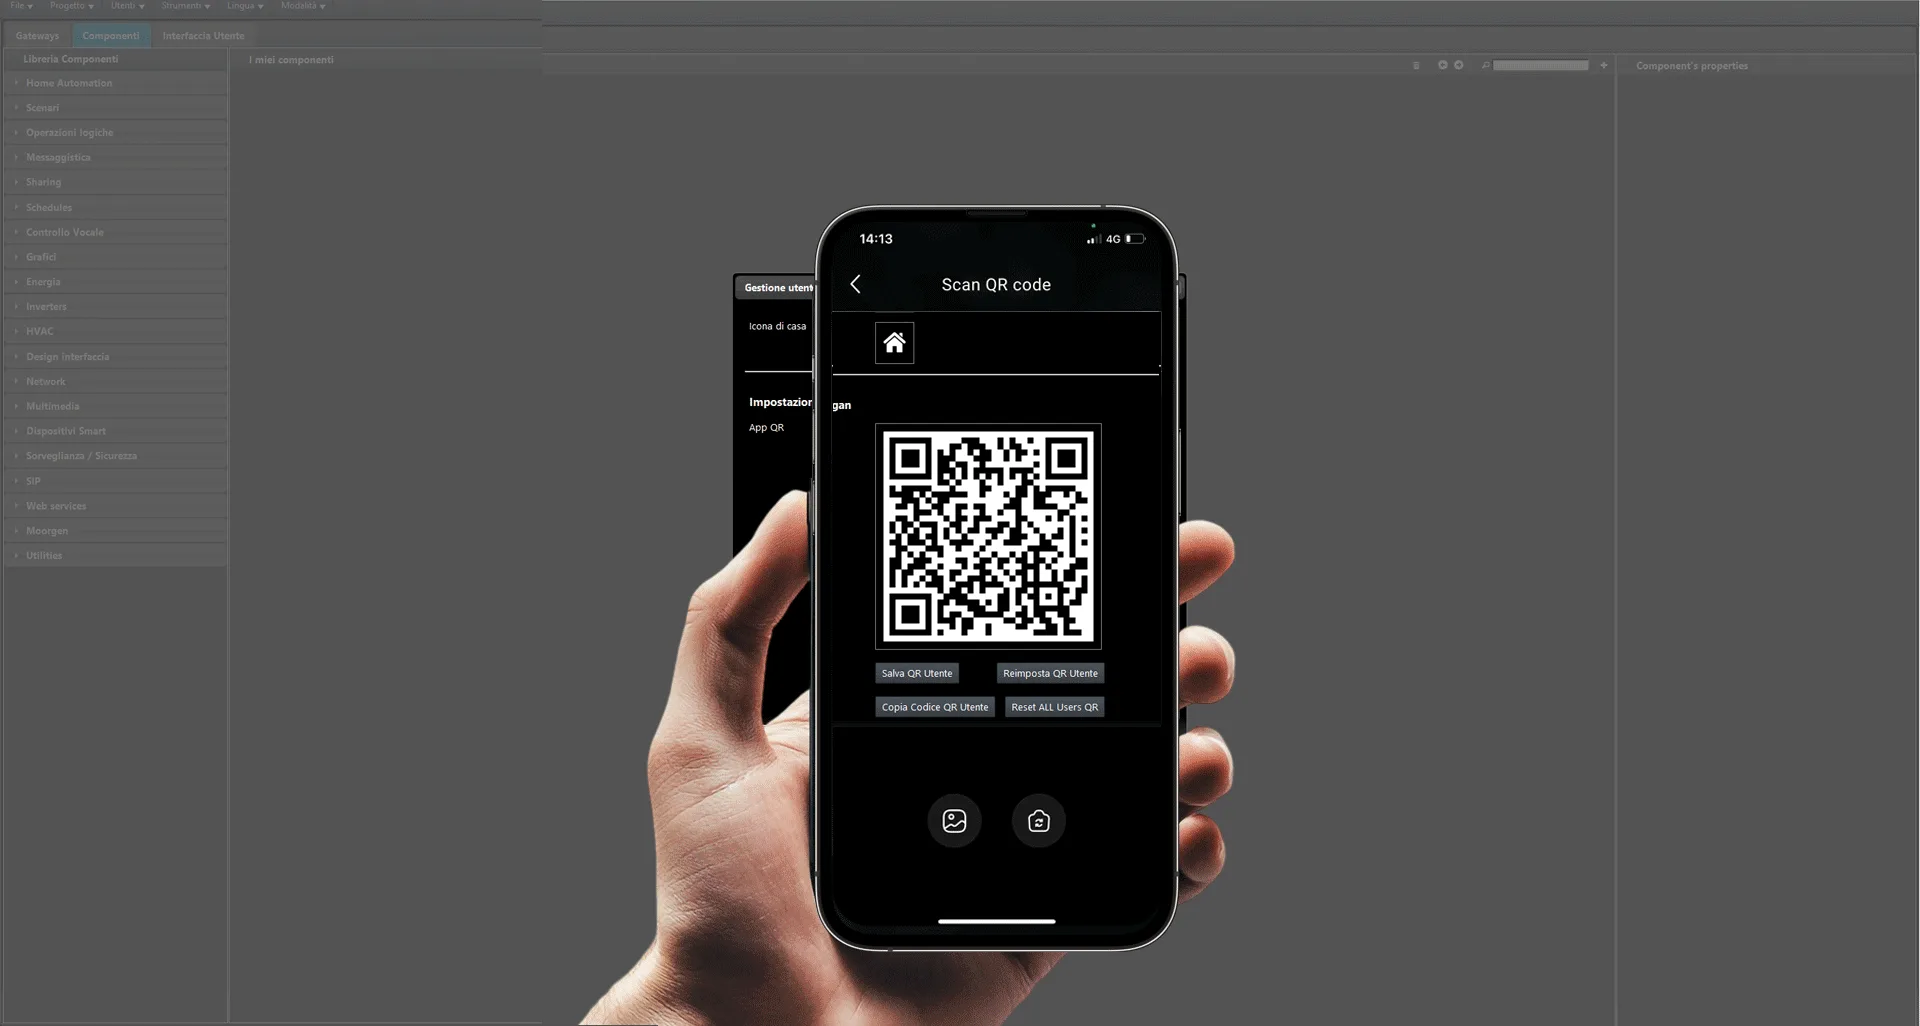
You can save the QR code to local files using the Save QR code function.
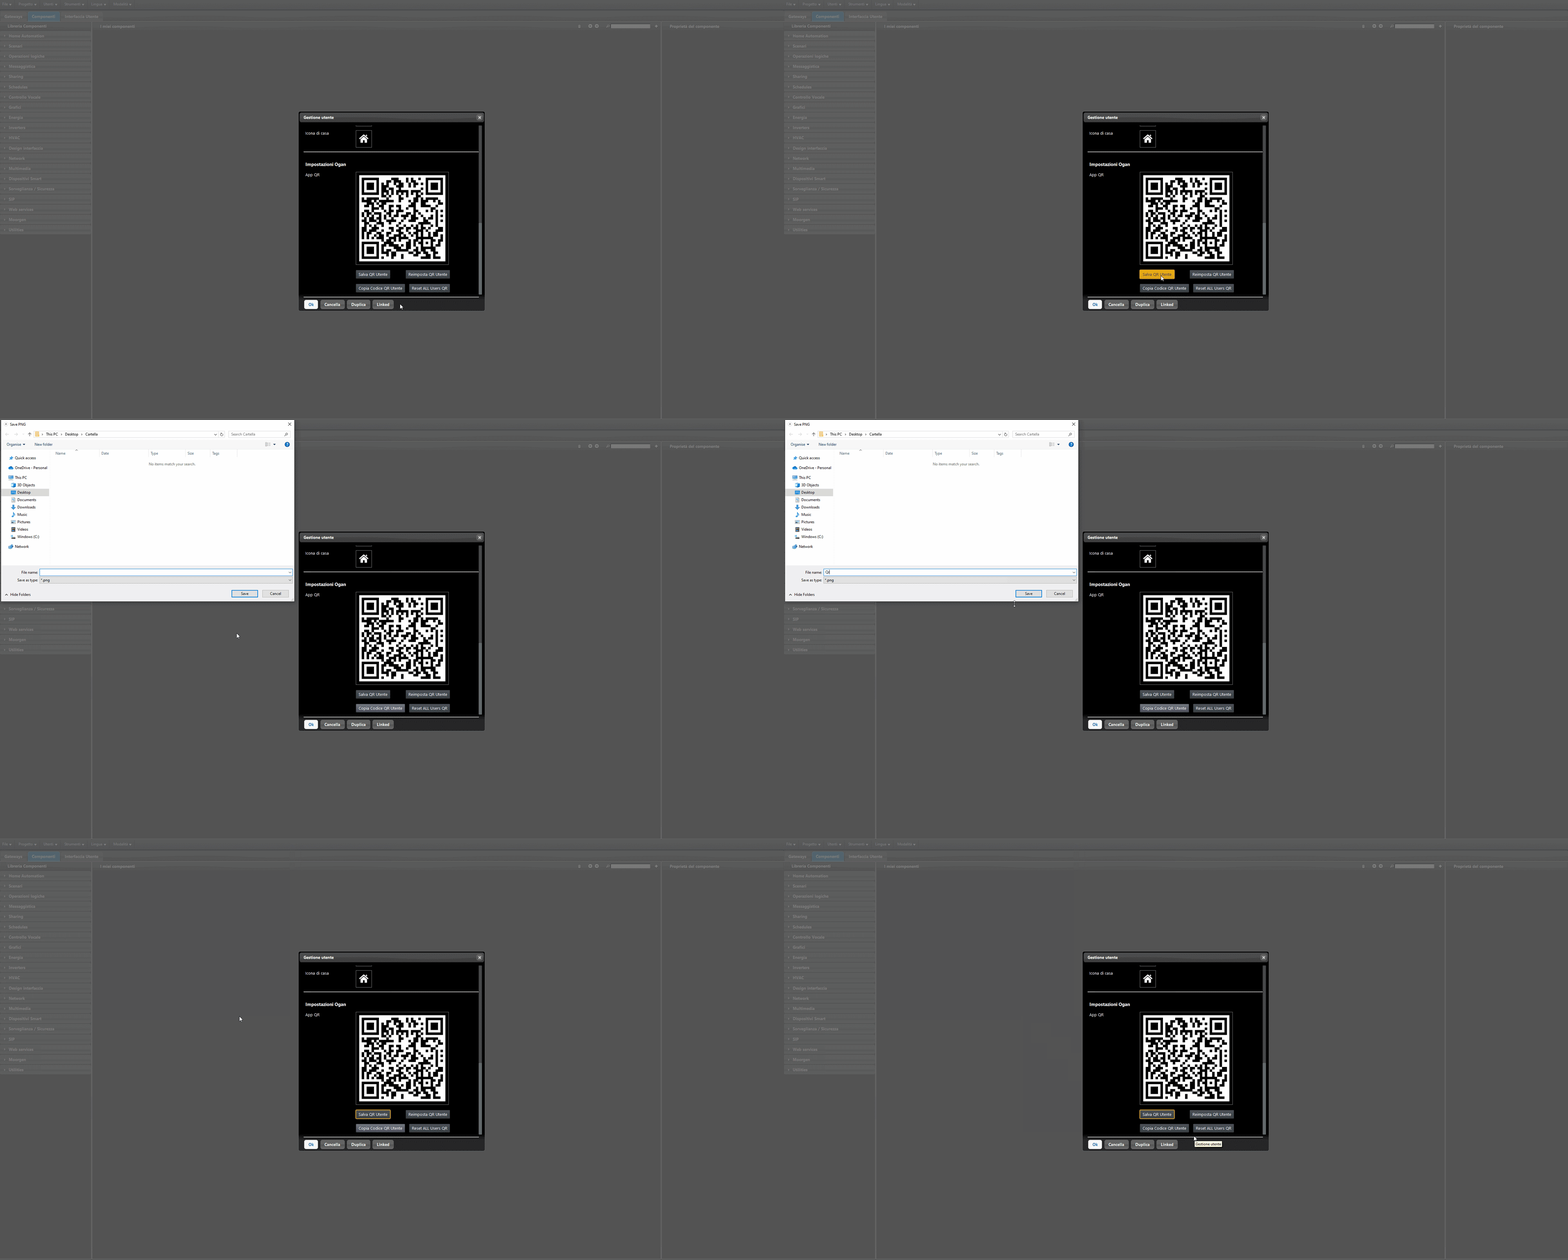
Browser app
Scan the QR code with your mobile device camera or open the local files by clicking the photo gallery icon.


Final result
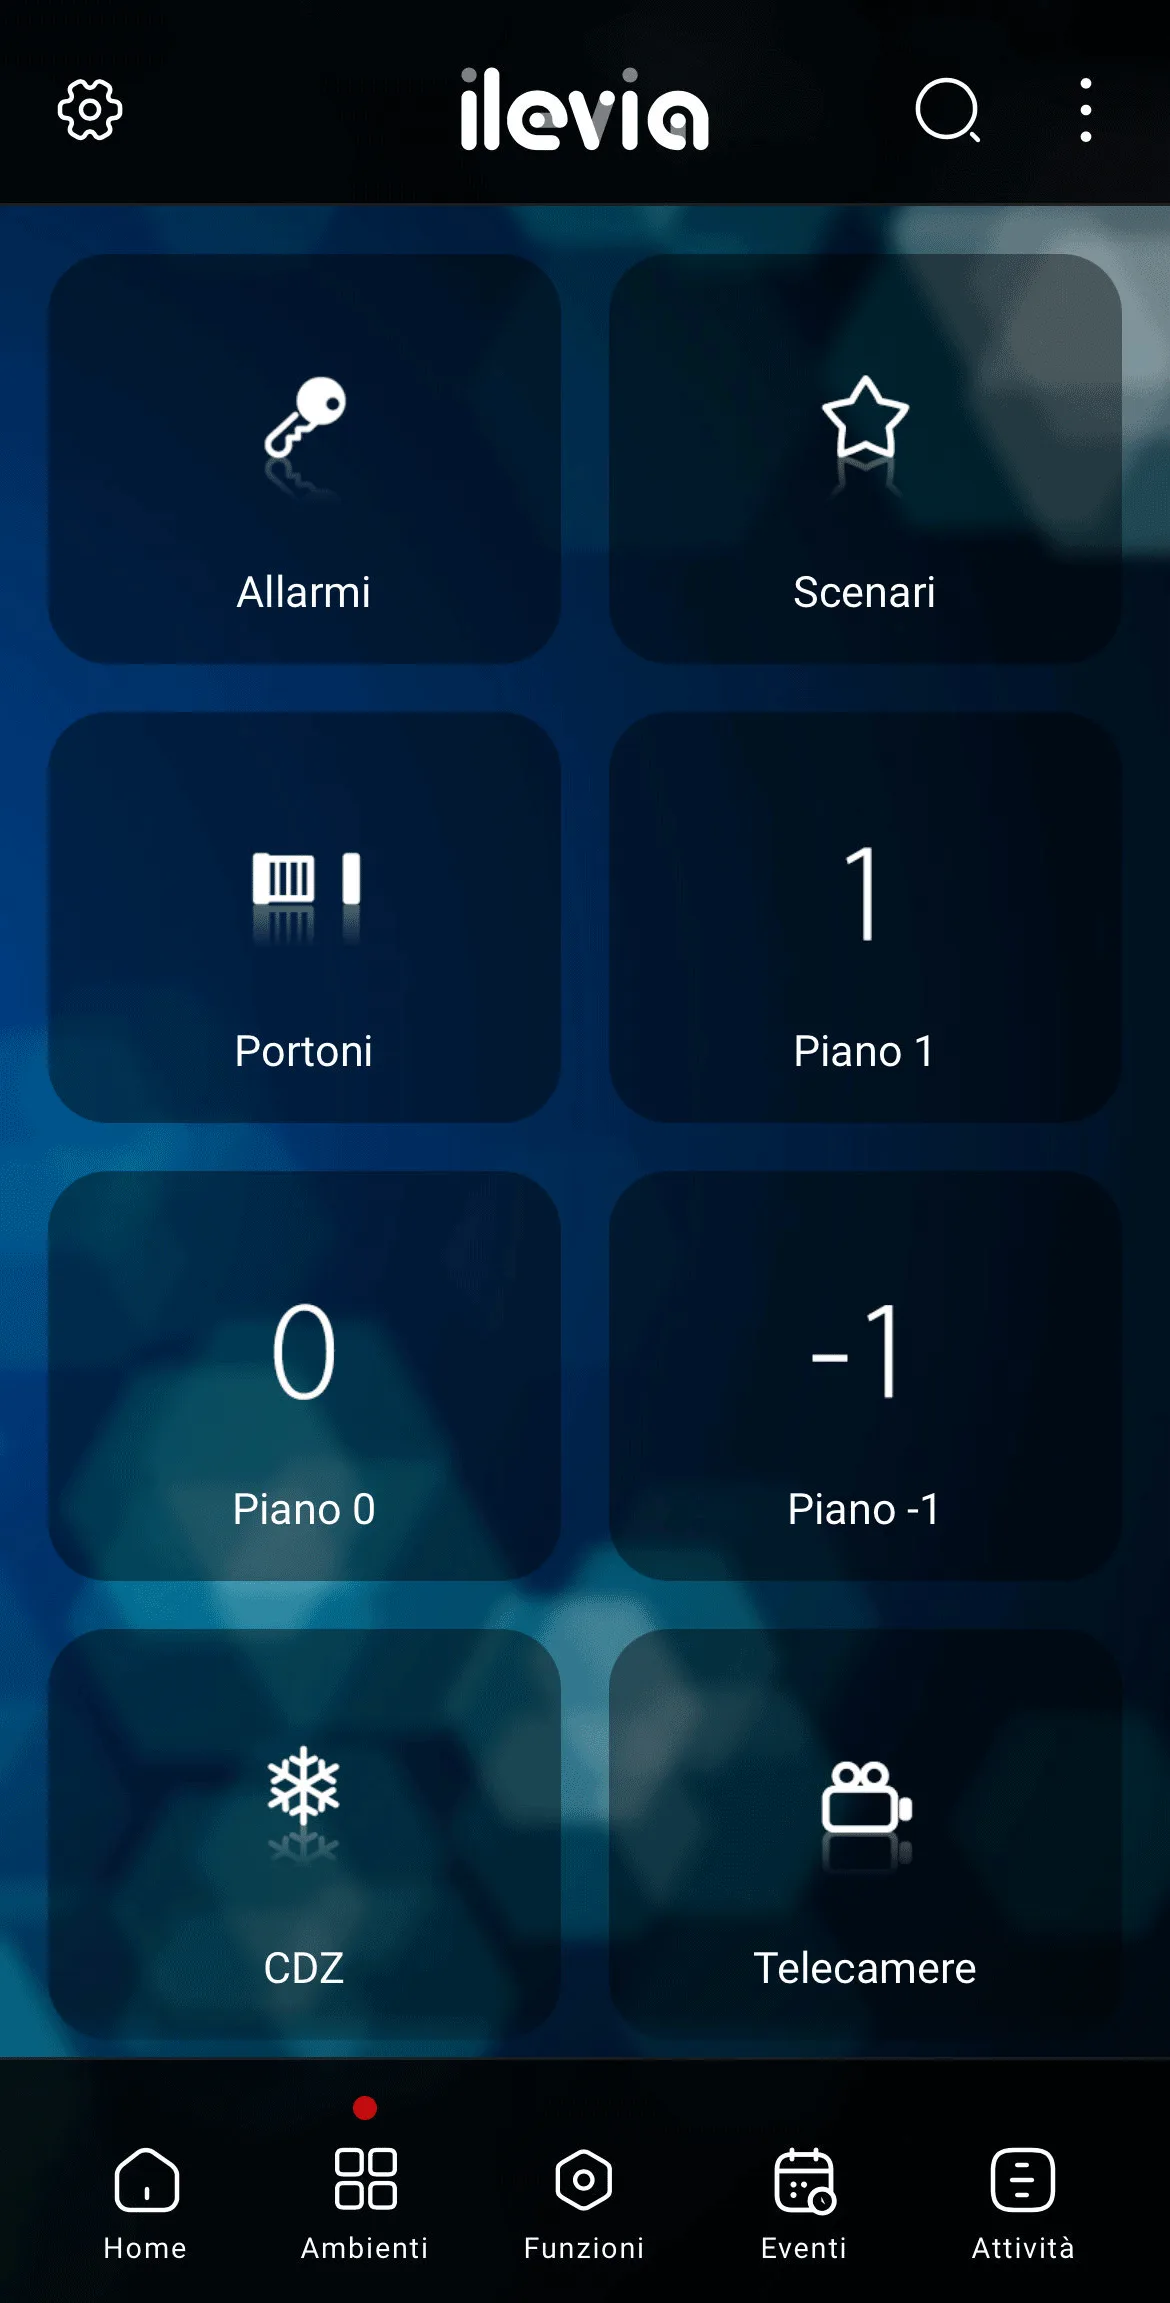
After the QR code is recognized by the Ilevia Control app, the loading screen is displayed and then the user interface.