
Weekly Timer example project
Example project showing how to use the Weekly Timer component to schedule a switch on and off, with project download.
Introduction
The purpose of this example is to show you how to use the Weekly Timer component to schedule actions.
Preparation and loading of the project in the Ilevia configuration software:
Unzip the files;
Open Ilevia Manager and click File at the top left – Open – press “OK” in the message that appears and select the file with the .eve extension you just unzipped;
Start your Ilevia server;
Update and install the Logic module (guide).
Step 1:
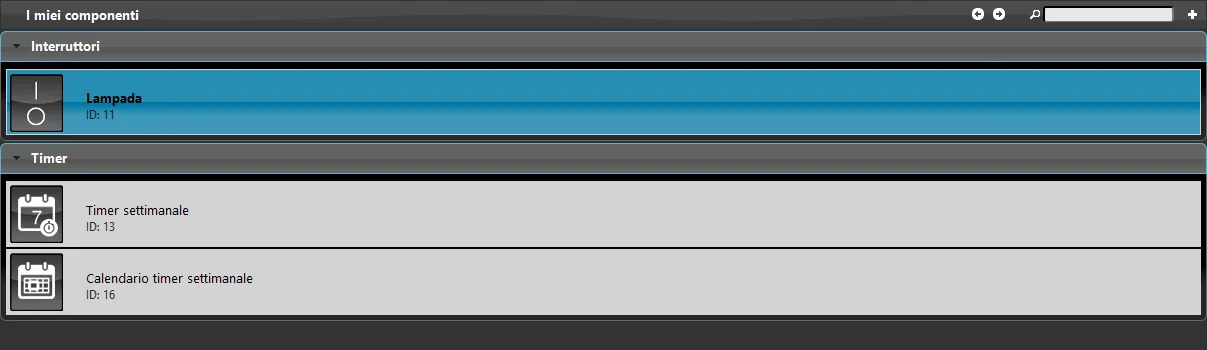
When you open the Ilevia configuration software, once the project is loaded, the components used for the configuration are visible in the “My components” area:
The Weekly Timer component is not added to the user interface: therefore add the Switch component, to which we will apply the weekly on/off schedule.
All programming is done in the user interface of the Ilevia Remote Plus application, after uploading the project to the server: click the “Project” menu and then “Upload to server”, enter the IP address of the Ilevia server and finally the following credentials: User “admin” and password “password”.
Step 2:
Login – User: admin – Password: password
Once you have logged in to the application, enter programming mode by holding down the white Home icon

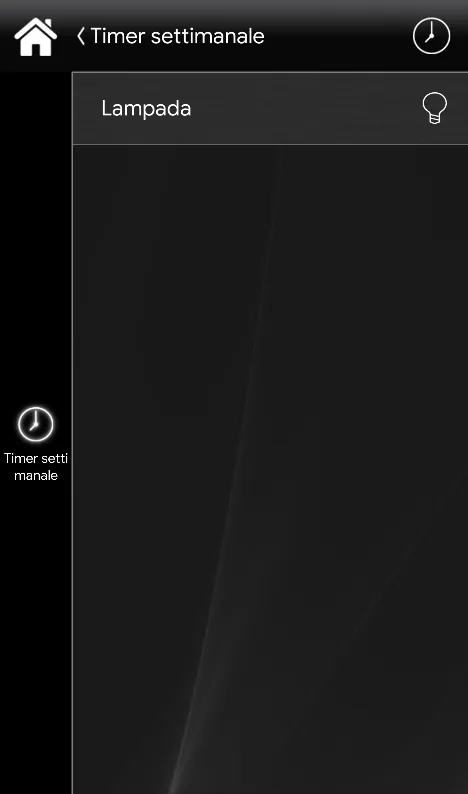
then click or tap the Timer icon

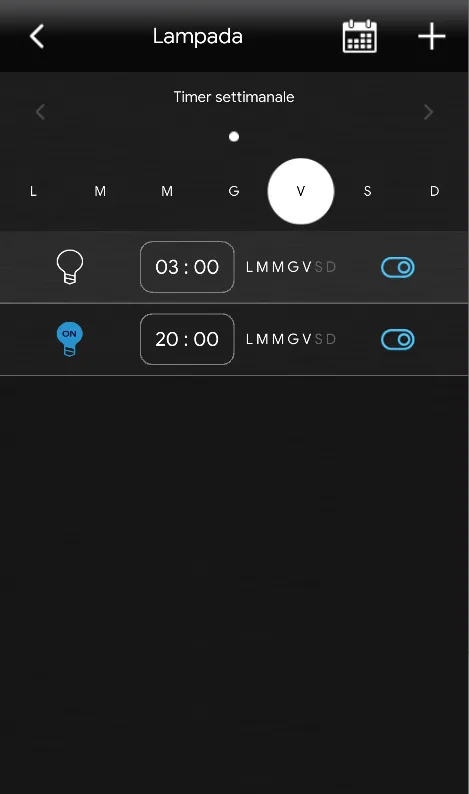
and finally click the Switch component to access its schedules.
For more information on Weekly Timer programming mode, refer to this guide.
This component is useful when you need to create actions that are repeated weekly.
Click the link to download the example project and try it.