
Connection to the Ilevia server via cloud
How to activate the cloud service on the X1 server and connect remotely with Ilevia Control and Ilevia Manager.
Introduction
This guide explains how to activate, and therefore use, the Cloud Ilevia connection to the X1 server. The Cloud Ilevia connection allows remote and local access to the X1 server without configuring any port forwarding on the router it is connected to.
Procedure
Step 1:
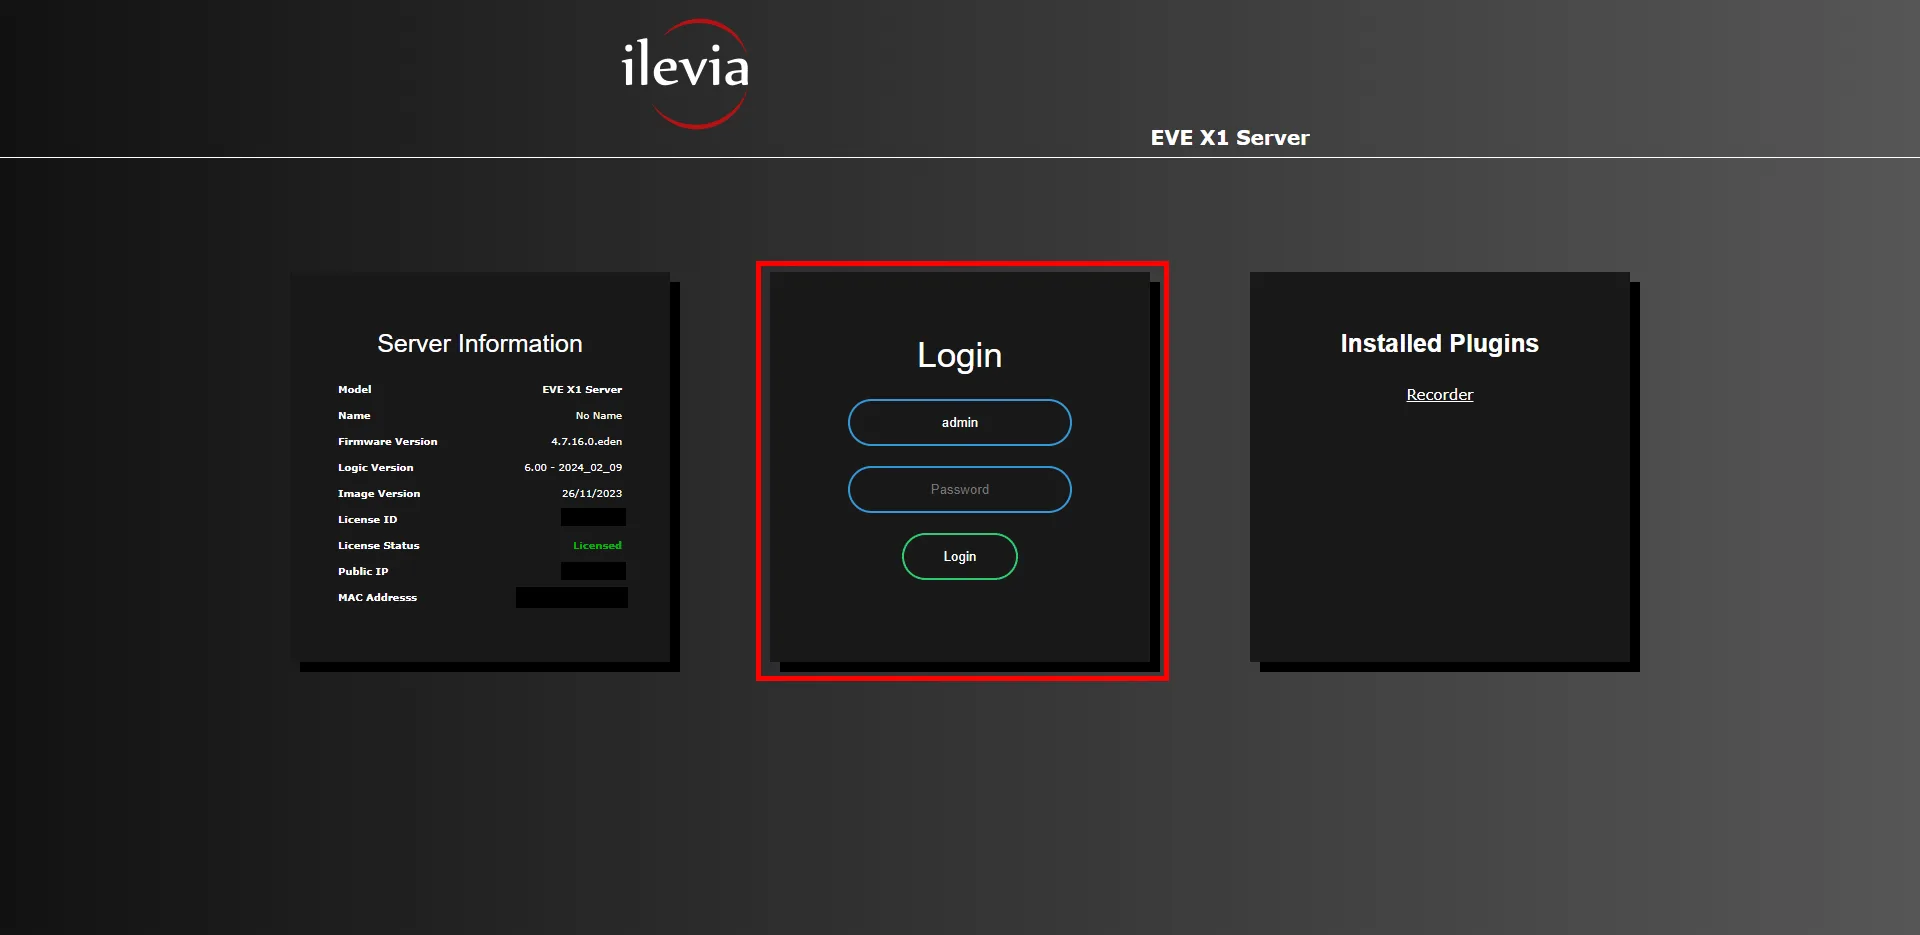
Open your browser and enter the local IP address of the Ilevia server.

Step 2:
Log in to the web configuration page of the Ilevia server.
Step 3:
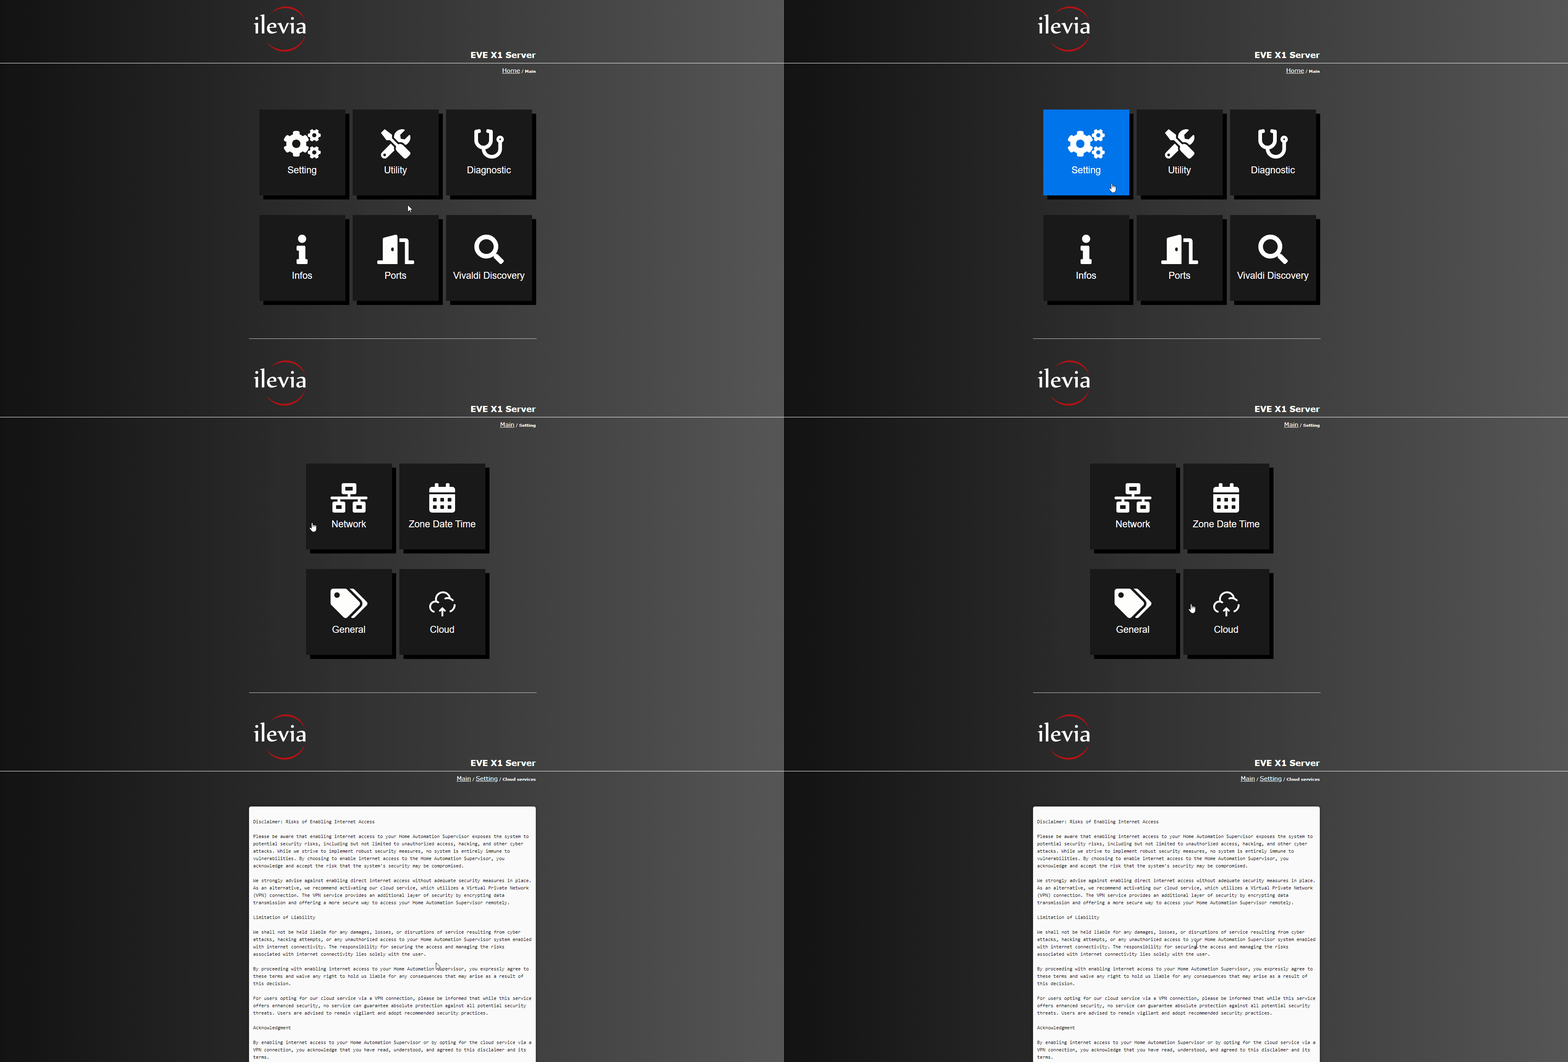
Go to the menu called Settings, then open the Cloud menu.
Step 4:
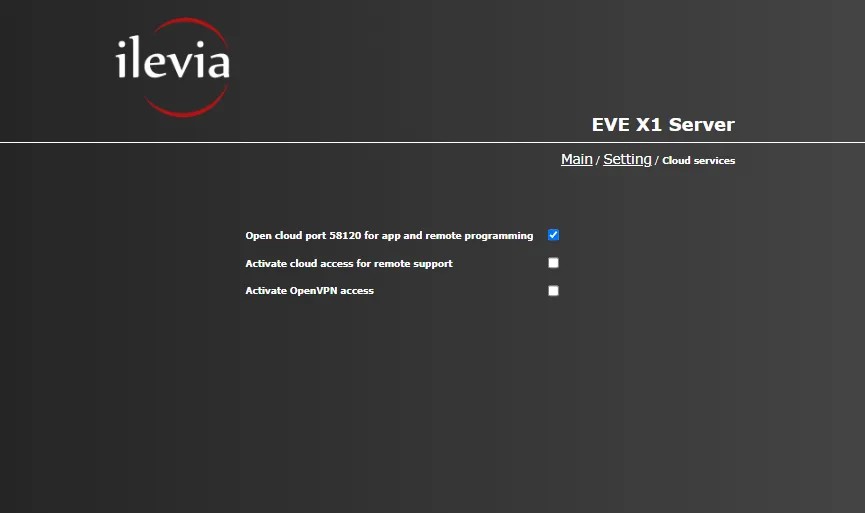
To use the cloud function, it is necessary to carefully read the waiver displayed when you enter the Cloud menu and give your consent. The Cloud menu contains 3 checkboxes that are disabled by default. The first checkbox, if enabled, will activate the service built into the server for Cloud connection. The second checkbox, if enabled, will enable cloud access for Ilevia support, if needed. The third checkbox determines whether the VPN connection is enabled or not.
Conclusion
It is essential to know that once the cloud connection service has been activated on the server via Cloud Ilevia, the indicated port must be enabled by contacting Ilevia technical support at the dedicated number (+39 0424 1660208) or by email, specifying the cloud port number to be activated, at the following address: supporto@ilevia.com.
How to connect to the server via cloud
The Ilevia Cloud service allows connection to the server both through the configuration software Ilevia Manager and through the application for viewing the user interface Ilevia Control.
Cloud connection with Ilevia Control
Step 1:
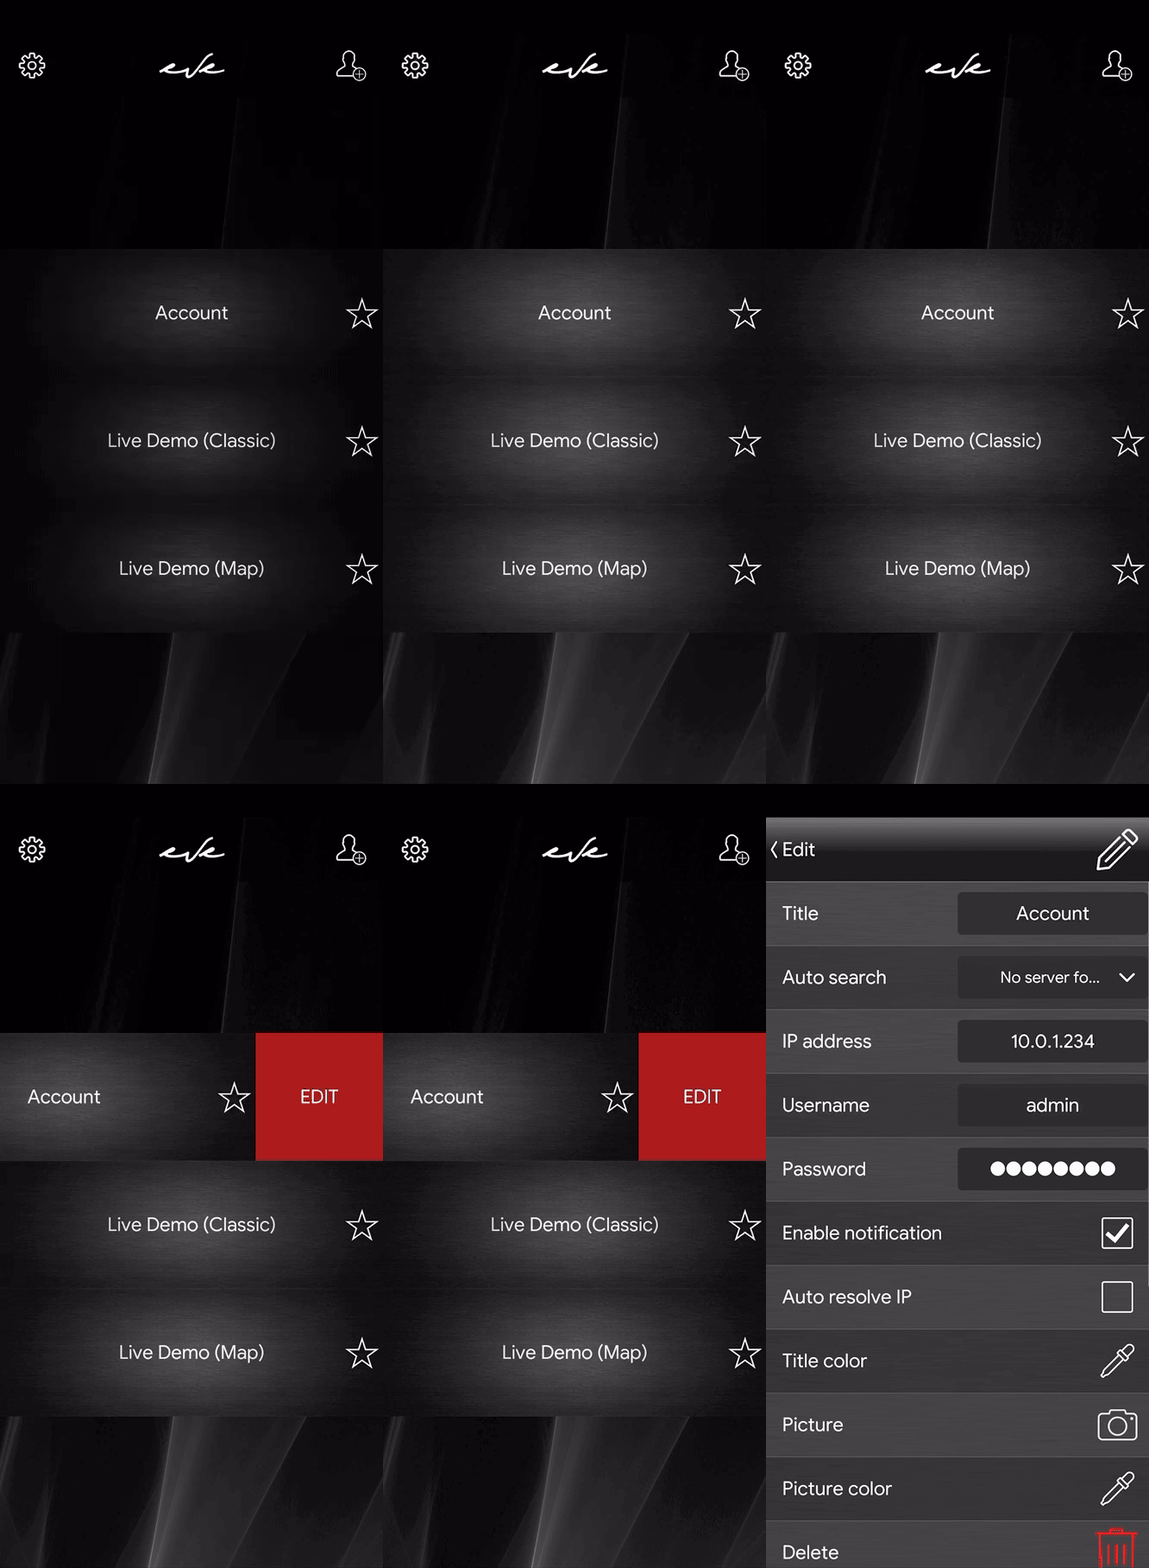
Open the Ilevia Control application on your device. Create a new user by following this guide, or open the settings of an existing one by swiping from right to left over the account name.
Step 2:
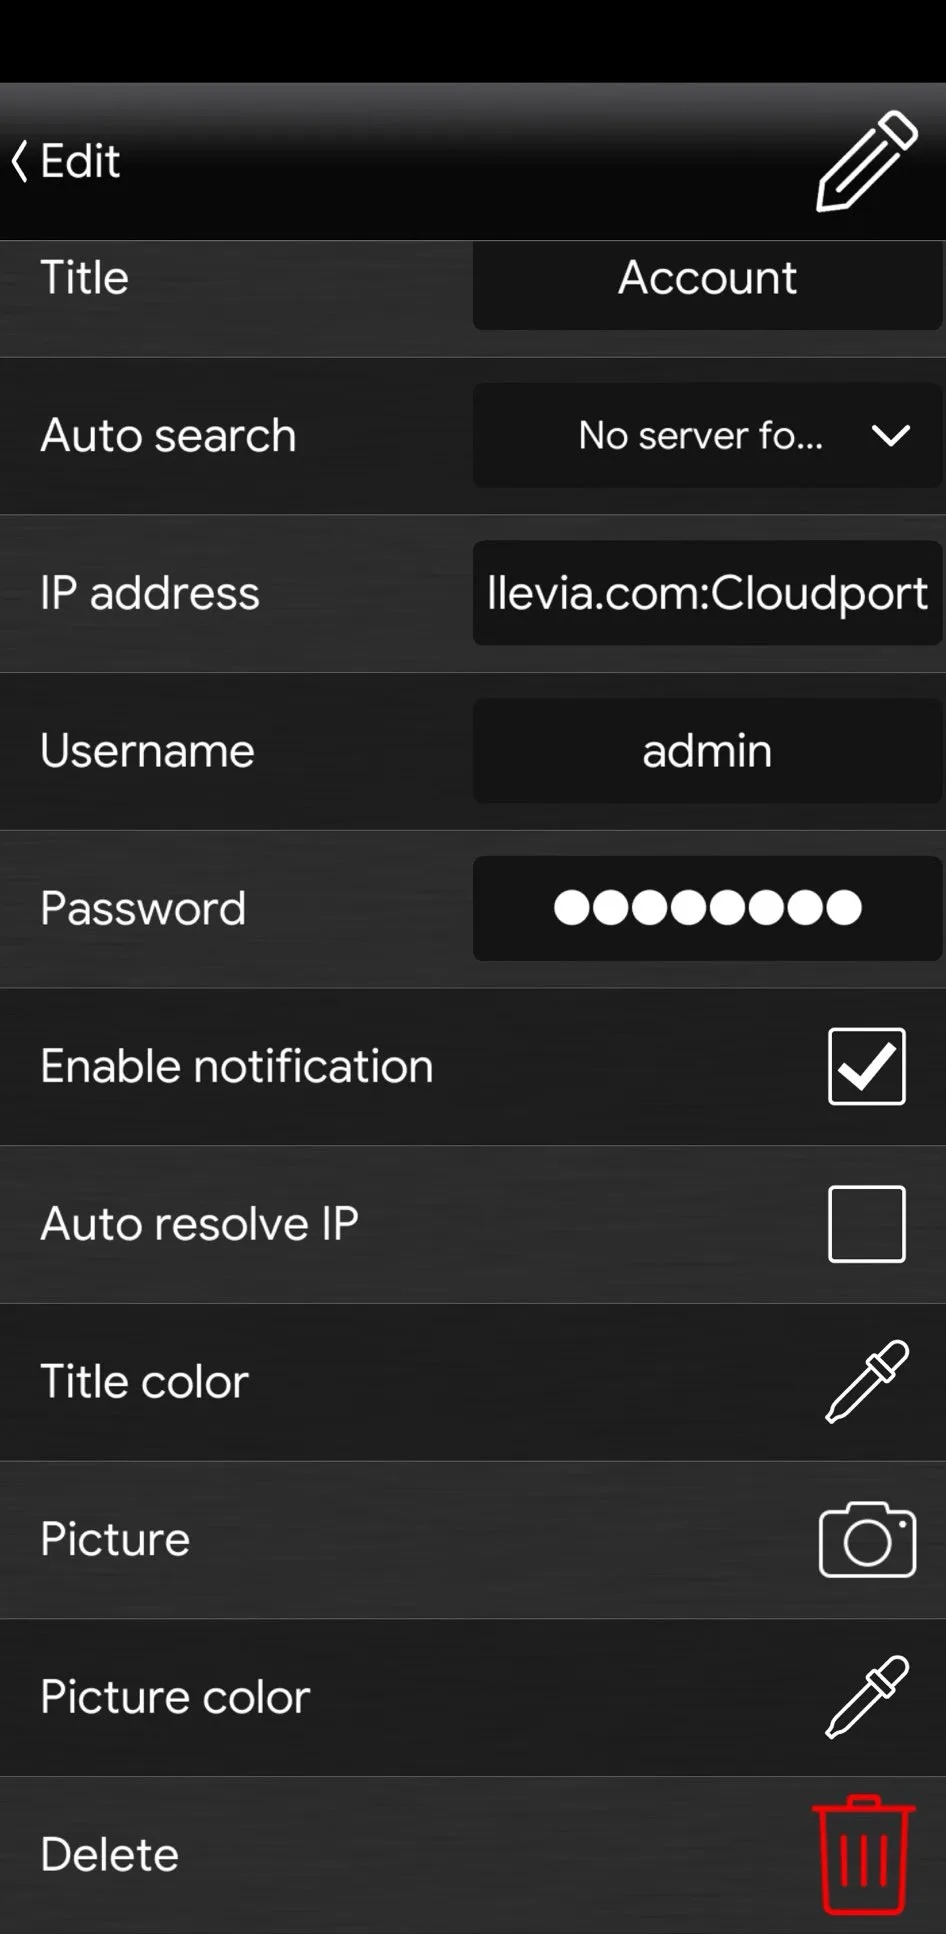
Finally, enter the following address in the IP address text field: ilevia.com:<Assigned port>. The text Assigned port must be replaced with the port indicated in the Cloud menu in Step 4 of the Procedure section.
Step 3:
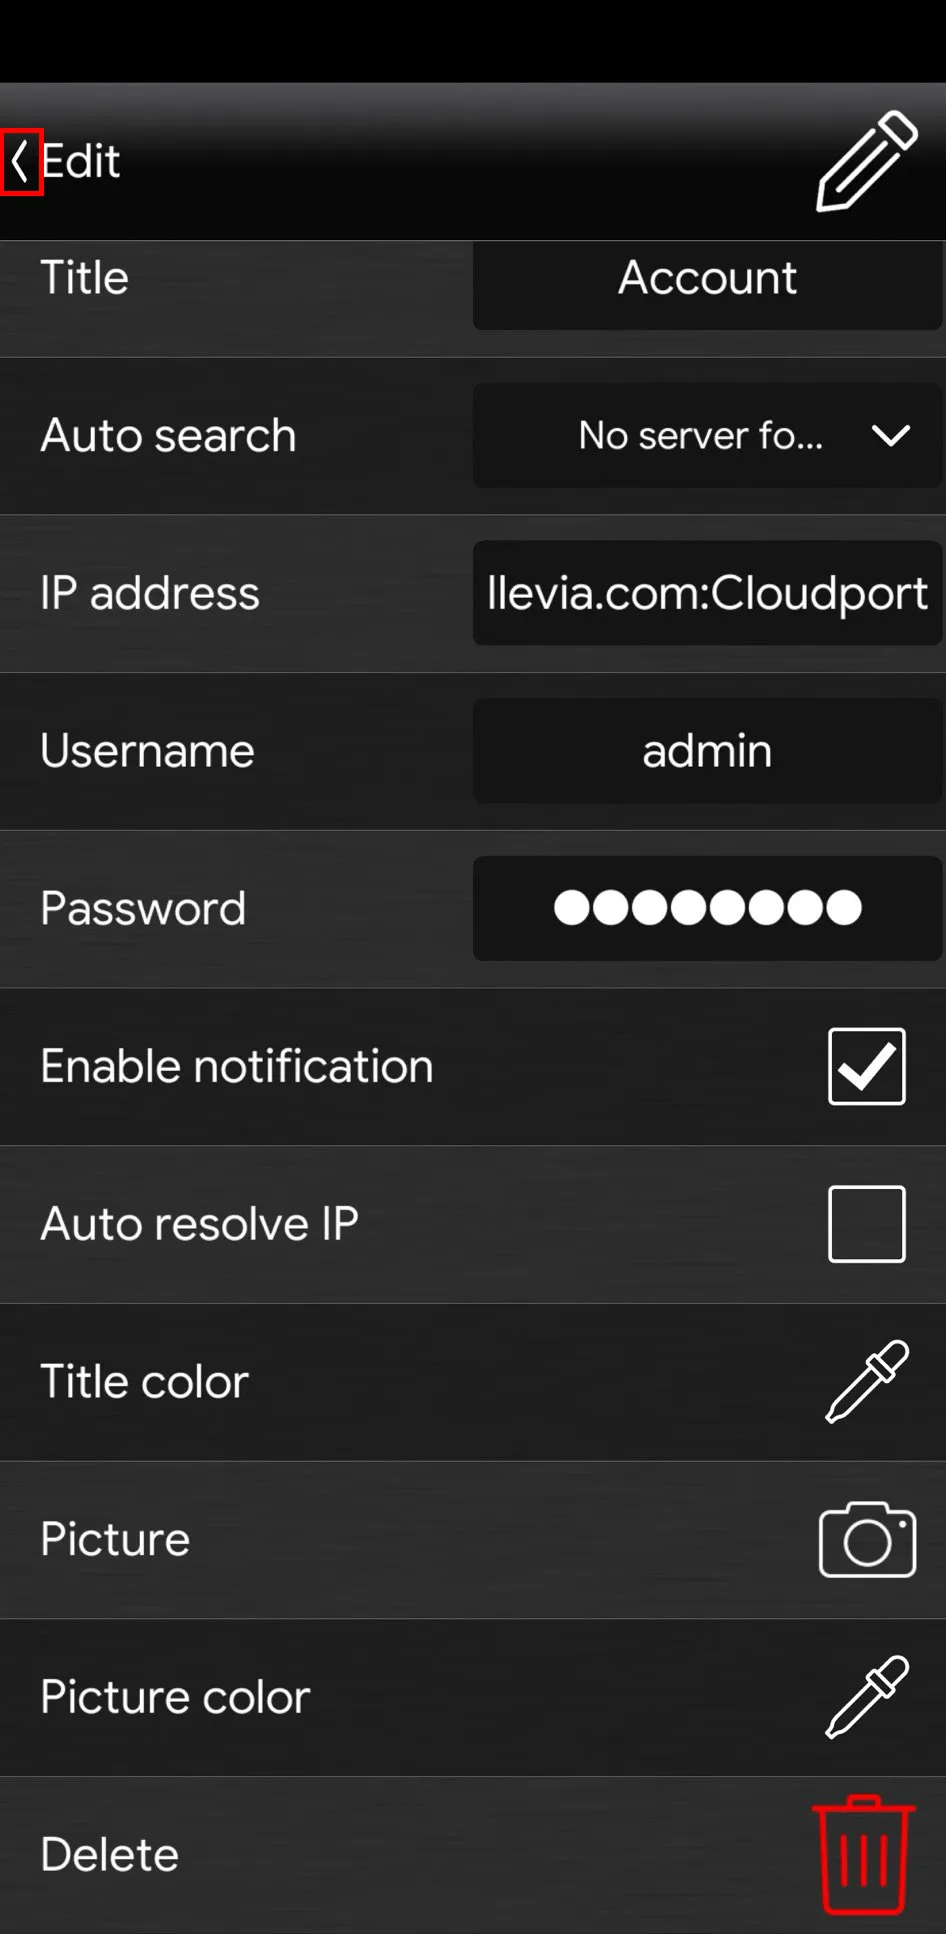
Once the address configuration is complete, return to the main menu of Ilevia Control by clicking the arrow icon at the top left

.
Conclusion
To connect, click on the newly modified account. If the configuration is correct, you will see a light blue loading bar advance at the bottom of the screen with the following overlay message: Optimizing your experience.
Cloud connection via Ilevia Manager
Step 1:
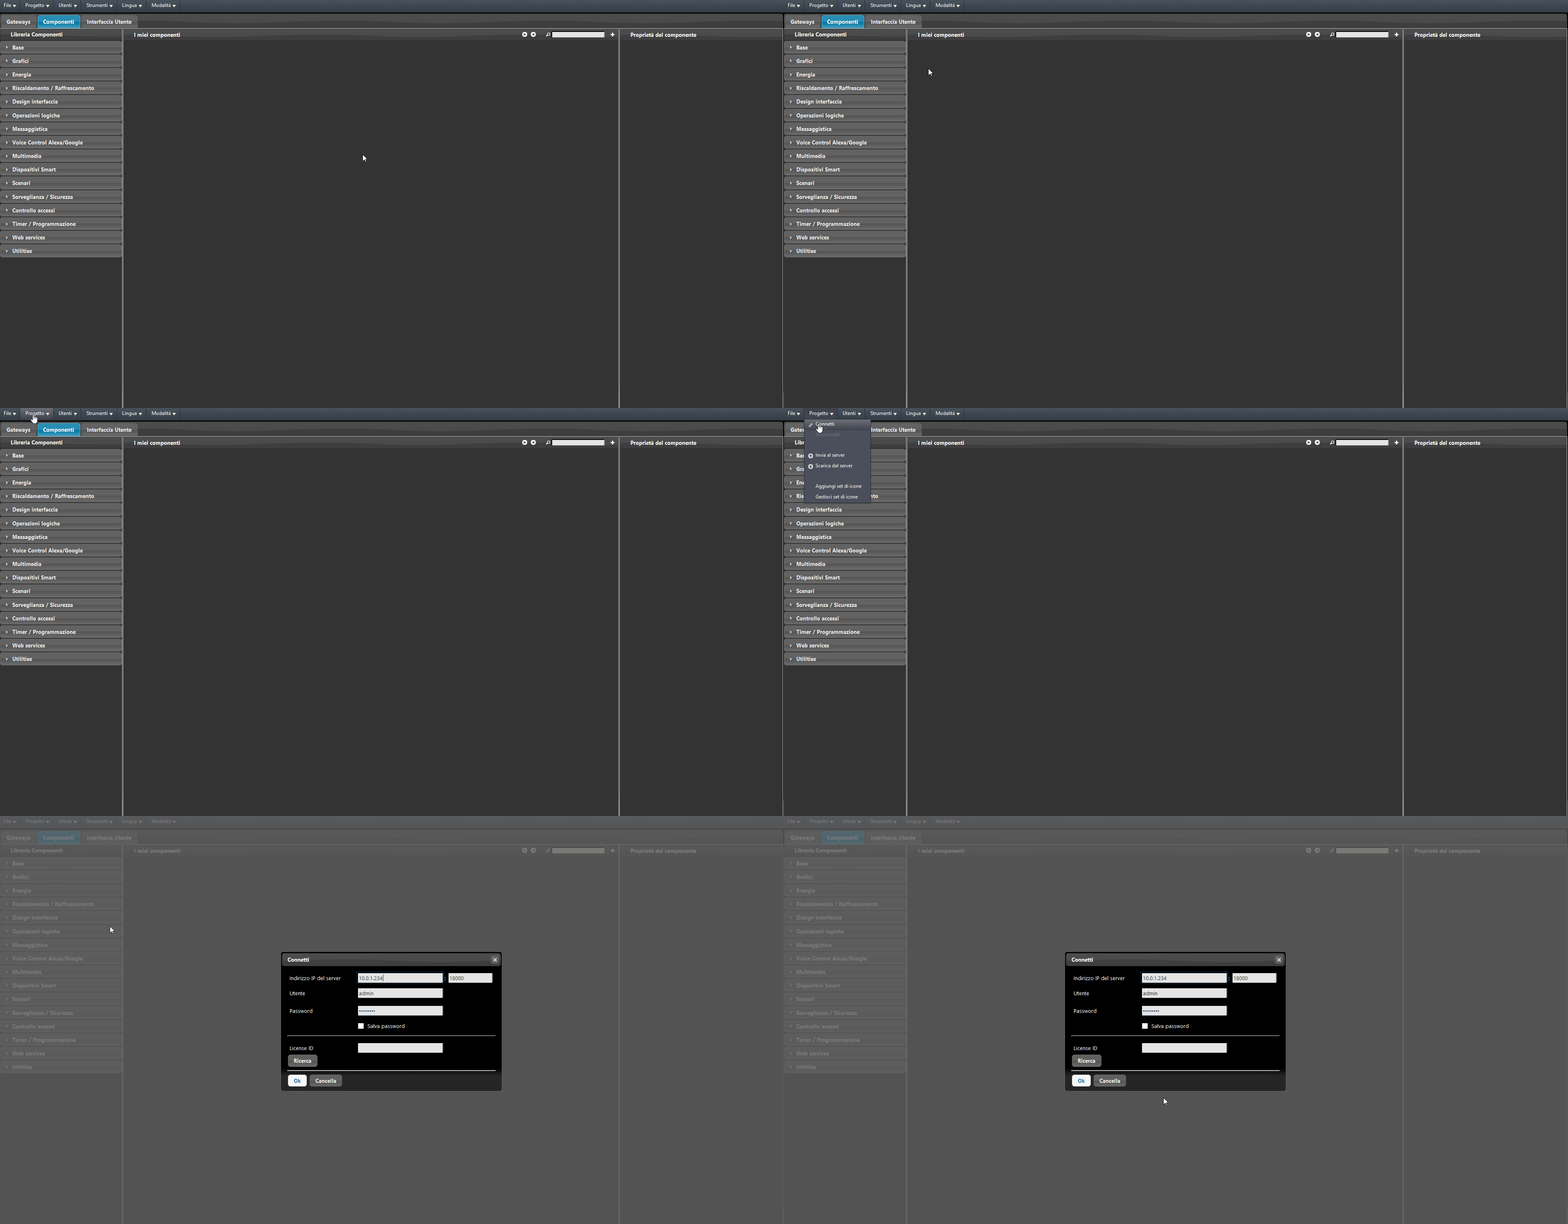
Open Ilevia Manager. Go to the Project menu and click Connect.
Step 2:
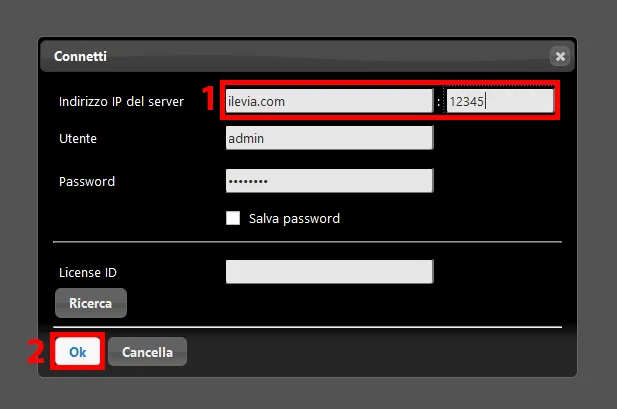
Replace the current address shown in the Server IP address text field with the following: ilevia.com. In the text field where the port is shown, enter the port indicated on the web page we saw in the previous steps. Finally, click OK to confirm the connection.
Conclusion
By connecting to the server via cloud with Ilevia Manager, you can modify, upload, or download the project remotely.