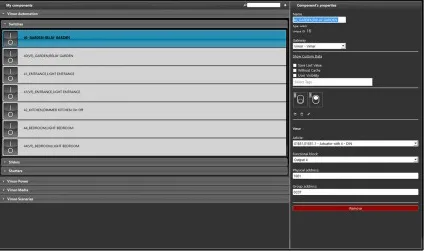
Vimar By-me database import (.xml)
How to export the database of a Vimar By-me system from EasyTool Professional and import it into Ilevia Manager.
Introduction
This guide covers importing the database of a Vimar By-me system into Ilevia Manager. There are several options for exporting the By-me database file: to complete the import, start Vimar EasyTool Professional, open the system and export it for Webserver ( .xml file). Here are the steps in detail to carry out this operation:
Note: Ilevia automatically converts Vimar By-me devices to KNX. Vimar By-me devices that do not have any KNX match can be managed as KNX by creating virtual feedbacks.
Procedure
Step 1:
Start the Vimar EasyTool Professional software;
Step 2:
File → Open system. The system opening dialog box will appear.
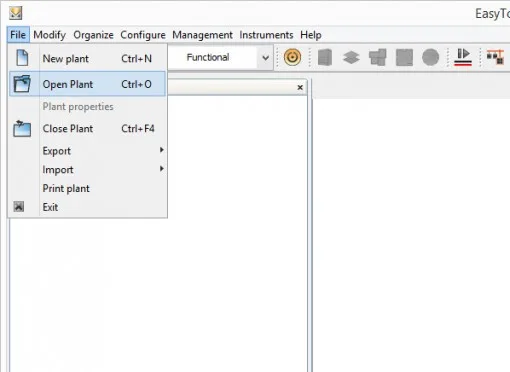
Step 3:
Select the EasyTool database file and confirm.
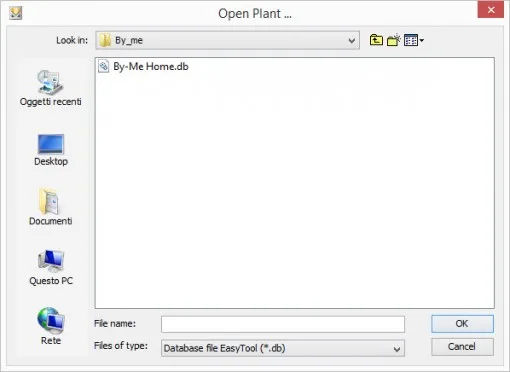
Step 4:
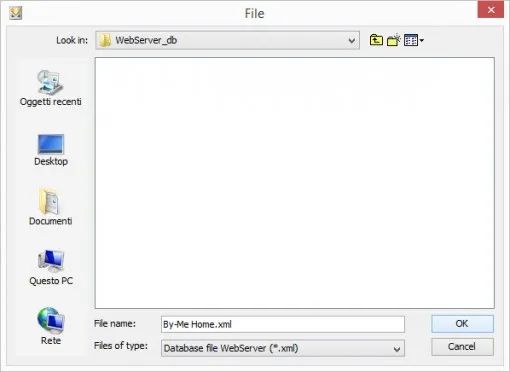
File → Export → WebServer. The file save screen will appear.
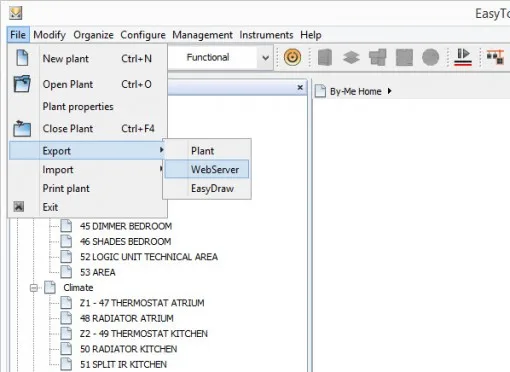
Step 5:
Select the location where you want to save the Webserver file (.xml) and confirm.
Step 6:
Start the Ilevia Manager configuration software.
Step 7:
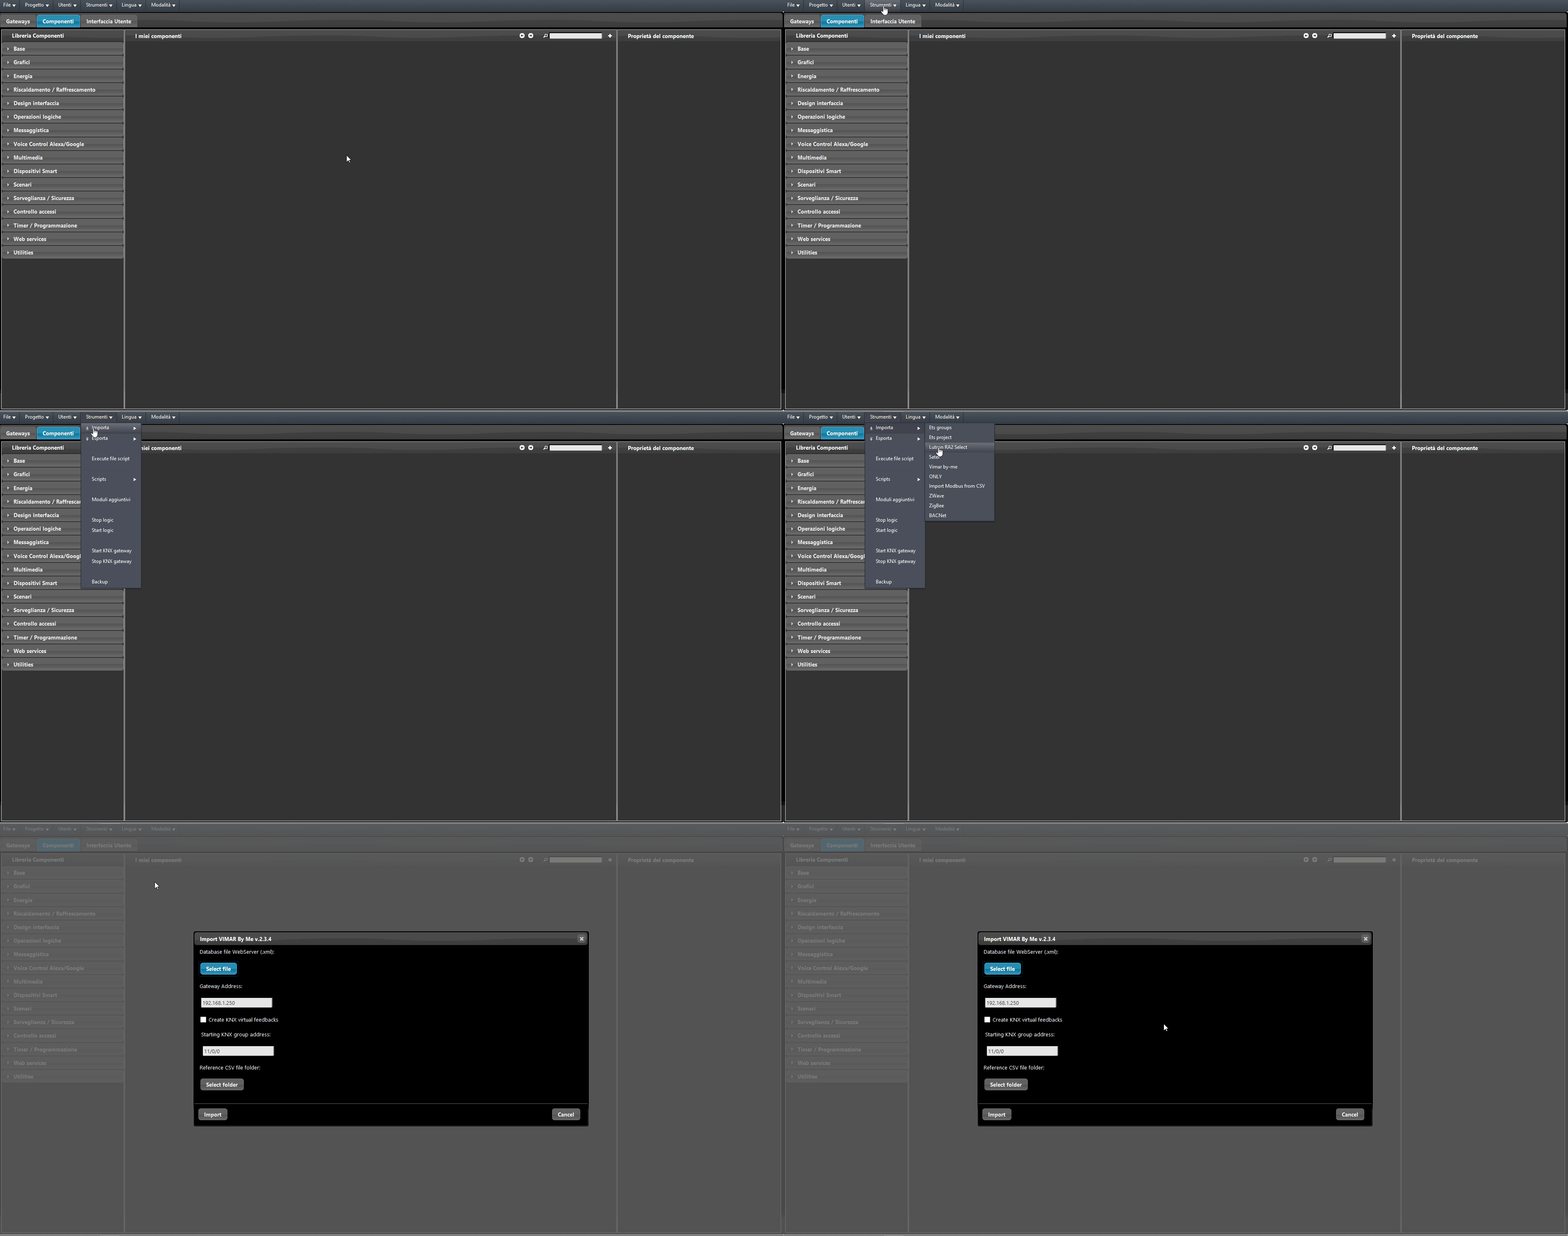
Tools → Import → VIMAR By Me. A new dialog window will open, allowing you to select the .xml file from your device.
Step 8: WebServer database file (.xml)
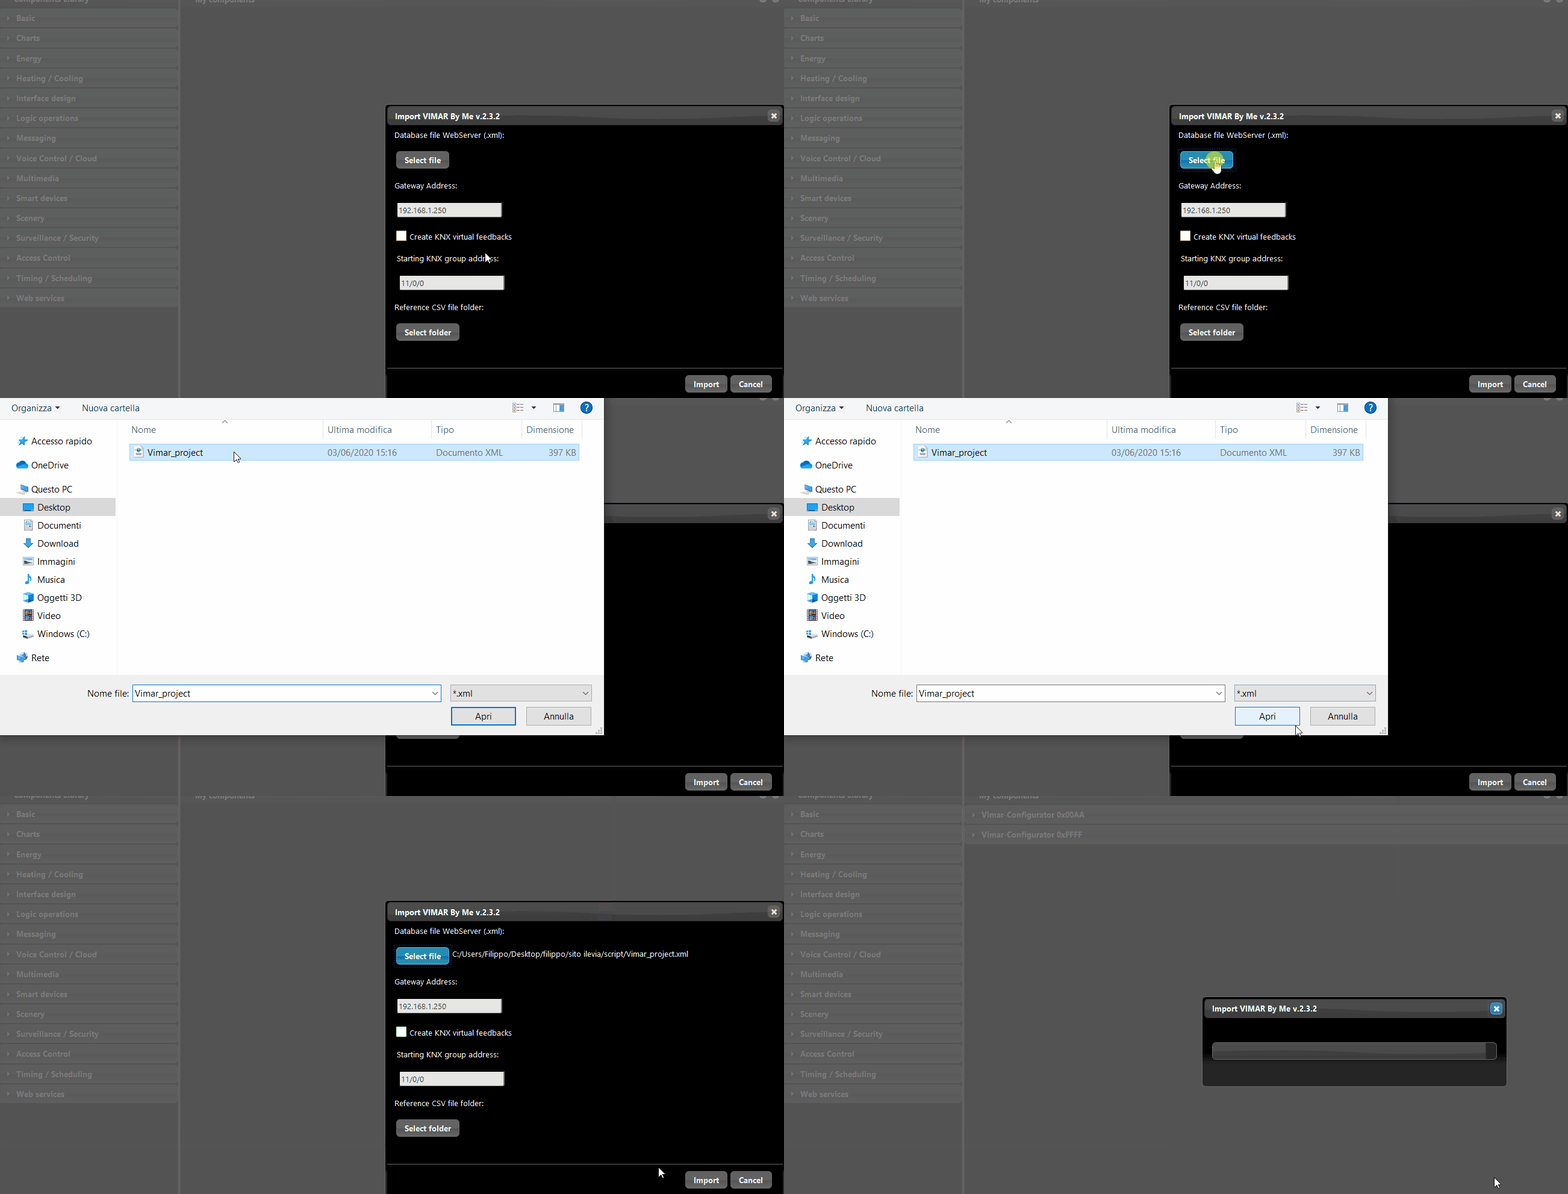
Click “Select file” to choose the Vimar By-me .xml file. A second dialog window will appear.
Select the Vimar By-me .xml file and confirm.
Step 9: Gateway addresses:
Enter the Vimar gateway IP address (e.g. 192.168.1.250). Note: the Vimar gateway will be added automatically to the current project and set as enabled. For gateway parameters, see the Vimar Gateway Parameters page.
Step 10: Create KNX virtual feedbacks:
Select the checkbox if you want Ilevia to create a KNX virtual feedback (read and write of addresses) for Vimar By-me devices that do not have any KNX match.
Step 11: Starting group address:
Enter the starting group address to assign to Vimar devices to convert them to KNX (e.g. 11/0/0).
Step 12: Reference .CSV file folder:
Click “Select folder” and choose the location where you want to save the KNX reference CSV file.
Select the location where you want to save the reference CSV file and confirm.
NOTE. This file will contain all KNX group addresses of all imported Vimar By-me devices.
Step 13: Confirm settings.
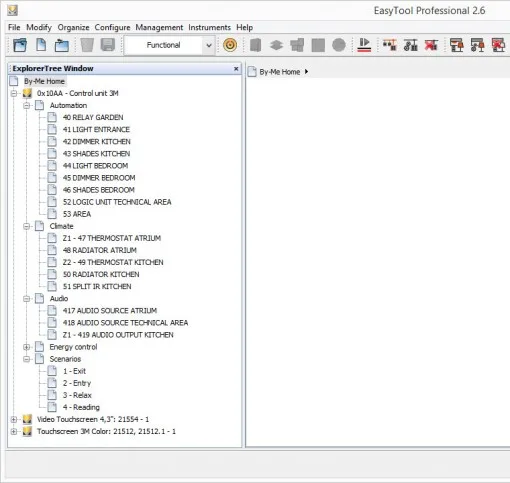
Once the import process is complete, it will be possible to compare the EasyTool Professional database with the Ilevia Manager database. All devices will be added to the current Ilevia project and automatically categorized according to the structure rules in the Ilevia system.
This is how the .xml file is displayed in the Ilevia Manager configuration software.
VIMAR EasyTool Professional
Ilevia Manager