Web configuration panel of the virtual machine
How to access the web panel of the Ilevia X5 virtual machine and use its menus: diagnostics, utility, ports, network, date and time, password.
This guide describes the web configuration panel of the Ilevia server (X5 virtual machine): how to access it and what its menus are for.
Connection and configuration
Step 1: Connect to the main page
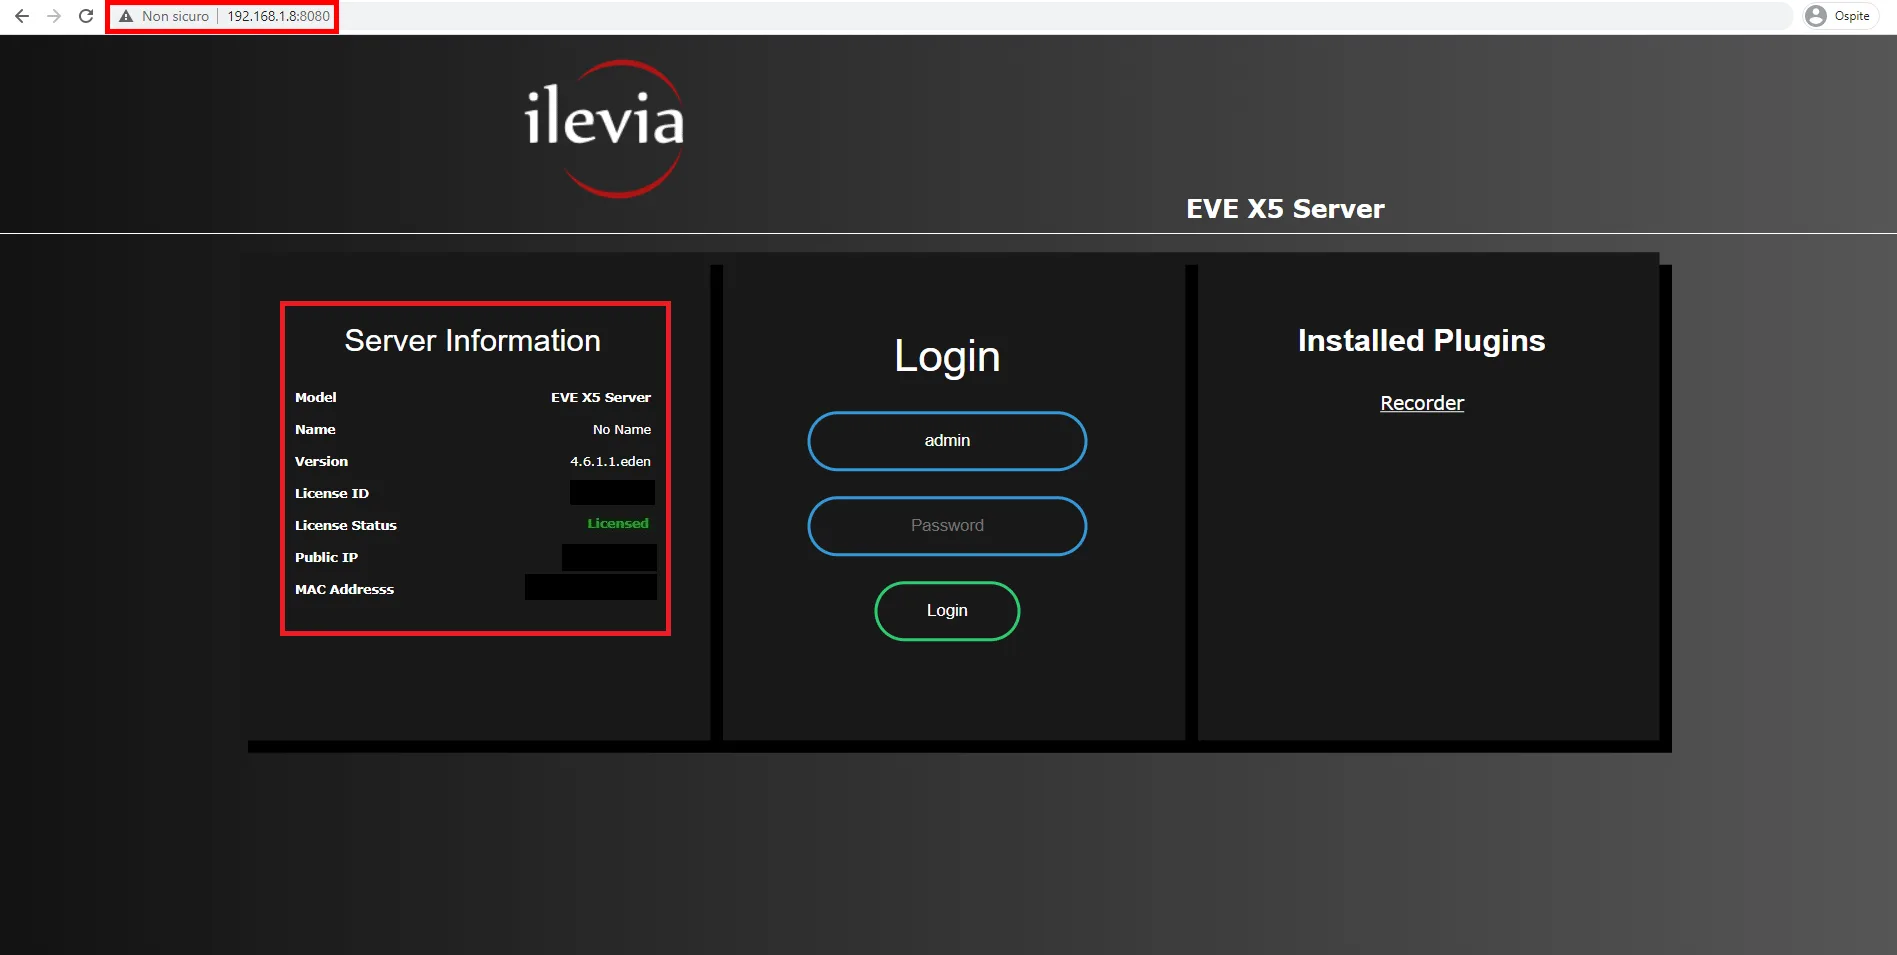
Open the browser and enter the server IP address in the address bar. If you do not know your server IP address, click this link: if there is only one Ilevia server on the network, you will be connected directly to the main web configuration page. In the first box on the left you will find all information regarding the network and the license.
Troubleshooting:
– If the browser does not display this page, make sure that the virtual machine network adapter settings have been configured correctly.
Step 2: Log in
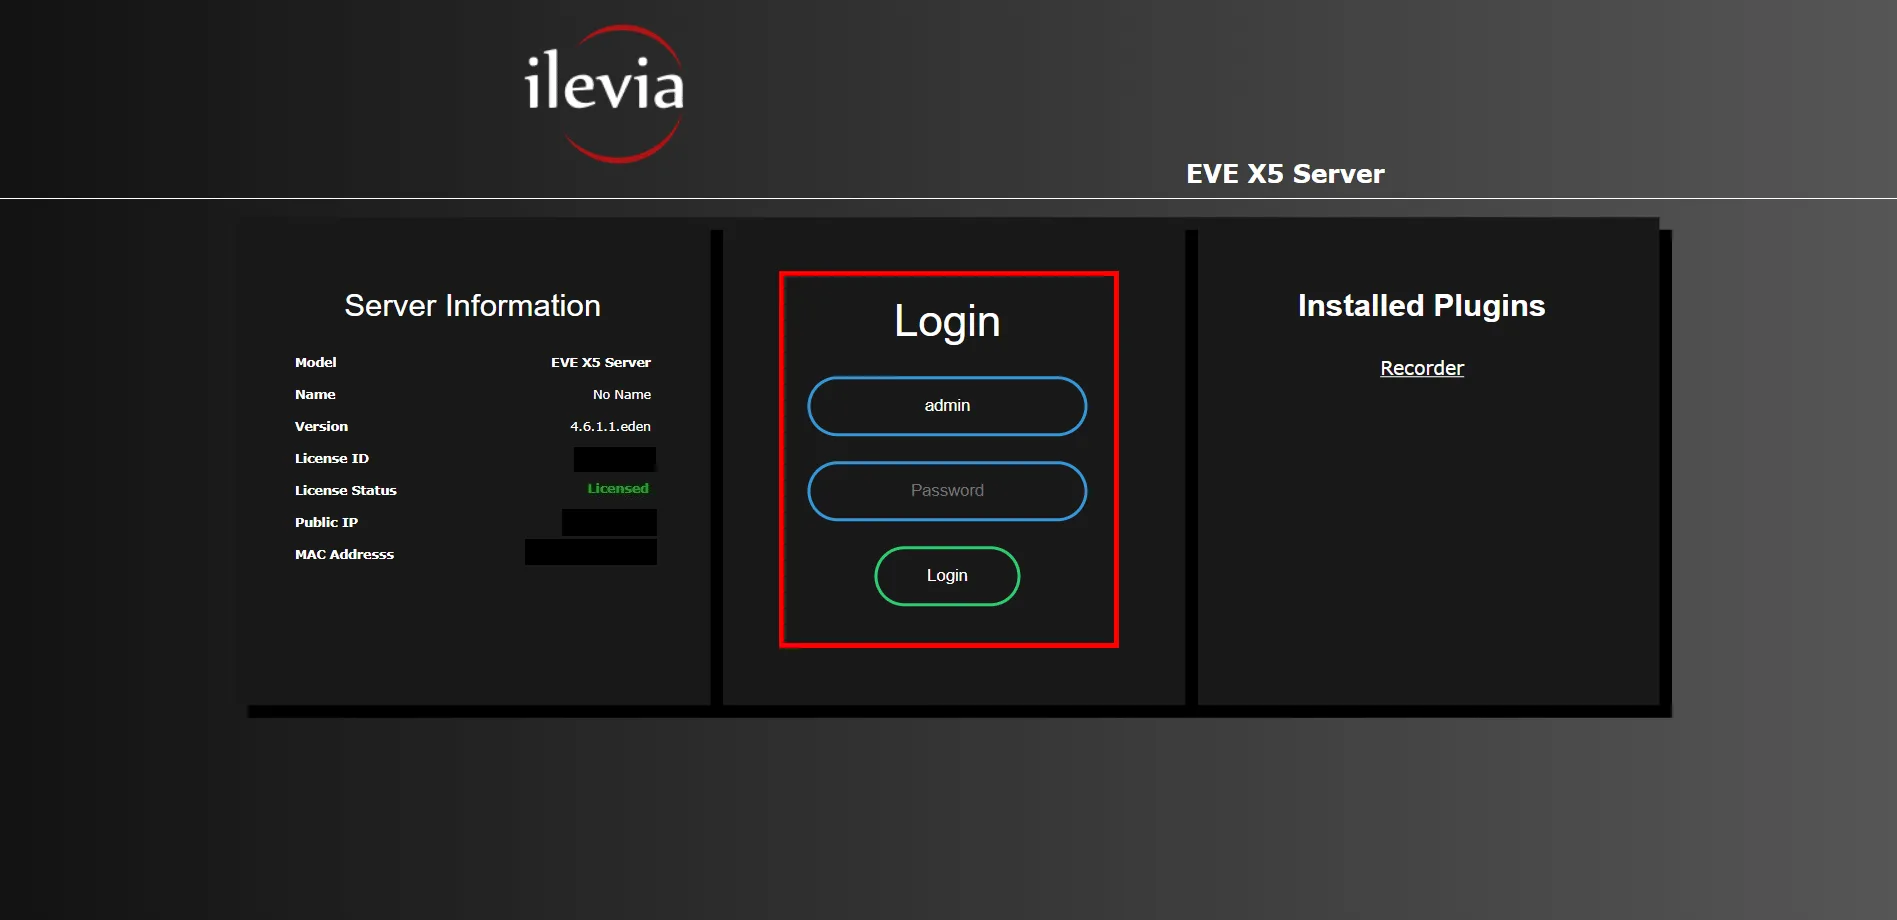
Once connected to the Ilevia server web interface, log in with the default credentials: Username: admin and Password: password.
Note. The default password is “password”: we recommend changing it as soon as the project is defined (see Step 12).
Step 3: Configuration panel
Once logged in, you have access to all configuration and diagnostics settings.
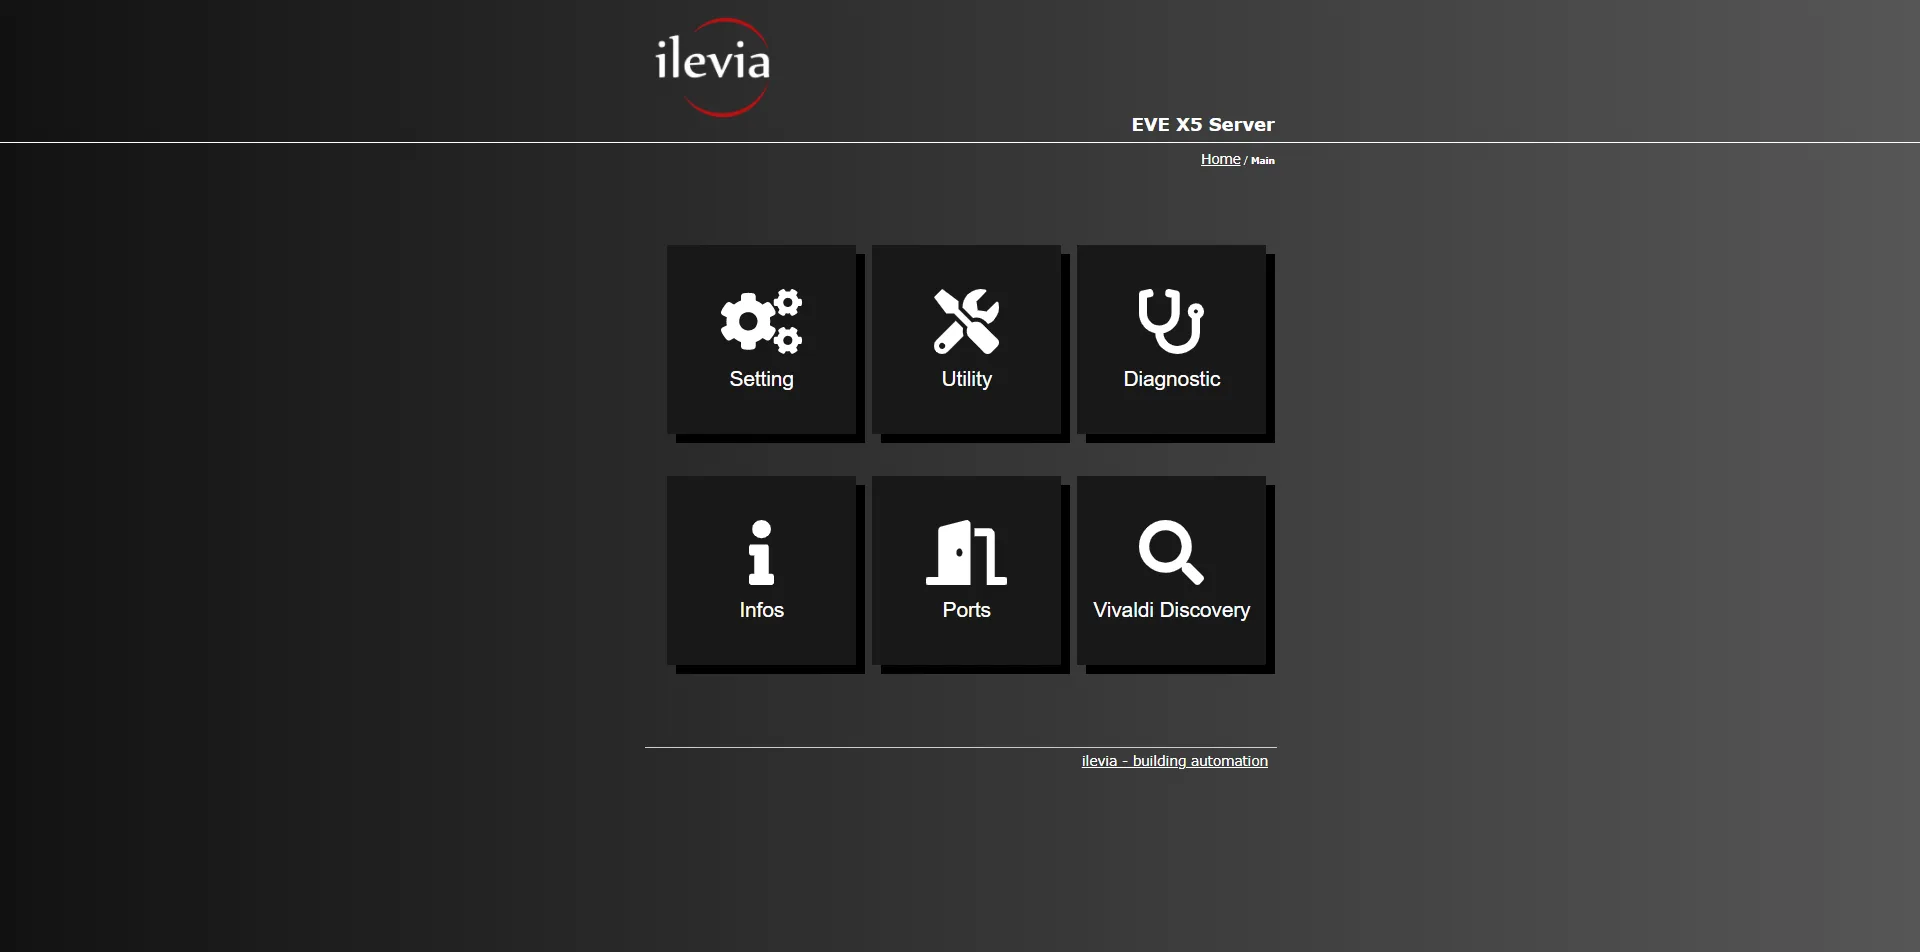
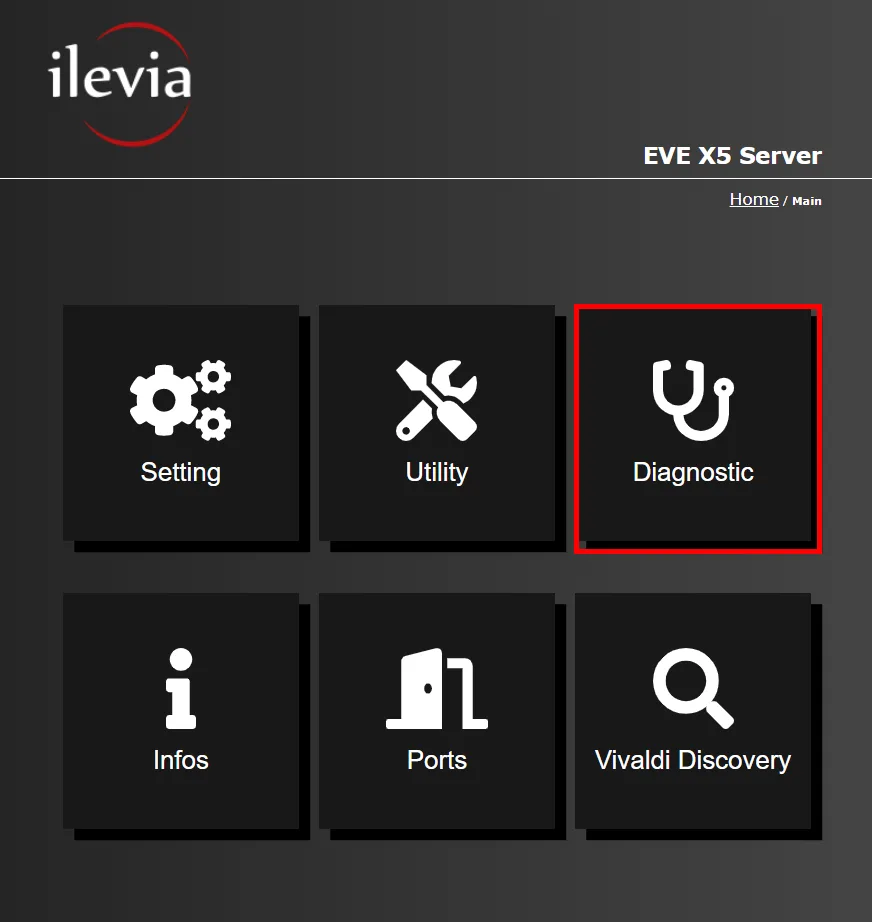
Step 4: Diagnostics menu
Once inside the menu, by clicking the Start button you can start the test procedure for diagnostics.
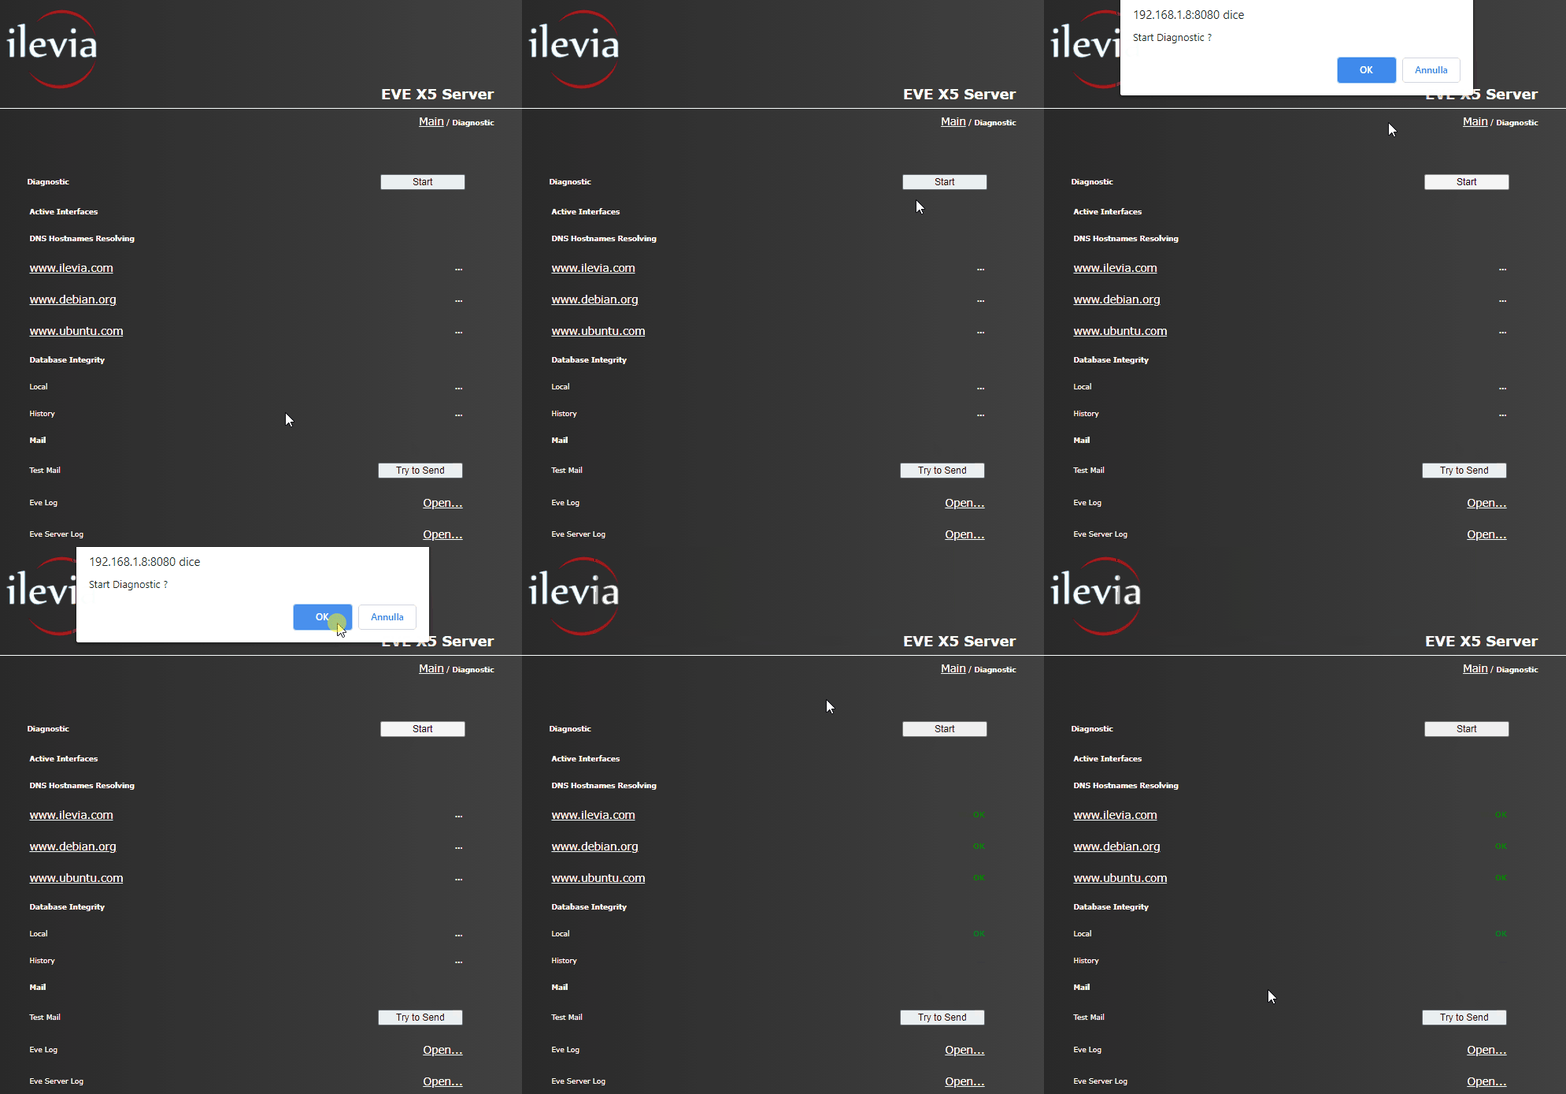
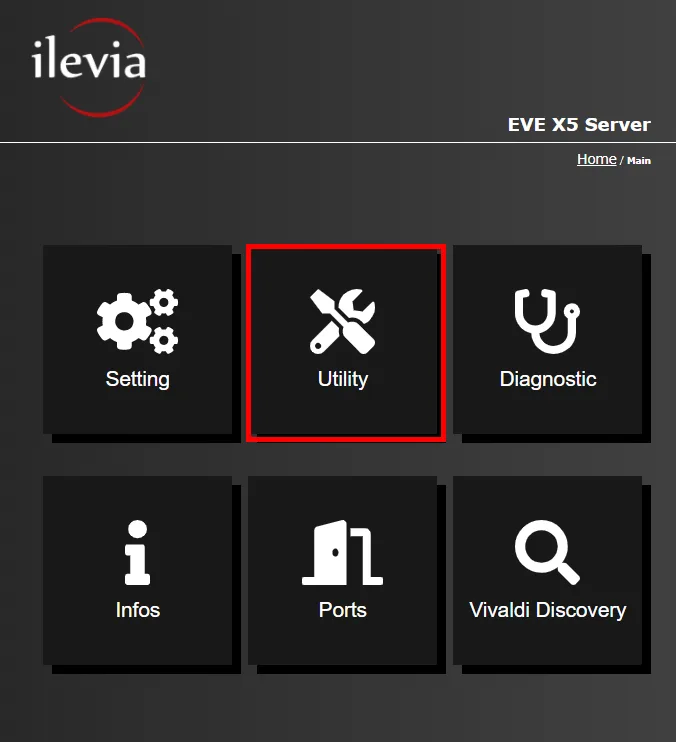
Step 5: Utility menu
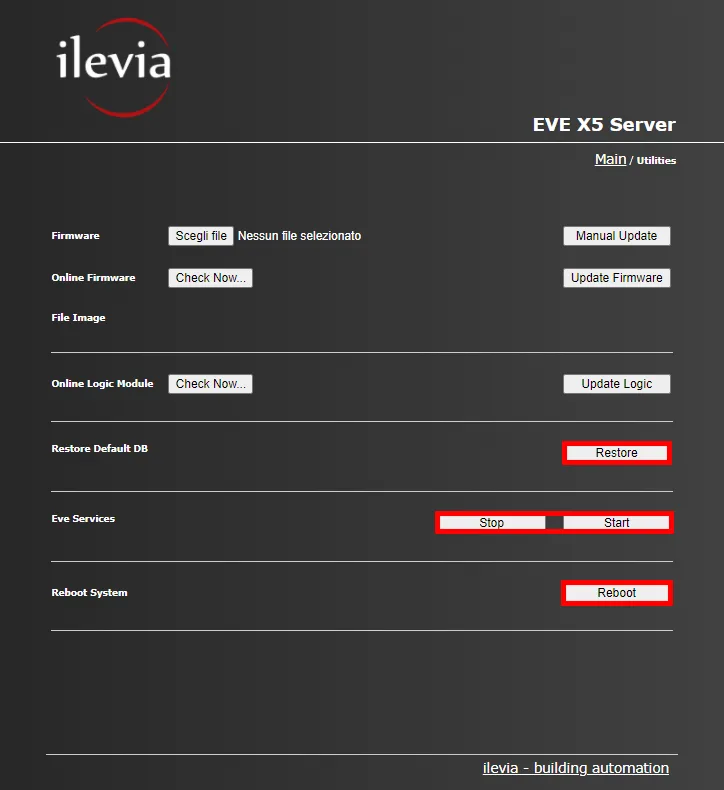
The Utility menu allows you to check whether updates are available, download them and install them on your Ilevia server. It also allows you to restore the server database, start and stop Ilevia services, and restart the device.
Step 6: Ports menu
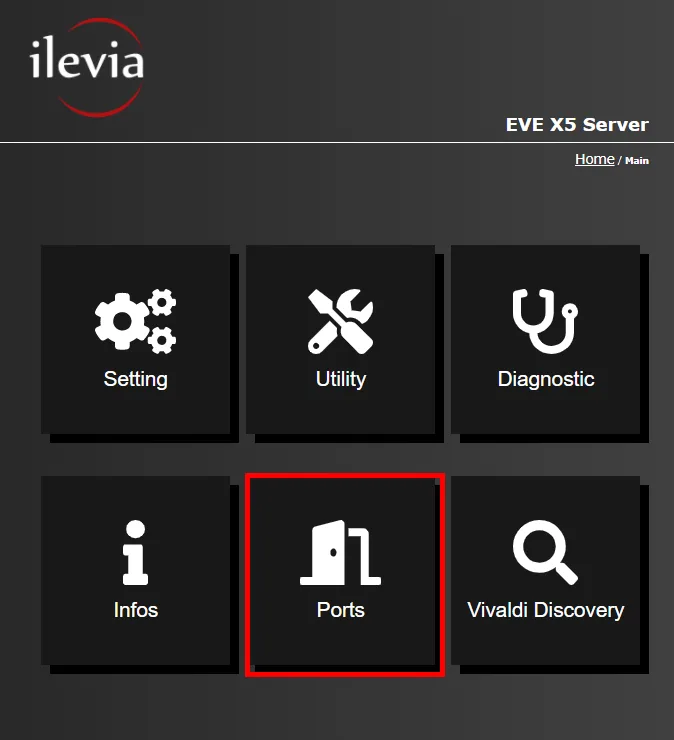
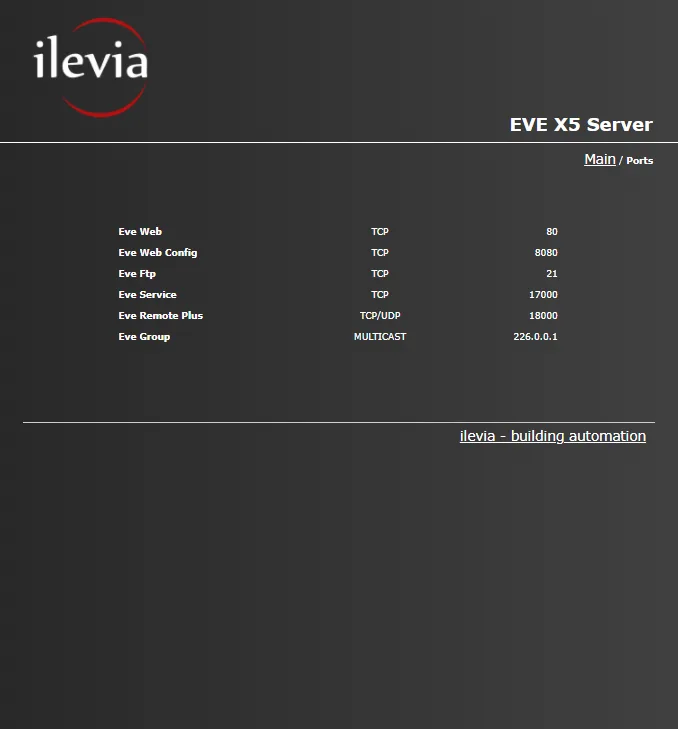
In this menu you can view all the network ports used by the Ilevia server, with their descriptions.
Step 7: Vivaldi discovery menu
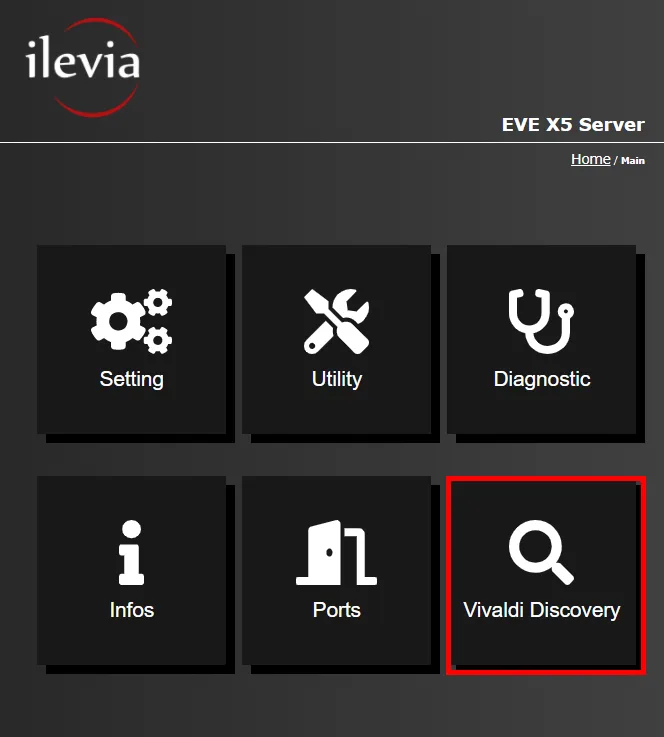
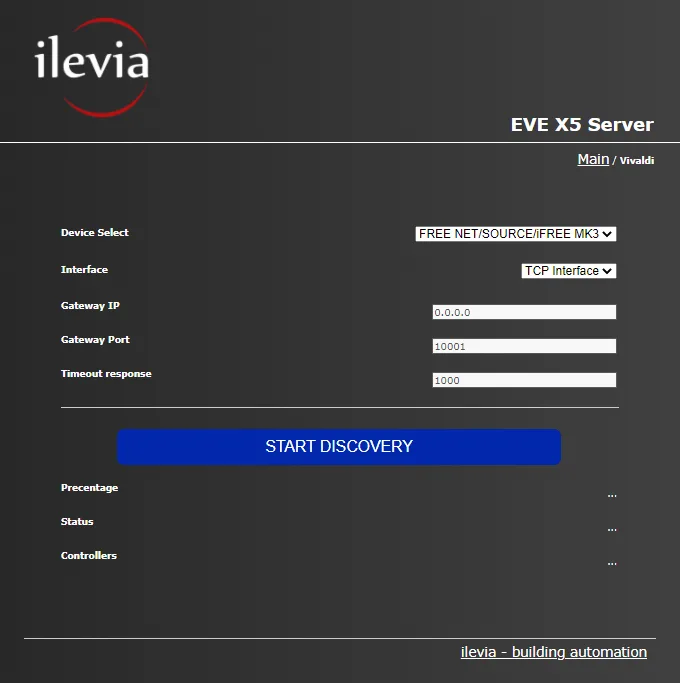
In the Vivaldi discovery menu you can search for Vivaldi devices on your local network. By clicking the “Start discovery” button, the Ilevia server starts the search.
Step 8: Info menu
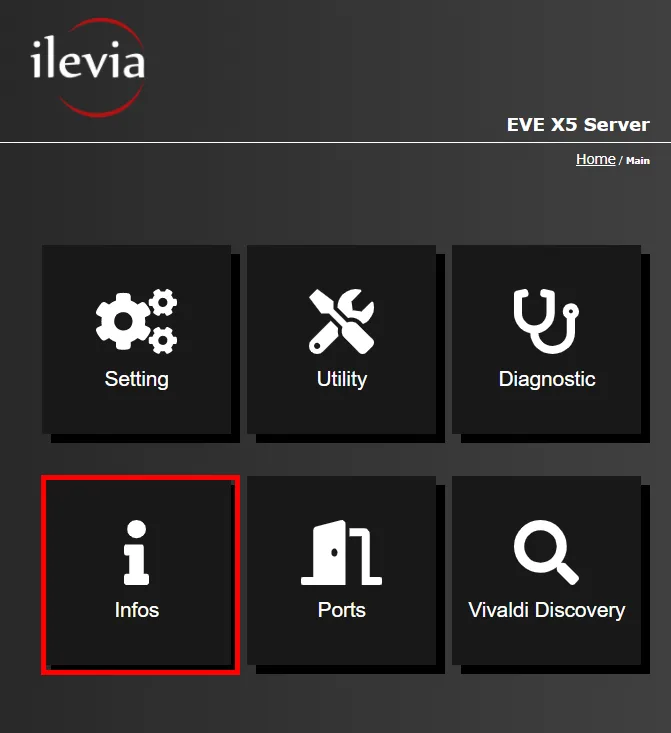
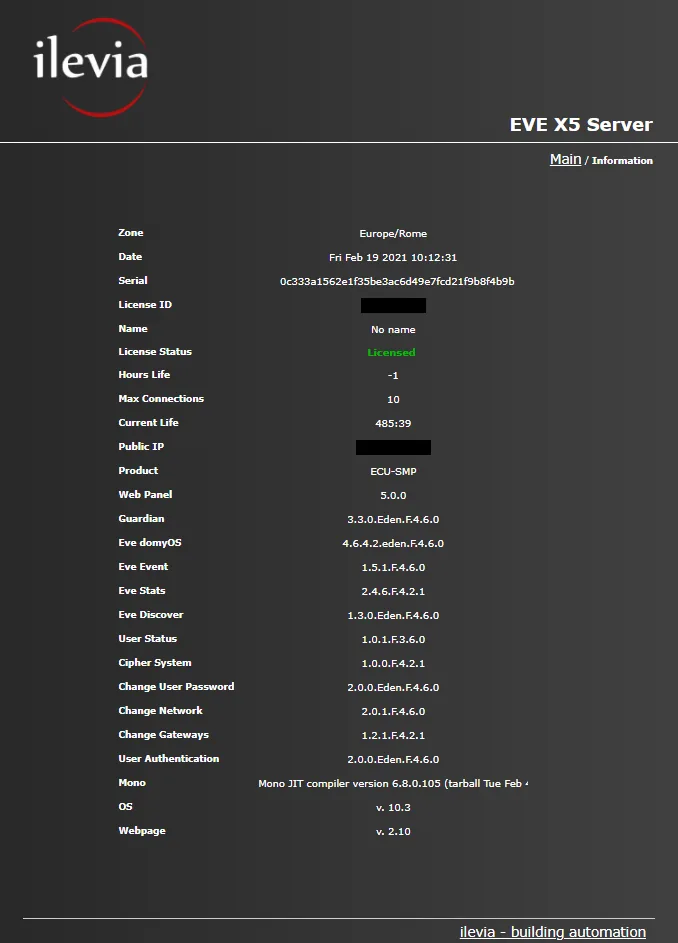
In the Info menu you will find all the information about your Ilevia server: the license, the license status (licensed/not licensed), the operating system and logic module versions, the server name, and the current date and time.
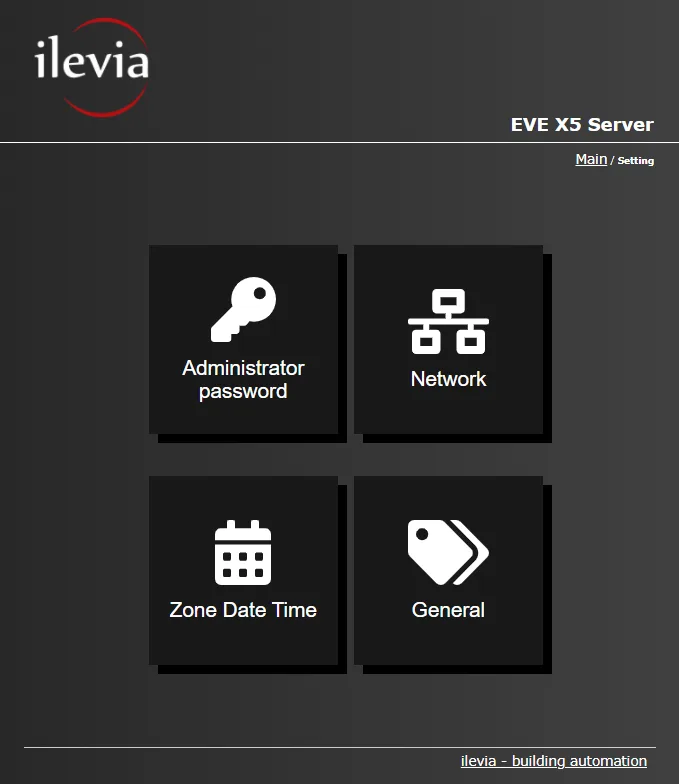
Step 9: Settings menu
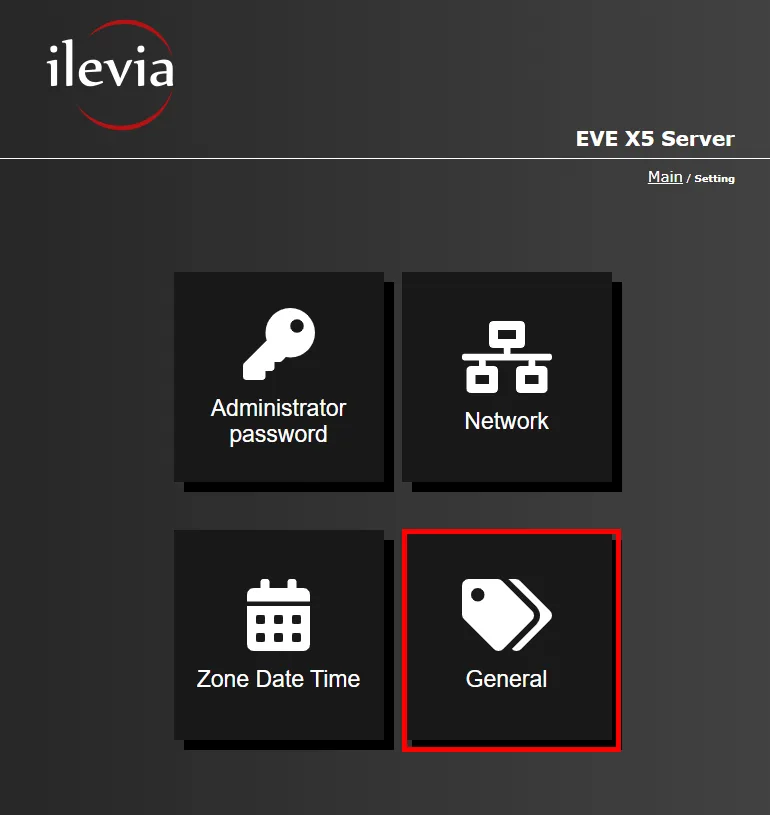
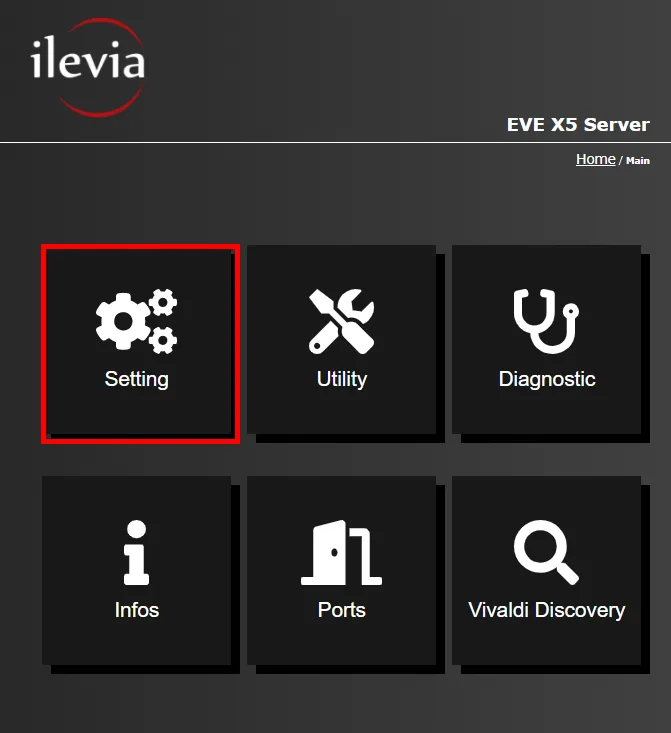
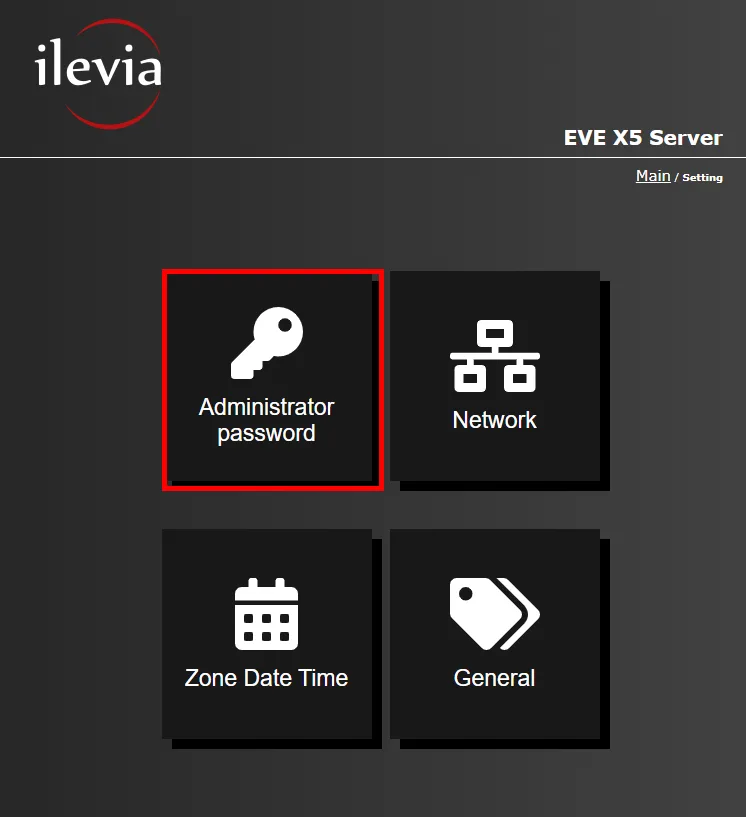
In the Settings menu you can change the administrator password, set the network configuration, time zone and time, and modify the identification name of the Ilevia server.
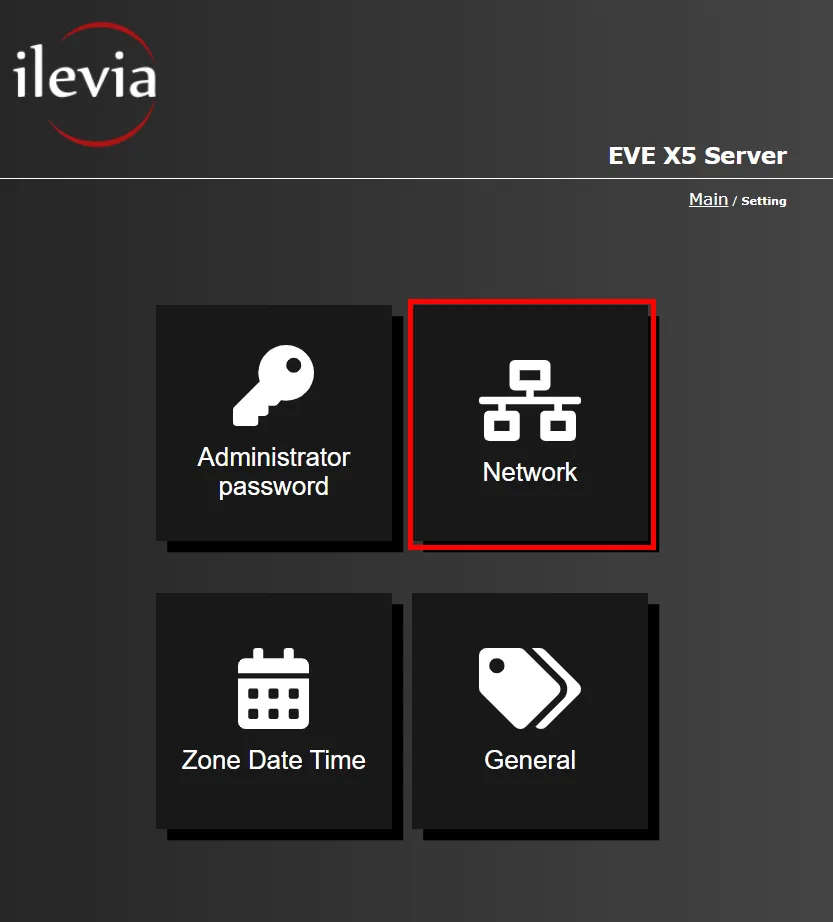
Step 10: Network menu
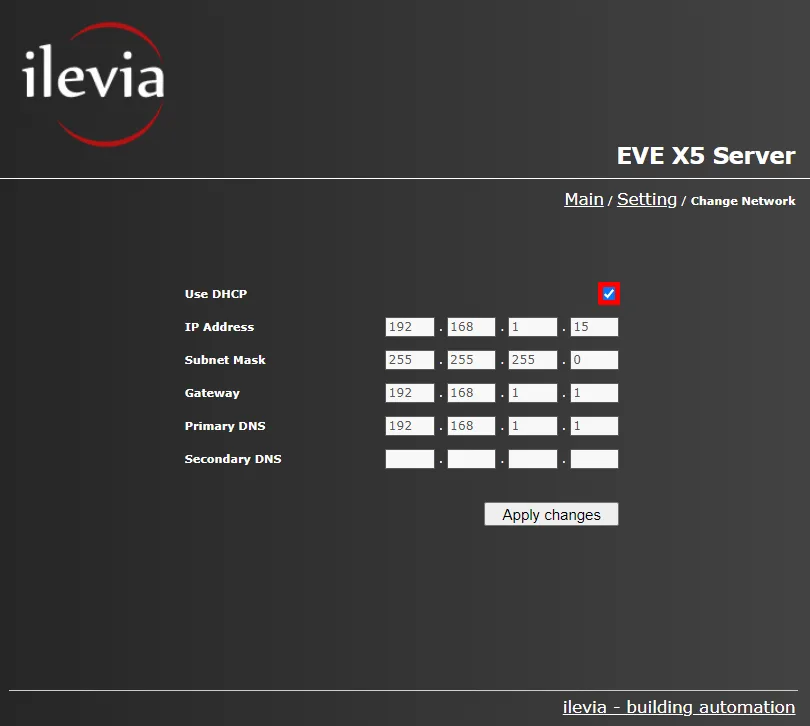
To configure network settings, click the “Network” menu.
This panel is used to set a static IP for the Ilevia server on your network: uncheck “Use DHCP”. To save, select the “Apply changes” button. The server will request a restart, after which the settings will be applied.
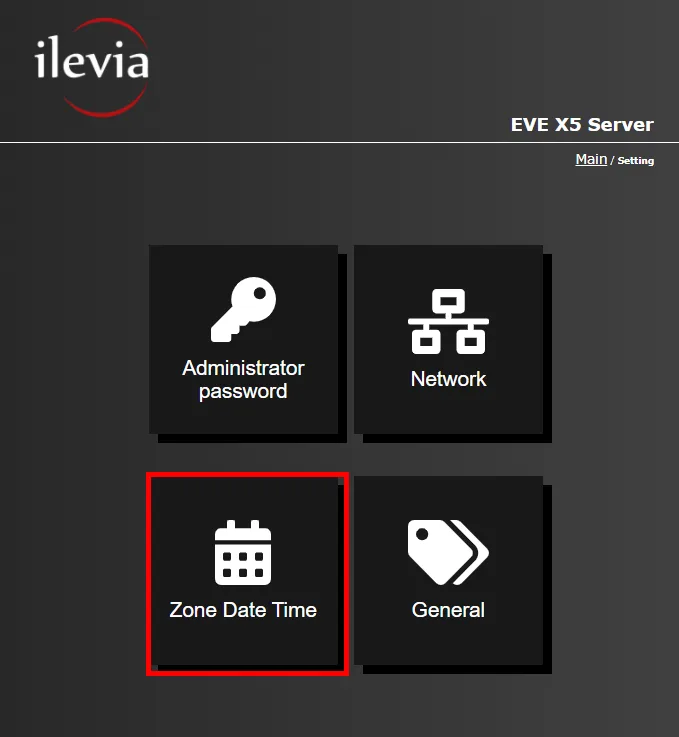
Step 11: Zone date and time menu
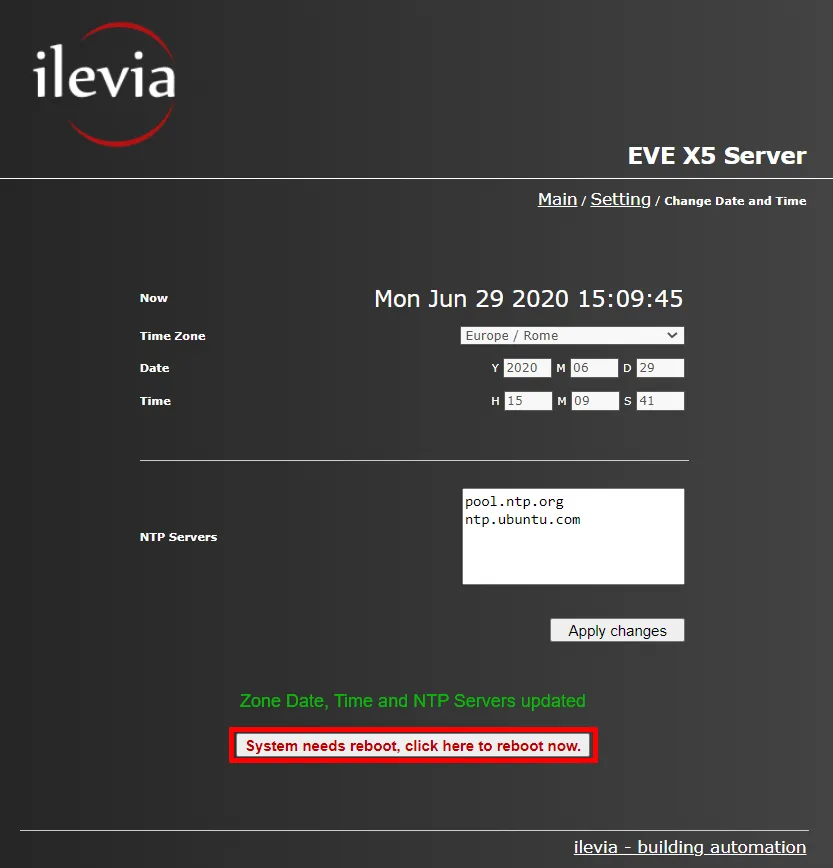
These are the date and time settings. It is very important to set them correctly, because the server uses them for Timers and for the execution of specific scenes.
In the NTP server section there is a list of servers set by default, which the Ilevia server connects to in order to update the date and time. Remember to save the settings by clicking the “Apply changes” button.
Step 12: Administrator password menu
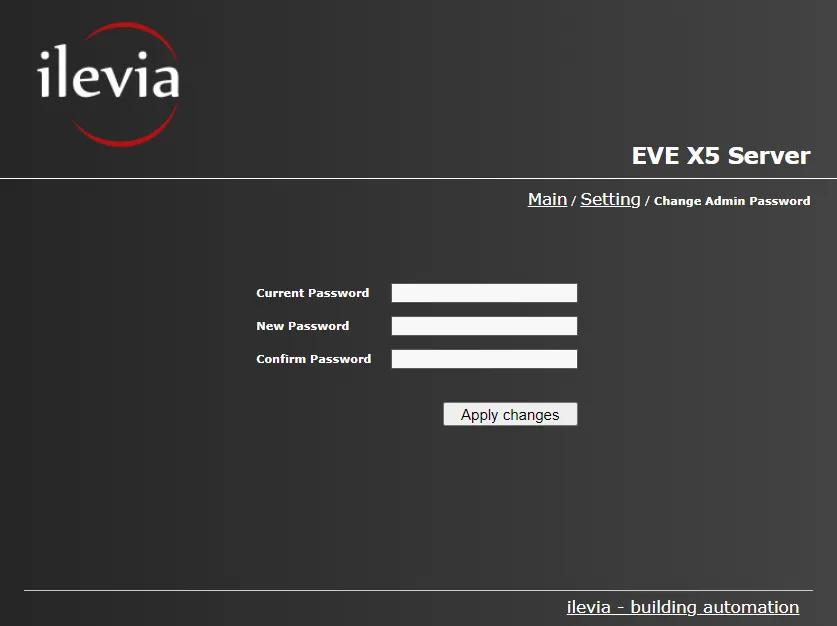
To change the administrator password, go to the “Administrator Password” menu, enter the current password set on the Ilevia server, then enter the new password in the “New password” field and confirm it in the “Confirm password” field. The Ilevia server will require a restart to apply the new settings.
Step 13: General menu
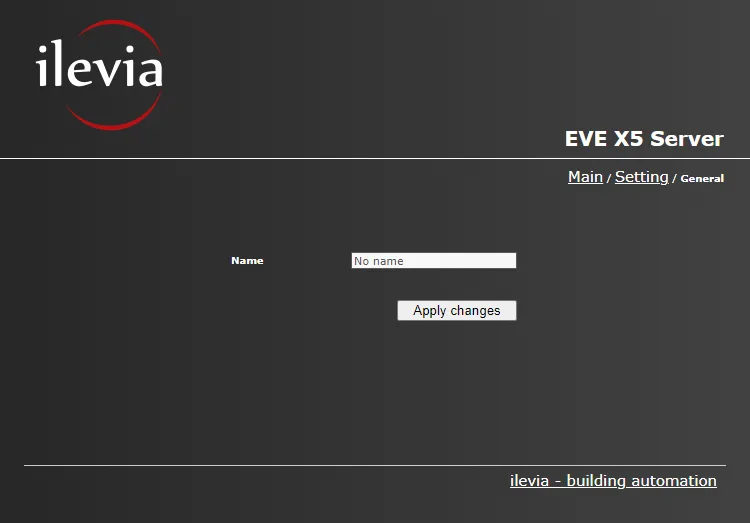
Enter the “General” menu: here you will find a text field where you can enter the name by which the Ilevia server will be identified in the system. Once the name has been changed, the server will require a restart to apply the change.